Audio international VA-401-x User manual

7300 Industry Drive, North Little Rock, AR 72117
Phone: 501-955-2929 Fax: 501-955-2988
www.audiointl.com
Installation Manual
VA-401-x
Video Distribution Amplifier
Document # 540328

Audio International, Inc.
VA
-
401
-
x
Installation Manual
Document # 540328 Rev. IR, 02/2007 Page 1of 12
Document Revision History
Rev. Level Date Description
IR 02/2007 Initial Release
Reference Documents
Drawing # Description
525705 VA-401-xOutline Drawing
Service Bulletin List
Service
Bulletin # Subject Manual
Revision Revision
Date
Table of Illustrations
Section # Description Page #
2.2 Block Diagram –Typical Application 4
6.0 Reference Drawings 11-12
PROPRIETARY NOTICE: Despite any other copyright notice, this document and information
disclosed herein contains confidential, proprietary designs owned by Audio International, Inc.
Neither this document nor the data contained herein shall be reproduced, used or disclosed to
anyone without the written authorization of Audio International, Inc.

Audio International, Inc.
VA
-
401
-
x
Installation Manual
Document # 540328 Rev. IR, 02/2007 Page 2of 12
Table of Contents
Section Description Page
1.0 General Information …………………………………………….
3
1.1 Introduction ……………………………………………………….. 3
1.2 Purpose of the Equipment ………………………………………. 3
1.3 Optional Equipment ……………………………………………… 3
2.0 Application ………………………………………………………..
4
2.1 Introduction ……………………………………………………….. 4
2.2
Block Diagram –Typical Application…………………………….
4
3.0 Installation ……………………………………………………….. 5
3.1 Prior to Installation ……………………………………………….. 5
3.2 Unpacking and Inspection ………………………………………. 5
3.3 Cautions &Warnings ……………………………………………..
6
3.4 Wiring Requirements ……………………………………………..
6
3.5 Physical Characteristics…………………………………………..
7
3.6 Electrical Characteristics………………………………………….
7
3.7 Mating Connector Information ……………..…………………….
8
3.8 Pinout Assignment Descriptions ………………………………...
8
3.9 Post-Installation Test ……………………………………………..
8
4.0 Instructions for Continued Airworthiness………………….. 9
4.1 General Troubleshooting Procedures………………………….. 9
4.2 Troubleshooting Guide…………………………………………… 9
4.3 Scheduled Maintenance…………………………………………. 9
5.0 Specifications …………………………………………………… 10
6.0 Reference Drawings …………………………………………….
11

Audio International, Inc.
VA
-
401
-
x
Installation Manual
Document # 540328 Rev. IR, 02/2007 Page 3of 12
VA-401-x
Video Distribution Amplifier
1.0 General Information
1.1 Introduction
This manual contains information for the proper installation and operation
of the Audio International, Inc. (AI) Video Distribution Amplifier, Model No.
VA-401-x. The “-x” suffix designates the type of connector utilized; “-1” =
Positronic and “-2” = D-Subminiature. Also included are physical and
electrical characteristics of the unit.
1.2 Purpose of the Equipment
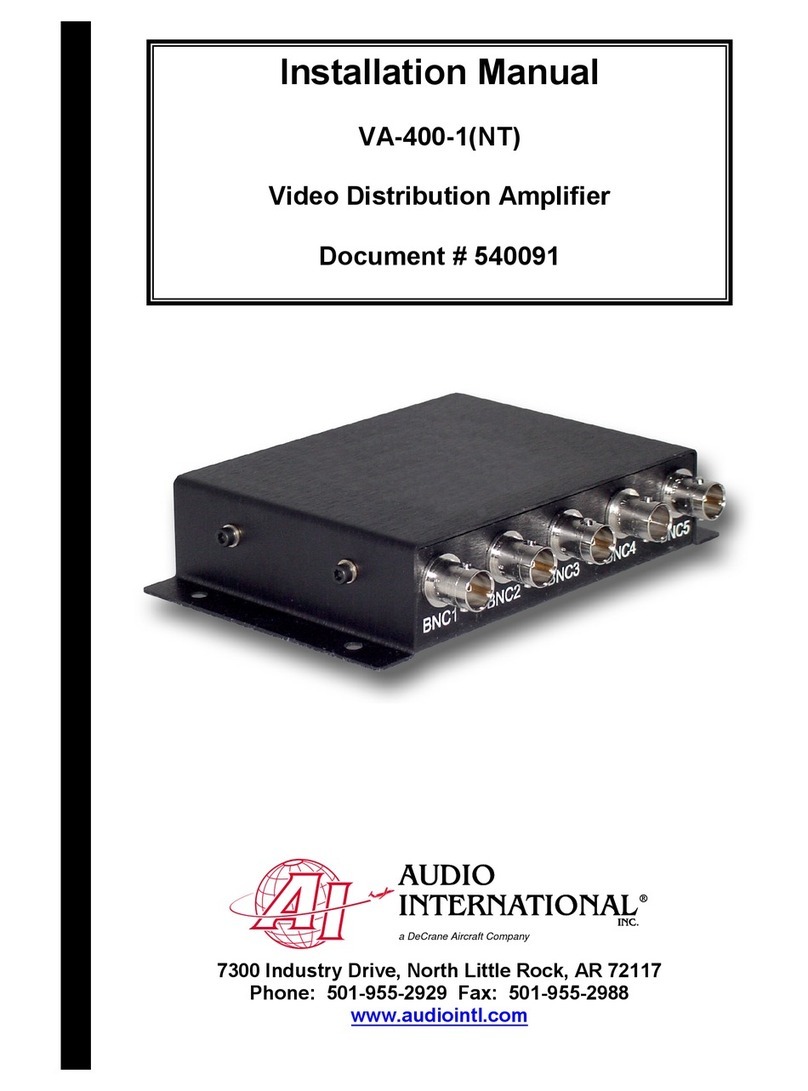
Audio International’s VA-401-x provides four (4) buffered video outputs
from a single video input. The module can be configured to provide 75O
input impedance or high input impedance. The amplifier may be
cascaded for additional flexibility. The VA-401-x is an active device
requiring only power and ground connections. All composite video
standards (NTSC, PAL,SECAM,etc.) are compatible.
1.3 Optional Equipment
Audio International, Inc. offers a comprehensive family of cabin
accessories to enhance aircraft systems. As an industry leader in aircraft
cabin systems, Audio International, Inc. can offer the perfect combination
for the aircraft cabin.
Contact your AI representative for details.

Audio International, Inc.
VA
-
401
-
x
Installation Manual
Document # 540328 Rev. IR, 02/2007 Page 4of 12
2.0 Application
2.1 Introduction
Five (5) BNC connectors on the rear of the unit allow for one (1) video
input and four (4) video outputs. This makes the unit ideal for driving
multiple monitors from one (1) video source. BNC1 is always designated
as video input. The remaining connectors are designated as video
outputs.
Input signal is provided via BNC-1.
Output signal is directed out BNC jacks 2-5.
2.2 Block Diagram –Typical Application

Audio International, Inc.
VA
-
401
-
x
Installation Manual
Document # 540328 Rev. IR, 02/2007 Page 5of 12
3.0 Installation
3.1 Prior to Installation the following items should be considered:
3.1.1 During the design and layout of the aircraft cabin, careful
consideration of the location of this module is necessary. Some of
the items to be considered include:
•Space
•Available power supply
•Environmental conditions (temperature, humidity, etc.)
•Length of cable runs
3.1.2 The VA-401-x shall be installed to conform to the standards
designated by the customer, installing agency, and existing
conditions as to the unit location and type of installation.
3.1.3 Mounting screws are required to secure the unit. Refer to Section
6.0, Reference Drawings, for mounting hole diameters and
configuration.
3.1.4 For best results, locate the unit as close as possible to video
equipment.
3.2 Unpacking and Inspection
3.2.1 Carefully open the packaging and remove the unit. Verify that all
components have been included in the package per the packing
list. Inspect the unit for damage. Retain the packing materials and
packing list.
3.2.2 If damage has occurred during shipping, a claim must be filed with
AI within 24 hours and a Return Request Authorization Number
must be obtained from AI. Refer to the front cover of this manual
for address and telephone number of Audio International.
Repackage the unit in its original packaging materials and return it
to AI following instructions given by the AI representative. If no
return is necessary, retain the packing materials for storage or
reshipment if necessary.

Audio International, Inc.
VA
-
401
-
x
Installation Manual
Document # 540328 Rev. IR, 02/2007 Page 6of 12
3.3 Cautions and Warnings
3.3.1 It is important to do a pin-to-pin power and ground check on all
connectors. Ensure that power and ground are applied only where
specified. Damage to the unit may result if power or ground is
applied to the wrong points.
3.3.2 DO NOT connect or disconnect the unit while power is applied.
3.3.3 DO NOT remove any factory-installed screws. Damage to the unit
may result and void any warranties.
3.3.4 DO NOT use this unit other than for its intended purpose. Doing so
might lead to electric shock, injury, or damage to the equipment.
3.3.5 DO NOT place unit near hot air ducts or other heat sources.
3.3.6 ESD (Electro Static Discharge) guidelines shall be followed.
3.4 Wiring Requirements
3.4.1 Introduction
The installing agency shall supply and fabricate all external cables
and mating connectors. The length and routing of external cables
must be carefully studied and planned before attempting installation
of the equipment. Allow adequate space for installation of cable
and connectors. Avoid sharp bends and placing cables near
aircraft control cables. Maintain a MINIMUM clearance of three (3)
inches from any control cable. If wiring is run parallel to
combustible fluid or oxygen lines, maintain a separation of six (6)
inches between the lines.

Audio International, Inc.
VA
-
401
-
x
Installation Manual
Document # 540328 Rev. IR, 02/2007 Page 7of 12
3.4.2 Power Wires
Audio International recommends the chassis be electrically bonded
to the airframe structure by a conductive mounting point with <0.1
O resistance using <50 O impedance cable. Aluminum wool, nylon
webbing impregnated with aluminum oxide abrasive or fiber bristle
brushes are the approved tools for removing anodized surfaces at
mounting point where the bonding wire is attached. Power and
Ground wires shall be in accordance with MIL-W-22759. Protect
power wires with circuit breakers or fuses located close to the
electrical power source bus.
3.4.3 Video Lines
Composite video connections shall be shielded coaxial cable in
accordance with the military specifications of M17/94-RG179.
3.5 Physical Characteristics
3.5.1 Refer to Section 5.0 for unit dimensions.
3.5.2 Refer to Section 6.0 for attachment points.
3.5.3 When mounting the unit, allow sufficient space for mating
connectors.
3.6 Electrical Characteristics
3.6.1 Refer to Section 5.0 for electrical specifications.
3.6.2 The VA-401-x has five (5) BNC connector locations on the rear of
the unit. BNC1 will always be designated as video input. The
video output signal is directed out BNC jacks 2 through 5.
3.6.3 One (1) 9-pin D-subminiature connector is required for electrical
connections. Only pin 1 (Power Input) and pin 2 (Ground) are
connected; all others have no connection and are labeled reserved.

Audio International, Inc.
VA
-
401
-
x
Installation Manual
Document # 540328 Rev. IR, 02/2007 Page 8of 12
3.6.4 Unit is shipped with 75Oinput termination jumper installed. For
applications that do not require termination, remove the four (4)
screws that hold the termination access panel. Remove the jumper
located behind the panel. Reinstall the panel with the four (4)
screws.
3.6.5 LEDs just left of connector P1 provide an indicator of video power.
The top row of LEDs indicates +5V video power operation. The
bottom row indicates -5V video power operation. When the VA-
401-x is operating normally, all LEDs should be illuminated.
3.7 Mating Connector Information
Model # Mating Connector
DEMA-9P Connector
DEMA-9S Mating Connector
P1 D20419-18 Male Screw Lock
BNC1 -BNC5 Amphenol 31-70008 or equivalent
3.8 Pinout Assignment Descriptions
Pin Configuration
VA-401-x BNC Description
Pin #
Description Pin # Description
1+28 VDC Power In BNC 1
Video Source Input
2Ground BNC 2
Video Source Output 1
3Reserved BNC 3
Video Source Output 2
4Reserved BNC 4
Video Source Output 3
5Reserved BNC 5
Video Source Output 4
6Reserved
7Reserved
8Reserved
9Reserved
3.9 Post-Installation Test
Verify +28 VDC power has been connected to the unit. Load the video
source equipment with selected material. With the aircraft and video
power “ON”, verify power to the VA-401-x unit. Verify selected material
may be viewed on the appropriate screen(s).

Audio International, Inc.
VA
-
401
-
x
Installation Manual
Document # 540328 Rev. IR, 02/2007 Page 9of 12
4.0 Instructions for Continued Airworthiness
4.1 General Troubleshooting Procedures
Many problems can be isolated with the following general techniques:
•Recheck +28 VDC power is applied to the proper pins on the unit. Use
a voltmeter to verify correct level.
•Reset by removing power from the unit for at least one minute and
reapply power.
•Recheck all connections to the unit for security and all harness runs for
possible pinching. Recheck all pinouts for application accuracy.
4.2 Troubleshooting Guide
Should difficulties arise in the installation of the unit, contact Audio
International, Inc. product support for assistance.
4.3 Scheduled Maintenance
No scheduled maintenance is required to ensure continued airworthiness.
VA-401-x has no customer-serviceable parts. If the unit does not work
properly, it should be removed and replaced. Contact Audio International
for details.

Audio International, Inc.
VA
-
401
-
x
Installation Manual
Document # 540328 Rev. IR, 02/2007 Page 10 of 12
5.0 Specifications
Unit Specifications:
Physical Specifications
Housing Aluminum
Weight 0.6 lb / 0.27 kg
Dimensions
(l x w x h) 3.08" x 5.0" x 1.05"
7.82 cm x 12.7 cm x 2.67 cm
Electrical Power 200 mA @ +28 VDC Typ.
Input Impedance 75 O(terminated)
Input Impedance High Impedance (> 10k O)
non-terminated
Input Signal Composite Video
(1 V(p-p) typical)
Gain 1:1
Output Impedance 75 O

Audio International, Inc.
VA
-
401
-
x
Installation Manual
Document # 540328 Rev. IR, 02/2007 Page 11 of 12
6.0 Reference Drawings
The following diagrams show the unit dimensions, mounting locations, and
connector locations for the VA-401-x
Back View
Front View

Audio International, Inc.
VA
-
401
-
x
Installation Manual
Document # 540328 Rev. IR, 02/2007 Page 12 of 12
Side View
Top View
Table of contents
Other Audio international Amplifier manuals

Audio international
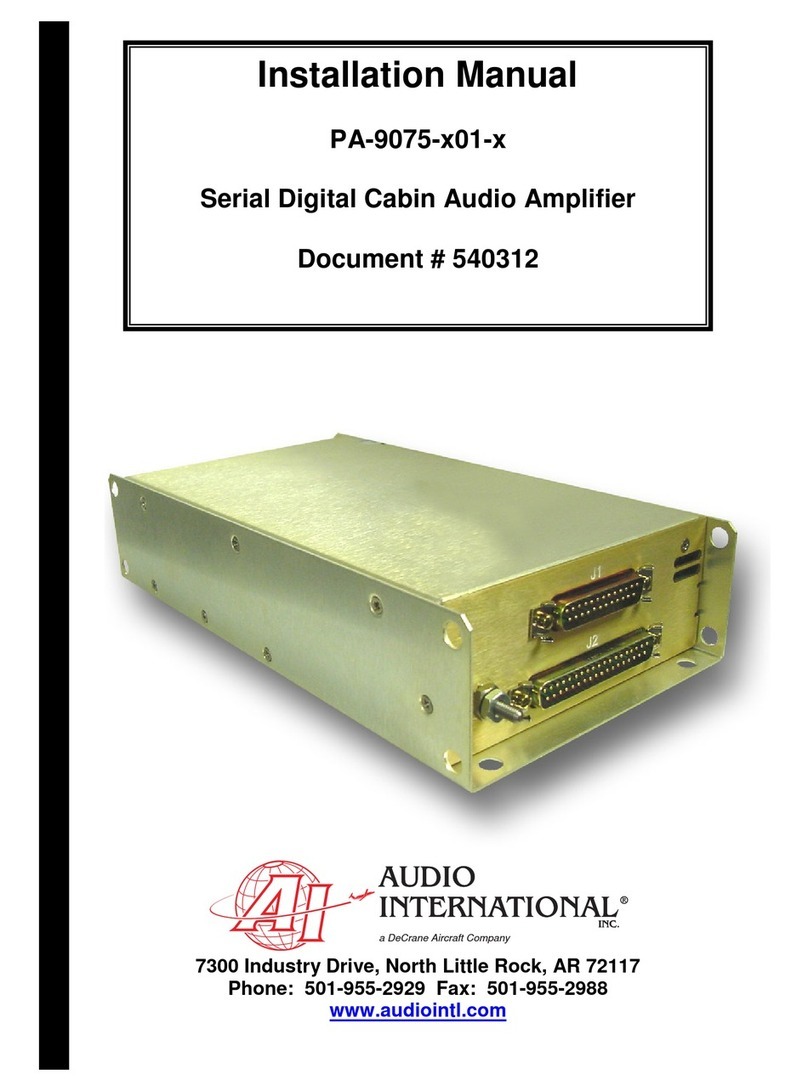
Audio international PA-9075-x01-x User manual

Audio international
Audio international AV-4590-0x-x User manual

Audio international
Audio international AI-ST100X User manual

Audio international
Audio international AI-ST100X Owner's manual

Audio international
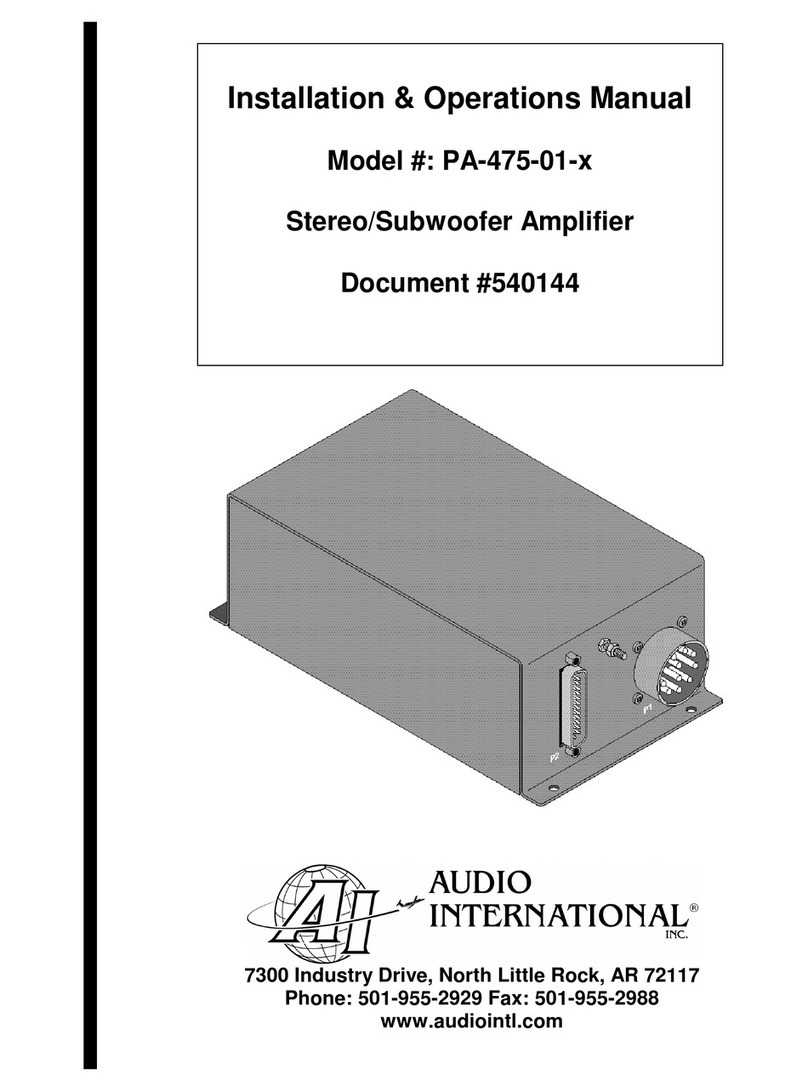
Audio international PA-475-01-x User manual

Audio international
Audio international PA-7500A User manual

Audio international
Audio international AV-4595-0x-x User manual

Audio international
Audio international PA-475-A User manual

Audio international
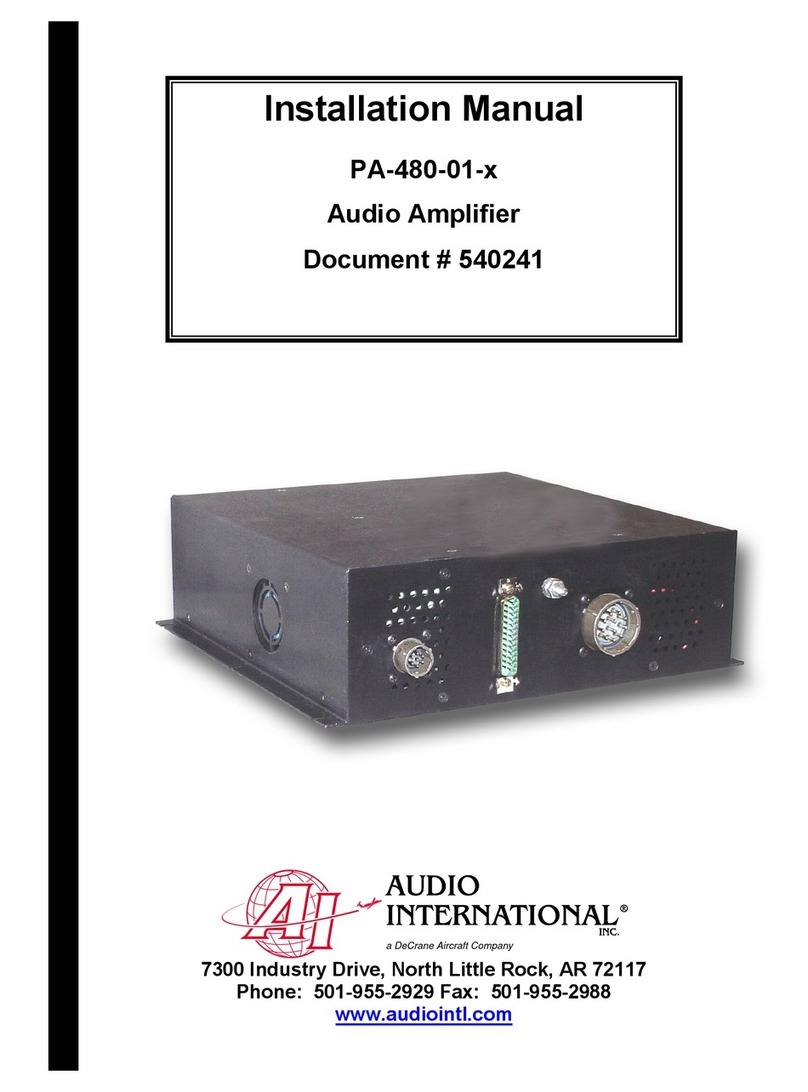
Audio international PA-480-01-x User manual

Audio international
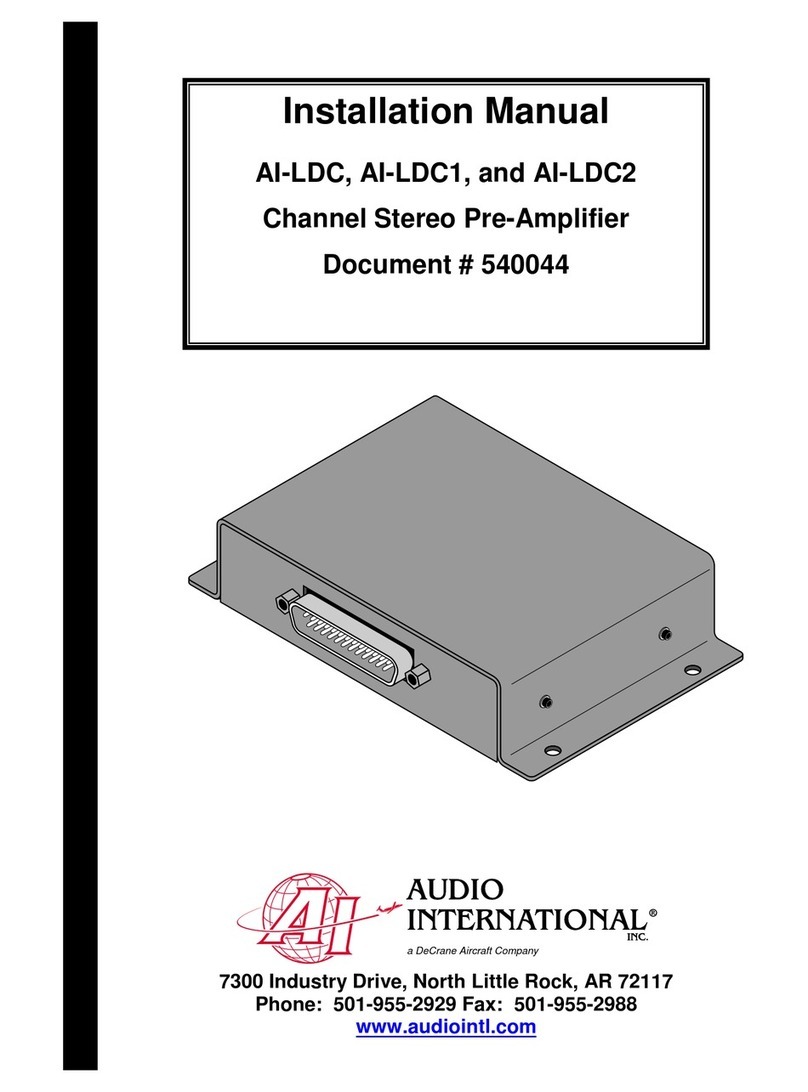
Audio international AI-LDC1 User manual