manuals.online logo
Brands
  1. Home
  2. •
  3. Brands
  4. •
  5. Aurora Design
  6. •
  7. Media Converter
  8. •
  9. Aurora Design SCRF-525MSC User manual

Aurora Design SCRF-525MSC User manual

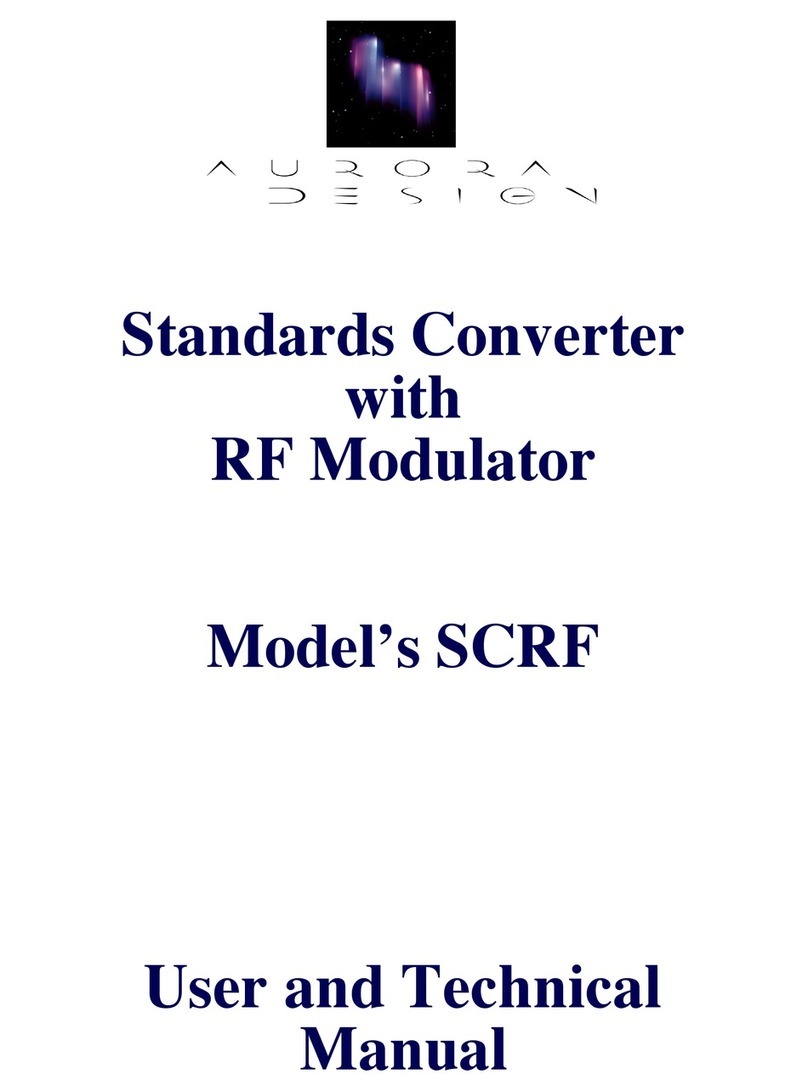
Aurora Design SCRF-525M-SC Standards Converter
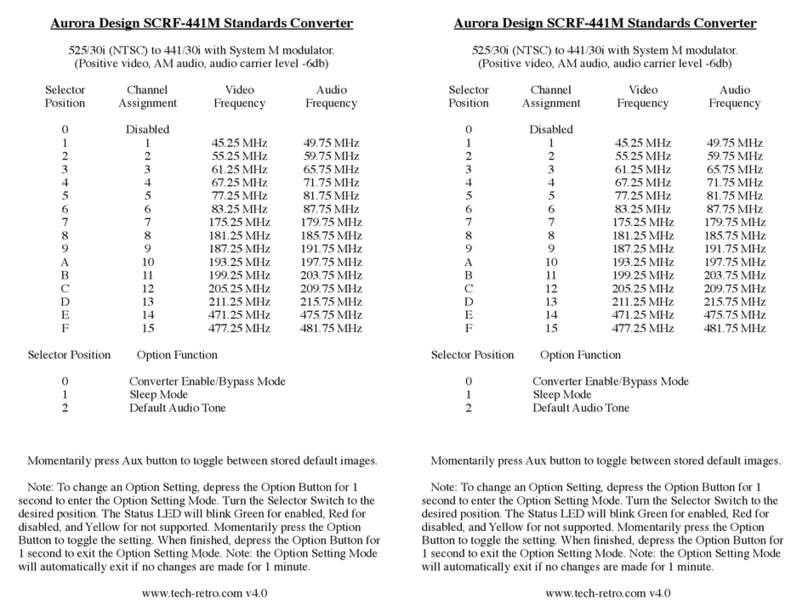
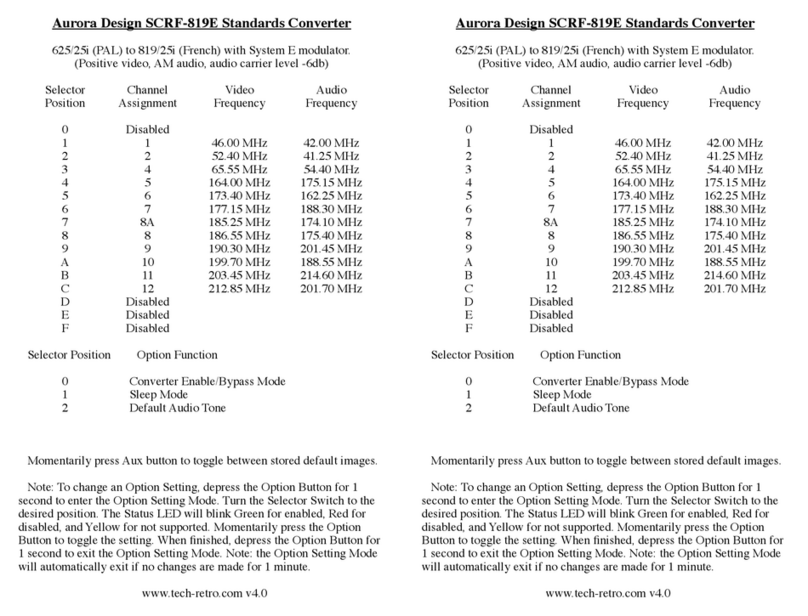
525/30i (NTSC) to 525/30i sequential color with System M modulator.
(Positive video, FM audio, audio carrier level -12db)
! ! Selector!Channel!Video!Audio
! ! Position!Assignment!Frequency!Frequency
! ! 0!Disabled
! ! 1!1!45.25 MHz!49.75 MHz
! ! 2!2!55.25 MHz!59.75 MHz
! ! 3!3!61.25 MHz!65.75 MHz
! ! 4!4!67.25 MHz!71.75 MHz
! ! 5!5!77.25 MHz!81.75 MHz
! ! 6!6!83.25 MHz!87.75 MHz
! ! 7!7!175.25 MHz!179.75 MHz
! ! 8!8!181.25 MHz!185.75 MHz
! ! 9!9!187.25 MHz!191.75 MHz
! ! A!10!193.25 MHz!197.75 MHz
!! B!11!199.25 MHz!203.75 MHz
! ! C!12!205.25 MHz!209.75 MHz
! ! D!13!211.25 MHz!215.75 MHz
! ! E!14!471.25 MHz!475.75 MHz
! ! F!15!477.25 MHz!481.75 MHz
! !Selector Position!Option Function
! ! 0!Converter Enable/Bypass Mode
! ! 1!Sleep Mode
! ! 2!Default Audio Tone
! ! 3!RBG/RGB Sequence
!! 4!Color Select
! ! 5!+33% Chroma Gain
Note: To change an Option Setting, depress the Option Button for 1
second to enter the Option Setting Mode. Turn the Selector Switch to the
desired position. The Status LED will blink Green for enabled, Red for
disabled, and Yellow for not supported. Momentarily press the Option
Button to toggle the setting. When finished, depress the Option Button for
1 second to exit the Option Setting Mode. Note: the Option Setting Mode
will automatically exit if no changes are made for 1 minute.
www.tech-retro.com v4.0
Aurora Design SCRF Quick Start Guide
This Quick Start guide is designed to help you get the converter
connected and operating in a minimum of time. Please follow the step-by-
step procedure outlined below:
1)!An AC mains power adapter must be provided separately. It should be
capable of supplying 9VDC at 250ma and have a standard 2.1mm X
5.5mm, center positive jack.
2)!The RF connector used on the converter is the “F” type as used on
most consumer video equipment. A 75 ohm coaxial cable must be
supplied to connect the converter to the television set’s antenna
connector. The antenna connector on the television may be of various
types, both coaxial or twin line. If it is of the twin line type, a matching
transformer, or balun, will be required to connect the converter to the
television. NOTE - If the television is of the “hot chassis” type where
it is connected to once side of the AC mains, than an isolation
transformer should be used between the converter and television.
3)!The appropriate RF channel should be selected on the switch on the
rear panel of the converter to match the television. This switch was set
to an appropriate channel for the converter, but may need to be
changed for your requirements.
4)!With the converter connected to the television, apply power to the
converter. The Status LED on the front panel should be Red, and a test
pattern and tone should be seen and heard on the television. If not,
recheck the cables and RF channel selection on both the converter and
television.
5)!You may now connect an appropriate video/audio source to the
converter. This can be a DVD, VCR, tuner, satellite receiver, etc. If
your source only has a mono audio output, you can connect it to either
of the audio input jacks and leave the other one empty. The Status LED
should now be Green, and the video and audio should be seen and
heard on the television. You may need to adjust the audio gain control
on the front panel of the converter if the audio is low or distorted.
6)!If you wish to replace the default image in the converter, connect a
stable, stationary video source to the converter, then press and hold the
Aux Button on the back panel for 4 seconds. The Status LED will start
blinking rapidly. This will take approximately 15 seconds and the unit
will return to normal. Note - The video must remain stable and
stationary during the flash process. A DVD on pause is a good source
for this.
www.tech-retro.com v4.0

Other Aurora Design Media Converter manuals

Aurora Design SCRF-441M User manual

Aurora Design

Aurora Design SCRF-441M User manual

Aurora Design SCRF-819E User manual

Aurora Design

Aurora Design SCRF-819E User manual

Aurora Design SCRF-343A User manual

Aurora Design

Aurora Design SCRF-343A User manual

Aurora Design SCRF-405A-NTSC User manual

Aurora Design

Aurora Design SCRF-405A-NTSC User manual

Aurora Design SCRF-819F User manual

Aurora Design

Aurora Design SCRF-819F User manual

Aurora Design SCRF-441NM User manual

Aurora Design

Aurora Design SCRF-441NM User manual

Aurora Design SCRF User manual

Aurora Design

Aurora Design SCRF User manual

Aurora Design World Converter WC-01 User manual

Aurora Design

Aurora Design World Converter WC-01 User manual

Aurora Design World Converter WC-01 User manual

Aurora Design

Aurora Design World Converter WC-01 User manual

Popular Media Converter manuals by other brands

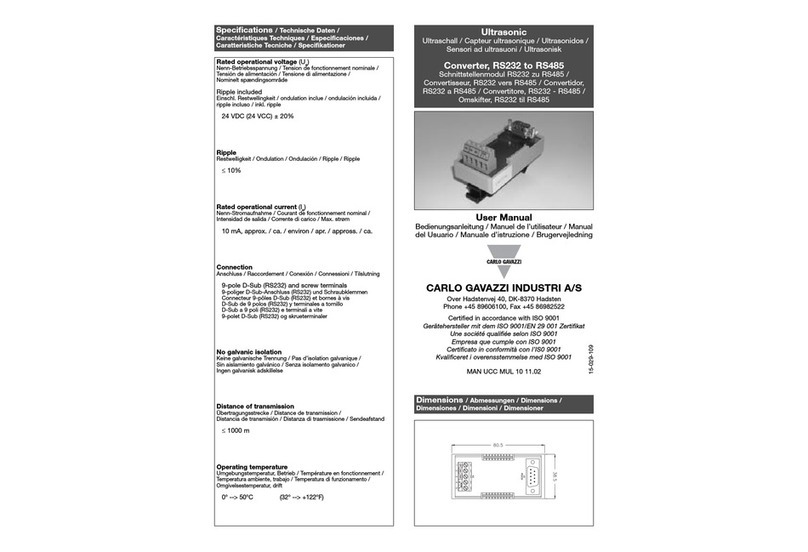
CARLO GAVAZZI UCC user manual

CARLO GAVAZZI

CARLO GAVAZZI UCC user manual

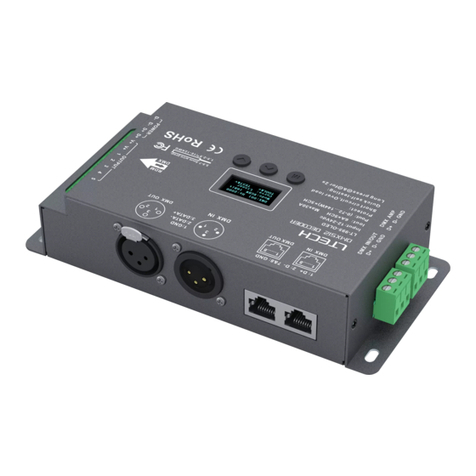
Ltech LT-995-OLED quick start guide

Ltech

Ltech LT-995-OLED quick start guide

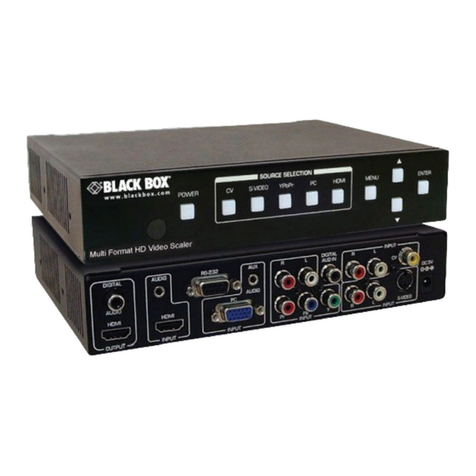
Black Box AVSWSC-MULTI-HDMI manual

Black Box

Black Box AVSWSC-MULTI-HDMI manual

Terahertz Technologies TIA-2000 operating instructions

Terahertz Technologies

Terahertz Technologies TIA-2000 operating instructions

Vdwall SC-12 user manual

Vdwall

Vdwall SC-12 user manual

Axis AXIS Q7406 user manual

Axis

Axis AXIS Q7406 user manual

Digitrax DN163I0 manual

Digitrax

Digitrax DN163I0 manual

National Instruments NI PXI-5600 Getting started guide

National Instruments

National Instruments NI PXI-5600 Getting started guide

Converters.TV 662 Operation manual

Converters.TV

Converters.TV 662 Operation manual

Rockwell Automation Allen-Bradley ALEC 4100-5.3 Installation and setup manual

Rockwell Automation

Rockwell Automation Allen-Bradley ALEC 4100-5.3 Installation and setup manual

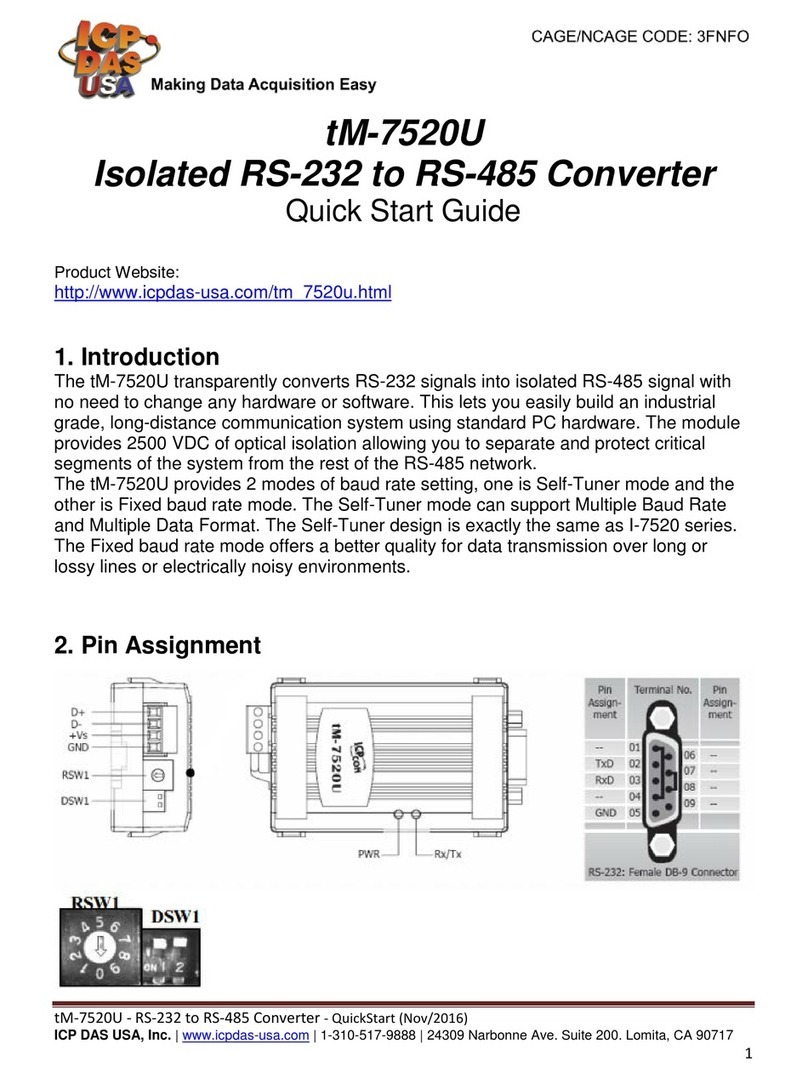
ICP DAS USA tM-7520U quick start guide

ICP DAS USA

ICP DAS USA tM-7520U quick start guide

CYP DCT-1D Operation manual

CYP

CYP DCT-1D Operation manual

HDCVT TECHNOLOGY HDV-200A user manual

HDCVT TECHNOLOGY

HDCVT TECHNOLOGY HDV-200A user manual

PXM DMX Splitter 2/10 manual

PXM

PXM DMX Splitter 2/10 manual

Lika ROTACOD AMR58 Series manual

Lika

Lika ROTACOD AMR58 Series manual

Ihse Draco 238 Series Quick setup

Ihse

Ihse Draco 238 Series Quick setup

Baumer HOG 10 G Installation and operating instructions

Baumer

Baumer HOG 10 G Installation and operating instructions

evertz 7721AE4-B-HD manual

evertz

evertz 7721AE4-B-HD manual

manuals.online logo
manuals.online logoBrands
  • About & Mission
  • Contact us
  • Privacy Policy
  • Terms and Conditions

Copyright 2025 Manuals.Online. All Rights Reserved.