Aurora HT Pro Series User manual

USERS GUIDE
Manual Number: 211102 | Firmware Rev: 1.6.0
www.auroramm.com
HT Pro Series
HDBaseT Supercharged
HDMI 4K60 4:4:4 Uncompressed
HDBaseT CAT Extenders

USERS GUIDE
www.auroramm.com
ii
SAFETY INSTRUCTIONS
Please review the following safety precautions. If this is the first time using this model, then read this manual before
installing or using the product. If the product is not functioning properly, please contact your local dealer or Aurora for
further instructions.
The lightning symbol in the triangle is used to alert you to the presence of dangerous voltage inside the product
that may be sufficient to constitute a risk of electric shock to anyone opening the case. It is also used to indicate
improper installation or handling of the product that could damage the electrical system in the product or in other
equipment attached to the product.
The exclamation point in the triangle is used to alert you to important operating and maintenance instructions.
Failure to follow these instructions could result in injury to you or damage to the product.
Be careful with electricity:
Power Outlet:
To prevent electric shock, be sure the electrical plug used on the product power cord
matches the electrical outlet used to supply power to the Aurora product. Use the power adapter and power
connection cables designed for this unit.
Power Cord: Be sure the power cord is routed so that it will not be stepped on or pinched by heavy items.
Lightning: For protection from lightning or when the product is left unattended for a long period, disconnect
it from the power source.
Also follow these precautions:
Ventilation: Do not block ventilation slots, if applicable, on the product, or place any heavy object on top of
it. Blocking airflow could cause damage. Arrange components so that air can flow freely. Ensure that there
is adequate ventilation if the product is placed in a stand or cabinet. Put the product in a properly ventilated
area, away from direct sunlight or any source of heat.
Overheating: Avoid stacking the Aurora product on top of a hot component, such as a power amplifier.
Risk of Fire: Do not place unit on top of any easily combustible material, such as carpet or fabric.
Proper Connections: Be sure all cables and equipment are connected to the unit as described in this
manual.
Object Entry: To avoid electric shock, never stick anything in the slots on the case, or remove the cover.
Water Exposure: To reduce the risk of fire or electric shock, do not expose to rain or moisture.
Cleaning: Do not use liquid or aerosol cleaners to clean this unit. Always unplug the power to the device
before cleaning.
ESD: Handle this unit with proper ESC care. Failure to do so can result in failure.
FCC
This device complies with Part 15 of the FCC Rules. Operation is subject to the following two (2) conditions:
1. This device may not cause harmful interference.
2. This device must accept any interference received, including interference that may cause undesired operation.
Trademarks
All trademarks in this document are the properties of their respective owners.

USERS GUIDE
www.auroramm.com
ii
TABLE OF CONTENTS
PACKAGE CONTENTS .........................................................................................................................................................4
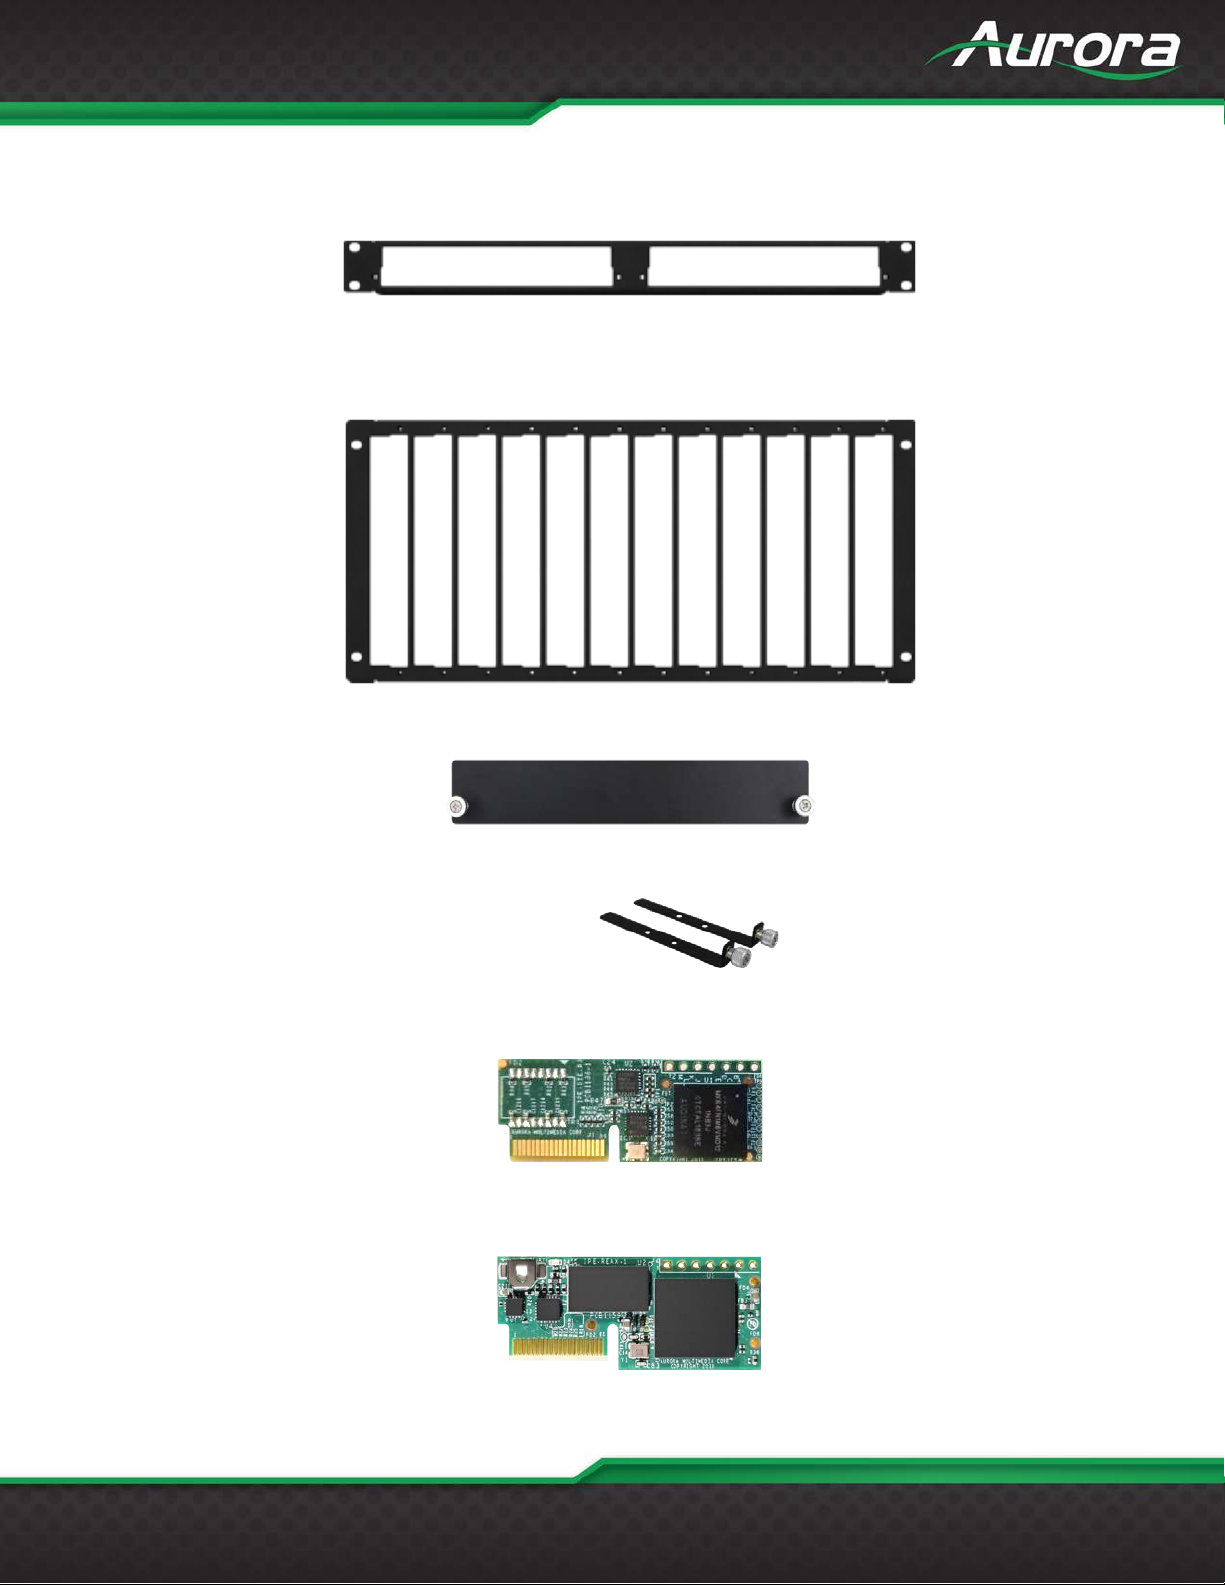
OPTIONAL ACCESSORIES ..................................................................................................................................................4
INTRODUCTION.....................................................................................................................................................................8
About...................................................................................................................................................................................8
Features ..............................................................................................................................................................................8
HT-TC1 Front & Rear..........................................................................................................................................................9
HT-TX1-WP2 Front & Rear...............................................................................................................................................11
OPERATION.........................................................................................................................................................................13
Source Selection...............................................................................................................................................................13
Auto Sense........................................................................................................................................................................13
EDID Handling...................................................................................................................................................................13
Factory Reset....................................................................................................................................................................13
APPLICATIONS....................................................................................................................................................................14
Example 1 Typical HT-TX1-WP2 Transmitter to HT-TC1 Receiver..................................................................................14
Example 2 DXB-8 Button Wall Control to HT-TX1-WP2...................................................................................................15
WEB PAGE SETUP..............................................................................................................................................................16
General Settings ...............................................................................................................................................................16
Network Settings...............................................................................................................................................................17
Port Settings......................................................................................................................................................................18
Video/Audio Settings.........................................................................................................................................................19
CONTROL PROTOCOLS.....................................................................................................................................................20
RS-232 Commands...........................................................................................................................................................20
Serial Query Commands...................................................................................................................................................26
ReAX Commands .............................................................................................................................................................29
IR EXTENDERS....................................................................................................................................................................36
IR Connections..................................................................................................................................................................36
IR Jack Pinout...................................................................................................................................................................36
CONNECTOR PIN DEFINITION...........................................................................................................................................37
HDMI.................................................................................................................................................................................37
CAT5e/6/7 .........................................................................................................................................................................38
APPENDIX 1.........................................................................................................................................................................39
Troubleshooting ................................................................................................................................................................39
APPENDIX 2 Firmware Update.........................................................................................................................................40
APPENDIX 3.........................................................................................................................................................................42

USERS GUIDE
www.auroramm.com
iii
Technical Specifications....................................................................................................................................................42
APPENDIX 4.........................................................................................................................................................................46
Cabling ..............................................................................................................................................................................46
APPENDIX 5.........................................................................................................................................................................47
Warranty............................................................................................................................................................................47

USERS GUIDE
www.auroramm.com
4
PACKAGE CONTENTS
Please make sure the following items are included within your package. Contact your dealer if any items are
missing or damaged.
HT-TC1
HT-TC1 x 1
Wall/Desk Mount Ears with Screws x 4
HT-TX1-WP2
HT-TX1-WP2 x 1 (-W for white, -B for black)
Note: Some 2 gang electrical boxes or mud rings have curved or beveled corners that may prevent the
HT-TX1-WP2 from properly fitting. Make certain to use a brand that fits the full dimensions listed in the
specification section.
OPTIONAL ACCESSORIES
PS0081-1
(48V 24 Watt PoE Injector)
Available in –US, -AU, -EU, and –UK worldwide models
PS0094-3
(48V 25 Watt Wall Supply)
Comes with US, AU, EU, and UK interchangeable blades
*Note: Go to www.auroramm.com for latest manual and firmware.

USERS GUIDE
www.auroramm.com
5
RK2-1-K
(1RU Rack Mount Holds 2 Units)
Includes 4 rails and 1 blank
RK2-5-K
(5RU Rack Mount Holds 12 Units)
Includes 24 rails and 4 blanks
RK2-BP-K
(Blank Plate for Rack Mounts)
RK2-RL-K
(For VLX-TC1 Use in Rack Mounts)
IPE-DTE-1
(Dante®Option Card)
IPX-ReAX-1
(IPX-TC3 ReAX Control System Option Card)

USERS GUIDE
www.auroramm.com
6
IR Receiver CA0026-1
IR Emitter CA0061-1
RS-232 Adaptor CA0052-F2T3R
(3.5mm TRS to FEMALE DB89 2-TX 3-RX)
RS-232 Adaptor CA0052-F3T2R
(3.5mm TRS to FEMALE DB89 3-TX 3-RX)
RS-232 Adaptor CA0052-M2T3R
(3.5mm TRS to MALE DB9 2-TX 3-RX)
RS-232 Adaptor CA0052-M3T2R
(3.5mm TRS to MALE DB9 3-TX 2-RX)
LVR-2G Gang Electrical Ring

USERS GUIDE
www.auroramm.com
7
DXB-8 & DXB-8i
(8 Button Wall Plate)

USERS GUIDE
www.auroramm.com
8
INTRODUCTION
About
Aurora Multimedia redefines HDBaseT with many new capabilities including the ability for uncompressed 4K60 4:4:4 as a
transceiver. Aurora has eliminated the need for RX & TX as the unit can be set to the direction required for both wall
plates and box units. This will end stock disproportions, make servicing easier, and add new capabilities as in seconds the
units can reverse direction. The new HT Pro Series even has Dante® option for 2 or 8 channels. We even went a step
further by implementing ARC (Audio Return Channel) and allowing it to be fed to Dante or to the local line output making it
a first. Two new HDBaseT 3.0 products comprised of the HT-TC1-WP2 two gang transmitter Decora wall plate available in
white or black and the HT-TC1 transceiver box unit will change the way HDBaseT is utilized. The HT Pro Series can
transmit uncompressed 4K60 4:4:4 18Gbps HDMI 2.0/HDCP2.2 100m (330ft) over a single unshielded CAT cable with no
quality compromise and with zero frame latency. In addition, all products have an integrated web server for remote IP
control, 480Mbps USB 2.0 with directional control, 1Gbps LAN, and the world’s first Dante option for 2 or 8 channel Dante.
Aurora is the first ever to implement a bi-directional Patent Pending PoH for remote powering. Currently all HDBaseT
products on the market which use the PoH standard are limited to one direction. The HT Pro Series allows a user to
choose which side to power from and in a nonproprietary way so it will work with any HDBaseT PoH compliant device. To
further simplify the installation, the HT Pro Series can power both connected units from a single port of a PoE Switch
eliminating external power supplies. The HT Pro Series also supports the new ReAX™ IP Control engine option (IPE-
REAX-1) based on JavaScript™. ReAX allows full IP control automation throughout the network without the need of an
external proprietary control engine. The new Aurora third generation HDBaseT products will further enhance the
capabilities of HDBaseT and simplify installations especially with point-to-point installations.
Features
•4K60 4:4:4 18Gbps Uncompressed
•HDR (high Dynamic Range)
•HDCP 1.4/2.2
•100m (330ft) with Unshielded Cable
•Four HDMI® 2.0/HDCP 2.2
•Audio DSP & Dante™/AES67 Options 2 or 8 Channel
•ARC Audio Return Channel and ARC into Dante/AES67 Industry First!
•Operate & Power both TX & RX from a single PoE Switch Port
•Auto Switching
•Two HDMI® Inputs Input (HT-TX1-WP2)
•Four HDMI® Inputs (HT-TC1)
•One HDMI® Output (HT-TC1)
•1G Local LAN Ports and 1G over the HDBaseT Connection
•USB 2.0 Device/Host 480Mbps with Selectable Direction
•IP Port Expansion Control, RS-232 & IR Control
•ReAX Control Option
•
*Note: Refer to Technical Specifications section.
Warning: Do not plug RJ-45 HDBaseT output to non-HDBaseT complaint devices or damage may occur
to either product.

USERS GUIDE
www.auroramm.com
9
HT-TC1 Front & Rear
Front LED Indicators
•POWER: Lights green when power is present.
•STATUS: Will blink steady if unit is working properly.
•HDBT: Lights when HDBaseT RJ-45 has proper connection between an RX/TX pair. Blinks when in
sleep mode.
•HDMI: Will light solid if HDMI is plugged in on both RX/TX and HDCP is present. If no HDCP, LED will
blink.
•TX: RS-232 Transmit. Blinking rate and intensity will vary with baud rate.
•RX: RS-232 Receive. Blinking rate and intensity will vary with baud rate.
•IR TX: Blinks when emitting IR to device from IR Out Port.
•IR RX: Blinks when receiving IR from IR RX port.
•USB Host: When lit the rear Type-C USB port should be used and connected to the PC.
•USB Device: When lit the Front Dual USB ports should be used and connected to the peripherals like
keyboard, mouse, memory stick, camera, etc.
Front Buttons
Menu Button: Press and hold for 5 seconds switch between encode and decode mode. Also, cycles
through the OLED Menu.
Enter Button: Selects the current menu option.
Up Button: Select next input source.
Down Button: Select previous input.
Up/Down Button: Press and hold for 5 seconds to output IP info at 9600 baud rate on RS-232 port.

USERS GUIDE
www.auroramm.com
10
Front Connections
•Dual Type-A USB 2.0: USB 2.0 connectors. Units USB Device LED must be lit for it to function
properly with remote end. Can also be used to charge devices.
•IR OUT: Plug the IR emitter into this port and affix onto the device where its IR window is located.
•IR IN: Plug the IR receiver into this port. The front built in IR receiver will no longer work once the
external receiver is plugged in. Note this port should be used with Aurora IR receiver model as other
brands may not follow the correct pinout or voltage.
•IR: IR receiver capable of 32KHz to 60KHz range.
Rear Connections
•48V DC: Power connector for 25-watt 48VDC power supply (PS0094-3-S).
Note: Only 1 supply is required to power both units. Either side can send power to the other unit.
Note: If LAN PoE+ is utilized the 48VDC supply is not required.
•RS-232: Connect RS-232 device up to 115k baud.
•LAN1/2: 1Gbps LAN connection. LAN1 can use PoE or PoE+ from a PoE switch to power both the RX
and TX units. PoE+ is highly recommended if Dante or USB is utilized.
•HDBaseT: Connect CAT 5e/6/7 cable. Shielded cable is not necessary unless the environment has a
lot of electrically noise.
•HDMI Input 1-4: Plug HDMI cable from source device like a Blu-ray player. Source can be selected
from RS-232, Ethernet, Auto Sense Mode, or front buttons.
•HDMI Output: Plug HDMI cable from device like a LCD monitor.
Note: The HDMI cable should be rated for the bandwidth you are using.
•Audio Line In/Out: Euro Style connector for stereo line in and line out.
•USB 2.0 Host: Type-C USB 2.0 Connector for connection to PC. Unit must be set for Host mode for it
to properly operate.
*Note: Some POE switches do not supply the full 15.4watts per port. Verify the total power rating of the
switch. It should be at least 15.4W x (number of ports) and ideally 25.4W (PoE+) per port if USB
peripherals are to be utilized and/or Dante option card.
Option Port
Inside the unit there is an option card connector for the Dante 2ch or 8ch option or the ReAX control system
option. Only one of the cards can be installed into a unit. To access the port, power off unit and the 4 screws (2
on each side) must be removed. Take the cover off and insert the card in the proper orientation as indicated on
the circuit board. Put cover back on and apply power. Don’t forget to note the MAC address of the card to
identify which unit it is in.

USERS GUIDE
www.auroramm.com
11
HT-TX1-WP2 Front & Rear
Front Left Side
•In1/2 Button:The blue backlit button will select HDMI 1 or 2 input.
•HDMI Connectors:Use with HDMI 2.0 or DVI sources like Blu-ray players, laptops, etc.
•Dual USB 2.0 Connectors: USB 2.0 480Mbps and supplies up to 1A of power between both ports.
Great for charging port of USB devices like phones and certain tablets. When in USB Host Mode the
bottom port is for PC (Type A to Type A cable is supplied) and upper port is charging only. When in
Device mode both ports work on a hub for mouse, keyboard, camera, memory stick, etc.
Front Right Side
•Vent:Allows the unit to run cooler and should be kept free of dust.
Rear Connections
•48V DC: Power connector for 48V DC power supply. If remote device can supply power over HDBaseT
then the local power is not required. Currently all receiver types from Aurora supply power over the
HDBaseT.
•HDBaseT: Connect CAT 5e/6/7 cable. Shielded cable is not necessary unless the environment has a
lot of electrically noise.
•RS-232:Connect RS-232 device up to 115k baud. Note there is a 5v line as it is designed to power the
DXB-8 8 button wall plate.
Note: Some 2 gang electrical boxes or mud rings have curved or beveled corners that may

USERS GUIDE
www.auroramm.com
12
prevent the HT-TX1-WP2 from properly fitting. Make certain to use a brand that fits the full
dimensions listed in the specification section.
Note: Only 1 supply or PoE is required to power both units from RX which can send power to the wall
unit.
Note: If LAN POE is utilized at the RX the 48VDC supply is not required.
Option Port
On the rear of the unit there is an option card connector for the Dante/AES67 2ch or 8ch option or the ReAX
control system option. Only one of the cards can be installed into a unit. To access the port, power off unit and
the 2 screws (1 on each side) must be removed. Take the cover off and insert the card in the proper orientation
as indicated on the circuit board. Put cover back on and apply power. Don’t forget to note the MAC address of
the card to identify which unit it is in.

USERS GUIDE
www.auroramm.com
13
OPERATION
Source Selection
The HT Series can change between the various sources via front buttons, RS-232, LAN, and Auto-Sense.
Once a source is selected the display will lock within a few seconds. The time to lock depends on the display
but typical time can be from 3-5 seconds. Keep in mind the HT-TX1-WP2 series does not scale so what comes
in is what will go back out for the HDMI. Most modern displays have scalers and the HT Series can handle
resolutions up to 4K60 4:4:4.
Auto Sense
The HT Series has Auto-Sense capability. Auto-Sense will automatically switch to the last HDMI input
connected provided a hot-plug is provided from the source device. The HT-TX1-WP2 factory default is enabled
but can be disabled and saved in non-volatile memory via RS-232 command. In addition, the front button
selection or RS-232 control will allow the HT Series to switch away until another new input is detected. For
example, if a user has a laptop plugged into the HDMI 1 port and then connects a Blu-ray® player to the HDMI
2 port, the HT-TX1-WP2 will automatically switch to the HDMI 2 input. If after that the laptop is disconnected or
signal is removed with function keys and reconnected the HT-TX1-WP2 will switch back to the laptop. If an RS-
232 command is received to switch to the opposite input the unit will do so as well. Whenever a source is
changed the LED on the button will follow and the RS-232 ports will send a response string to let a remote
device know that a change has occurred.
EDID Handling
The HDMI port will retrieve the EDID from the destination device (ex. Projector, LCD, Matrix, etc.) via the
HDBaseT connection to the receiver unit.
Factory Reset
Holding both buttons for 5 seconds will restore factory defaults. This will be confirmed by both buttons turning
cyan. Keep in mind all stored settings into the non-volatile memory will revert to the factory defaults of each
function accordingly.

USERS GUIDE
www.auroramm.com
14
APPLICATIONS
Example 1 Typical HT-TX1-WP2 Transmitter to HT-TC1 Receiver

USERS GUIDE
www.auroramm.com
15
Example 2 DXB-8 Button Wall Control to HT-TX1-WP2
DXB-8 wall controller connected to the HT-TX1-WP2 Series. The DXB-8 serial port will connect and
draw power from the HT-TX1-WP2 via the 4 pin RS-232 connection. Any serial command can be
programmed into the DXB-8 at any baud rate and sent through the HT-TX1-WP2 to the HT-TC1 set
as a receiver. This allows not only the switching of the HT-TX1-WP2 to be controlled but the remote
display device as well. Make certain the baud rates are set the same on the HT-TX1-WP2 and the
DXB-8. More information on the DXB-8 can be found on the Aurora website www.auroramm.com

USERS GUIDE
www.auroramm.com
16
WEB PAGE SETUP
Factory default is DHCP/Auto IP but for static the default will be 192.168.1.10
General Settings

USERS GUIDE
www.auroramm.com
17
Network Settings

USERS GUIDE
www.auroramm.com
18
Port Settings
Note: Port Processing Session when set to Port Mirroring will allow the baud rates from one end to pass-
through to the other. This feature is useful when combining with a DXB-8 or simply looking for a basic pass-
through. The HT Series allows full control otherwise of all the pathway baud rates depending on the modes
utilized.

USERS GUIDE
www.auroramm.com
19
Video/Audio Settings
Table of contents
Other Aurora Extender manuals

Aurora
Aurora ASP-HDB1 User manual

Aurora
Aurora DXE-CAT-S1 User manual

Aurora
Aurora DXE-CAT-S2C User manual

Aurora
Aurora HDBT HT Series User manual

Aurora
Aurora DXE-CAT-S2C-4K User manual

Aurora
Aurora DXE-USB Series User manual

Aurora
Aurora DXE-CAT-S2L User manual

Aurora
Aurora DXE-CAT-S1-4K User manual

Aurora
Aurora Digital Xtreme Series User manual

Aurora
Aurora DXE-CAT-RX3-A User manual