manuals.online logo
Brands
  1. Home
  2. •
  3. Brands
  4. •
  5. AutoConnect
  6. •
  7. GPS
  8. •
  9. AutoConnect AC1200GPS User manual

AutoConnect AC1200GPS User manual

AC1200GPS
8AM - 5PM Monday to Friday MT
CERTIFIED TRACKING SOLUTIONS
CALL TO TEST GPS TRACKING DEVICE BEFORE CLOSING UP THE DASH
FAILURE TO FOLLOW THESE INSTRUCTIONS MAY DAMAGE EQUIPMENT AND VOID ITS WARRANTY
QUICK INSTALL GUIDE
MUST BE TESTED!
1.855.287.4477
12V
ONLY!
AC1200GPS
Green - Starter Disable Out (-)
Yellow: Input 1 (-) OPTIONAL
Vehicle Start
CUT
Red
White
White - Key Ignition Source (+)
Red (12V+) - Constant
Black - GND
Black
Blue
RELAY
Type 1 GPS Only
Type 2 GPS with Starter Disable
Green - Starter Disable Out (-)
Yellow: Input 1 (-) OPTIONAL
White - Key Ignition Source (+)
Brown/Blue - DATA ONLY
DO NOT CONNECT
Red (12V+) - Constant
Fuse
Fuse
Black - GND
AC1200GPS
Brown/Blue - DATA ONLY
DO NOT CONNECT
AC1200GPS
1. Connect Red wire to Constant +12V and fuse.
2. Connect Black wire to Ground.
3. Connect White wire to True Ignition (+).
1. Connect Red wire to Constant +12V and fuse.
2. Connect Black wire to Ground.
3. Connect White wire to True Ignition (+).
4. Connect Green wire to relay.
87A
30
86
85
86 87a 87
85 30
3G
Interrupt Wire
rev080918
The device is not weather resistant. It must be installed inside the cabin of
the vehicle away from any dirt or water.
The device uses both Cellular and GPS networks to function. Install the device
as high up in the dash as possible. Do not cover with metal or position near
any source of interference (Radio, Cell Booster, etc.).
The device is meant to be covertly installed. Install the device in a location
where it cannot be easily detected or tampered with.
The device has several antennas inside it and must be installed with
the correct side "Up". The stickers on the device will indicate the
correct orientation.
DO NOT connect the device to the 16 pin harness until all connections
have been secured and tested.
AC1200GPS
Select in-vehicle device location
An appropriate location would be just under the plastic "top skin" of the
dash, just above/behind the cluster
1
Connect constant power
The device requires a minimum 12V constant (Battery Power) on this
line to function
3
Connect ground
For best results, create a new connection to bare-metal chassis ground
4
Connect ignition
In order to function properly the device needs to be connected to a
suitable "True" Ignition source
2
Do not remove/bypass the fuse.
Connect the Red wire of the 16 pin harness to this constant 12V source.
Do not use a shared ground or supplied ground from any module or device.
Connect the Black wire of the 16 pin harness to this ground.
This is a wire that if cut will prohibit the vehicle from starting by any method.
Be sure to test after the wire is cut that the vehicle cannot be started AND
when reconnected the vehicle starts without fault codes.
Due to data bus systems on newer vehicles this wire may not be at the
ignition switch.
Connect the Red wire of the Relay Harness (87a) to one side of the cut Vehicle
Start Interrupt Wire.
Connect the Blue wire of the Relay Harness (30) to the other side of the cut
Vehicle Start Interrupt Wire.
Connect the relay to the vehicle start interrupt wire
(DO NOT USE A WIRE THAT WILL SHUT DOWN THE VEHICLE WHEN RUNNING)
Connect the Black wire from Relay Harness (86) to the Green wire of the
16 pin harness.
Connect the White wire from Relay Harness (85) to the White wire of the
16 pin harness.
Connect starter disable
The device prevents the vehicle from starting by triggering a relay to open
and disconnect a "Vehicle Start Interrupt Wire". Starter disable is optional,
please check with your supervisor before proceeding.
Connect the relay to the 16 pin harness:
5
Ensure Red wire of 16 pin harness has constant 12 volts. Measure between
Black and Red pins on the harness with a multi-meter.
Ensure White wire is a TRUE ignition source. Measure with a multi-meter to
ensure voltage does NOT drop out during crank. Should have zero volts when
vehicle is not running.
Confirm Starter Kill connections. Remove relay from the relay harness. The
vehicle should not start by key or by remote starter.
Test connections
6
Plug the device into the 16 pin harness
Device LED's should illuminate once plugged in.
7
TEST DEVICE
Call the Toll Free number BEFORE CLOSING THE DASH
8
This source has battery voltage whenever the vehicle is turned on and zero
volts whenever the vehicle is turned off.
This source does NOT drop in voltage during crank.
Connect the White wire of the 16 pin harness to this ignition source.
This source must operate the same when starting by key or by
remote starter.
If connecting starter disable, the ignition source must provide sufficient
power to trigger the relay.
Other AutoConnect GPS manuals

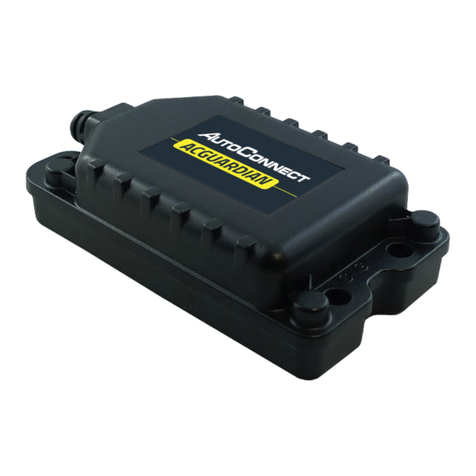
AutoConnect ACGUARDIAN User manual

AutoConnect

AutoConnect ACGUARDIAN User manual

AutoConnect ACSPSATmini User manual

AutoConnect

AutoConnect ACSPSATmini User manual

AutoConnect PNT1001 User manual

AutoConnect

AutoConnect PNT1001 User manual

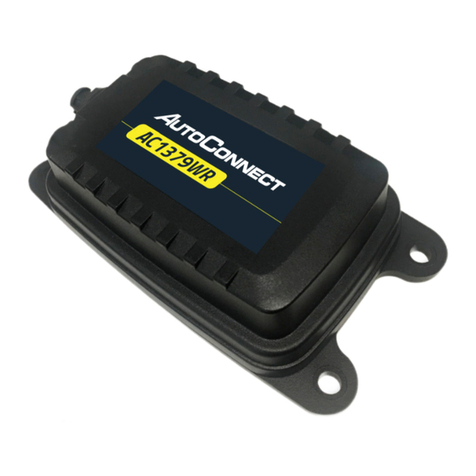
AutoConnect AC1379WR User manual

AutoConnect

AutoConnect AC1379WR User manual

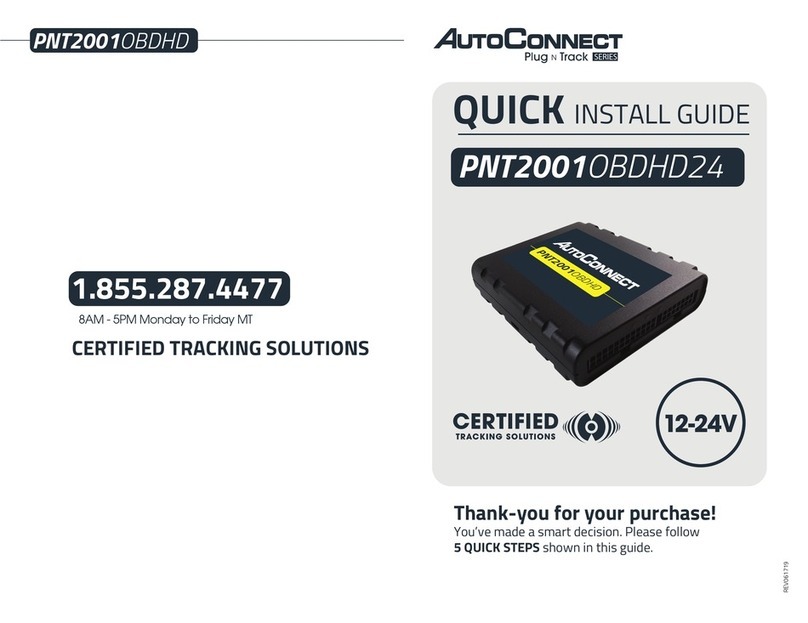
AutoConnect PNT2001OBDHD24 User manual

AutoConnect

AutoConnect PNT2001OBDHD24 User manual

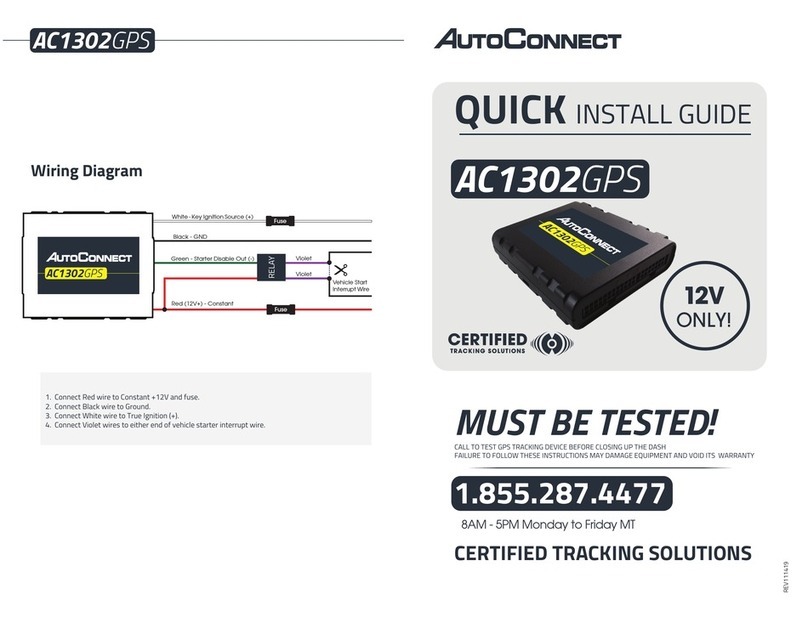
AutoConnect AC1302GPS User manual

AutoConnect

AutoConnect AC1302GPS User manual

AutoConnect AC200GPS3G User manual

AutoConnect

AutoConnect AC200GPS3G User manual

Popular GPS manuals by other brands

Garmin Etrex Legend - GPS Receiver Tutorial

Garmin

Garmin Etrex Legend - GPS Receiver Tutorial

Emlid REACH RX User documentation

Emlid

Emlid REACH RX User documentation

ATrack WTG1 user manual

ATrack

ATrack WTG1 user manual

TechBrands LA9014 user manual

TechBrands

TechBrands LA9014 user manual

Harman Kardon GPS GPS-810 user manual

Harman Kardon

Harman Kardon GPS GPS-810 user manual

Lowrance GlobalMap Baja 840C Operation instructions

Lowrance

Lowrance GlobalMap Baja 840C Operation instructions

Humminbird 363 Operation manual

Humminbird

Humminbird 363 Operation manual

Magellan Meridian Platinum user manual

Magellan

Magellan Meridian Platinum user manual

iTer WebTrac-4S user manual

iTer

iTer WebTrac-4S user manual

Holux I6800 user manual

Holux

Holux I6800 user manual

Locus Solutions Go Tracker 4G Global user manual

Locus Solutions

Locus Solutions Go Tracker 4G Global user manual

Standard Horizon CP180 owner's manual

Standard Horizon

Standard Horizon CP180 owner's manual

Made Gas Tracker 2 user guide

Made

Made Gas Tracker 2 user guide

Navigon 72 Series user manual

Navigon

Navigon 72 Series user manual

WATSON INDUSTRIES DMS-SGP01 owner's manual

WATSON INDUSTRIES

WATSON INDUSTRIES DMS-SGP01 owner's manual

COX 2M GTG21 user manual

COX

COX 2M GTG21 user manual

Magellan eXplorist 200 - Hiking GPS Receiver Reference manual

Magellan

Magellan eXplorist 200 - Hiking GPS Receiver Reference manual

Coban GPS102B user manual

Coban

Coban GPS102B user manual

manuals.online logo
manuals.online logoBrands
  • About & Mission
  • Contact us
  • Privacy Policy
  • Terms and Conditions

Copyright 2025 Manuals.Online. All Rights Reserved.