manuals.online logo
Brands
  1. Home
  2. •
  3. Brands
  4. •
  5. AutoConnect
  6. •
  7. GPS
  8. •
  9. AutoConnect ACSPSATmini User manual

AutoConnect ACSPSATmini User manual

ACSPSATmini
8AM - 5PM Monday to Friday MT
CERTIFIED TRACKING SOLUTIONS
CALL TO TEST GPS TRACKING DEVICE BEFORE CLOSING UP THE DASH
FAILURE TO FOLLOW THESE INSTRUCTIONS MAY DAMAGE EQUIPMENT AND VOID ITS WARRANTY
MUST BE TESTED!
1.855.287.4477
12V
ONLY!
ACSPSATmini
REV080918
For live Tech Support:
Call Certified Tracking Solutions at 1.855.287.4477
8AM to 5PM Monday to Friday MST
AutoConnectGPS.com
QUICK INSTALL GUIDE
Units should be installed with the proper side facing the sky (device is labeled
“This side towards sky”)
Do NOT cover with any type of metal
Wood, fiberglass, plastic and glass covering the device are acceptable but can
decrease battery life
If installed in a bad position the unit will take much longer to acquire GPS. This
can significantly decrease the battery life.
ACSPSATmini
Do not overtighten the screws.
Mounting Location
1
Installation Options
If installing the device Without the input Cable go to TYPE 1
and if installing With the Input Cable go to TYPE 2
Power Connection
IMPORTANT: Connect 8-22v DC only!
Troubleshooting
IMPORTANT: Connect 8-22v DC only!
If you cannot see the last reported location of the unit, be sure that the equipment
has a good view of the sky and it has had an opportunity to report its position.
If the unit still does not show up you can perform a RESET. To do so,make sure
you’re outside with a large view of the sky and turn switch to the “OFF” position.
Wait 30 seconds then turn the switch to “ON” position.
3
Testing
IMPORTANT - Always be sure to “test” the unit first before sending the
equipment into the field.
Reference image 1
4
Mounting the Device
The ACSPSATmini was designed to be mounted to an asset using double-sided
adhesive tape and/or the included mounting bracket. The mounting bracket has
four screws that attach to the asset and allows the ACSPSATmini to be mounted
so the antenna can face the sky. The ACSPSATmini attaches to the mounting
bracket using four Phillips-head screws.
This can be accomplished by verifying that the device can be seen in your Titan
Tracking account. It may take up to 35 minutes for the first report to
come through.
2
TYPE 1: Without Input Cable
Step 1: Mount device as per “Mounting Location” recommendations
Step 2: Remove the end connector cap from the unit (device should
be outside)
Step 3: Move switch to the “ON” position. (reference image1)
Step 4: Replace end connector cap.
Step 5: Proceed to testing.
TYPE 2: With Input Cable
INSTALLING STEPS (device with input cable)
Step 1: Install the input cable using the wiring instructions below:
Step 2: Mount device as per the “Mounting the Device” recommendations
Step 3: Move device outside and move switch to “ON” (reference image1)
Step 4: Plug input cable into ACSPSATmini
Step 5: Tighten input cable connectors DO NOT OVERTIGHTEN SCREWS
Step 6: Proceed to testing
OFF ON
IMPORTANT: Inputs are dry contact only.
DO NOT CONNECT DIRECTLY TO ANY POWER SOURCE
Doing so will void the warranty. Be certain that unused wires DO NOT short to each other.
White
INPUT
1
Dry Contact 1 (Recommended for Ignition/Engine Status Input)
Dark Blue Ground
Violet (+)Line: | Power + MUST FUSE within 1 foot of source (1 Amp Fuse)
Green (-) | Line Power -
Other AutoConnect GPS manuals

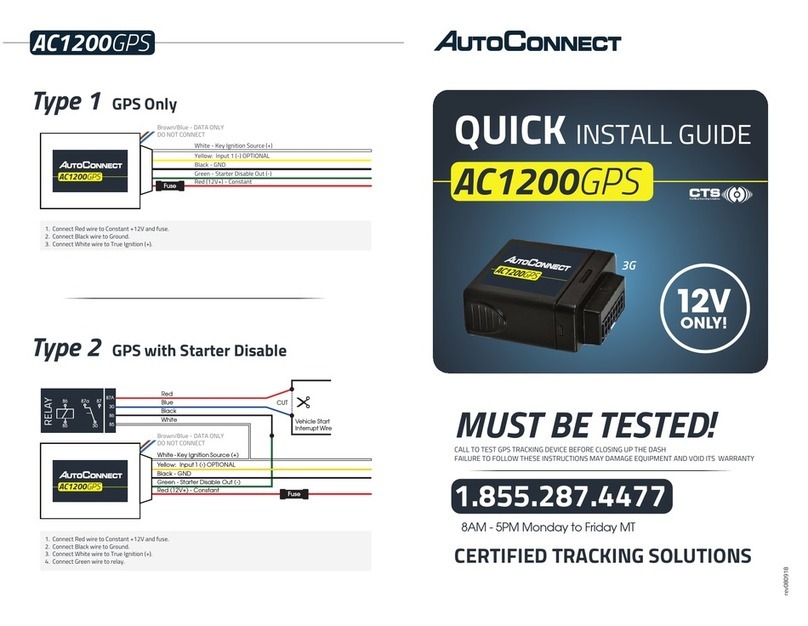
AutoConnect AC1200GPS User manual

AutoConnect

AutoConnect AC1200GPS User manual

AutoConnect PNT1001 User manual

AutoConnect

AutoConnect PNT1001 User manual

AutoConnect AC200GPS3G User manual

AutoConnect

AutoConnect AC200GPS3G User manual

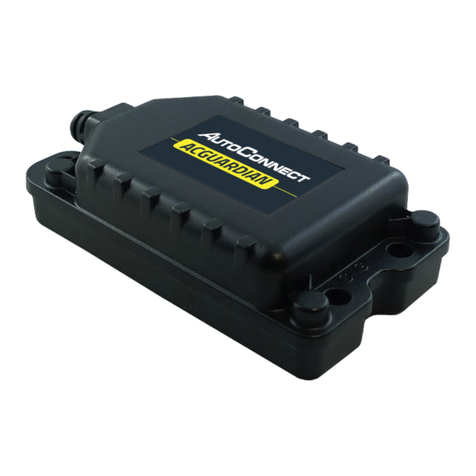
AutoConnect ACGUARDIAN User manual

AutoConnect

AutoConnect ACGUARDIAN User manual

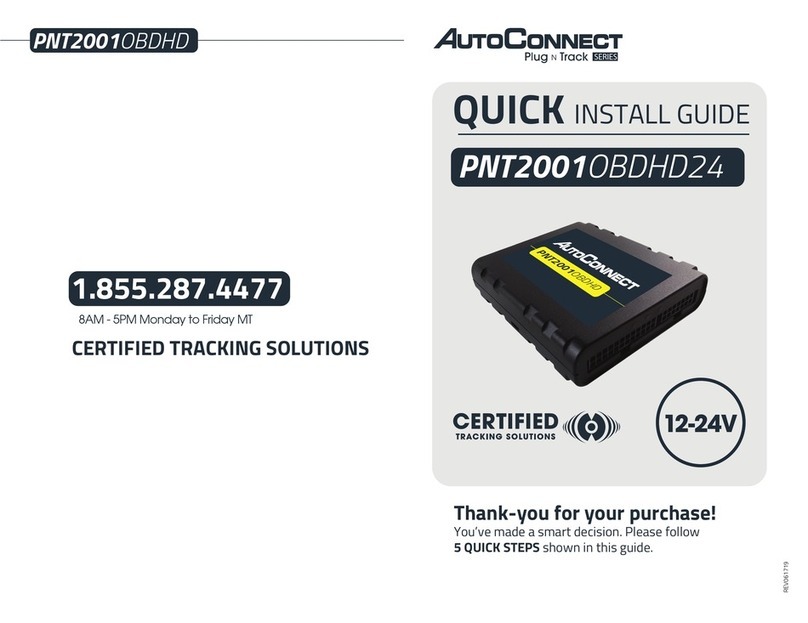
AutoConnect PNT2001OBDHD24 User manual

AutoConnect

AutoConnect PNT2001OBDHD24 User manual

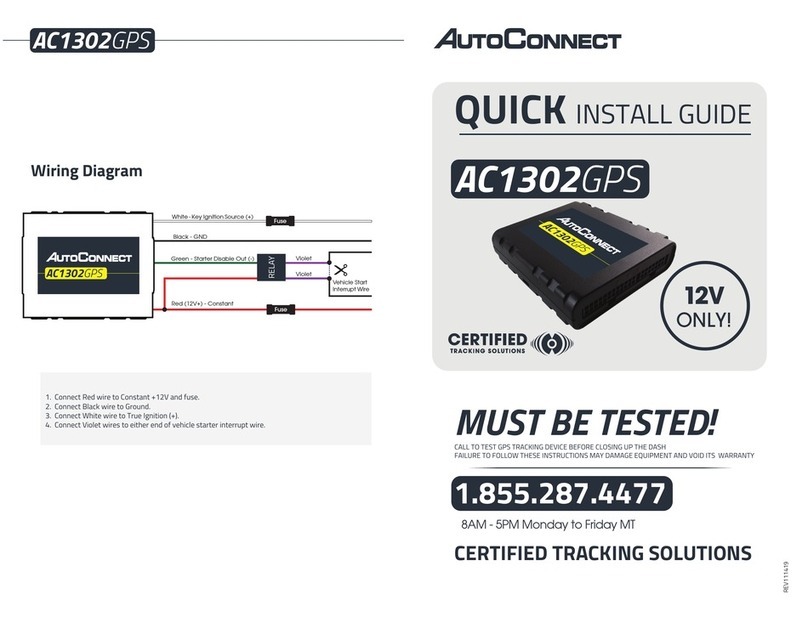
AutoConnect AC1302GPS User manual

AutoConnect

AutoConnect AC1302GPS User manual

AutoConnect AC1379WR User manual

AutoConnect

AutoConnect AC1379WR User manual

Popular GPS manuals by other brands

ULBOTech T373A user manual

ULBOTech

ULBOTech T373A user manual

Flight Sounds DUALPRO-GA user manual

Flight Sounds

Flight Sounds DUALPRO-GA user manual

Snooper SC5800 user manual

Snooper

Snooper SC5800 user manual

ffelectronics PYXIS GPS Quick reference guide

ffelectronics

ffelectronics PYXIS GPS Quick reference guide

UPS Aviation Technologies GX 50 System configuration

UPS Aviation Technologies

UPS Aviation Technologies GX 50 System configuration

Raven Viper 4 SOFTWARE UPDATE INSTRUCTIONS

Raven

Raven Viper 4 SOFTWARE UPDATE INSTRUCTIONS

TMG 107 Operation manual

TMG

TMG 107 Operation manual

GPS-TEKNIK GSM/GPRS/GPS OUTLINK 950 user manual

GPS-TEKNIK

GPS-TEKNIK GSM/GPRS/GPS OUTLINK 950 user manual

Garmin Zumo 660 owner's manual

Garmin

Garmin Zumo 660 owner's manual

TRACKIMO Trackimo user guide

TRACKIMO

TRACKIMO Trackimo user guide

Hama 62721 operating instructions

Hama

Hama 62721 operating instructions

Garmin ASTRO 900/T9 owner's manual

Garmin

Garmin ASTRO 900/T9 owner's manual

Garmin GPSMAP 172C - Marine GPS Receiver manual

Garmin

Garmin GPSMAP 172C - Marine GPS Receiver manual

Naviter Oudie 2 manual

Naviter

Naviter Oudie 2 manual

TomTom NAVIGATION SYSTEM owner's manual

TomTom

TomTom NAVIGATION SYSTEM owner's manual

Brickhouse Security Spark Nano 6.0 user guide

Brickhouse Security

Brickhouse Security Spark Nano 6.0 user guide

GalileoSky Base Block Lite user manual

GalileoSky

GalileoSky Base Block Lite user manual

Cerlic MultiTracker manual

Cerlic

Cerlic MultiTracker manual

manuals.online logo
manuals.online logoBrands
  • About & Mission
  • Contact us
  • Privacy Policy
  • Terms and Conditions

Copyright 2025 Manuals.Online. All Rights Reserved.