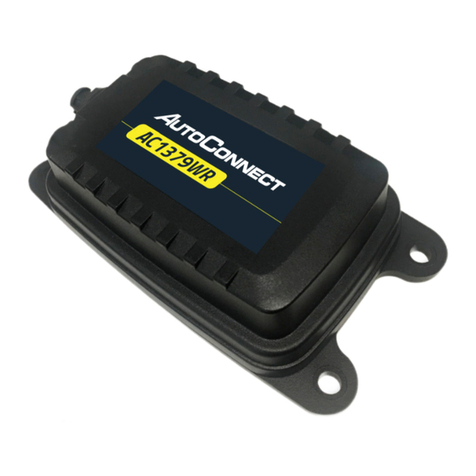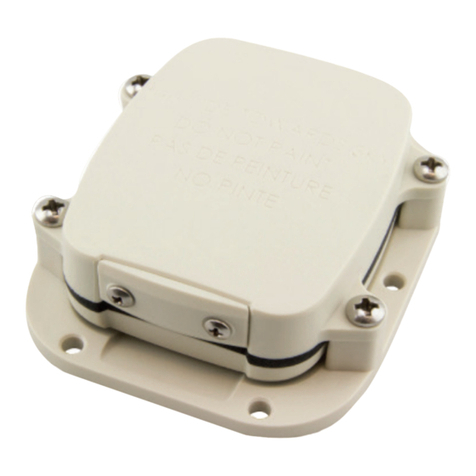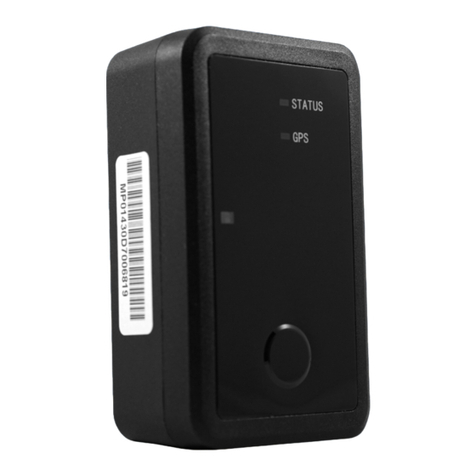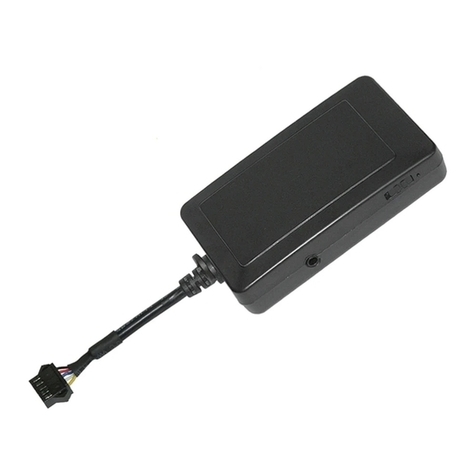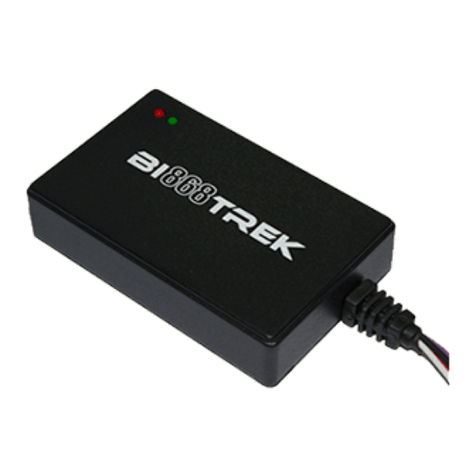
Securely position the device with the correct side pointing skyward. (device
label indicates proper orientation)
Do not cover with metal or position near any source of interference.
Failure to follow these instructions may result in weak cellular and/or GPS
signal and will impact the performance of the device.
a) Complete the instructions below, including ignition connection, and turn the ignition “ON.”
b) Connect the white ignition (+) wire to a 12V constant power until lights on device come
on (Do not leave the white (+) ignition connected to constant power or it will drain the battery.)
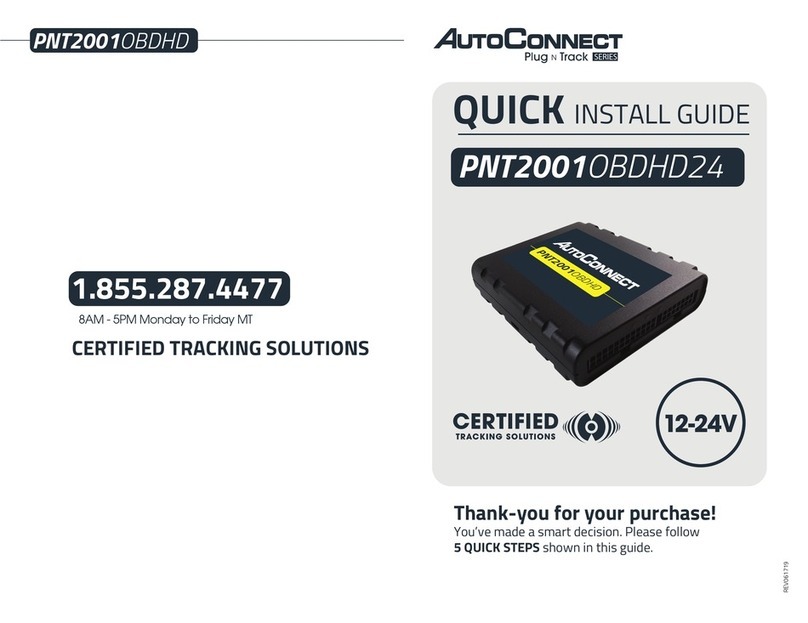
Select in-vehicle device location
This device is equipped with an IP65 dust and water resistant case making it
suitable for a wide range of applications.
IMPORTANT!
The device is delivered in “Shipment Mode.” To take the device out of
“Shipment Mode,” you must perform either of the two following options:
1
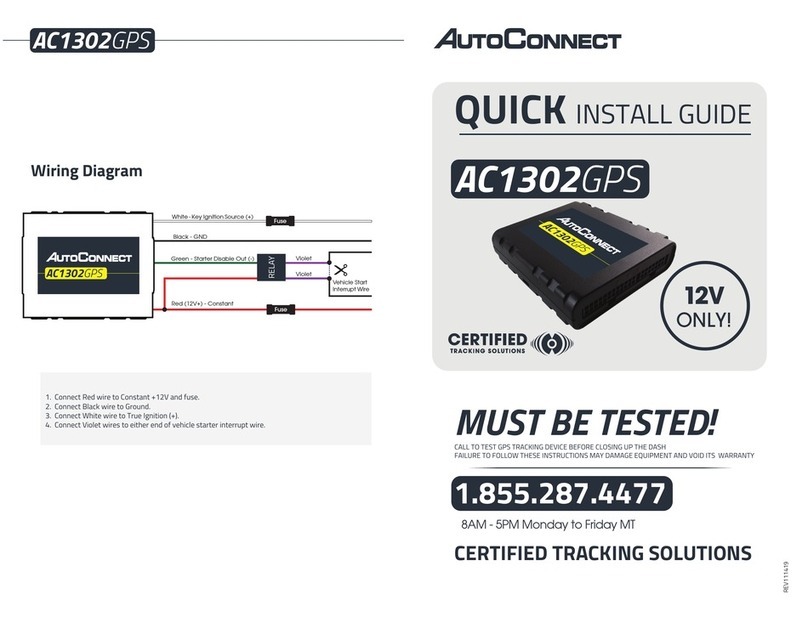
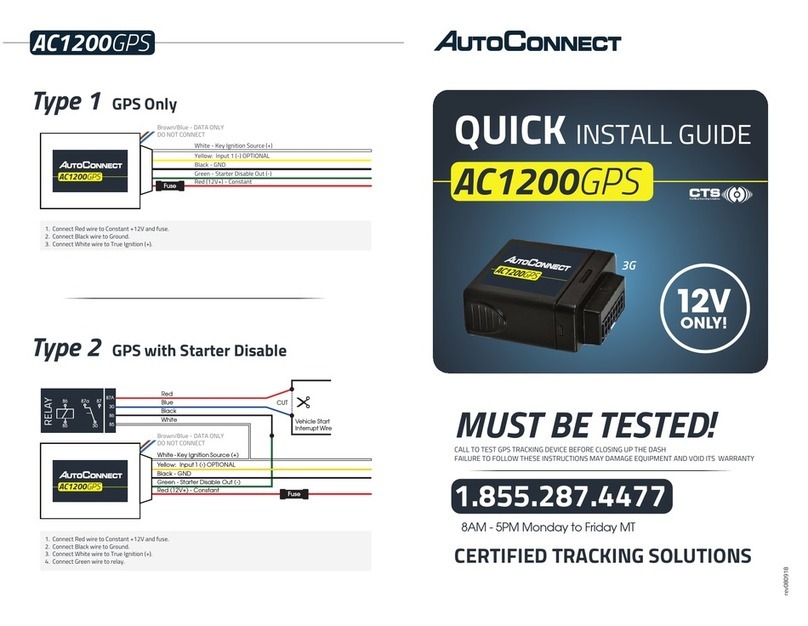
Connect constant power
The device requires a minimum 12V constant (Battery Power) on this
line to function
3
Connect ground
For best results, create a new connection to bare-metal chassis ground
4
Connect ignition
In order to function properly the device needs to be connected to a
suitable "True" Ignition source
2
Do not remove/bypass the fuse.
Connect the Red wire to a constant 12V source.
Do not use a shared ground or supplied ground from any module or device.
Connect the Black wire to ground.
Connect starter disable (optional)
See Type 2 diagram for more information on installing the starter disable.
Contact CTS tech support for additional assistance.
5
Testing IMPORTANT! Follow one of the test procedures below:
Call to test - Call CTS with ESN# to test the ignition, GPS, and starter kill (if applicable)
Self Test - Login to view and test the device using the instructions below:
a) Confirm vehicle connectivity and GPS location
b) Starter disable test (If applicable)
Click on the “Activate Starter after logging into autoconnectgps.com Please see the
Starter Kill wiring diagram for recommended wiring. If successful you will not be able to
start the vehicle. Click on the “Deactivate Starter Kill” to allow the vehicle to start again.
c) Verify ignition status
Ensure the vehicle is no longer running. Once logged into the AutoConnect dashboard,
click on the device serial # on the left side of the screen. The asset info box will open on
the bottom left corner of the screen. Verify that the status of the ignition says “off“.
Click login on autoconnectgps.com and enter your username and password.
Successful login will enable you to see the current location of the device on the website.
Click on device serial # on the left side of the screen.
The asset info box will open on the bottom left
corner of the screen.
Click on the “Asset Commands & Controls”
icon located at the top of the Asset Info box.
Click on command labeled “A – Bulls Eye Position Request”.
A successful completion of this command will
result in a checkmark being displayed and the
current time will update in the “Last Comms”
section of the asset info box.
The vehicle icon on the map should now have a red “dot” below it.
If it has an exclamation mark (“!”), it means that the device has
“invalid” GPS. In this case you will need to move the vehicle
outside and issue the Bulls Eye request again.
6
Invalid GPS
Valid GPS
A- Bulls Eye Position Request
or
This source has battery voltage whenever the vehicle is turned on and zero
volts whenever the vehicle is turned off.
This source does NOT drop in voltage during crank.
Connect the White wire to the ignition source.
This source must operate the same when starting by key or by
remote starter.
If connecting starter disable, the ignition source must provide sufficient
power to trigger the relay.
ACGUARDIAN
