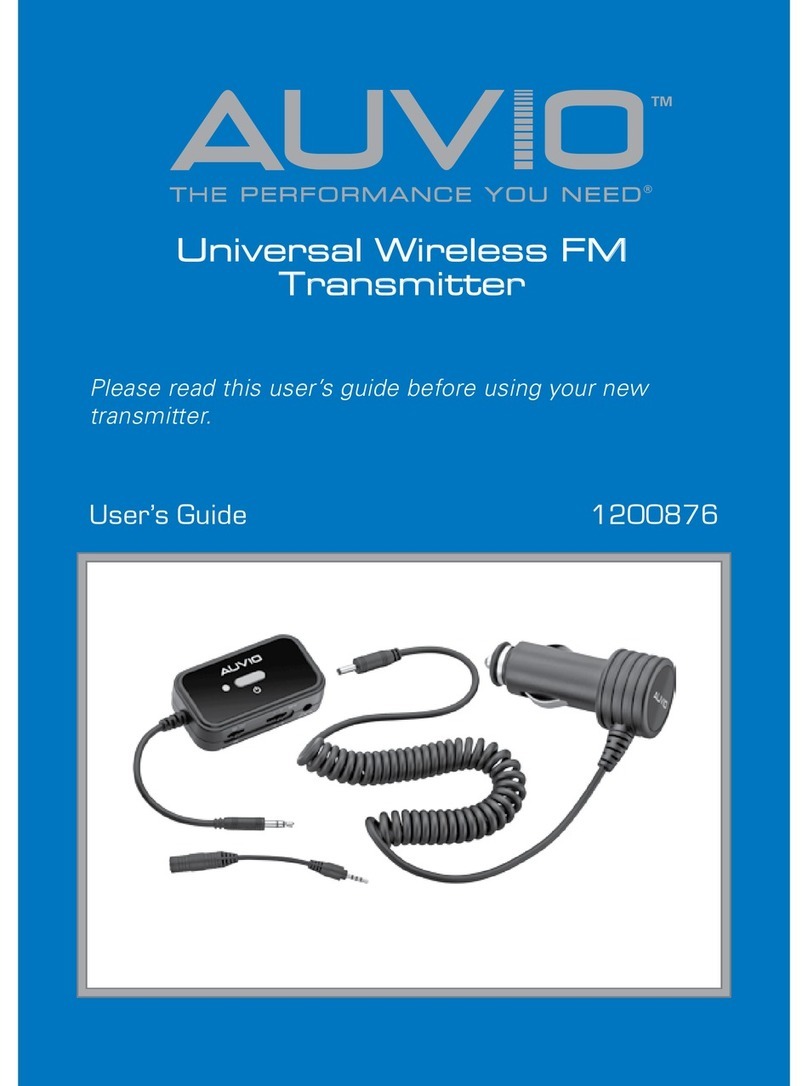
AUVIO FM Transmitter/Charger for iPod or iPhone User manual

THE PERFORMANCE YOU NEED
TM
TM
FM Transmitter/Charger
for iPod®or iPhone®
User’s Guide 1200769
Please read this user’s guide before using your new transmitter.
2/2

2
2
Package contents
FM Transmitter
Quick Start
User’s Guide
Features
Plays your iPod or iPhone music through your car speakers.
Charges your iPod or iPhone while you listen to music.
Auto-scan automatically searches for the clearest frequency.
IMPORTANT SAFETY INFORMATION
Connect and operate this product BEFORE operating your vehicle.
Pay attention to the road. Attempting to drive and operate your
transmitter at the same time can cause a serious traffic accident!
Please drive responsibly.
Press any button to turn the
backlight on for ten seconds.
Connect to your car’s power outlet.
Connect to your iPod/iPhone.

3
3
1Connect the Transmitter
1. Insert the transmitter’s power adapter into your car’s power
outlet. The backlight turns on and the transmitter displays ---.
2. Connect the 30-pin connector to your iPod/iPhone with
AUVIO facing up. Your iPod/iPhone will start charging and
the last transmitting frequency will be displayed on the
transmitter.
2Tune Your Transmitter
wCaution: Do not tune or scan while driving.
Auto-scanning for a Frequency
Hold down Scan until the display changes. Your FM transmitter
starts searching for unused or weak frequencies. The scan stops
at the first clear frequency.
Auto scan may not find clear frequencies in highly congested areas.
For more precise tuning, follow the procedure for manually tuning.
Manually Tuning a Frequency
1. Hold down 2Muntil M1 , M2 , and M3 all flash on the
display.
2. Press 1or 3to find the desired frequency.
3. Wait until the display stops flashing.
Saving Displayed Frequencies
1. Hold down 2 M until M1 , M2 , and M3 all flash on the display.
2. Hold down 1, 2 M, or 3for two seconds to save the
displayed frequency to M1 , M2 , or M3 respectively.
Selecting a Saved Frequency
Press 1, 2 M or 3to select a saved frequency. The display
shows M1 , M2 , or M3 and its corresponding frequency.

4
4
3Tune Your Radio
Tune your car’s FM radio to the same frequency displayed on the
transmitter.
4Listen to Music
Play your iPod music. The sound is transmitted through the car
speakers. You can use your radio controls to adjust the volume.
RBDS Transmission
RBDS protocol transmits both audio and track information from
your iPod/iPhone to your radio receiver. If your radio is RBDS
capable, “AUVIO” appears on the radio’s display along with the
currently playing music title. Check your car’s owner’s manual for
details.
FM Navi
FM Navi is an iPhone/iPod Touch application that allows you to
control all functions of the transmitter through your iPod Touch/
iPhone screen. Your saved channels will upload to the application
automatically, and all your application settings are stored in the
transmitter.
nNote: FM Navi only works with iPod Touch or iPhones with
OS 3.0 or above.
1. Download FM Navi from Apple App store, then follow the
on-screen instructions to install.
2. Plug the FM transmitter into your iPod/iPhone and then into
your car’s power outlet. The transmitter turns on.
3. Choose a song to play and start playback.
4. Return to your iPhone/iPod’s home screen and tap
the FM Navi icon to run the application.

5
5
FM Navi Music Controls
Repeat all tracks, repeat current track or turn off repeat.
, Play, pause
@Skip to previous song. Hold to rewind.
ISkip to next song. Hold to fast forward.
Shuffle all tracks or turn off shuffle.
Change the background color
Onscreen help
FM Navi Transmitter
Controls
Scan for a Frequency
Press Scan to find a clear frequency.
Tune Frequency
Tune Up: Touch and rotate the wheel clockwise.
Tune Down: Touch and rotate the wheel counterclockwise.
Store Channel Frequency
Touch and hold the frequency shown on the
FM Navi display until a white cursor appears,
then drag it to the desired memory location.
Select a Stored Frequency
Tap any of the three memory buttons to
select that frequency. The selected memory
is enlarged.
n Tips:
Update your iPod or iPhone to the latest firmware version
for the best use of this FM transmitter.
If the FM Navi cannot control the transmitter, restart your
iPod or iPhone while it is connected to the transmitter.

6
6
Changing the Fuse
If the display on the transmitter does not turn on after plugging
in to your car’s power outlet, the power adapter’s fuse may be
blown. Replace it with a 1A, 250V tube-type fuse (not supplied).
Specifications
Audio input .................................................. 30-pin iPod connector
Transmitting frequency ........... 88.1–107.9 MHz with 0.2 MHz step
Modulation..........................................................FM stereo, RBDS
Specifications are subject to change and improvement without notice. Actual product may
vary from the images found in this document.
FCC Information
This equipment has been tested and found to comply with the limits for a Class B digital
device, pursuant to Part 15 of the FCC Rules. These limits are designed to provide reason-
able protection against harmful interference in a residential installation. This equipment
generates, uses and can radiate radio frequency energy and, if not installed and used in
accordance with the instructions, may cause harmful interference to radio communica-
tions. However, there is no guarantee that interference will not occur in a particular instal-
lation. If this equipment does cause harmful interference to radio or television reception,
which can be determined by turning the equipment off and on, the user is encouraged to
try to correct the interference by one or more of the following measures:
Reorient or relocate the receiving antenna.
Increase the separation between the equipment and receiver.
Connect the equipment into an outlet on a circuit different from that to which the
receiver is connected.
Consult the dealer or an experienced radio/TV technician for help.
Changes or modifications not expressly approved by Ignition L.P. may cause interference
and void the user’s authority to operate the equipment.
This device complies with Part 15 of the FCC Rules. Operation is subject to the following
two conditions: (1) This device may not cause harmful interference, and (2) this device
must accept any interference received, including interference that may cause undesired
operation.
Fuse

7
7
Limited Warranty
Ignition L.P. warrants this product against defects in materials and workmanship under
normal use by the original purchaser for ninety (90) days after the date of purchase.
IGNITION L.P. MAKES NO OTHER EXPRESS WARRANTIES.
This warranty does not cover: (a) damage or failure caused by or attributable to abuse,
misuse, failure to follow instructions, improper installation or maintenance, alteration,
accident, Acts of God (such as floods or lightning), or excess voltage or current; (b)
improper or incorrectly performed repairs by persons who are not a Ignition L.P. Authorized
Service Facility; (c) consumables such as fuses or batteries; (d) ordinary wear and tear
or cosmetic damage; (e) transportation, shipping or insurance costs; (f) costs of product
removal, installation, set-up service, adjustment or reinstallation; and (g) claims by persons
other than the original purchaser.
Should a problem occur that is covered by this warranty, take the product and the sales
receipt as proof of purchase date to the place of purchase. Ignition L.P. will, at its option,
unless otherwise provided by law: (a) repair the product without charge for parts and
labor; (b) replace the product with the same or a comparable product; or (c) refund the
purchase price. All replaced parts and products, and products on which a refund is made,
become the property of Ignition L.P. New or reconditioned parts and products may be
used in the performance of warranty service. Repaired or replaced parts and products are
warranted for the remainder of the original warranty period. You will be charged for repair
or replacement of the product made after the expiration of the warranty period.
IGNITION L.P. EXPRESSLY DISCLAIMS ALL WARRANTIES AND CONDITIONS NOT
STATED INTHIS LIMITED WARRANTY. ANY IMPLIED WARRANTIESTHAT MAY BE
IMPOSED BY LAW, INCLUDING THE IMPLIED WARRANTY OF MERCHANTABILITY
AND, IF APPLICABLE,THE IMPLIED WARRANTY OF FITNESS FOR A PARTICULAR
PURPOSE, SHALL EXPIRE ONTHE EXPIRATION OFTHE STATED WARRANTY PERIOD.
EXCEPT AS DESCRIBED ABOVE, IGNITION L.P. SHALL HAVE NO LIABILITY OR
RESPONSIBILITY TO THE PURCHASER OFTHE PRODUCT OR ANY OTHER PERSON
OR ENTITY WITH RESPECT TO ANY LIABILITY, LOSS OR DAMAGE CAUSED DIRECTLY
OR INDIRECTLY BY USE OR PERFORMANCE OFTHE PRODUCT OR ARISING OUT OF
ANY BREACH OF THIS WARRANTY, INCLUDING, BUT NOT LIMITEDTO, ANY DAMAGES
RESULTING FROM INCONVENIENCE AND ANY LOSS OF TIME, DATA, PROPERTY,
REVENUE, OR PROFIT AND ANY INDIRECT, SPECIAL, INCIDENTAL, OR CONSEQUEN-
TIAL DAMAGES, EVEN IF IGNITION L.P. HAS BEEN ADVISED OF THE POSSIBILITY OF
SUCH DAMAGES.
Some states do not allow limitations on how long an implied warranty lasts or the
exclusion or limitation of incidental or consequential damages, so the above limitations
or exclusions may not apply to you. This warranty gives you specific legal rights, and you
may also have other rights which vary from state to state. You may contact Ignition L.P. at:
Ignition L.P., 3102 Maple Ave. Suite 450, Dallas, TX 75201 02/09
For product support, call 1-866-315-0426

8
8
AO0453AAA1
Printed
in China
09A10
1200769
Get more from your audio and video equipment. See what
you’ve been missing. With Auvio, you control the experience.
Auvio was established by a group of technophiles to provide
high quality audio and video products without the high sticker
price. The Auvio philosophy is for you to experience audio
and video as it was intended to be: pure and distortion free.
We know electronics can be intimidating. Auvio simplifies
your experience by providing the right products, with the
right specs, to work with your equipment.
Be confident about your purchase: your new Auvio product
incorporates the latest technology, is built to the highest
quality standards, and reduces environmental impact by
complying with RoHS environmental restrictions.
Protect the environment by recycling used electronics. Go to
E-CyclingCentral.com to find an electronic recycling center near you.
“Made for iPod” and “Made for iPhone” mean that an electrical accessory has
been designed to connect specifically to iPod or iPhone, respectively, and has
been certified by the developer to meet Apple performance standards. Apple
is not responsible for the operation of this device or its compliance with safety
and regulatory standards. iPod, iPhone and iTunes are trademarks of Apple
Inc., registered in the U.S. and other countries.
© 2010. Ignition L.P. All rights reserved.
Auvio is a trademark used by Ignition L.P.
Complies with the European Union’s “Restriction of Hazardous
Substances Directive,” which protects the environment by
restricting specific hazardous materials and products.
This manual suits for next models
1
Table of contents
Other AUVIO Transmitter manuals
Popular Transmitter manuals by other brands

RF SOLUTIONS
RF SOLUTIONS TRAP quick start guide

RIDGID
RIDGID SeeSnake Max rM200 Operator's manual

HK Instruments
HK Instruments RHT Series installation instructions

Nautel
Nautel ND500II-113-x21 manual

Oliver IGD
Oliver IGD TOCSIN 102 SERIES manual

Siemens
Siemens 7MF8*24 Series Compact operating instructions

Siemens
Siemens 8DJH Operator's guide

Stevens
Stevens SatComm GOES Faq

Endress+Hauser
Endress+Hauser iTEMP TMT82 Brief operating instructions

Siemens
Siemens SITRANS P310 with HART Compact operating instructions

Halemeier
Halemeier S-Mitter installation instructions

aci
aci STRAP ON Series Installation & operation instructions