manuals.online logo
Brands
  1. Home
  2. •
  3. Brands
  4. •
  5. Avago
  6. •
  7. Media Converter
  8. •
  9. Avago AED -8 Series Instruction Manual

Avago AED -8 Series Instruction Manual

AEDx-8xxx-xxx
Assembly Guidelines
2- or 3-channel Incremental Encoder Kit
Application Note 5435
Description
This application note gives step-by-step instructions for the alignment and installation of the AEDx-8xxx series incre-
mental encoder to a motor shaft.
Delivered pre-assembled with
an Allen key attached to the
module
Plastic
base plate
External
mounting
ear option
AEDx-8xxx series components
Install the Encoder to the Motor Shaft
Alignment jig
Guide poles
Step 1. Secure the baseplate
a) Partially screw-in two M2 screws to the motor.
b) Place the jig onto the motor shaft and center it to the inner diameter opening of the
baseplate.
c) Tighten the screws firmly (recommended tightening torque is 0.6 in-lb (0.7 kgf-cm).
d) Remove the alignment jig.
2
Glue required
Baseplate without
mounting-ears
Apply glue to these
areas or the underside of
the plastic baseplate
Apply glue to these areas
before tightening the
two screws.
Baseplate with
mounting-ears
Step 2. Glue the baseplate
a) Apply glue to the shaded area, as indicated, for both the mounting-ear and non-
mounting-ear baseplate.
Notes:
1. Glue prevents screw loosening caused by thermal stress in the plastic material, especially at high
temperatures. Gluing is required.
2. A high temperature adhesive such as Hernon UltrapoxyTM 317 (www.hernonasia.com) is
recommended.
Hub
Latch
Step 3. Assemble the module
Slide the module hub onto the motor shaft while matching the guide poles on the
plastic baseplate to the alignment hole on the encoder unit. Then, snap-fit the three
latches to the base plate.
For product information and a complete list of distributors, please go to our web site: www.avagotech.com
Avago, Avago Technologies, and the A logo are trademarks of Avago Technologies in the United States and other countries.
Data subject to change. Copyright © 2005-2010 Avago Technologies. All rights reserved.
AV02-2106N - July 19, 2010
Provide an upward lifting
force, during the set-screw
tightening process.
Step 4. Tighten the codewheel-hub assembly
a) Ensure that all three latches are secure. The latches should snap firmly without
any visible bulging.
b) Apply an upward lifting force and rotate the hex wrench clockwise until the hub
set-screw is securely fastened against the motor shaft. The recommended torque
for tightening the set-screw is 15-18 oz-inch (0.1 – 0.13 N-m).
c) Remove the hex wrench by pulling it straight out from the encoder body.
CAUTION: For best performance, the baseplate and plastic housing assembly are designed for one-time
assembly only. Removal and re-assembly should be avoided as the latches may be weakened.
Centering Jig / Alignment Tool (ordered separately)
The HEDS-8938-xxx alignment tool centers the plastic base plate of the AEDx-8xxx encoder to the motor shaft. The
HEDS-8938 specifications are available at: http://www.avagotech.com/docs/AV02-1240EN.
Centering Jig/Alignment Tool : HEDS-8938-011 (4 mm shaft), HEDS-8938-014 (5 mm shaft)

Other Avago Media Converter manuals

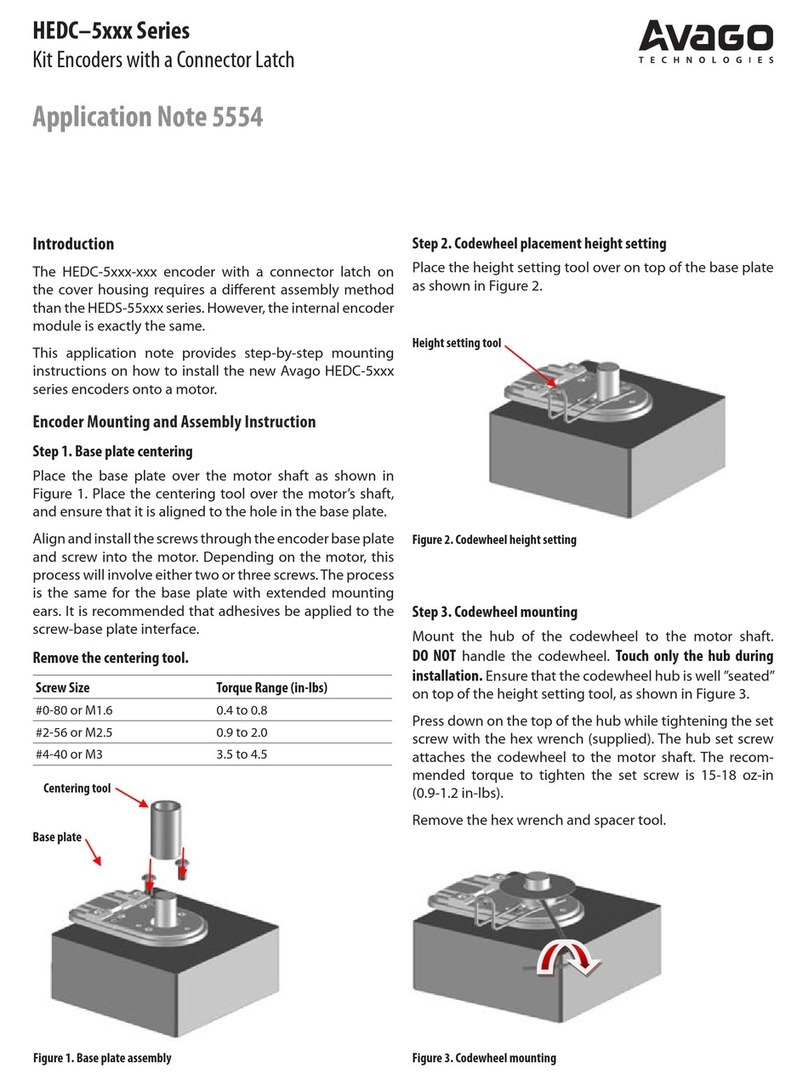
Avago HEDC-5 Series Installation and operating instructions

Avago

Avago HEDC-5 Series Installation and operating instructions

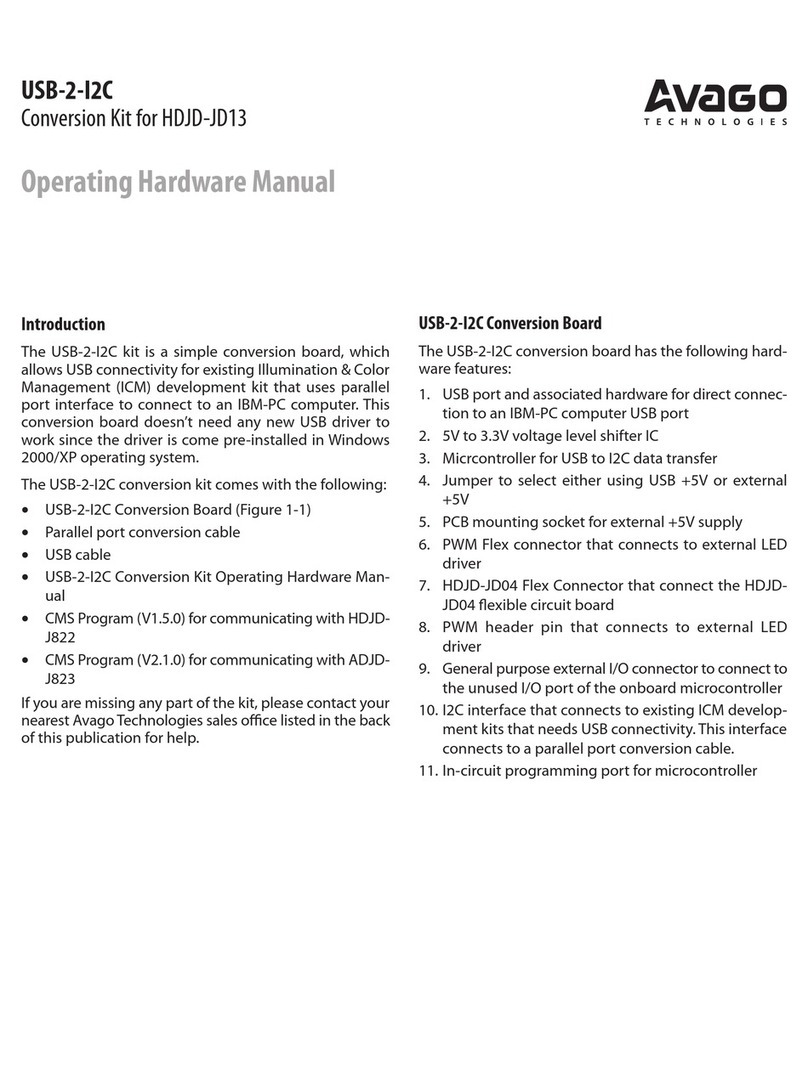
Avago USB-2-I2C User manual

Avago

Avago USB-2-I2C User manual

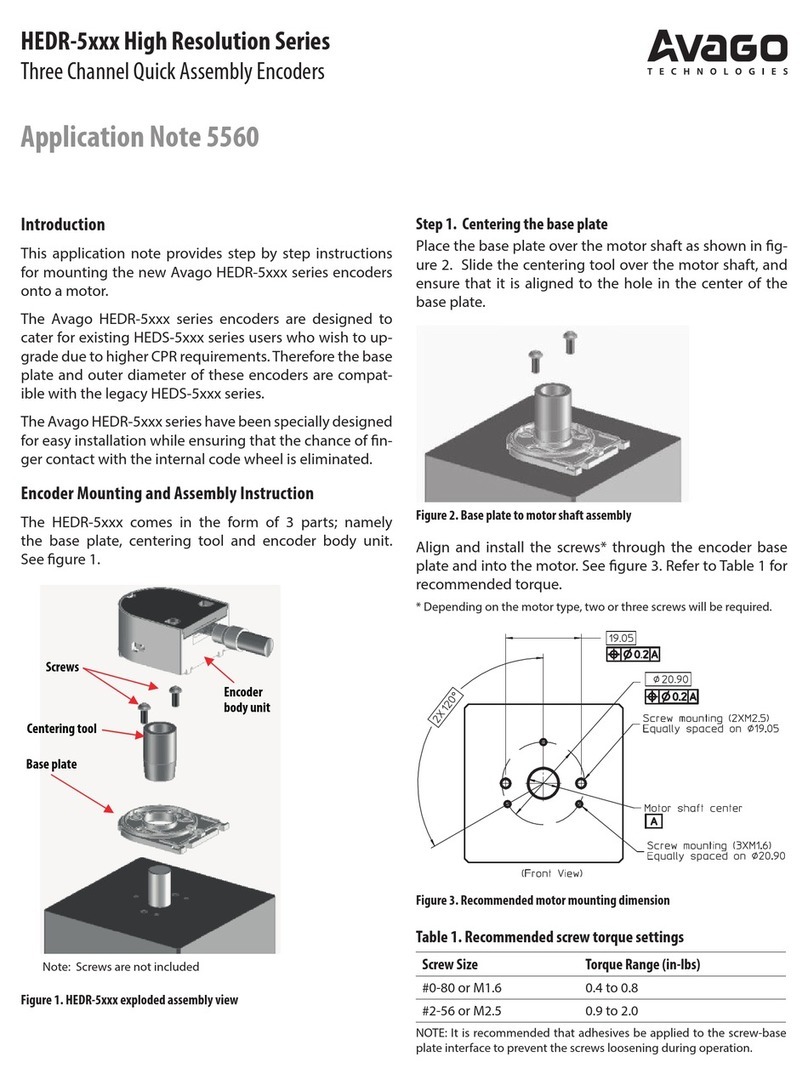
Avago HEDR-5 High Resolution Series Installation and operating instructions

Avago

Avago HEDR-5 High Resolution Series Installation and operating instructions

Avago HEDS-8949 User manual

Avago

Avago HEDS-8949 User manual

Popular Media Converter manuals by other brands

VITO Vitolux VXI-4 Series Operation manual

VITO

VITO Vitolux VXI-4 Series Operation manual

Fuji Electric RHC-D 690V Series manual

Fuji Electric

Fuji Electric RHC-D 690V Series manual

Digitus professional DN-95205 quick start guide

Digitus professional

Digitus professional DN-95205 quick start guide

ADS Technologies HDUP-1500 operating instructions

ADS Technologies

ADS Technologies HDUP-1500 operating instructions

FibroLAN MCM1000S-LX1 User and installation guide

FibroLAN

FibroLAN MCM1000S-LX1 User and installation guide

Yamaha EZ-EG Short guide

Yamaha

Yamaha EZ-EG Short guide

Tascam MM-4D/IN-E owner's manual

Tascam

Tascam MM-4D/IN-E owner's manual

Fuji Electric ZKM instruction manual

Fuji Electric

Fuji Electric ZKM instruction manual

Cross Technologies 2017-0923 370 Series instruction manual

Cross Technologies

Cross Technologies 2017-0923 370 Series instruction manual

Sony VGF-WA1/B - Vaio Wireless Digital Music... Specifications

Sony

Sony VGF-WA1/B - Vaio Wireless Digital Music... Specifications

LH Technologies LH 500 Operator's manual

LH Technologies

LH Technologies LH 500 Operator's manual

METRUM Onyx user manual

METRUM

METRUM Onyx user manual

CYP CP-1262HAT Operation manual

CYP

CYP CP-1262HAT Operation manual

Lika Rotapuls C58R Series Mounting instructions

Lika

Lika Rotapuls C58R Series Mounting instructions

UNV DC5301-IN user manual

UNV

UNV DC5301-IN user manual

Cypress CSO-T2 Operation manual

Cypress

Cypress CSO-T2 Operation manual

CTS CVT-3002-PLUS SERIES user manual

CTS

CTS CVT-3002-PLUS SERIES user manual

Pleora Technologies iPort quick start guide

Pleora Technologies

Pleora Technologies iPort quick start guide

manuals.online logo
manuals.online logoBrands
  • About & Mission
  • Contact us
  • Privacy Policy
  • Terms and Conditions

Copyright 2025 Manuals.Online. All Rights Reserved.