manuals.online logo
Brands
  1. Home
  2. •
  3. Brands
  4. •
  5. AvaLAN
  6. •
  7. Radio
  8. •
  9. AvaLAN AW58103HTS Installation and operating instructions

AvaLAN AW58103HTS Installation and operating instructions

This manual suits for next models

1

Other AvaLAN Radio manuals

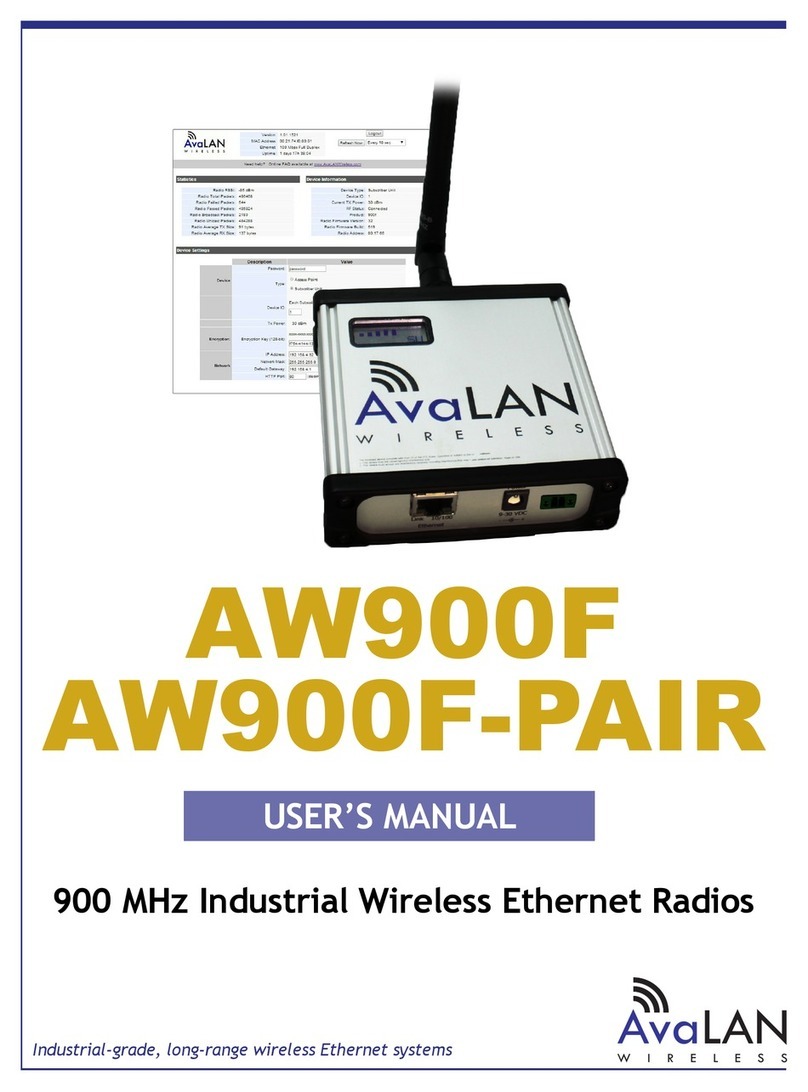
AvaLAN AW900F User manual

AvaLAN

AvaLAN AW900F User manual

AvaLAN AW5800i User manual

AvaLAN

AvaLAN AW5800i User manual

AvaLAN AW900XTR User manual

AvaLAN

AvaLAN AW900XTR User manual

AvaLAN AW900 TR Series User manual

AvaLAN

AvaLAN AW900 TR Series User manual

AvaLAN AW900T User manual

AvaLAN

AvaLAN AW900T User manual

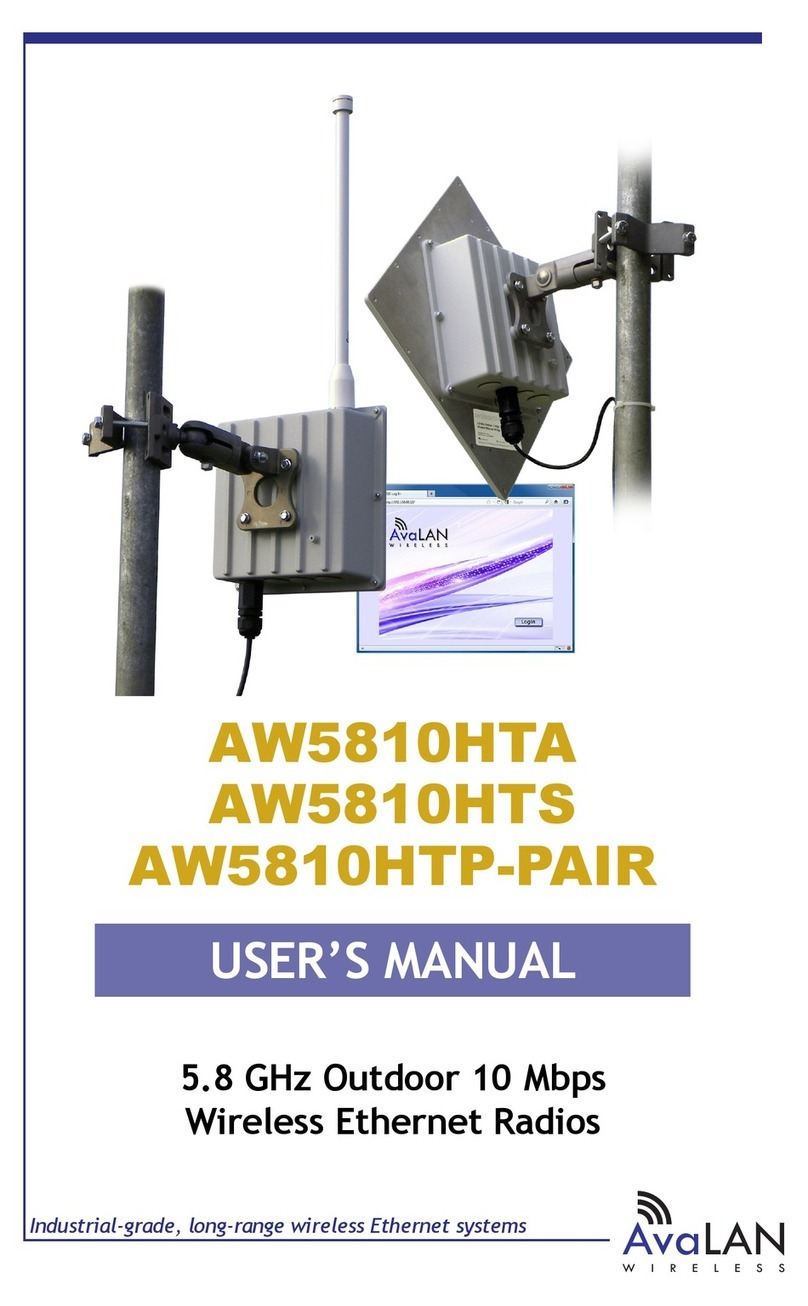
AvaLAN AW5810HTA User manual

AvaLAN

AvaLAN AW5810HTA User manual

AvaLAN AW900iTR User manual

AvaLAN

AvaLAN AW900iTR User manual

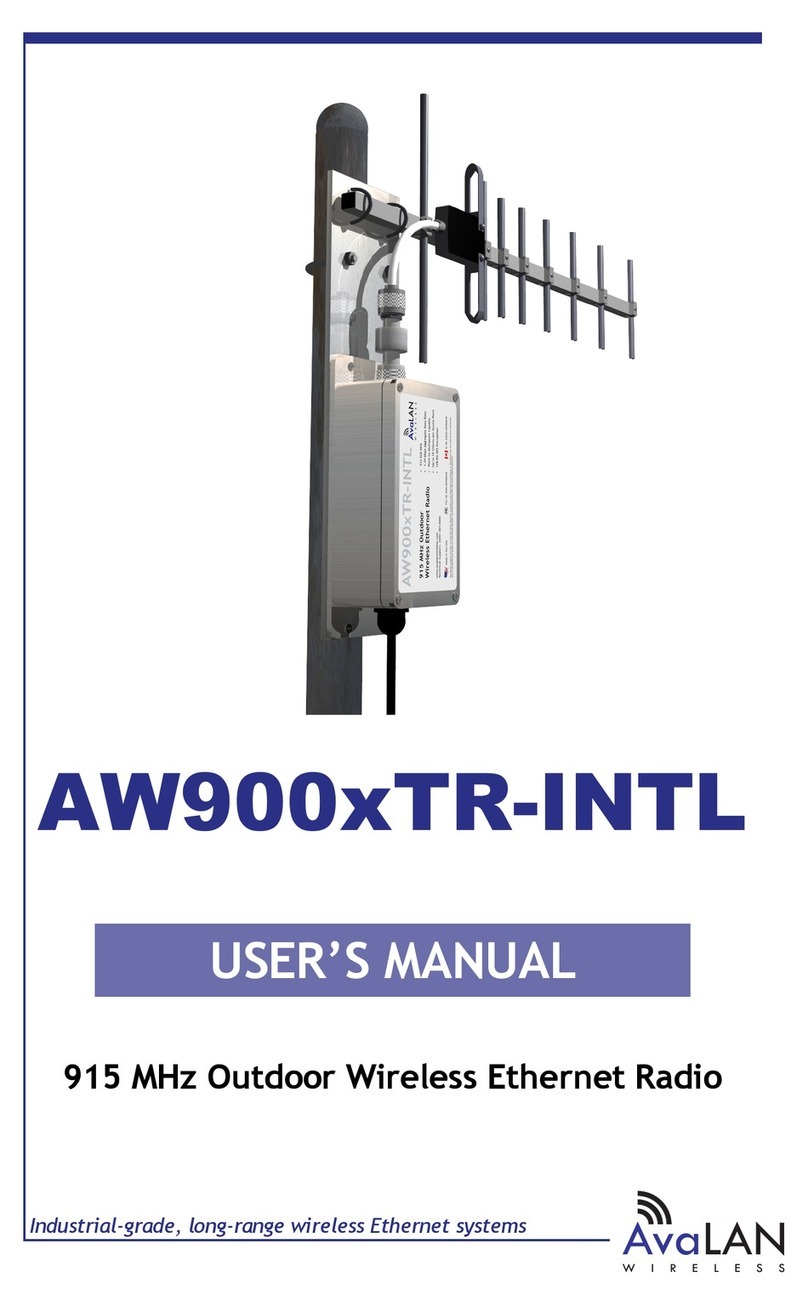
AvaLAN AW900xTR-INTL User manual

AvaLAN

AvaLAN AW900xTR-INTL User manual

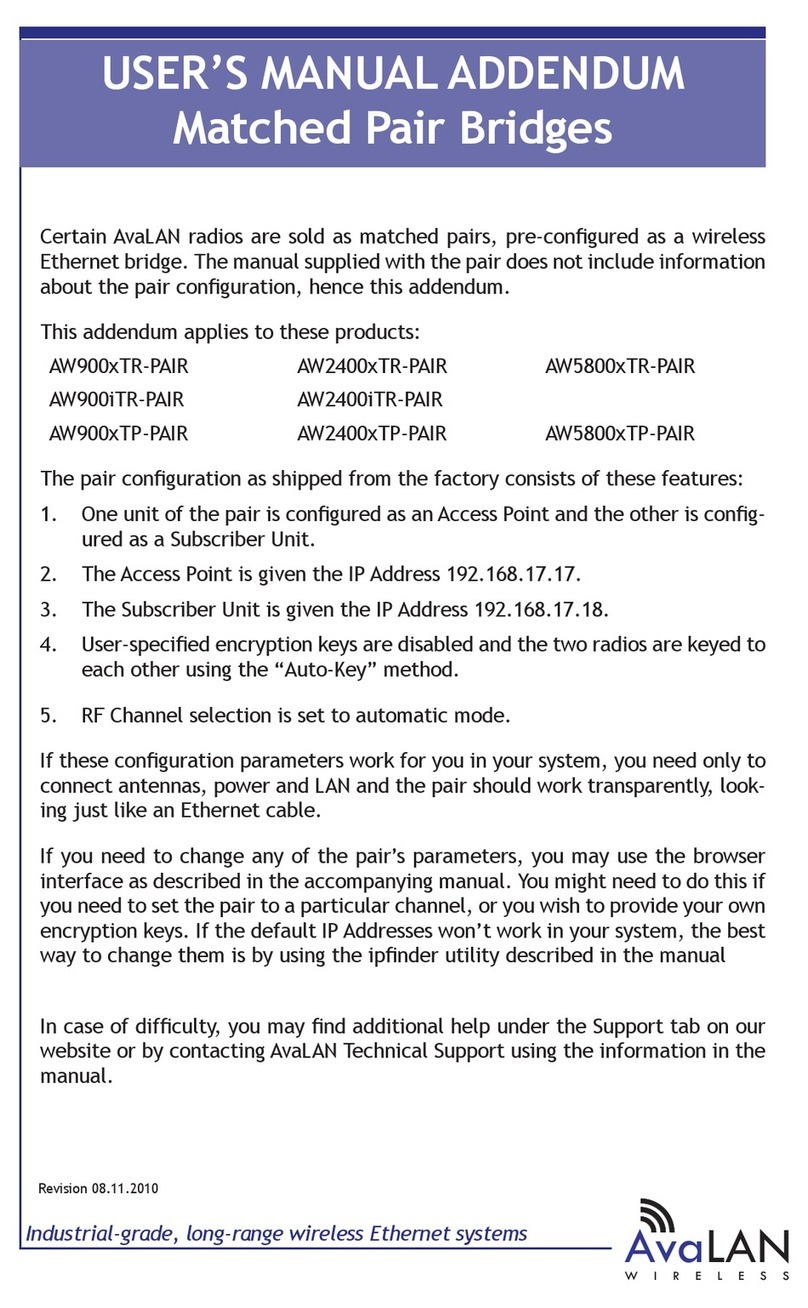
AvaLAN AW900xTR-PAIR Installation and operating instructions

AvaLAN

AvaLAN AW900xTR-PAIR Installation and operating instructions

AvaLAN AW2400xTR User manual

AvaLAN

AvaLAN AW2400xTR User manual

AvaLAN AW900iTR User manual

AvaLAN

AvaLAN AW900iTR User manual

Popular Radio manuals by other brands

Grundig G6 AVIATOR owner's manual

Grundig

Grundig G6 AVIATOR owner's manual

Makita DMR114 instruction manual

Makita

Makita DMR114 instruction manual

PURE Move R3 manual

PURE

PURE Move R3 manual

Motorola CP040 Detailed service manual

Motorola

Motorola CP040 Detailed service manual

Bosch GPB18V-5C Operating/safety instructions

Bosch

Bosch GPB18V-5C Operating/safety instructions

Ocean Digital WR-230 user manual

Ocean Digital

Ocean Digital WR-230 user manual

Realistic TRC-457 owner's manual

Realistic

Realistic TRC-457 owner's manual

Uniden AX 144 owner's manual

Uniden

Uniden AX 144 owner's manual

SIGNIFY EA2173 instruction manual

SIGNIFY

SIGNIFY EA2173 instruction manual

auna multimedia 10026443 user manual

auna multimedia

auna multimedia 10026443 user manual

GME TX680 instruction manual

GME

GME TX680 instruction manual

Motorola MTM5 00 Series Basic service manual

Motorola

Motorola MTM5 00 Series Basic service manual

Tivoli Audio ONE+ owner's manual

Tivoli Audio

Tivoli Audio ONE+ owner's manual

Sirius Satellite Radio SDVK1 installation guide

Sirius Satellite Radio

Sirius Satellite Radio SDVK1 installation guide

Sirius XM RAdio EDGE user guide

Sirius XM RAdio

Sirius XM RAdio EDGE user guide

Trevi XF 100 user guide

Trevi

Trevi XF 100 user guide

EisSound KBSound iSelect user manual

EisSound

EisSound KBSound iSelect user manual

Kirisun DM588-02 user manual

Kirisun

Kirisun DM588-02 user manual

manuals.online logo
manuals.online logoBrands
  • About & Mission
  • Contact us
  • Privacy Policy
  • Terms and Conditions

Copyright 2025 Manuals.Online. All Rights Reserved.

MANUAL ADDENDUM
MANUAL ADDENDUM
Industrial-grade, long-range wireless Ethernet systems
AvaLAN
WIRELESS
5.8 GHz Outdoor 100 and 300 Mbps
Wireless 3-Port Ethernet
Subscriber Unit Radio
AW58103HTS/
AW58303HTS
Available from A1 Security Cameras
www.a1securitycameras.com email: [email protected]
AW58103HTS/ AW58303HTS
PAGE 2
Technical Support (650) 384-0000 www.avalanwireless.com
Addendum
The AW58103HTS/AW58303HTS is a radio with a dual at panel high gain directional antenna and a
built in 802.3af (AW58103HTS) or 802.3at (AW58303HTS) Power Over Ethernet 3-port switch. This
allows you to place a wireless Ethernet drop at a location and provide power and data connections
for up to three Ethernet devices. Power is provided to the three devices via unused wires in their data
cables. Multiple radios can serve as Subscriber Units (clients) in conjunction with an AW58100HTA/
AW58300HTA. Except for the power and data distribution provided by the switch, the AW58103HTS/
AW58303HTS is functionally identical to the AW58100HTS/AW58300HTS. For conguration and testing
information, refer to the AW58100HTS/AW58300HTS manual attached to this Addendum.
The AW58103HTS includes: The AW58303HTS includes:
• AW58103HTS Subscriber Unit Radio
• Heavy Duty Pole-mount Bracket
• Power Over Ethernet Injector
• 56 VDC Power Supply 50W
• AW58303HTS Subscriber Unit Radio
• Heavy Duty Pole-mount Bracket
• Power Over Ethernet Injector
• 56 VDC Power Supply 100W
If you have any questions when conguring your AvaLAN system, the best place to get answers is
to visit www.avalanwireless.com. You will also nd the latest updates there. If more assistance is
needed, send email to [email protected].
To speak to a live technician, please call technical support at the number below during normal
business hours.
© by AvaLAN Wireless Systems Inc. All rights reserved.
Revision 6.26.2014
125A Castle Drive
Madison, AL 35758
Phone: (650) 384-0000
Fax: (650) 249-3591
Available from A1 Security Cameras
www.a1securitycameras.com email: [email protected]
AW58103HTS/ AW58303HTS
PAGE 3
Technical Support (650) 384-0000 www.avalanwireless.com
Addendum
Disregard the power connection information in the attached manual in the Quick Start Guide and
Physical Setup sections, using the information below instead.
We recommend connecting and powering up the unit on the bench before deploying in the eld, be-
cause it is much easier to troubleshoot problems and to adjust the conguration if necessary without
having to climb poles to do it. Activate the AW58103HTS units one at a time until they can be given
distinct IP addresses.
This photo shows how things are connected on the bench:
The main elements to consider are these:
• The Power connection is made to the labeled port (the rightmost one when viewed from the
rear) on the radio.
• The maximum cable run between the Power Over Ethernet Injector and the radio is 60 feet (20
meters).
• The maximum cable run from the radio to any of the three attached devices is also 60 feet.
• The POE has a “Data In” socket that can be connected to a network.
• Total DC power available to the three devices is 25 Watts (AW58103HTS) and 75 Watts
(AW58303HTS).
To 120 VAC 60 Hz
power
POE with 48 VDC Power Supply
Power Input
to Radio
Power and
Data Outputs
to Ethernet Devices
Available from A1 Security Cameras
www.a1securitycameras.com email: [email protected]
USER’S MANUAL
Industrial-grade, long-range wireless Ethernet systems
AvaLAN
WIRELESS
AW58100HTA
AW58100HTS
5.8 GHz Outdoor 100 Mbps
Wireless Ethernet Access Point
and Subscriber Unit Radios
Available from A1 Security Cameras
www.a1securitycameras.com email: [email protected]
AW58100HTA, HTS User’s Manual
PAGE 2
Technical Support (650) 384-0000 www.avalanwireless.com
© by AvaLAN Wireless Systems Inc. All rights reserved.
Revision 6.26.2014
125A Castle Drive
Madison, AL 35758
Phone: (650) 384-0000
Fax: (650) 249-3591
The AW58100HTA is a radio with dual omnidirectional antennas. It serves as an Access Point (master) in
a point-to-multipoint network. The AW58100HTS is a radio with a dual at panel high gain directional
antenna. Multiple AW58100HTS radios can serve as a Subscriber Units (clients) in conjunction with an
AW58100HTA.
The AW58100HTA includes: The AW58100HTS includes:
(1) AW58100HTA Access Point Radio
(1) Heavy Duty Pole-mount Bracket
(1) Power Over Ethernet Injector
(1) 18 VDC power supply
(1) AW58100HTS Subscriber Unit Radio
(1) Heavy Duty Pole-mount Bracket
(1) Power Over Ethernet Injector
(1) 18 VDC power supply
Table of Contents
Quick Start Guide . . . . . . . . . . . . . . . . . . . . . . . . . . . . . . . . . . . 3
LED Status Guide . . . . . . . . . . . . . . . . . . . . . . . . . . . . . . . . . . . 4
Digital Conguration . . . . . . . . . . . . . . . . . . . . . . . . . . . . . . . . . . . . . 5
Connecting To The Radio . . . . . . . . . . . . . . . . . . . . . . . . . . . . . . . 5
Changing the Conguration - Step By Step . . . . . . . . . . . . . . . 6
Viewing Status Information . . . . . . . . . . . . . . . . . . . . . . . . . . . . . . 8
Physical Setup . . . . . . . . . . . . . . . . . . . . . . . . . . . . . . . . . . 9
Technical Specications . . . . . . . . . . . . . . . . . . . . . . . . . . . . . . . 10
Frequency Channels . . . . . . . . . . . . . . . . . . . . . . . . . . . . . . . . . . . . . 11
Warranty and FCC Information . . . . . . . . . . . . . . . . . . . . . . . . . . . . 11
If you have any questions when conguring your AvaLAN system, the best place to get answers is
to visit www.avalanwireless.com. You will also nd the latest updates there. If more assistance is
needed, send email to [email protected].
To speak to a live technician, please call technical support at the number below during normal
business hours.
Available from A1 Security Cameras
www.a1securitycameras.com email: [email protected]
AW58100HTA, HTS User’s Manual
PAGE 3
Technical Support (650) 384-0000 www.avalanwireless.com
Quick Start Guide
Step 1. Radios are Precongured out of the Box
Step 2. Mount Radios
Step 3. Align Radios
Step 4. Attach Cables
System Default:
IP Address: 192.168.88.10 (Subscriber Unit)
192.168.88.12 (Access Point)
Username: admin
Password: password
Best Practices:
1. Ensure clear visual path between radios before deployment
2. Test on bench before deployment
3. Networking Cable:
- CAT 6 Shielded Outdoor Grade
- For AW58100 - maximum length 300 ft/100 meters
AW58100HTA
Access Point
AW58100HTS
Subscriber Units
POE
POE
Up to 5 miles Line-of-Sight
Supported
*Networking cable not provided
Multipoint-to-Point
POE
Networking Cable*
Tools Needed:
- ½ inch wrench
- Large Phillips head screwdriver
- Small at screwdriver
Available from A1 Security Cameras
www.a1securitycameras.com email: [email protected]
AW58100HTA, HTS User’s Manual
PAGE 4
Technical Support (650) 384-0000 www.avalanwireless.com
Access Point LED Guide
LED Status Information
Status
Rx
Tx
Ethernet Wireless
Subscriber Unit LED Guide
The wireless status light blinks slowly when the product is powered
and is lit solid when it has a successful wireless connection.
The wireless activity light blinks when receiving data.
The Ethernet activity light blinks when receiving data.
The wireless status light blinks slowly when the product is powered
and is lit solid when it has a successful wireless connection.
This light will blink when receiving data
This light will blink when transmitting data
Status
Wireless
Ethernet
Available from A1 Security Cameras
www.a1securitycameras.com email: [email protected]
AW58100HTA, HTS User’s Manual
PAGE 5
Technical Support (650) 384-0000 www.avalanwireless.com
Digital Conguration
1. Digital conguration is done by means of the radio’s built in browser interface. The unit should be
powered on and connected at least temporarily to a network containing a computer that can run a
conventional web browser.
2. Using your web browser, connect to the radio as described in the Quick Start Guide found earlier
in this manual.
3. The initial page after a successful login is “Quick Set.” The content of this page is somewhat dif-
ferent for the AW58100HTA Access Point and for the AW58100HTS Subscriber Unit.
4. Each page provides a menu on the left to navigate from section to section. The menu looks like this
when its sections are expanded:
Beware that certain actions may cause the web page to freeze. In most cases, this is because you are
viewing a browser-cached version of the page and not the live one from the radio. Clear your browser
cache and/or logout and log back in to recover. You are cautioned not to use the “back” button on
your browser to attempt to move back to earlier pages. If you do, you will be logged out and will
need to login again.
In the upper right of the page is a label that tells you the version of the web interface. If the ver-
sion number is not the same as shown below, you might want to visit www.avalanwireless.com (the
Downloads page under the Support menu) to see if a newer version of this manual exists before pro-
ceeding further.
Connecting to the radio
Available from A1 Security Cameras
www.a1securitycameras.com email: [email protected]
AW58100HTA, HTS User’s Manual
PAGE 6
Technical Support (650) 384-0000 www.avalanwireless.com
Changing The Configuration - Step by Step
Please be aware that if you change the IP Address or User Password and forget their new values, you
have locked yourself out of the browser interface. The AW58100 runs self-diagnostics at boot-up and
will auto-correct most system conguration errors. Prior to calling technical support, it is recom-
mended to power cycle the radio and conrm that the problem remains.
In the event of a lost IP address, reboot the AW58100 to create a temporary IP address of 192.168.88.88
that can be used to access the radio to reset the user-dened IP address. This IP address expires after
3 minutes from reboot. In the event of a lost password, please contact AvaLAN technical support for
assistance.
If you are changing parameters over the RF link (we do not recommend this), be sure to make the re-
mote changes rst because the link will be broken if the network name or Security Keys do not agree.
1. Setting the IP Address and Subnet Mask, Gateway and Device Name:
• In the upper right area of the Quick Set page are the data entry boxes for these parameters.
They contain the current values.
• A special notation is used for the IP Address and Subnet Mask: Use /x at the end of the
IP Address to specify the subnet mask: /8 for 255.0.0.0, /16 for 255.255.0.0 and /24 for
255.255.255.0. Enter a new IP Address and subnet making sure you will be able to browse to
the new address with your computer. Also, make sure that the new IP address is unique on your
LAN.
• The Gateway address should be specied if it is necessary to communicate with the radio
through the Gateway. Your system administrator should have this value.
• The Device Name is an arbitrary string and simply allows you to attach a human-friendly name
to this specic radio.
• Click “Apply Conguration” when you have entered new values. Nothing appears to happen, but
you have been disconnected and will need to browse to the new IP Address to login again.
Available from A1 Security Cameras
www.a1securitycameras.com email: [email protected]
AW58100HTA, HTS User’s Manual
PAGE 7
Technical Support (650) 384-0000 www.avalanwireless.com
2. Setting the User Password:
• On the Main Menu at the left side of the browser window, click “System”, then click
“Password.”
• Enter the old password and the new password twice in the boxes indicated.
• Click the “Change” button.
• Log out and log back in to test.
3. Setting the Frequency, Network name and Encryption Key:
• To set the Frequency, log in to the Access Point and on the quick start page a selection can be
made.
• The Network name is an arbitrary character string that must be set alike in all linked radios.
• The encryption key is a user specied character string.
Available from A1 Security Cameras
www.a1securitycameras.com email: [email protected]