Avantco 177HEAT1836 User manual

User Manual
www.AvantcoEquipment.com 1
Heater/Proofer Cabinets
Models: 177HEAT1836, 177HPI1812, 177HPI1836,
177HPU1812, 177HPU1836
Please read and keep these instructions. Indoor use only.
09/2020
User Manual

User Manual
2 www.AvantcoEquipment.com
SAFETY INFORMATION:
WARNING: Follow all food safety guidelines. Pre-heat the cabinet to the desired temperature before placing
cooked, hot food into the cabinet. This is not a re-thermalizing cabinet. Food must be at the
appropriate temperature before being placed in to this cabinet. Use a food probe to check internal
food temperature—the cabinet temperature is not necessarily the internal food temperature.
WARNING: Only factory approved service agents should attempt to service, repair or replace electrical
components, wiring or power cord.
WARNING: Unplug the cabinet before cleaning or servicing. Do not wash the cabinet with a water jet or high
pressure water.
WARNING: This cabinet is for hot food holding applications only.
CAUTION: Do not spray or pour water into the module. To clean the cabinet, wipe with a damp cloth and dry with a
towel. Use only cleaning agents approved for aluminum.
CAUTION: Water dripping onto the floor from open doors can be a slip hazard.
Identifying Your Cabinet
For future reference, cord the cabinet model number and serial
number found on the serial plate located on the rear of the cabinet. MANUFACTURER ITEM:
ITEM: 177HEAT1836
MADE IN CHINA
DESCRIPTION : UNINSULATED FULL SIZE HEATING
& HOLDING MOBILE CABINET WITH CLEAR DOOR
SERIAL #:
VOLTAGE: 120V WATTS: 1440W
MODEL: _____________________________ SERIAL#:_________________
ITEM #: _____________________________ QUANTITY: _______________
Index
Identifying Your Cabinet ......................................................................2
General Information ............................................................................3
Product Specifications ........................................................................3
Installation ............................................................................................4
Care & Maintenance ............................................................................4
Operating Instructions.........................................................................5
Service Specifications .........................................................................6
Recommended Temperature Guidelines-Food Holding Chart..........7
Drawer Assembly ...........................................................................8-10
Cabinet Assembly ........................................................................ 11-16
Electric Schematic Power Supply ............................................... 17-18
Troubleshooting ................................................................................ 19
Limited Replacement Warranty .........................................................20

User Manual
www.AvantcoEquipment.com 3
General Information
Product Specifications
The models:
177(1)(2)(3)(4)(5) HEATED CABINETS Series,
(1) - HEAT “HEAT” (Only Heat) or
“H” (Commonly Used)
(2) - PROOF “P”
(3) - INSULATE “I”(With Insulate) or
“U” (No Insulate)
(4) - PAN WIDTH INCH
For example 18”
(5) - PAN QTY - From: 12 to 36
For example: 36
These cabinets are designed to hold hot food at a constant temperature and/or supply humidity when proofing when
the application applies. These cabinets are not cooking appliances, and should not be used as such. Safe holding
temperatures and regular temperature checks are necessary for safe and sanitation food handling.
For example: 177 HEAT 18 36
HEATED CABINETS
ONLY HEAT
NO PROOF
PAN QTY 36 PCS
PAN WIDTH 18"
NO INSULATE
For example: 177 H P I 18 36
HEATED CABINETS
HEAT
PROOF
PAN QTY 36 PCS
PAN WIDTH 18"
WITH INSULATE
For example: 177 H P I 18 12
HEATED CABINETS
HEAT
PROOF
PAN QTY 12 PCS
PAN WIDTH 18"
WITH INSULATE
For example: 177 H P U 18 12
HEATED CABINETS
HEAT
PROOF
PAN QTY 12 PCS
PAN WIDTH 18"
NO INSULATE
For example: 177 H P U 18 36
HEATED CABINETS
HEAT
PROOF
PAN QTY 36 PCS
PAN WIDTH 18"
NO INSULATE
Item # Function Cabinet Size Insulation Voltage Wattage Overall Dimensions (W x D x H)
177HPU1812 Holding/Proofing Half Size Non-Insulated 120V 1440W 23.1" x 33.2" x 30.6"
177HPI1812 Holding/Proofing Half Size Insulated 120V 1440W 23.1" x 33.4" x 31.6"
177HEAT1836 Heating Only Full Size Non-Insulated 120V 1440W 23.1" x 33.2" x 66.5"
177HPU1836 Holding/Proofing Full Size Non-Insulated 120V 1440W 23.1" x 33.2" x 66.5"
177HPI1836 Holding/Proofing Full Size Insulated 120V 1440W 23.1" x 33.4" x 67.5"

User Manual
4 www.AvantcoEquipment.com
Installation
Care & Maintenance
1. Upon delivery of the unit, check for shipping damage. Check the packaging and cabinet for shipping damage after
unloading the unit, and after removing all packaging. Notify freight company immediately of shipping damage with
pictures and description.
2. After unpacking the cabinet, set on a stable ground and put casters in the lock position where applicable.
3. Remove all tape and packing material from the outside and inside of the unit.
4. Remove any protective covers on the door and corners of the unit.
NOTE: Use of scrapers (plastic/metal or other material) to remove the protective film on the door may cause
scratches and impair see-through visibility.
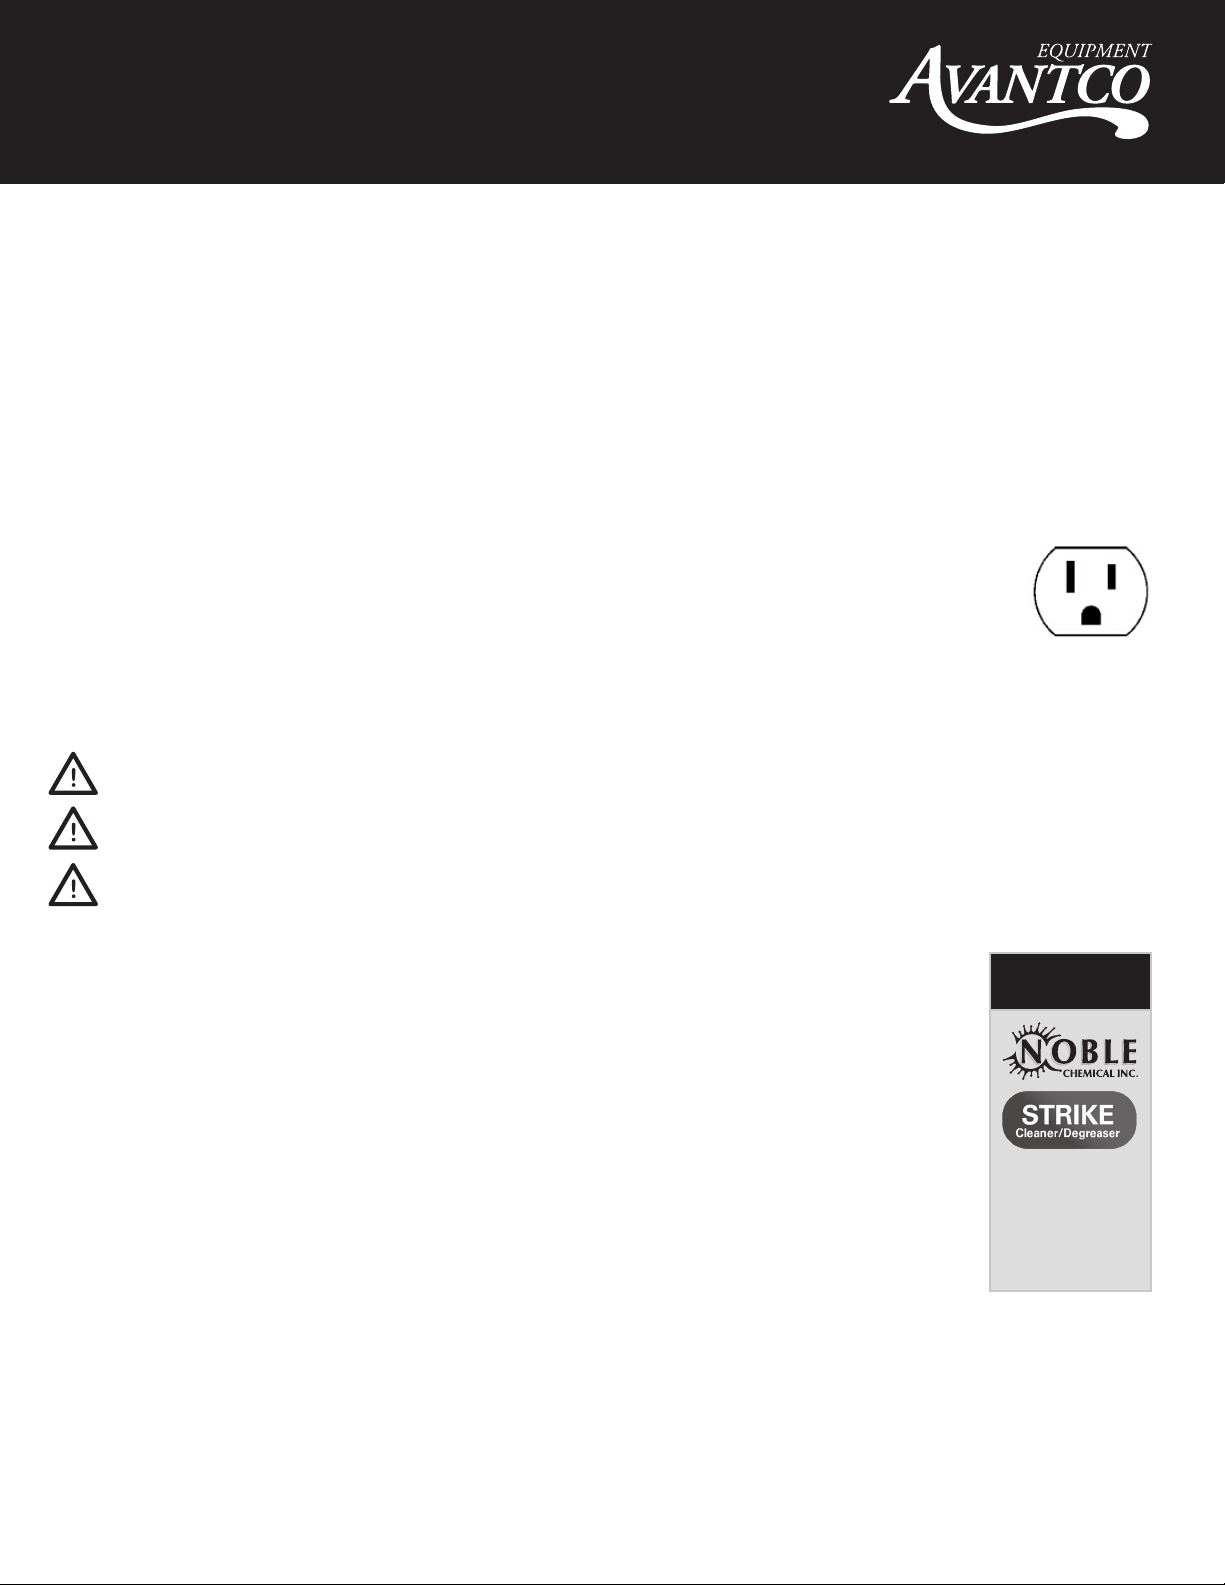
5. After all packaging is removed, plug the cabinet into a dedicated grounded 120V 15 or 20 Amp outlet.
6. Turn the unit on by using the power switch, flip the unit to "heat" mode and adjust dial to maximum
setting 9.
7. Allow the unit to run for at least 1 hour to burn-in the elements and remove any odors evident from
the manufacturing process.
1. Ensure the power cord is not plugged in and the cord is off the ground.
2. Open the door and remove the water pan.
3. Remove the heated control drawer module by lifting the front up enough to clear the detent,
then pull the module away from the cabinet with the power cord through the rear clearance hole.
4. Using a mild detergent diluted to the manufacturers specification and a clean cloth, wipe down
all interior and exterior surfaces excluding the polycarbonate door panel.
5. Using a clean cloth, wipe down all surfaces and then let air-dry.
6. After air-drying, replace the heated control drawer module by slipping the power cord through
the rear clearance hole and sliding the drawer module into the bottom of the unit until it sits on
its detent.
1. Ensure the power cord is not plugged in and the cord is off the ground.
2. Using a cleaner recommended for polycarbonate plastics and a clean cloth, wipe down both sides of the door panel.
NOTE: Use of synthetic cloths or cleaners not intended for polycarbonate plastics may scratch or dull the door panel
3. Isopropyl Rubbing Alcohol or a small amount of liquid dish detergent diluted with water may help remove tough
grease smudges, dirt, or fingerprints as well as help make the panel antistatic and less likely to attract dust.
4. Paste-wax recommended for polycarbonate plastics and approved for food service equipment can be used to help
hide small scratches and return luster and clarity to the door panel as well as help make the panel antistatic and less
likely to attract dust.
WARNING: Unplug the cabinet before cleaning or servicing. Do not wash the cabinet with high-pressured
water or a water jet.
WARNING: Allow the unit to completely cool before cleaning. Not allowing the unit to cool causes risk of
burn injury from the cabinet surfaces.
CAUTION: Do not spray or pour water into the heated control drawer module. Excess water may cause
the heated control drawer module to short-circuit or cease working.
5/20
INSTALLATION
Position your unit on a stable, level surface and plug in the supplied cord into any grounded 120-volt
AC, 15 amps power supply dedicated braker. It is highly recommended that you use ONLY the power
cord supplied. Use of a dedicated circuit will help to insure operational efficiency. Do not operate the
unit with an extension cord.
15Amp Outlet
For Cabinet rated 120V 1500Watt
MAINTENANCE
The equipment has been designed to require minimum maintenance and has been constructed to
meet National Sanitation Foundation and U.S. Public Health Service standards. Non-toxic chemical
cleaners or mild detergents are recommended for cleaning of fixtures. DO NOT use steel wools of
any kind. Steel wool particles will work into the grains of the metal causing corrosion. Also, these
particles can cause a health hazard. If scouring is required, use a non-abrasive type of cleaner. Do
not use caustic solutions on your equipment. Hosing or steam cleaning should not be necessary keep
these fixtures clean and sanitary. Do not allow water or steam to come into contact with electrical
components. Never Power wash or steam clean the cabinet with the power drawer inserted.
CAUTION
Be sure to disconnect power source before cleaning and servicing the unit. Liability for improper or
careless use is the responsibility of the equipment owner or persons servicing the unit, including the
authorized service agent.
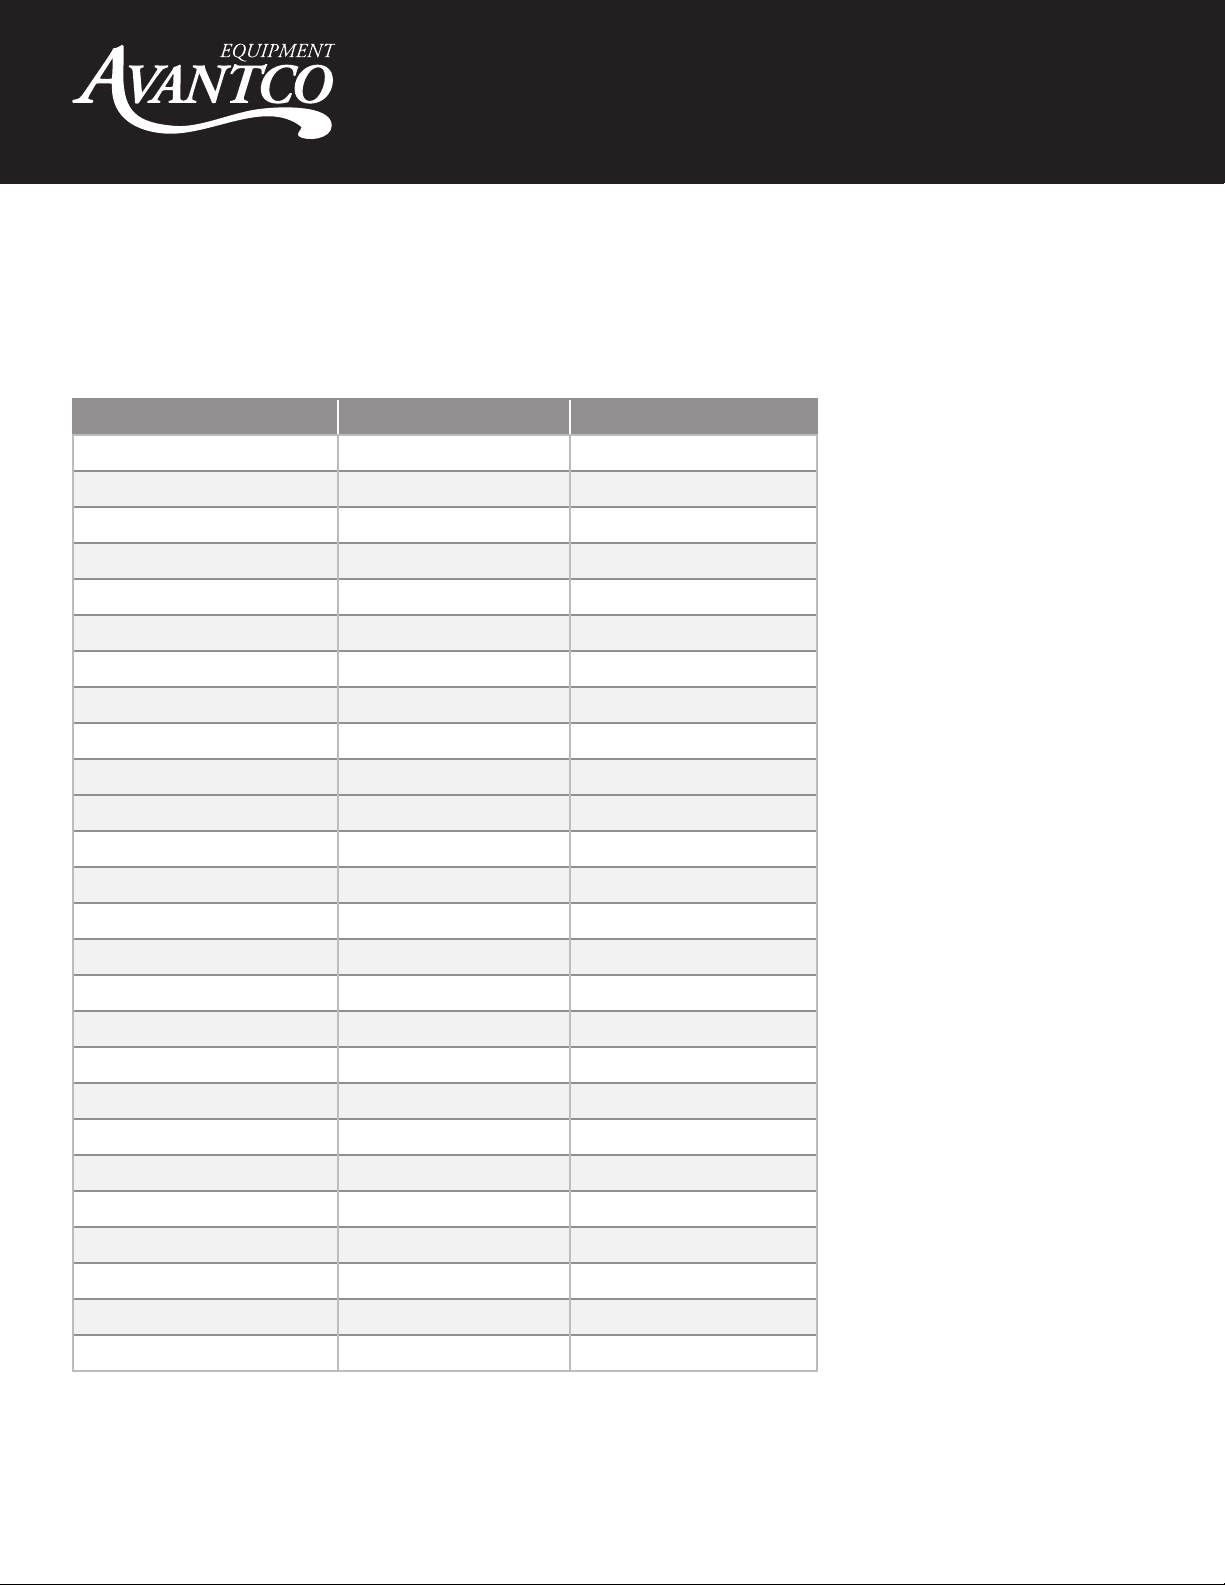
Attack tough
grease, oil, and
carbon with this
ready to use
cleaner and
degreaser.
CLEANING THE CABINET INTERIOR & EXTERIOR (EXCLUDING DOOR PANEL)
DOOR PANEL
PREFERRED
CLEANER

User Manual
www.AvantcoEquipment.com 5
1. Refer to the Serial Plate for electrical requirements. These cabinets are rated at 120V 1500W and must be plugged
into a dedicated grounded 120V 15 or 20 Amp outlet.
NOTE: modification of cord and plug will void warranty and may cause the unit to be inoperable.
2. Ensure the power switch is OFF and plug into appropriate outlet.
3. Fill the water pan to 1/2 from the top with clean HOT tap water for Proofing or if moisture is desired for Holding.
NOTE: Check water level every 3 hours (3 hours when Poorifing) and refile with clean HOT tap water as necessary.
NOTE: water pan does not have to be used/filled for heating applications that do not require moisture.
NOTE: Proofing mode requires use of water pan to be filled.
HEATING/HOLDING INSTRUCTIONS
CONTROL PANELS
PROOFING INSTRUCTIONS
NOTE: Settings will need to be adjusted as necessary to reach desired temperature and humidty levels.
NOTE: The internal air circulation blower and 1500W heating element (controlled with the Heat Thermostat) will oper-
ate continuously when the power switch is turned ON.
A AB BC CD E
Operating Instructions
1. Set HEAT/PROOF Switch (D) to HEAT.
2. Set POWER switch (A) to the ON position. Power indicator light will turn on.
3. Set TEMPERATURE control (C) to 9.
4. Pre-heat cabinet until desired temperature is reached (typical heat-up time from 77°F (25°C) ambient to 160°F (71°C)
is approximately 45 minutes). Cabinet temperature reaches 185°F (85°C) within approximately 45 minutes.
5. Re-set TEMPERATURE control (C) and adjust as necessary to reach desired temperature (setting
6-8 is typical for 150°F (66°C) to 160°F (71°C).
6. Adjust HUMIDITY control (E) to desired level. (9 being the highest, 1 the lowest, OFF being no heat to the water)
1. Set HEAT/PROOF Switch (D) to PROOF.
2. Set POWER switch (A) to the ON position. Power indicator light will turn on.
3. Set TEMPERATURE control (C) to 2.
4. Set HUMIDITY control (E) to 9.
5. Pre-heat cabinet until desired temperature and humidity is reached (typical heat-up time from 77°F (25°C) ambient to
95°F (35°C) and 95% relative humidity is approximately 30 minutes).
6. Adjust HUMIDITY control (E) to desired level. (9 being the highest, 1 the lowest, OFF being no heat to the water)
177HP 177HEAT

User Manual
6 www.AvantcoEquipment.com
The temperature range for heating/holding control is 80-185°F. The dial numbers 1-9 do not correspond or relate to a
specific calibrated temperature. Exact temperature settings must be obtained through familiarization with the unit and
are dependent on the ambient environment temperature and conditions where the unit is placed. The dial also has an
OFF position to turn the heater off. Hot holding of food must be done to proper safe food handling and storage prac-
tices. This unit is not a cooker and not meant to cook or rethermalize food.
The humidity range for humidity/proofing control is 30-100%. The dial numbers 1-9 do no correspond or relate to a
specific calibrated humidity %. Exact humidity settings must be obtained through familiarization with the unit and are
dependent on the ambient environment temperature and conditions where the unit is placed. The dial also has an OFF
position to turn the humidity off. To maintain low temperature range between 85-100°F, switch the proof mode and
adjust the heat/holding control knob to desired heat range. Allow the unit 45 minutes to pre-heat in proofing mode.
NOTE: A use of a hygrometer is recommended for precision proofing applications. For proofing, trial batches and
altering control settings is recommended to dial in the unit to the users exact requirements based on the ambient
temperature and conditions.
Service Specifications
The Heater-Proofer is an aluminum transport cabinet with heaters to function as a hot food holding cabinet, and/or as a
proofing cabinet.
The heater, or heat drawer, is slid into place on the lower ledges of the cabinet. An electrical power cord is provided
and plugged into the drawer through an access hole in the back of the cabinet. The main power switch on the front of
the drawer, when switched ON, will turn on the light in the switch and turn on the air circulating fan in the drawer. The
circulating fan and 1500W heater element will operate continuously while the unit is ON.
The thermostat control knobs are mounted to the left and right of the HEAT/PROOF switch. The left thermostat knob
controls the heat in the cabinet from 1 (approx. 30% relative humidity) to 9 (100% relative humidity). Average setting is 6
(approx. 85% relative humidity).
HEATING/HOLDING INSTRUCTIONS
HUMIDITY/PROOFING CONTROL

User Manual
www.AvantcoEquipment.com 7
Recommended Temperature
Guidelines Food Holding Chart
Food Product Covered/Uncovered Temperature Setting
Baked Fish Uncovered 175°F
Baked Potatoes Uncovered 180°F
Biscuit Covered 180°F
Broccoli Uncovered 170-175°F
Chicken Nuggets Covered 175°F
Corn on the Cob Uncovered 170-175°F
Croissants Covered 175°F
Egg Patties Uncovered 180°F
French Fries Uncovered 185°F
Fried Chicken Uncovered 180-185°F
Fried Fish Uncovered 180°F
Hamburgers Covered 180°F
Lasagna Covered 185°F
Mashed Potatoes Covered 175°F
Mixed Veggies Covered 170-175°F
Pancakes Covered 175°F
Pastas Covered 180°F
Peas Covered 170-175°F
Pizza Uncovered 175-180°F
Roast Beef Uncovered 170-180°F
Roast Pork Uncovered 170-180°F
Scalloped Potatoes Covered 175°F
Strip Steak Uncovered 160-170°F
Turkey Uncovered 170-180°F
Waffles Covered 175°F
Whole Chicken Uncovered 170-180°F

User Manual
8 www.AvantcoEquipment.com
9/20
Drawer Assembly
HCD1500 Drawer Diagram
Drawer Assembly
177DRWRHP Drawer Diagram
For Models 177HPU1812, 177HPI1812, 177HPU1836 & 177HPI1836

User Manual
www.AvantcoEquipment.com 9
10/20
HCD1500H Drawer Diagram
Drawer Assembly
177DRWRHEAT Drawer Diagram
For Models 177HEAT1836

User Manual
10 www.AvantcoEquipment.com
11/20
Drawer Replacement Parts
Item# Photo Part No. Part Description HCD1500 Qty HCD1500H Qty
03
HCD-030 Cable Bushing 1 1
04
HCD-031 Power Cable 1 1
05
HCD-026 Terminal Block 1 1
14
HCD-035 Knob 2 1
15
HCD-024 Thermometer 1 1
16
HCD-016 Main Switch with
light Red
1 1
18
HCD-019 Limit Temp.
Thermostat
1 1
19
HCD-034 Temp. Thermostat 2 1
20
HCD-017 Transformer 1 1
27
HCD-011 Heating element
900W
1 1
26
HCD-010 Heating element
600W
1 1
29
HCD-008 SS Water Pan 1 N/A
32
HCD-009 Heating element
600W
1 N/A
36
HCD-036 Switch Heat/Proof
Red
1 N/A
Drawer Replacement Parts
Item # Diagram # Photo Part No. Description 177DRWRHP
Quantity
177DRWRHP
Quantity
- 03 HCD-030 Cable Bushing 1 1
177PCORD 04 HCD-031 Power Cable 1 1
- 05 HCD-026 Terminal Block 1 1
177PHCD035 14 HCD-035 Knob 2 1
- 15 HCD-024 Thermometer 1 1
- 16 HCD-016 Main Switch
with Red Light 1 1
177PHCD019 18 HCD-019 Limit Temperature
Thermostat 1 1
177PHCD034 19 HCD-034 Temperature
Thermostat 2 1
- 20 HCD-017 Transformer 1 1
177PHCD011 27 HCD-011 Heating Element
900W 1 1
177PHCD010 26 HCD-010 Heating Element
600W 1 1
- 29 HCD-008 SS Water Pan 1 N/A
177PHCD009 32 HCD-009 Heating Element
600W 1 N/A
177PHCD036 36 HCD-036 Heat/Proof Switch
with Red Light 1 N/A

User Manual
www.AvantcoEquipment.com 11
Cabinet Assembly
177HPI1836 Diagram

User Manual
12 www.AvantcoEquipment.com
Cabinet Assembly
177HPU1836 Diagram

User Manual
www.AvantcoEquipment.com 13
B
5
6
2
4
7
3
9
1
13
12
19
10
11
15
18
8
only heat drawer
16
17
14
Cabinet Assembly
177HEAT1836 Diagram

User Manual
14 www.AvantcoEquipment.com
Cabinet Assembly
177HPU1812 Diagram

User Manual
www.AvantcoEquipment.com 15
A
23
3
9
13
12
10
24
21
20
22
1
2
4
5
67
8
11
18
25
27
26
NONE
19
14
15
16
17
Cabinet Assembly
177HPI1812 Diagram

User Manual
16 www.AvantcoEquipment.com
Cabinet Replacement Parts
Item # Description Quantity Use for Cabinets
07 Half Size Rear Hanging Panel 1 177HPU1812
177HPI1812
07 Full Size Rear Hanging Panel 1
177HPU1836
177HPI1836
177HEAT1836
08/09 Magnetic Strips (Top 1 pc., Left/Right 2 pcs. Included) 1 177HPU1812
177HPI1812
08/09 Magnetic Strips (Top 1 pc., Left/Right 2 pcs. Included) 1
177HPU1836
177HPI1836
177HEAT1836
10 Half Size Door Assembly 1 177HPU1812
177HPI1812
10 Full Size Door Assembly 1
177HPU1836
177HPI1836
177HEAT1836
11 Hinge 2 All Models
12 Combination Holding/Proofing Drawer 1
177HPU1812
177HPI1812
177HPU1836
177HPI1836
12 Heating Drawer 1 177HEAT1836
13 Black Plastic Drip Pan 1 All Models
14 5" Caster with Brake (Hardware Included) 4 All Models
15 Rubber Corner Bumper 4 All Models

User Manual
www.AvantcoEquipment.com 17
18/20
Electric Schematic Power Supply
HEAT/PROOF Models (177HP Drawer)

User Manual
18 www.AvantcoEquipment.com
19/20
Only HEAT Models (177HEAT Drawer)

User Manual
www.AvantcoEquipment.com 19
Troubleshooting
Each unit is shipped with this instruction manual and should be used as a reference guide for all service areas. The
manual provides a picture of the drawer, showing the location of electrical components and a description of each. If the
unit does not operate correctly, or malfunctions for any reason, the following check list should provide a solution.
1) Check to make sure power cord is firmly plugged into the wall outlet.
2) Check circuit breaker of wall outlet and reset if necessary.
IF unit fails to start, please do the following:
3) Remove heat drawer from cabinet. Remove bottom cover of drawer. Visually inspect to observe for:
a. Loose or disconnected wires
b. Black or burnt marks on any components
c. Loose heating elements
4) If any burn marks or discoloration of wires is noted on any component, the component along with all wires attached
to the damaged component must be replaced.
5) If a heater element is loose, or if it has broken loose from mounting tabs, the wires will short out on the metal,
causing permanent damage. Both the element and main power switch (with wires on switch) must be replaced.
6) If the temperature on the LED Thermometer is not reading a constant temperature, it must be replaced along with its
power supply transformer.
CAUTION
Before disassembling unit, electrical power must be disconnected by unplugging the unit. Failure to unplug the unit
prior to servicing may result in electrical shock.

User Manual
20 www.AvantcoEquipment.com
Equipment Limited Warranty
To Make a Warranty Claim:
For Warranty Inquiries contact the locaon where you purchased the product:
• WebstaurantStore.com: Contact help@webstaurantstore.com. Please have your order number ready.
• The Restaurant Store: If you purchased this unit from your local store, please contact your store directly.
• TheRestaurantStore.com: Online purchases, call 717-392-7261. Please have your order number ready.
Failure to contact the designated locaon prior to obtaining equipment service may void your warranty.
Avantco makes no other warranes, express or implied, statutory or otherwise, and HEREBY DISCLAIMS ALL IMPLIED
WARRANTIES, INCLUDING THE IMPLIED WARRANTIES OF MERCHANTABILITY AND OF FITNESS FOR A
PARTICULAR PURPOSE.
This Limited Warranty does not cover:
• Equipment sold or used outside the Connental United States
• Use of unltered water (if applicable)
• Avantco has the sole discreon on wearable parts not covered under warranty
• Equipment not purchased directly from an authorized dealer
• Equipment used for residenal or other non-commercial purposes
• Equipment that has been altered, modied, or repaired by anyone other than an authorized service agency
• Equipment where the serial number plate has been removed or altered.
• Damage or failure due to improper installaon, improper ulity connecon or supply, and issues resulng from
improper venlaon or airow.
• Defects and damage due to improper maintenance, wear and tear, misuse, abuse, vandalism, or Act of God.
Any acon for breach of this warranty must be commenced within 1 year of the date on which the breach occurred.
No modicaon of this warranty, or waiver of its terms, shall be eecve unless approved in a wring signed by the
pares. The laws of the Commonwealth of Pennsylvania shall govern this warranty and the pares’ rights and dues under
it. Avantco shall not under any circumstances be liable for incidental or consequenal damages of any kind, including but
not limited to loss of prots.
Avantco warrants its equipment to be free from defects in material and workmanship for a period of 1 year. This is the sole
and exclusive warranty made by Avantco covering your Avantco brand equipment. A claim under this warranty must be made
within 1 year from the date of purchase of the equipment. Only the equipment’s original purchaser may make a claim under
this warranty. Avantco reserves the right to approve or deny the repair or replacement of any part or repair request. The
warranty is not transferable. Avantco Equipment installed in/on a food truck or trailer will be limited to a period of 30 days
from the original date of purchase.
This manual suits for next models
4
Table of contents
Other Avantco Food Warmer manuals

Avantco
Avantco 177RW90 User manual

Avantco
Avantco W50CKR User manual

Avantco
Avantco 177RW60 User manual

Avantco
Avantco 177HEAT1836I User manual

Avantco
Avantco W50 User manual

Avantco
Avantco 177ICW300 User manual

Avantco
Avantco W30 User manual

Avantco
Avantco 177ACR18SS User manual

Avantco
Avantco 177W50 User manual
Popular Food Warmer manuals by other brands

SPT
SPT SH-113FB user manual

Alto-Shaam
Alto-Shaam 1000-BQ2/192 Specification sheet

Alto-Shaam
Alto-Shaam Halo Heat 100-HW SERIES maintenance

Alto-Shaam
Alto-Shaam 1200-UPS Installation operation & maintenance

Alto-Shaam
Alto-Shaam Halo Heat 750-S Specification sheet

Cater Chef
Cater Chef 921.510 operating instructions