MAA; Reviewed:
SPOC 11/20/2012
Solution & Interoperability Test Lab Application Notes
©2012 Avaya Inc. All Rights Reserved.
1. Introduction
These Application Notes describe the configuration steps required to integrate the Plantronics
DA60 USB Adapter and Plantronics SupraPlus Wideband and EncorePro headsets to operate
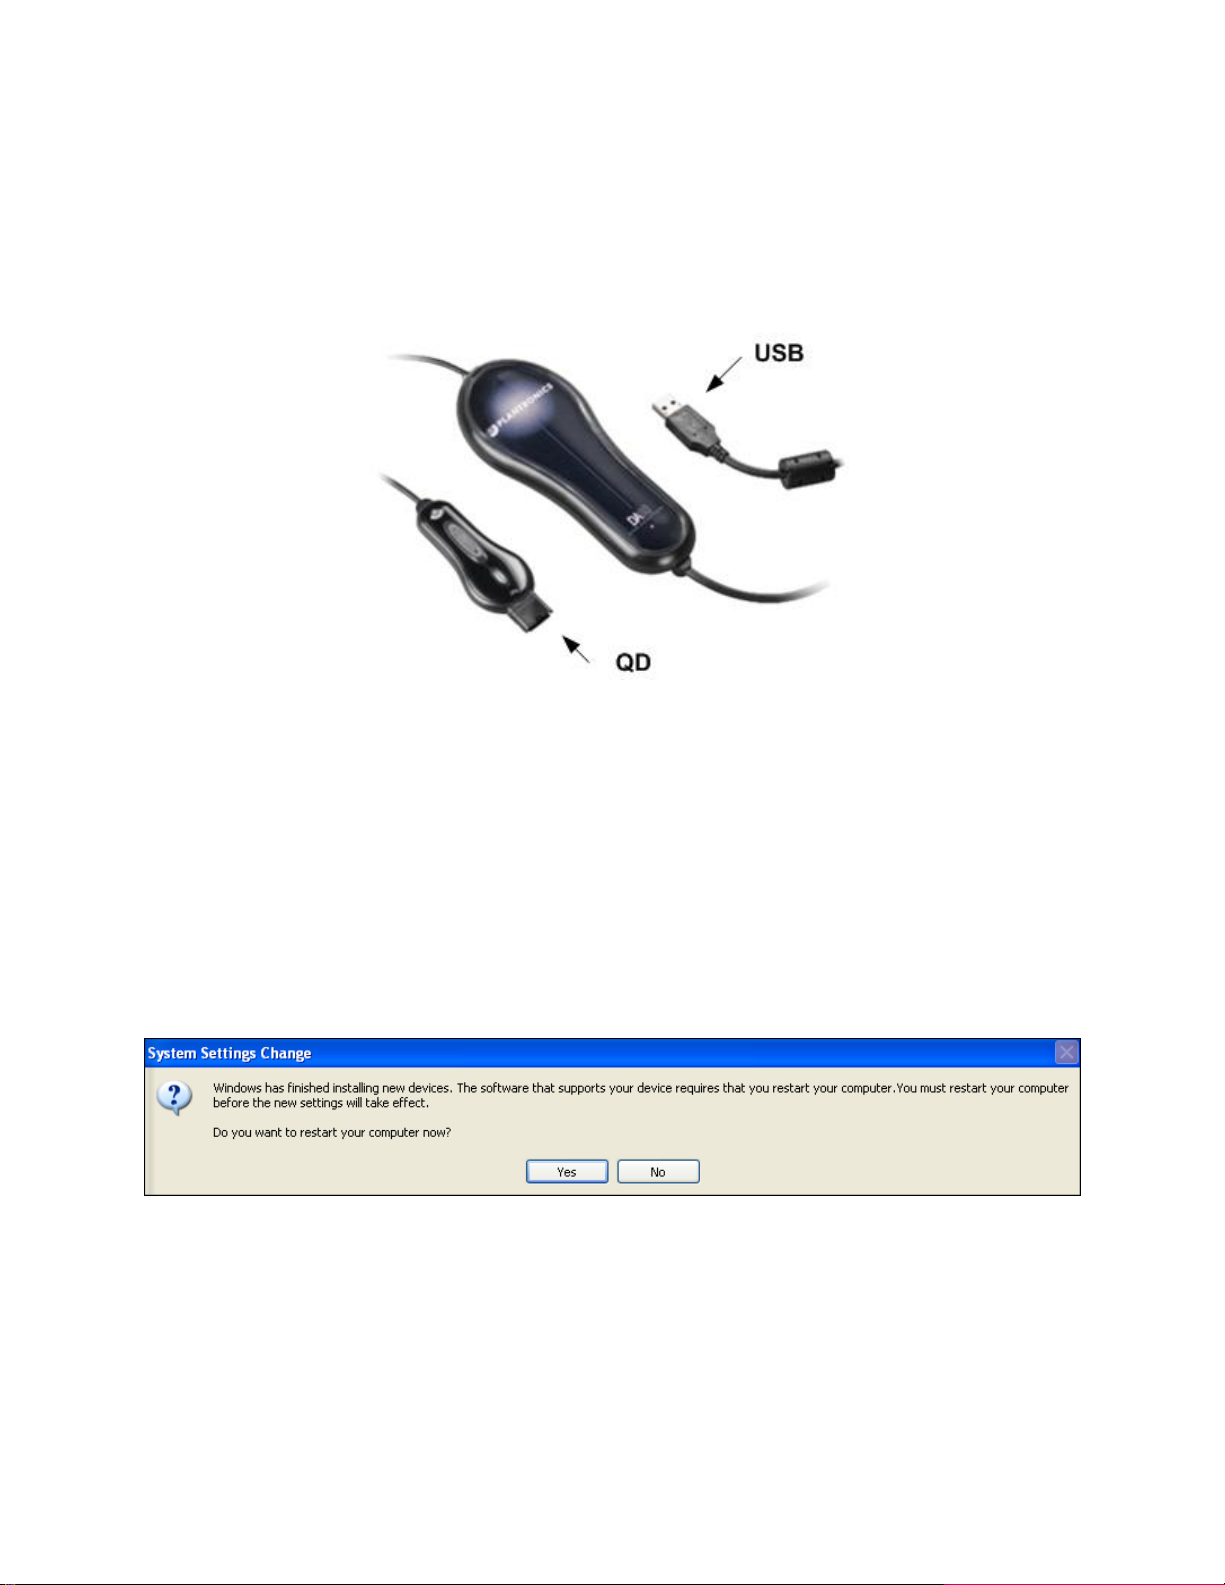
with Avaya one-X® Attendant. The Plantronics DA60 is an enterprise class, corded USB-to-
headset adapter that provides Plantronics H-Series headsets, traditionally used with desk phones,
the ability to connect to a PC for use with softphone applications. Plantronics SupraPlus
Wideband and EncorePro headsets were used to verify the functionality of the adapter.
In this compliance testing, the following headsets and accessories were tested:
Plantronics DA55 USB Adapter - Provides the headsets with an USB interface for
connection to a PC. Features Digital Signal Processing, Echo Suppression Technology
and Quick Disconnect™capability. Includes inline Volume and Mute controls
Plantronics SupraPlus Wideband HW251N –Monaural, noise cancelling headset
Plantronics SupraPlus Wideband HW261N –Binaural, noise cancelling headset
Plantronics EncorePro HW291N –Monaural, noise cancelling headset
Plantronics EncorePro HW301N –Binaural, noise cancelling headset
2. General Test Approach and Test Results
The interoperability compliance test included functionality and serviceability testing. The
functionality testing focused on placing and receiving calls to and from Avaya one-X®
Attendant clients using the Plantronics headsets and adapters, and verifying talk path in both
directions. The type of calls made included calls to voicemail, and calls to and from internal
extensions and the PSTN.
The serviceability testing focused on verifying the usability of the Plantronics adapter and
headsets after the DA60 adapter was disconnected and reconnected to the USB port of the PC,
the Avaya one-X® Attendant application was restarted, and after a reboot on the PC where
Avaya one-X® Attendant was installed.
DevConnect Compliance Testing is conducted jointly by Avaya and DevConnect members. The
jointly-defined test plan focuses on exercising APIs and/or standards-based interfaces pertinent
to the interoperability of the tested products and their functionalities. DevConnect Compliance
Testing is not intended to substitute full product performance or feature testing performed by
DevConnect members, nor is it to be construed as an endorsement by Avaya of the suitability or
completeness of a DevConnect member’s solution.
Avaya’s formal testing and Declaration of Conformity is provided only on the headsets/handsets
that carry the Avaya brand or logo. Avaya may conduct testing of non-Avaya headset/handset to
determine interoperability with Avaya phones. However, Avaya does not conduct the testing of
non-Avaya headsets/handsets for: Acoustic Pressure, Safety, Hearing Aid Compliance, EMC
regulations, or any other tests to ensure conformity with safety, audio quality, long-term
reliability or any regulation requirements. As a result, Avaya makes no representations whether a