manuals.online logo
Brands
  1. Home
  2. •
  3. Brands
  4. •
  5. AVCOMM
  6. •
  7. Switch
  8. •
  9. AVCOMM 628GX4 User manual

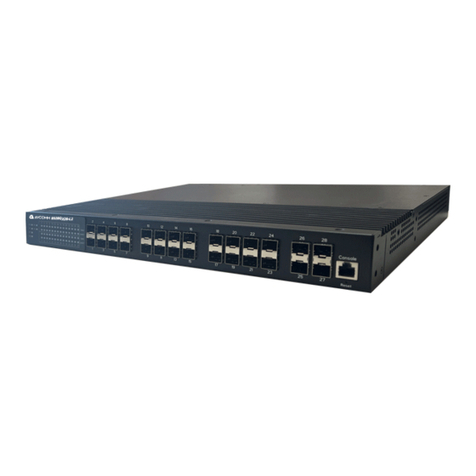
AVCOMM 628GX4 User manual

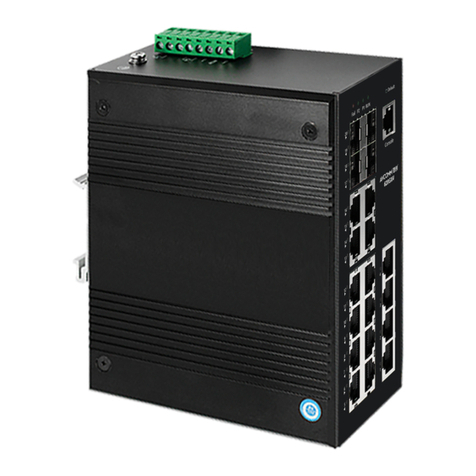
628GX4
24+4G 1000M Managed
Ethernet Switch
628GX4is 24-port 10/100Base-TX RJ-45 and 4-port 1000Base-
FX managed Ethernet switch with reverse polarity protection of
DC input.It has ingenious appearance design and supports rack-
mounted to facilitate in various industrial network applications.
・Overview
Quick Installation Guide
・Safety Precautions
AVCOMM Technologies, Inc
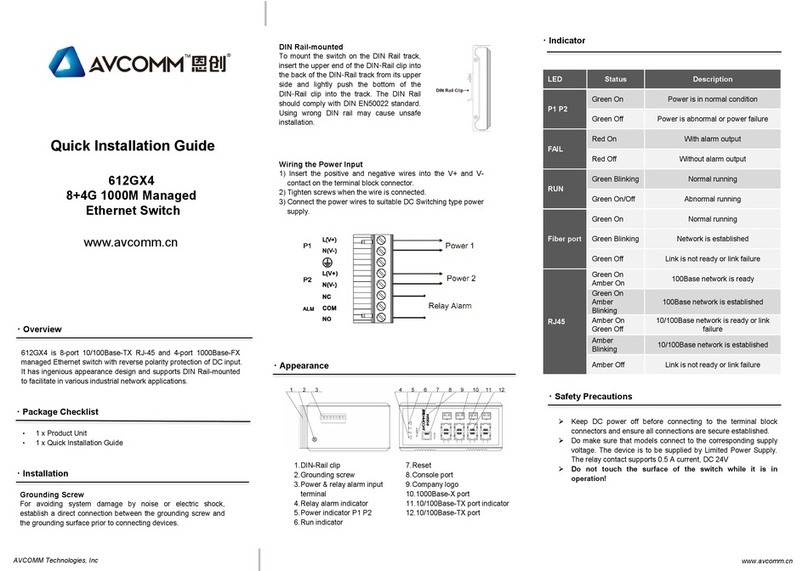
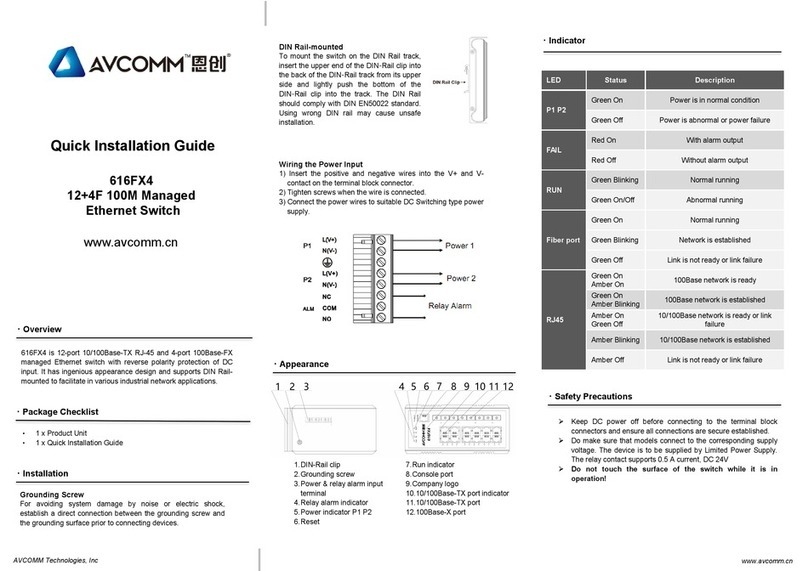
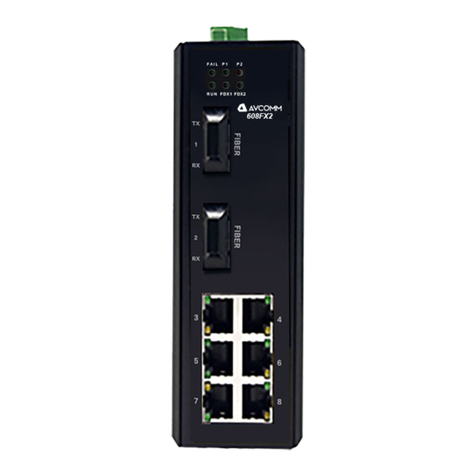
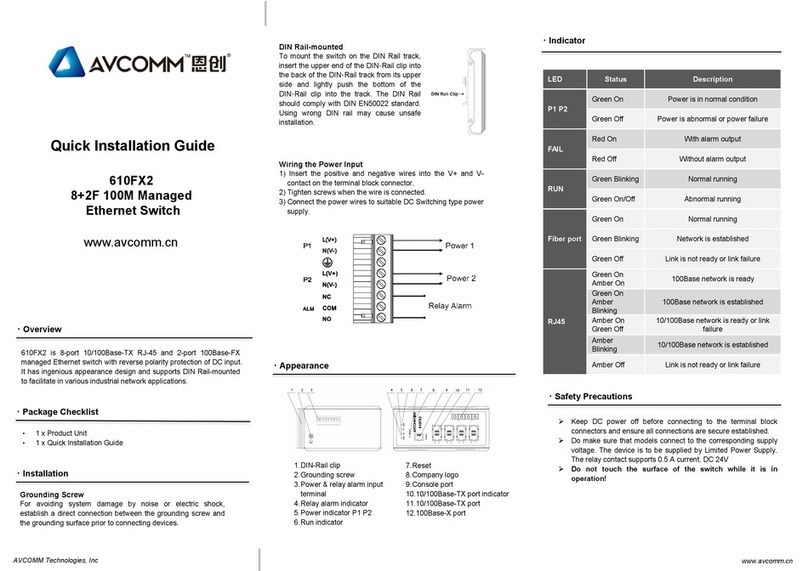
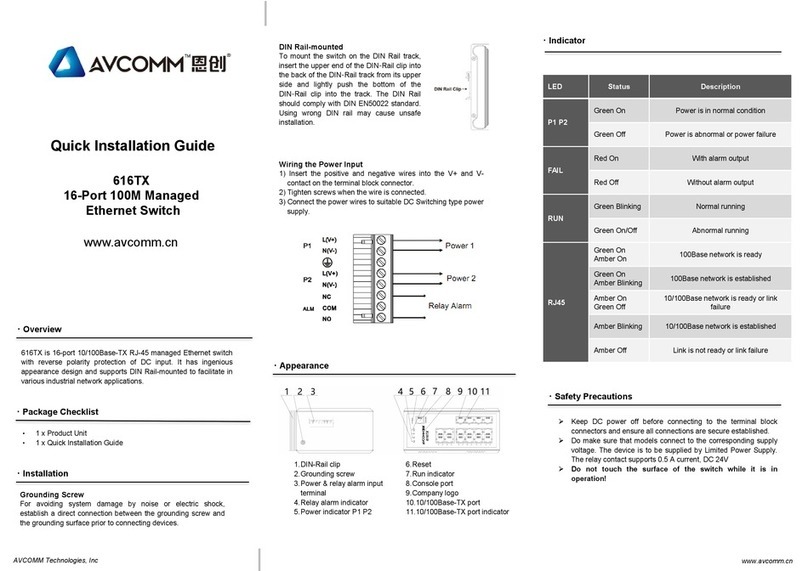
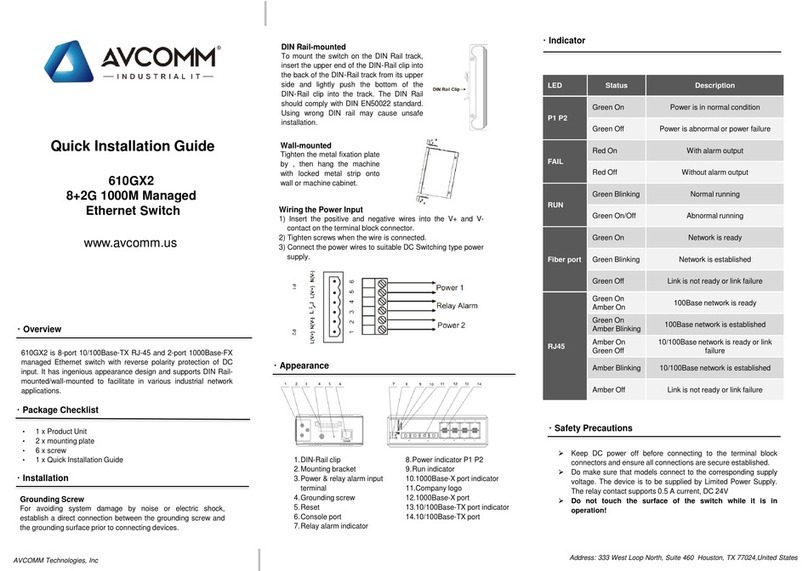
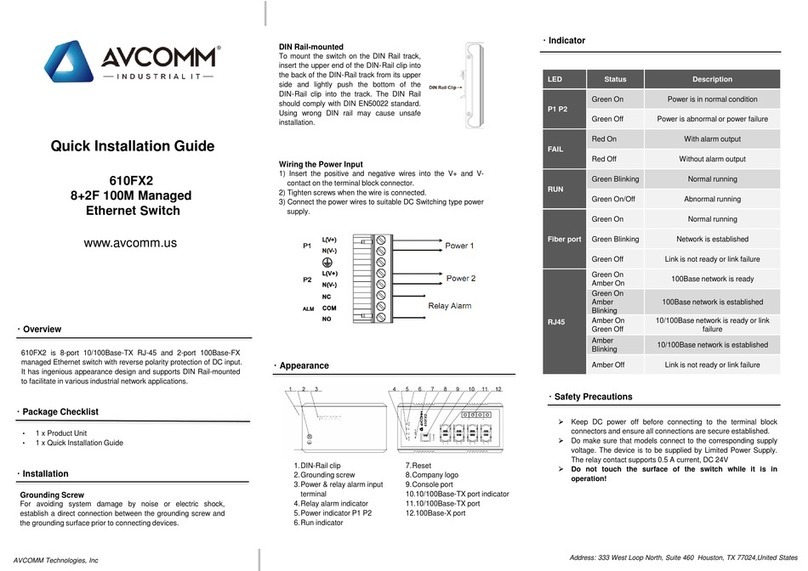
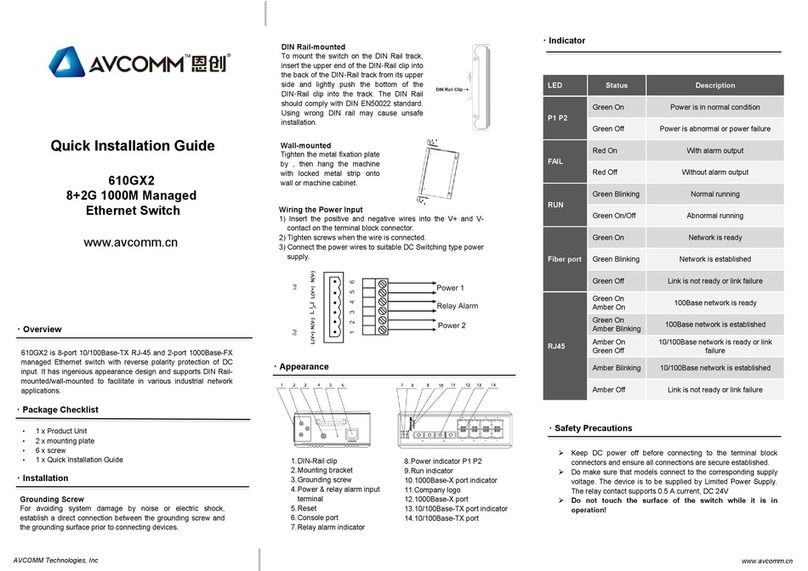
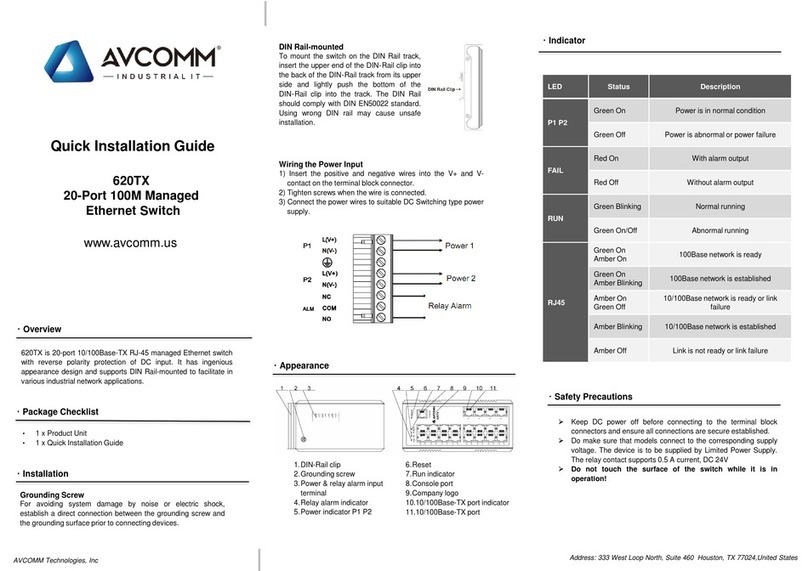
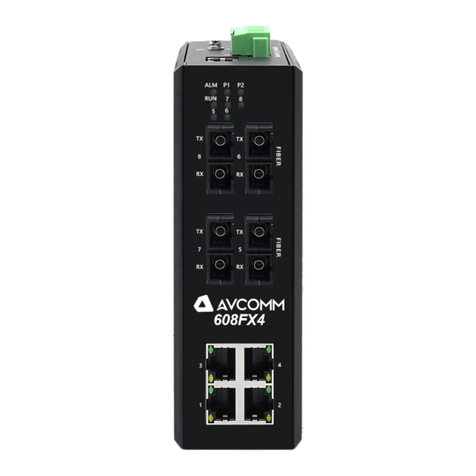
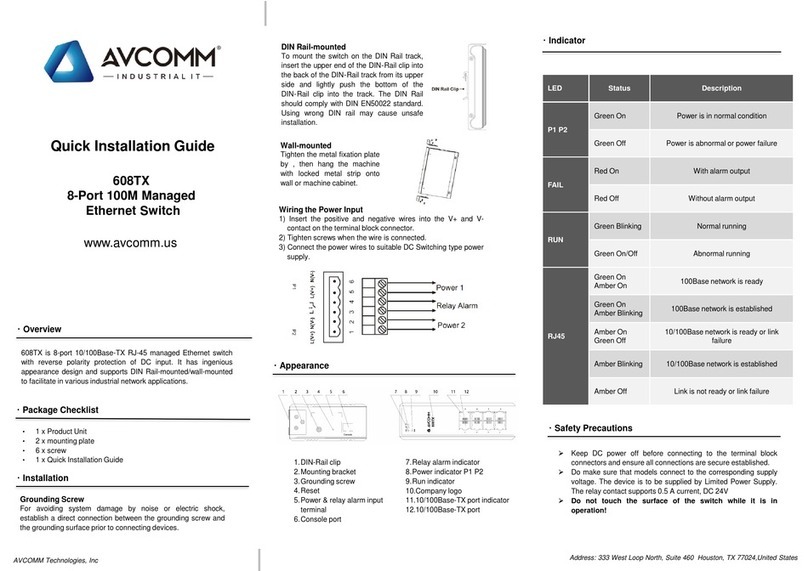
・Appearance
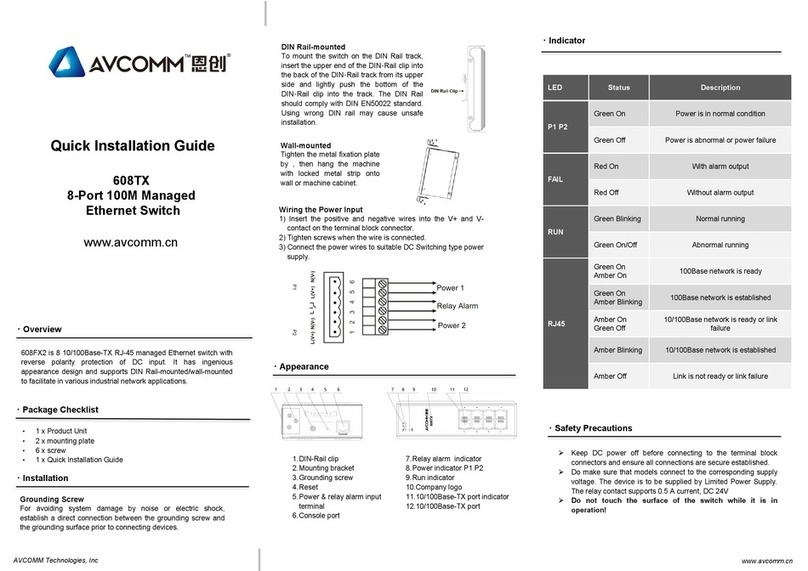
1.Mounting bracket
2.Grounding screw
3.Power input terminal
4.Relay alarm terminal
5.10/100Base-TX port
6.10/100Base-TX port indicator
7.1000Base-X port indicator
8.1000Base-X port
9.Company logo
10.Run indicator
11.Power indicator P1 P2
12.Relay alarm indicator
13.10/100Base-TX port indicator
14.Console port
15.Reset
•1 x Product Unit
•1 x Console Port Cable
•1 x Quick Installation Guide
・Package Checklist
Rack-mounted
1) Check the grounding and stability of
1U cabinet.Fix the mounting bracket
on both sides of the switch panel with
screws,
2) Place the switch on the tray of the
cabinet, move the switch until it is in
the right position.
3) Fix the mounting bracket on the slots
of the rack with screws tightly.
・Indicator
Grounding Screw
For avoiding system damage by noise or electric shock,
establish adirect connection between the grounding screw and
the grounding surface prior to connecting devices.
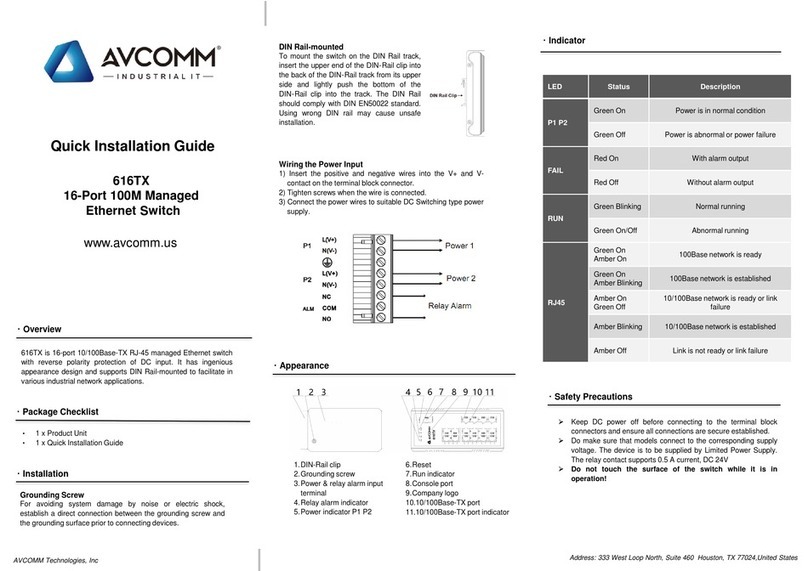
Wiring the Power Input
1) Insert the positive and negative wires into the V+ and V-
contact on the terminal block connector.
2) Tighten screws when the wire is connected.
3) Connect the power wires to suitable DC Switching type power
supply.
Keep DC power off before connecting to the terminal block
connectors and ensure all connections are secure established.
Do make sure that models connect to the corresponding supply
voltage.The device is to be supplied by Limited Power Supply.
The relay contact supports 0.5 A current, DC 24V
Do not touch the surface of the switch while it is in
operation!
www.avcomm.cn
www.avcomm.cn
LED Status Description
P1 P2
Green On Power is in normal condition
Green Off Power is abnormal or power failure
FAIL
Red On With alarm output
Red Off Without alarm output
RUN
Green Blinking Normal running
Green On/Off Abnormal running
Fiber port
Green On Normal running
Green Blinking Network is established
Green Off Link is not ready or link failure
RJ45
Green On
Amber On 100Base network is ready
Green On
Amber Blinking 100Base network is established
Amber On
Green Off
10/100Base network is ready or link
failure
Amber Blinking 10/100Base network is established
Amber Off Link is not ready or link failure
・Installation
Wiring the Relay Output (Alarm)
The relay output of the 3-pin terminal block
connector alarms the circuit status which
include Normal Closed (NC), Normally
Opened (NO) and Common (COM).
AVCOMM Technologies, Inc www.avcomm.cn
This device supports both in-band and out-of-band network management.
The user can either configure the device through the user-friendly
Web/HTTPS management or remotely manage the device through the
network by console management or Telnet/SSH.
1. Web management:Before start, confirm that device is properly
connected in the network and that each PC in this network can
access the router through the web browser (Google Chrome,
Internet Explorer, Mozilla Firefox).
•Type http://IP_address in the address bar (Default IP address is
http://192.168.1.254/)
•Enter the username and password in Login screen and click Login.
The default username and password are admin.
•You are required to change your password at first login.the
welcome page of the web-based management interface will pop up
when password is changed.
•On the left side you can see the list of software features, on the right
side –available settings.
Make sure that the IP Address of the PC is accessed in the same
subnet(192.168.1.x).
2. Console management (using RS232 Port):
•Connect console cable between your PC and the device.
•Start -> Program -> SecureCRT-> Rapid connection.
•Give aname to anew console connection.
•Choose the COM name(COM6) and select correct serial settings:
Baud Rate:115200 /Parity:None /Data Bit:8/Stop Bit: 1/Control of
flow:None
•Enter the username and password to login after connected (for
default system administrator, both username and password are
admin.For general user, both username and password are guest).
•Follow the User Manual to configure the software features.
3. Telnet management.The router can be connected by Telnet and
the command-lines.Steps to open Telnet connection to the router
are as follow:
• Start -> Open Command prompt ->Enter
•Type the username and password of Telnet, the default value are admin.
•Type the managed IP address of the Ethernet port that connected with
the PC and press Enter until “Username” appears to be entered.
SSH (Secure Shell)
The device also supports SSH console.You can remotely connect to the
switch to access command line interface.The SSH connection can
secure all the configuration commands you sent to the switch.
SSH is aclient/server architecture while the Switch is the SSH server.
When you want to make SSH connection with the switch, you should
download the SSH client tool first.
SSH Client
There are many free, sharewares, trials or charged SSH clients you can
find on the internet.
For further feature configurations, please refer to User Manual.
・Management
AVCOMM reserves the right to make changes to this QIG or to the
product hardware at any time without notice.It is the user’s
responsibility to determine whether there have been any such updates
or amendments herein.
Defects, malfunctions, or failures of the warranted Product(s) caused by
damage resulting from unforeseeable incidents (such as lightings,
floods, fire, etc.), environmental and atmospheric disturbances, other
external forces such as power line disturbances and surge, host
computer malfunction and virus, incorrect power input, or incorrect
cabling, incorrect grounding and damages caused by misuse, abuse
and unauthorized alteration or repair are not warranted.
・Disclaimer
・Warranty
5-year Global warranty are available for AVCOMM products assuring
our customers that the products shall remain free from defects in
workmanship or materials and conform in all material respects to
AVCOMM specifications, or purchasers supplied and accepted
specifications.The warranty is limited to the repair and/or replacement,
at AVCOMM sole discretion, of the defective product during its warranty
period.The customer must obtain aReturn Merchandise Authorization
(RMA) approval code prior to returning the defective Product to
AVCOMM for service.The customer agrees to prepay shipping charges,
to use the original shipping package or equivalent, and to ensure the
product or assume the risk of loss or damage in transit.repaired or
replaced products are warranted for ninety (90)days from the date of
repair or replacement, or for the remainder of the original product's
warranty period, whichever is longer.
At AVCOMM, you can use the online service forms to request the
support.The submitted forms are stored in server for AVCOMM team
member to assign tasks and monitor the status of your service.Please
feel free to write sales@avcomm.cn if you encounter any problems.
・Support
Other AVCOMM Switch manuals

AVCOMM 8028GX28 User manual

AVCOMM

AVCOMM 8028GX28 User manual

AVCOMM 6028GX8-POE User manual

AVCOMM

AVCOMM 6028GX8-POE User manual

AVCOMM 612GX4 User manual

AVCOMM

AVCOMM 612GX4 User manual

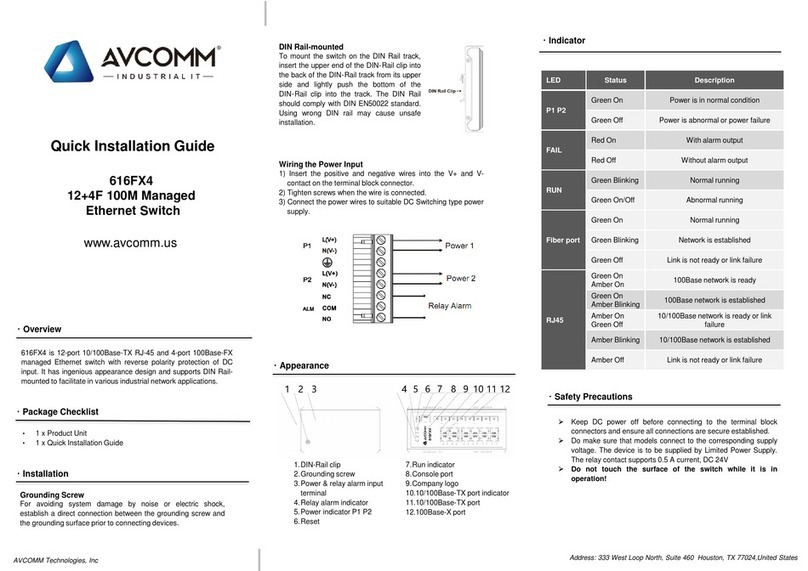
AVCOMM 616FX4 User manual

AVCOMM

AVCOMM 616FX4 User manual

AVCOMM 608FX2 User manual

AVCOMM

AVCOMM 608FX2 User manual

AVCOMM 610FX2 User manual

AVCOMM

AVCOMM 610FX2 User manual

AVCOMM 616TX User manual

AVCOMM

AVCOMM 616TX User manual

AVCOMM 610GX2 User manual

AVCOMM

AVCOMM 610GX2 User manual

AVCOMM 620GX4 User manual

AVCOMM

AVCOMM 620GX4 User manual

AVCOMM 610FX2 User manual

AVCOMM

AVCOMM 610FX2 User manual

AVCOMM 6028GX8-POE User manual

AVCOMM

AVCOMM 6028GX8-POE User manual

AVCOMM 608TX User manual

AVCOMM

AVCOMM 608TX User manual

AVCOMM 616TX User manual

AVCOMM

AVCOMM 616TX User manual

AVCOMM 8028GX8-AC2 User manual

AVCOMM

AVCOMM 8028GX8-AC2 User manual

AVCOMM 5236TG28 User manual

AVCOMM

AVCOMM 5236TG28 User manual

AVCOMM 610GX2 User manual

AVCOMM

AVCOMM 610GX2 User manual

AVCOMM 620TX User manual

AVCOMM

AVCOMM 620TX User manual

AVCOMM 608FX4 User manual

AVCOMM

AVCOMM 608FX4 User manual

AVCOMM 608TX User manual

AVCOMM

AVCOMM 608TX User manual

AVCOMM 616FX4 User manual

AVCOMM

AVCOMM 616FX4 User manual

Popular Switch manuals by other brands

Speaka Professional 1435386 operating instructions

Speaka Professional

Speaka Professional 1435386 operating instructions

CP TECHNOLOGIES GES-1651 Quick installation guide

CP TECHNOLOGIES

CP TECHNOLOGIES GES-1651 Quick installation guide

CyberData 4-Port PoweredUSB 2.0 Hub 011006 Quick reference guide
CyberData

CyberData 4-Port PoweredUSB 2.0 Hub 011006 Quick reference guide
TRENDnet TEG-S80ES user guide

TRENDnet

TRENDnet TEG-S80ES user guide

Ihse Draco major K474-U8/C8 user manual

Ihse

Ihse Draco major K474-U8/C8 user manual

United Electric Controls 12 Series Installation and operation instruction

United Electric Controls

United Electric Controls 12 Series Installation and operation instruction

Philips SWS3434W Specification sheet

Philips

Philips SWS3434W Specification sheet

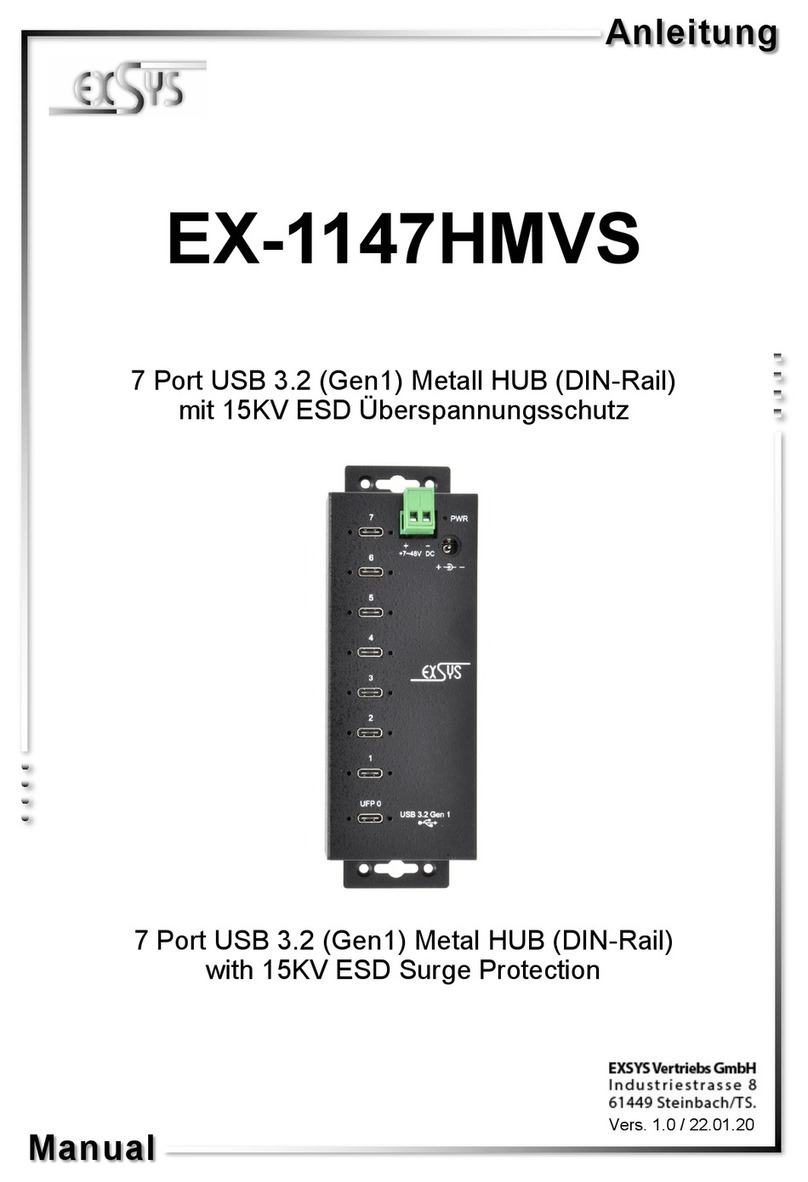
Exsys EX-1147HMVS manual

Exsys

Exsys EX-1147HMVS manual

Gesint CL S quick start guide

Gesint

Gesint CL S quick start guide

ATEN CS1942DP user manual

ATEN

ATEN CS1942DP user manual

Sangamo RPTS Q550 Installation & user's instructions

Sangamo

Sangamo RPTS Q550 Installation & user's instructions

Key Digital KD-XWPS manual

Key Digital

Key Digital KD-XWPS manual

jbc P105 instruction manual

jbc

jbc P105 instruction manual

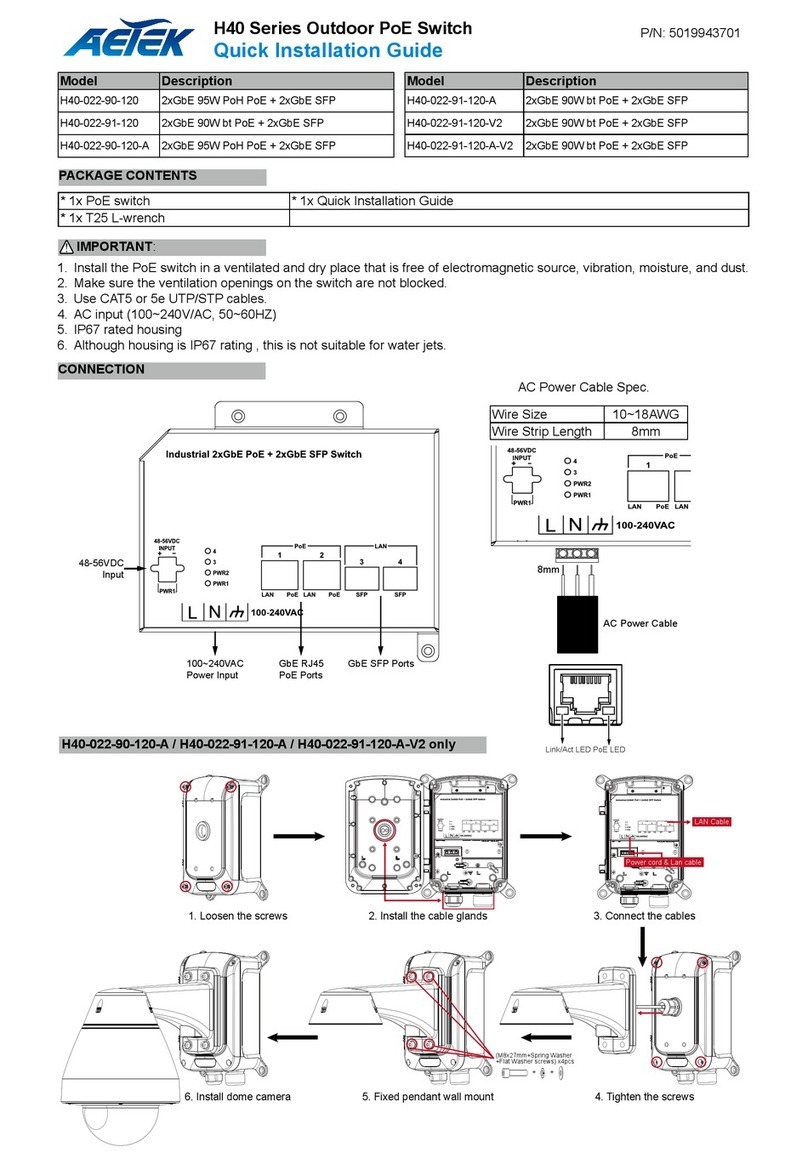
AETEK H40 Series Quick installation guide

AETEK

AETEK H40 Series Quick installation guide

IBM 8271 F12 Quick installation guide

IBM

IBM 8271 F12 Quick installation guide

Moxa Technologies PT-7710 Series Quick installation guide

Moxa Technologies

Moxa Technologies PT-7710 Series Quick installation guide

IMI SENSORS 691B45 Installation and operating manual

IMI SENSORS

IMI SENSORS 691B45 Installation and operating manual

SMC Networks D-S9 Series Operation manual

SMC Networks

SMC Networks D-S9 Series Operation manual

manuals.online logo
manuals.online logoBrands
  • About & Mission
  • Contact us
  • Privacy Policy
  • Terms and Conditions

Copyright 2025 Manuals.Online. All Rights Reserved.