1. SAFETY WARNINGS
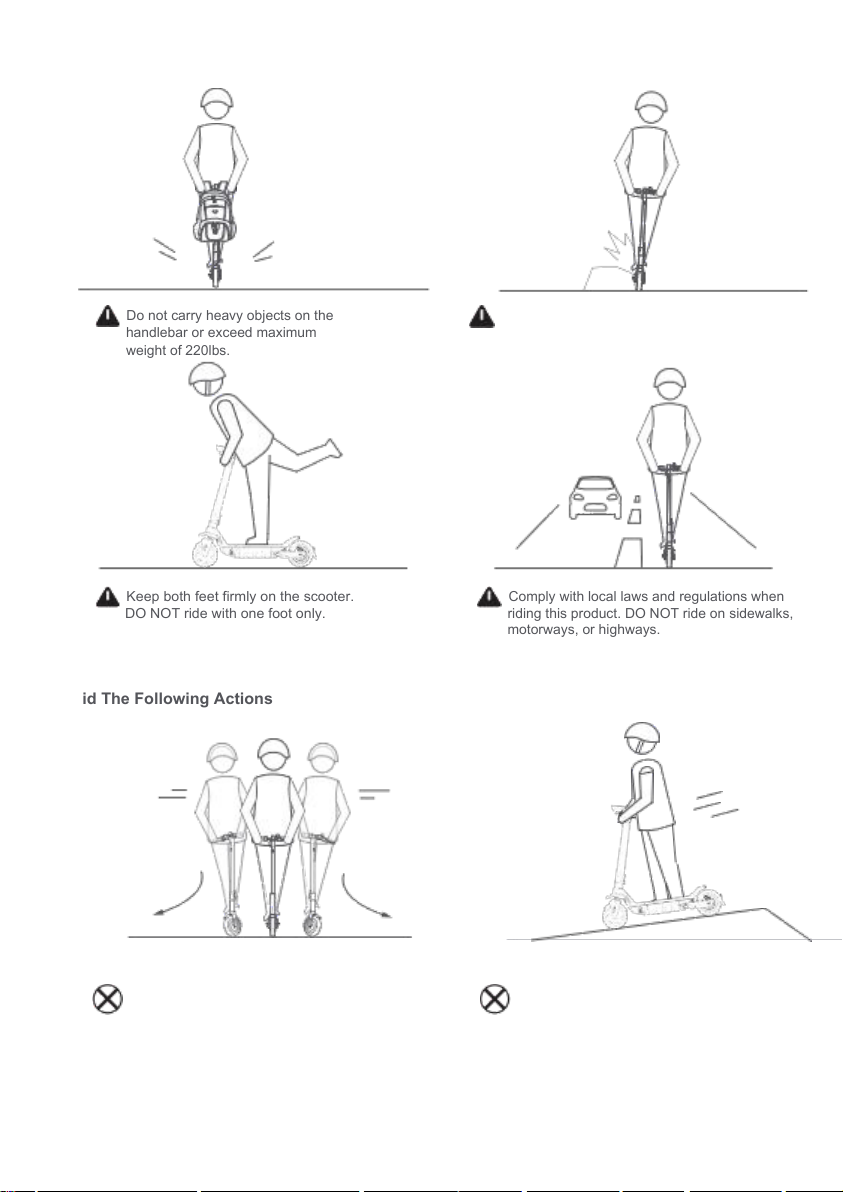
Do not ride over speed bumps, thresholds, or other bumps
at High Speed.
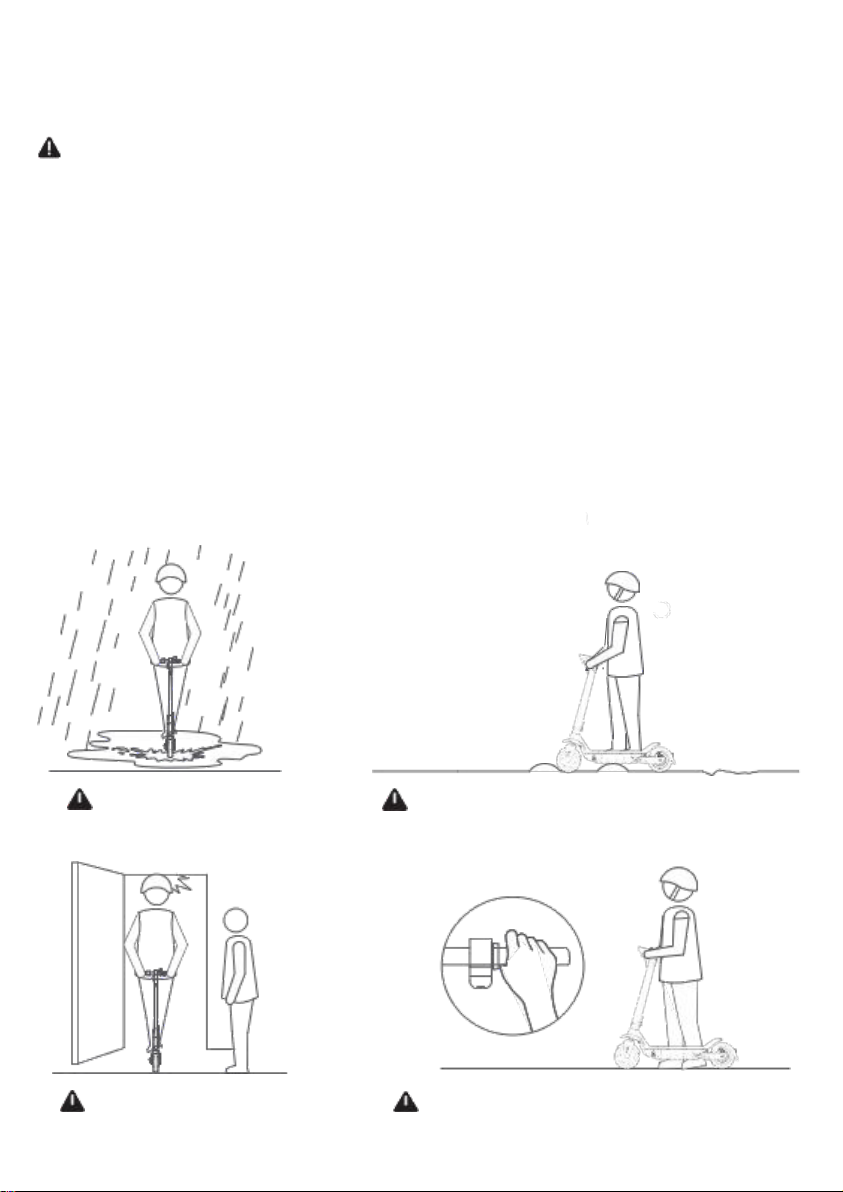
Watch your head when passing through
doorways.
Do not press the
throttle when walking with the scooter.
Do not ride in the snow, in the rain, or
on roads which are wet, muddy, icy,
or that are slippery for any reason.
WARNING!
Whenever you ride your scooter, you risk injury or death from loss of control, collisions, and falls.
The manufacturer recommends riders be 14+ years old. Read and understand all safety warnings listed on the
product label. Always follow these safety instructions.
People who should NOT ride this product include:
•Those with heart conditions, pregnant women, or persons with head, back, or neck ailments that limit their
ability to ride safely.
•Anyone under the influence of alcohol or drugs.
•Persons with any mental or physical conditions that may make them susceptible to injury or impair their
physical dexterity or mental capabilities to recognize, understand, and perform all of the safety instructions and
to be able to assume the hazards inherent with this product.
Comply with local laws and regulations when riding this product. Do not ride where prohibited by local law.
When braking rapidly you risk serious injury due to loss of traction and falls. Watch your speed when traveling
downhill. Apply brakes when traveling at high speeds. If brakes are loose, tighten to increase braking strength.
Ride safely to avoid falls or collisions.
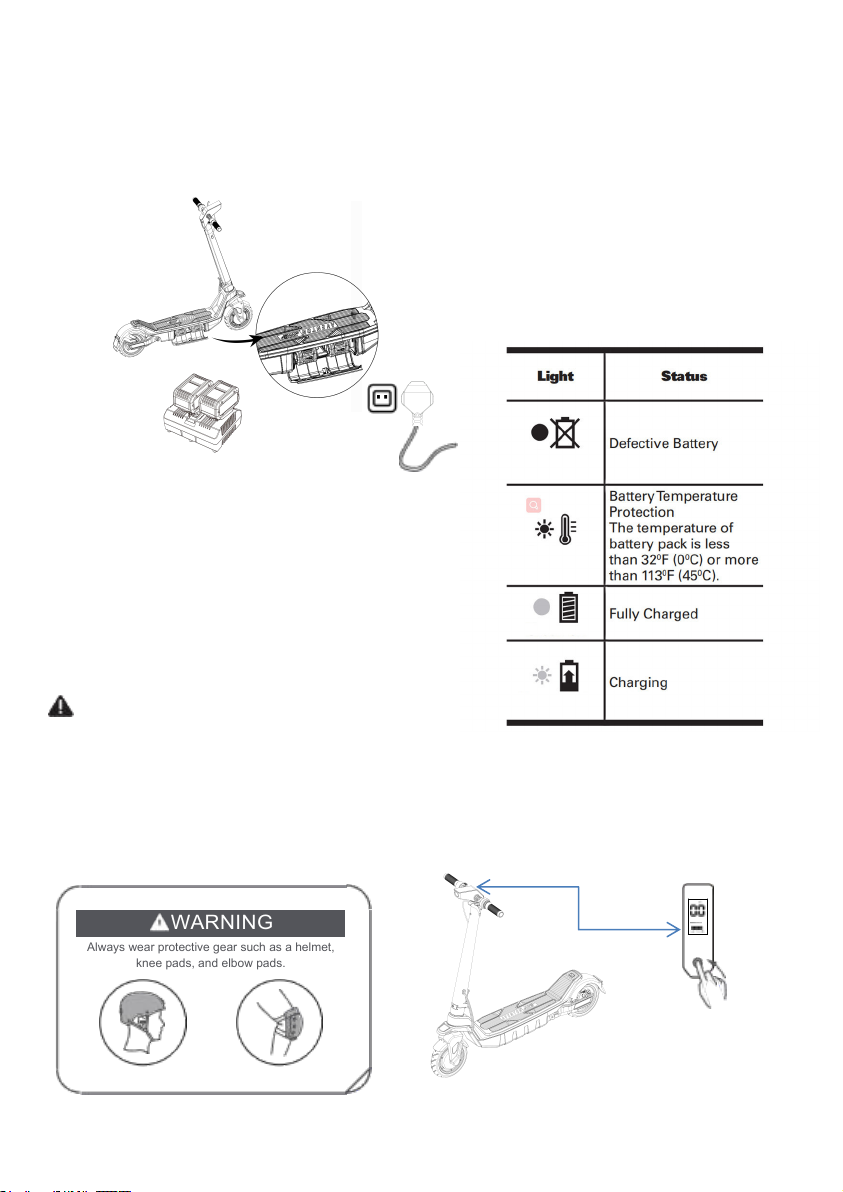
Always wear a helmet while riding. A helmet is recommended, unless required by law.
Do not ride in the snow, in the rain, or on roads which are wet, muddy, icy, or that are slippery for any reason. Do not
ride over obstacles. Doing so could result in loss of balance or traction and could cause a fall. Whenever you ride
your vehicle you risk injury or death from loss of control, collisions, and falls. Be sure to read the User Manual.
Do not use the scooter for racing, stunt riding, or other maneuvers, which may cause loss of control, or may cause
uncontrolled operator actions.
Avoid contact with moving parts. Ensure hands, feet, hair, clothing, and other body parts stay clear of moving parts
like the motor or rear wheel.
ALWAYS keep both hands on the handlebar when riding.
Do not ride over speed bumps, thresholds, or other bumps
at High Speed.