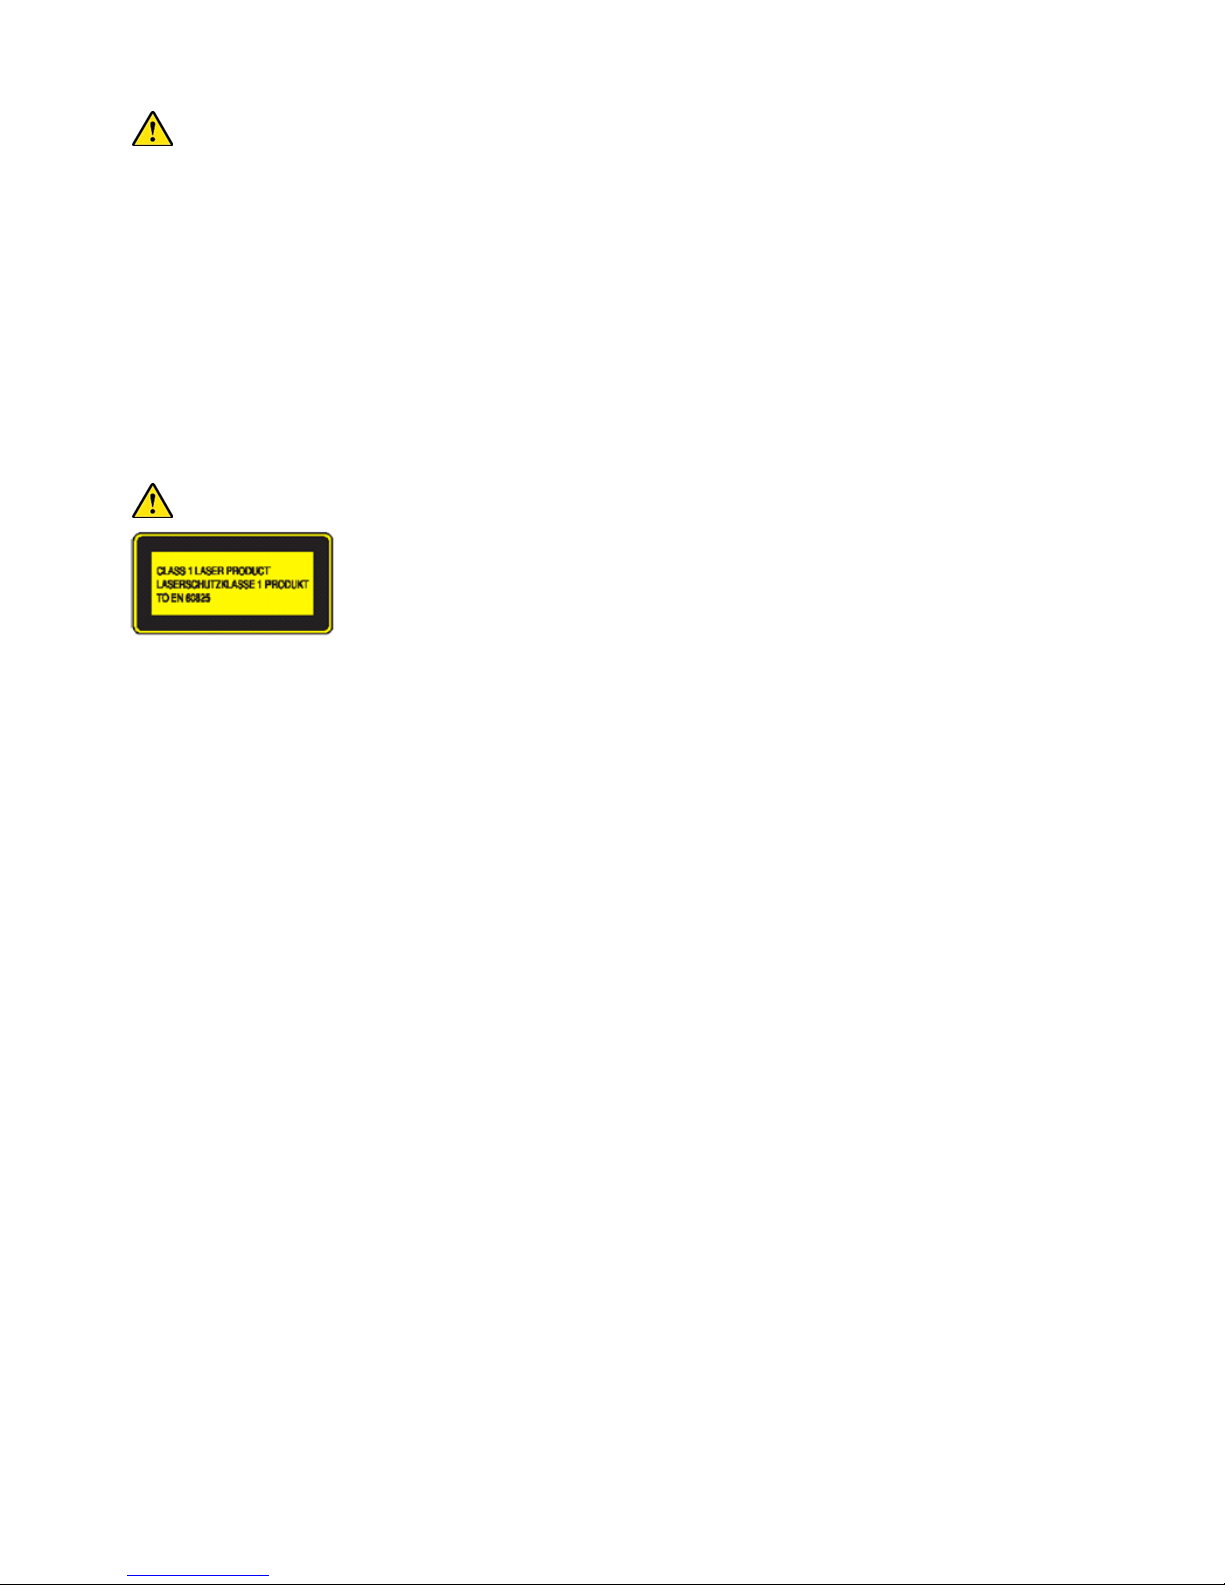
Avid Technology VENUE S6L User manual

Avid VENUE | S6L
Installation Guide

Legal Notices
© 2019 Avid Technology, Inc., (“Avid”), all rights reserved. This guide may not be duplicated in whole or in part without the written consent of Avid.
For a current and complete list of Avid trademarks visit: http://www.avid.com/legal/trademarks-and-other-notices
Bonjour, the Bonjour logo, and the Bonjour symbol are trademarks of Apple Computer, Inc.
Thunderbolt and the Thunderbolt logo are trademarks of Intel Corporation in the U.S. and/or other countries.
This product may be protected by one or more U.S. and non-U.S. patents. Details are available at www.avid.com/patents.
Product features, specifications, system requirements, and availability are subject to change without notice.
Guide Part Number 9329-66010-00 REV A 02/19

Safety Compliance
Safety Statement: (M/N: S6L16, S6L24(all), S6L32, Local 16, Stage 16, Stage 32 and Stage 64)
This equipment has been tested to comply with USA and Canadian safety certification in accordance with the specifications of UL Standards: UL 60065 7th Ed.,
2013-07-24, CAN/CSA C22.2 No. 60065-03, 1st Ed, +A1:2006 +A2:2012, EN 60065:2002 +A1:2006 +A11:2008 +A2:2010 +A12:2011, IEC 60065:2001 +A1:2005
+A2:2010.
Avid Technology Inc., has been authorized to apply the appropriate NRTL mark on its compliant equipment.
Safety Statement: (M/N: E6L(all))
This equipment has been tested to comply with USA and Canadian safety certification in accordance with the specifications of UL Standards: UL 60950-1 2nd edition,
CAN/CSA C22.2 No. 60950-1-07; 2nd edition, EN 60950-1:2006 /A12:2011, IEC 60950-1:2005+ A1:2009 2nd edition.
Avid Technology Inc., has been authorized to apply the appropriate NRTL mark on its compliant equipment.
Power Safety Input Rating
S6L16: AC~100-240V, 50-60Hz, 4.0A per inlet
S6L24(all): AC~100-240V, 50-60Hz, 4.0A per inlet
S6L32: AC~100-240V, 50-60Hz, 5.0A per inlet
E6L(all): AC~100-240V, 50-60Hz, 5.0A per inlet
Local 16: AC~100-240V, 50-60Hz, 0.6A per inlet
Stage 16: AC~100-240V, 50-60Hz, 0.6A
Stage 32: AC~100-240V, 50-60Hz, 3.65A per inlet
Stage 64: AC~100-240V, 50-60Hz, 3.65A per inlet
Warning
Important Safety Instructions for E6L
1) User should make sure that all the thumb screws are secured by a tool.
2) The E6L system can hold the following cards:
• (3) AVB Cards
• (4) HDX Cards
• (4) MADI-192 MADI Option Cards
• (8) DIMMs of RAM.
User should not install additional cards.
Important Safety Instructions
1) Read these instructions.
2) Keep these instructions.
3) Heed all warnings.
4) Follow all instructions.
5) Do not use this equipment near water.
6) Clean only with dry cloth.
7) Do not block any ventilation openings. Install in accordance with the manufacturer's instructions.
8) Do not install near any heat sources such as radiators, heat registers, stoves, or other equipment (including amplifiers) that produce heat.
10) Protect power cords from being walked on or pinched particularly at plugs, convenience receptacles, and the point where they exit from the equipment.
11) Only use attachments/accessories specified by the manufacturer.
12) For products that are not rack-mountable: Use only with a cart, stand, tripod, bracket, or table specified by the manufacturer, or sold with the equipment. When a cart
is used, use caution when moving the cart/equipment combination to avoid injury from tip-over.
13) Unplug this equipment during lightning storms or when unused for long periods of time.
14) Refer all servicing to qualified service personnel. Servicing is required when the equipment has been damaged in any way, such as power-supply cord or plug is dam-
aged, liquid has been spilled or objects have fallen into the equipment, the equipment has been exposed to rain or moisture, does not operate normally, or has been
dropped.
15) For products that are a Mains powered device:
The equipment shall not be exposed to dripping or splashing and no objects filled with liquids (such as vases) shall be placed on the equipment.
Warning! To reduce the risk of fire or electric shock, do not expose this equipment to rain or moisture.
Do not defeat the safety purpose of the polarized or grounding-type plug. A polarized plug has two blades with one wider than the other. A grounding type plug
has two blades and a third grounding prong. The wide blade or the third prong are provided for your safety. If the provided plug does not fit into your outlet, consult
an electrician for replacement of the obsolete outlet.

16) For products containing a lithium battery:
Warning! Danger of explosion if battery is incorrectly replaced. Replace only with the same or equivalent type.
17) For products with a power switch:
It should remain accessible after installation.
18) The equipment shall be used at a maximum ambient temperature of 40° C and maximum altitude of 2000m.
19) This unit may not ship with a power supply cord set. A qualified person must provide for use with this unit, an appropriate, approved power supply cord set which is in
compliance with the end use country requirements and has a minimum cross-sectional area of 1.0mm2.
20) For products with more than one power cord:
CAUTION: This unit has more than one power supply cord. Disconnect two power supply cords before servicing to avoid electrical shock.
ATTENTION: Cet appareil comporte plus d'un cordon d'alimentation. Afin de prévenir les chocs électriques, débrancher les deux cordons d'alimentation avant de faire le
dépannage.
21) For products with an operator-accessible fuse:
CAUTION: For continued protection against risk of fire, replace only with same type and rating of fuse.
ATTENTION: Pour ne pas compromettre la protection contre les risques d'incendie, remplacer par un fusible de même type et de même caractéristiques nominales.
22) For products with Fiber optics:
Warning! Fiber optic equipment can emit laser or infrared light that can injure your eyes. Never look into an optical fiber or connector port.
Always assume that fiber optic cables are connected to a light source.

Introduction 1
Introduction
Welcome to the Avid VENUE | S6L digital live mixing system from Avid®. This guide shows how to install S6L hardware and
software.
Before you can start using your VENUE | S6L system, you must install the most recent VENUE software on both your S6L control
surface and your E6L engine. VENUE software, plug-ins for your system, and additional software are accessed from your Avid ac-
count after you have activated your purchase.
Read this Introduction section to learn about System Requirements and Compatibility, get suggestions for How to Use this
PDF Guide and other VENUE S6L guides and documentation, and to become familiar with some of the Resources available at
www.avid.com.
Then do the following as appropriate for your installation:
• If you are installing an S6L system for the first time, see Setting Up a VENUE S6L System for the First Time.
• If you are updating or upgrading a system that has already been installed and configured, see VENUE Software Installation
Options.
System Requirements and Compatibility
Avid can only assure compatibility and provide support for hardware and software it has tested and approved. For complete system
requirements and a list of qualified computers, operating systems, hard drives, cables, displays, other third-party devices, and ver-
sions of Pro Tools software, visit:
www.avid.com/S6Lsupport

Introduction 2
How to Use this PDF Guide
These are some useful features of this PDF:
The Bookmarks on the left serve as a continuously visible table of contents. Click on a subject heading to jump to that page.
Click a + symbol to expand that heading to show subheadings. Click the – symbol to collapse a subheading.
The Table of Contents provides active links to their pages. Select the hand cursor, allow it to hover over the heading until it turns
into a finger. Then click to locate to that subject and page.
All cross references in blue are active links. Click to follow the reference.
Select Find from the Edit menu to search for a subject.
Conventions Used in This Guide
All of our guides use the following conventions to indicate menu choices and key commands:
:
The names of Commands, Options, and Settings that appear on-screen are in a different font.
The following symbols are used to highlight important information:
Hardware Switches on Control Surfaces
The names of switches on the control surfaces are in bold (such as Sel). The Shift switch on the S6L is indicated by bold text, in
all-caps (SHIFT) to distinguish it from references to the Shift key on your QWERTY keyboard.
Convention Action
Options > System In the VENUE software, click Options to display the Options tab, then click
the System tab.
File > Save Choose Save from the File menu
Control+N Hold down the Control key and press the N key
Control-click Hold down the Control key and click the mouse button
Right-click Click with the right mouse button
User Tips are helpful hints for getting the most from your system.
Important Notices include information that could affect your data or the performance of your system.
Shortcuts show you useful keyboard or mouse shortcuts.
Cross References point to related sections in this guide and other VENUE guides.

Introduction 3
Resources
The Avid website (www.avid.com) is your best online source for information to help you get the most out of your Avid system.
The following are just a few of the services and features available.
Account Activation and Product Registration
Activate your product to access downloads in your Avid account (or quickly create an account if you don’t have one). Register your
purchase online, download software, updates, documentation, and other resources.
https://www.avid.com/account
Support and Downloads
Contact Avid Customer Success (technical support); download software updates and the latest online manuals; browse the Com-
patibility documents for system requirements; search the online Knowledge Base or join the worldwide Avid user community on
the User Conference.
https://www.avid.com/products/venue-s6l-system/learn-and-support
Training and Education
Study on your own using courses available online, find out how you can learn in a classroom setting at an Avid-certified training
center, or view a webinar. For example, check out the live sound webinars hosted by Robert Scovill:
http://www.avid.com/live-sound-webinars
Also check out our Live Sound blogs:
http://www.avidblogs.com/livesound/
Get started learning the ins and outs of S6L using the many Avid Live Sound videos on YouTube.
Products and Developers
Learn about Avid products; download demo software or learn about our Development Partners and their plug-ins, applications, and
hardware.
https://www.avid.com/Products/index.html

Part I: First Time Setup

Setting Up a VENUE S6L System for the First Time 5
Setting Up a VENUE S6L System for the First Time
Setting up a system for the first time requires the following tasks:
• Review and identify What’s Included, Optional Items, Operational Requirements, and Cabling Requirements
• Get started by Unpacking and Assembling Basic System Components
• Finish the initial steps by Activating S6L System Components (very important!)
If you are upgrading or updating a system that has already been installed and configured, see VENUE Software Installation Op-
tions.
What’s Included
The following sections describe what is included in each S6L package.
With the S6L Control Surface
Each S6L control surface includes the following items:
• S6L control surface
• Two (2) IEC auto-locking AC power cords
• Dust cover
• Microfiber cloth (for cleaning touch screens)
• One (1) 2.5 mm hex ball-end screwdriver (fits the hex screws used on the S6L control surface)
• Documentation, including a Welcome Letter, Warranty Card, Health and Safety Guide, and a VENUE Tech Support card (for ob-
taining tech support for your system)
•VENUE | S6L Control Surface Software & Plug-Ins Pack
•Pro Tools® | Software and the Live Sound Production Toolkit
VENUE | S6L Control Surface Software & Plug-Ins Pack
The S6L Control Surface Software and Plug-Ins pack includes the following:
S6L Control Surface Restore USB Drive
Use this USB drive to initially install system software on your S6L control surface, and
to store S6L Control Surface System Restore software. After initial installation, keep this drive with your S6L control surface at all
times for S6L control surface maintenance and troubleshooting.
S6L Plug-Ins iLok
Stores your S6L plug-in licenses. To run the plug-ins on your system, this iLok
containing the licenses for the plug-ins must be connected to your S6L control surface.
VENUE | S6L Activation Card
Contains codes and instructions required to activate your S6L
control surface. The activation process deposits the following licenses into your iLok account:
• S6L plug-in licenses
• Live Sound Production Toolkit license
The screens and text displayed on your system may differ slightly from the images shown in this guide.
Do not use this drive for anything other than S6L Control Surface System Restore software. Do not use this drive to store VENUE
Show files, audio files, or any other data or software, including VENUE software updates.
For more information on the activation process for your VENUE system software, go to
www.avid.com/activationcard and select S6L.
VENUE
|S6L

Setting Up a VENUE S6L System for the First Time 6
The activation process also deposits the following software downloads and documentation into your Avid account:
• S6L control surface and E6L Engine System Restore software (and Update software, when available)
• S6L plug-ins installer
• ECx Ethernet Control host software (for remote control of your S6L system)
• Documentation, including the main guide for your system, the VENUE | S6L System Guide
• VENUE S6L Standalone software
Pro Tools
®
| Software and the Live Sound Production Toolkit
Pro Tools | Software is included with the S6L control surface, and is
activated and downloaded separately from the S6L software and plug-ins. The Live Sound Production Toolkit is an iLok license
that enables up to 128 channels of I/O between S6L and Pro Tools 2018.7 or earlier. Beginning with Pro Tools 2018.10, this license
is not required for 64- and 128-channel AVB recording/playback when the E6L is assigned as the Pro Tools Playback Engine.
With the E6L Engine
Each E6L engine includes the following:
• E6L engine
• E6L bezel (front panel)
• Two (2) IEC auto-locking AC power cords
• Documentation, including a Warranty Card and Health and Safety Guide
•VENUE | E6L Engine Restore Software Pack (see next)
VENUE | E6L Engine Restore Software Pack
The E6L Engine Restore Software pack includes the following:
E6L Engine Restore Drive
Use this USB drive to store E6L Engine System Restore software, and to initially install system soft-
ware on your E6L. After initial installation, keep this drive with your E6L engine at all times for maintenance and troubleshooting.
VENUE | E6L Activation Card
Contains codes and instructions required to activate your E6L engine.
With the Stage I/O Unit
VENUE | S6L Stage I/O units include Stage 64, Stage 32, and Stage 16 I/O.
Local 16 provides I/O at the mix position.
All S6L I/O units include the following additional items:
• Two (2) IEC auto-locking AC power cord
• Documentation, including a Warranty claims card and Health and Safety Guide
•VENUE | Stage IO Activation Card (see next)
VENUE | Stage IO Activation Card
Contains codes and instructions required to activate your Stage I/O Rack. Local 16 includes a
Registration Card.
A separate USB flash drive (not provided) is required to store the plug-ins installer, other software, and documentation.
Do not use the included VENUE System Restore USB Drive.
An iLok is also included to store your Pro Tools and Live Sound Production Toolkit licenses. Do not store S6L plug-in licenses and
Pro Tools licenses on the same iLok. You can, however, use the same iLok account to manage all iLok licenses.
Do not use this drive for anything other than E6L Engine System Restore software. Do not use this drive to store VENUE Show
files, audio files, or any other data or software, including VENUE software updates.

Setting Up a VENUE S6L System for the First Time 7
Additional Required Items
The following items are required for installation and/or operation:
• Four (4) or more shielded Cat 5e (350 MHz) or better Ethernet cables (one is included with the S6L control surface, the other
three must be purchased separately)
• Free-standing HDMI or DVI-D compatible DVI-D compatible Full HD display with 1920 x 1080 minimum resolution
(21.5-inch or greater touch display recommended), a DVI-D cable, and a USB cable (for enabling the monitor touch screen)
• A VGA-compatible monitor (for installing VENUE software on the E6L engine via a System Restore)
• Windows-compatible USB keyboard and mouse
• USB 2.0 flash drive(s) for storing the S6L plug-ins installer and other required software installers
• An active hard-wired Internet connection
• A separate computer running Windows XP or higher
Optional Items
The following items are optional, and must be purchased separately:
• Shielded Cat 5e (350 MHz) or better Ethernet cable for connections to Pro Tools
• Thunderbolt-to-Gigabit Ethernet adapter for connecting to the Thunderbolt port of a qualified Pro Tools computer
• Standard Cat 5e or better Ethernet cable for ECx Ethernet Control connections
• Headphones with 1/4-inch connector
• 2x 3-pin XLR gooseneck LED lamps (for S6L-24C and S6L-16C only)
• Footswitch with 1/4-inch connector
• BNC cables for word clock connections to/from external digital devices
• DB25 (25-pin) cable(s) for connecting to GPI devices
• iOS devices for VENUE On-Stage and VENUE Function Pad apps
Expansion Options
S6L systems can be expanded to add analog or digital IO, plug-in processing capability, and connectivity. For an overview of avail-
able options, see the VENUE S6L System Guide.pdf.
When setting up a system for the first time, most users should complete the primary VENUE hardware and software installation as
described in this guide before installing any Option cards into the E6L engine (such as MADI-192 MADI Option Cards, or a
WSG-HD Waves SoundGrid Option Card) or into Stage 64 or Stage 32 (such as DNT-192 Dante Option Cards).
The only exception are system configurations that included an additional (but not pre-installed) AVB-192 Network Card, such as
the S6L-24C 112 Stage 16.
Installation instructions for Option cards are included in their packages.
If you use a DVI-to-HDMI cable, make sure the DVI cable is DVI-D 24+1 spec.
Use a qualified monitor with your S6L system. Visit www.avid.com/S6Lsupport for a list of supported monitors.
If you are using a non-qualified monitor, do not use a USB-powered monitor with your S6L system. In addition, do not connect
bus-powered USB hubs to the system.
Do not use bus-powered USB hubs with your S6L system, if a USB hub is needed it should have a dedicated power supply.
Some systems, such as the 24C-112-Stage 16, include a second AVB-192 Network Card (not pre-installed). Refer to the
AVB-192 Network Card guide and follow its instructions to install the second AVB-192 card, then return to this guide.

Setting Up a VENUE S6L System for the First Time 8
Operational Requirements
While operating your S6L system, be sure to follow these guidelines.
Temperature and Ventilation
S6L system devices should be operated away from heat sources and with adequate ventilation.
Storage
S6L system devices should be stored and transported at temperatures not lower than 0 degrees F (–18 degrees C) and not exceeding
140 degrees F (60 degrees C).
Operation
S6L system devices should be operated at temperatures not lower than 40 degrees F (4 degrees C) and not exceeding 104 degrees F
(40 degrees C).
During operation, the left and right end caps on the back of the S6L control surface, the front and back of the E6L engine, and the
fans on the back of the Stage 64 should be exposed to ambient air. Do not block the ventilation holes on any S6L system component.
Do not operate in direct sunlight or at extreme ambient temperatures.
Water and Moisture
S6L system devices should be operated away from sources of direct moisture and should be kept clear of liquids that might spill
into the units. If condensation is present on the unit, leave the unit to dry in ambient air for at least one hour before powering the
unit on.
Cleaning and Maintenance
Use a dry cloth to clean the surfaces of the S6L components. Do not apply any cleaning solutions, spray cleaners, or abrasives
to the surfaces of the components.
Use a microfiber cloth (included with the S6L control surface) to clean the touch screens. Do not apply any cleaning solutions,
spray cleaners, or abrasives.
Hardware monitoring and automatic warnings are provided for temperature, power and other factors. For more information
about the Hardware Monitoring Window, see the VENUE S6L System Guide.pdf.
Storage humidity range 5% to 95%, non-condensing
Operating humidity range 20% to 80%, non-condensing

Setting Up a VENUE S6L System for the First Time 9
Cabling Requirements
While operating your S6L system, be sure to follow these guidelines.
Power Connections
Power connections on all S6L system devices are auto voltage-selecting (100 to 240V nominal, 90-260V maximal, 50–60 Hz).
Make sure your power source is correctly rated for the number of units you are connecting. A surge-protected power source (not
included) is highly recommended.
Audio Network Connections
This section describes the audio network cabling requirements for S6L system components. Audio network connections between
S6L system components can be made using either copper or fiber-optic audio network cables. Cable types can be mixed within a
system, but only one type of connection (copper or fiber) should be used per audio network connection.
Copper
Shielded Cat 5e (350 MHz) or better Ethernet cable with Neutrik etherCON connectors are required, supporting a distance of up to
100 meters per connection.
Fiber-Optic
S6L systems support single-mode fiber (SMF) or multi-mode fiber (MMF) cable to make audio network connections between com-
ponents, as follows:
SMF
Requires single-mode 9/125 OS1 or OS2 cables with duplex LC connectors and two qualified single-mode SFP transceivers
per connection, supporting distances of up to 10 kilometers
MMF
Requires multi-mode 50/125 OM2 or better cables with duplex LC connectors and two qualified multi-mode SFP transceiver
modules per connection, supporting distances of up to 500 meters.
Pro Tools Connections
Shielded Cat 5e (350 MHz) or better Ethernet cable with RJ-45 connectors is required for the AVB audio connections to Pro Tools.
Some Pro Tools computers also require a Thunderbolt-to-Gigabit Ethernet adapter for connecting to the Thunderbolt port of a qual-
ified Pro Tools computer.
ECx Ethernet Control Connections
Standard Cat 5e Ethernet cable with RJ-45 connectors are supported for ECx remote control connections to a client computer or
wireless/wired router.
Option Card Connections
For connection requirements and guidelines for Option cards such as WSG-HD Waves SoundGrid Option Cards and MADI-192
MADI Option Cards, see their respective guides (included with the cards, and available for download from your Avid account).
For more information on connecting S6L system components, see S6L Network Connections.
Visit www.avid.com/S6Lsupport for a list of qualified SFP transceivers for use with S6L systems.

Setting Up a VENUE S6L System for the First Time 10
Unpacking and Assembling Basic System Components
Follow the instructions in this section to unpack system components, and make basic connections (power, monitor, and keyboard).
After completing this section, proceed to Activating S6L System Components.
Unpacking
When unpacking and assembling S6L system components, make sure at least two people are available at all times. Team lift all sys-
tem components.
Remove the S6L control surface from its shipping package, and place it on a table or other stable surface that leaves full access
to its front and back panels.
Remove the E6L engine from its shipping package and place it on a flat surface, leaving full access to its front and back panels.
Place any Stage I/O units on a flat surface.
Keep cables and other included items organized, making sure to keep them with their associated component after unpacking.
Installing the E6L Bezel
After mounting the E6L in a rack or other enclosure you can install the E6L bezel.
To attach the E6L bezel:
1Locate the E6L bezel in the E6L package.
2Put the bezel into position and connect the 1/8-inch connector to the jack on the front panel of the E6L.
3Press the bezel into place and tighten the four captive screws to secure it to the E6L chassis.
The E6L engine can be installed in a road case or similar enclosure.
The E6L engine bezel ships separately in the E6L shipping package. Attach it to the E6L engine chassis after you have installed
the unit in an enclosure.
You can install the Stage 64, Stage 32, Stage 16, or Local 16 in an enclosure such as a road case. Rack ears for that purpose are
included in the Stage IO unit package. For installation instructions, see the S6L Stage IO Rack Supports.pdf.
Connecting the 1/8-inch connector

Setting Up a VENUE S6L System for the First Time 11
Connecting Power
Make primary and, if desired, redundant power connections to all S6L system components.
To connect power to the S6L control surface:
1Connect an included IEC power cable from AC power inlet A on the back panel of the S6L control surface to your power source.
2For fully redundant power connections, connect the other included IEC power cable from AC power inlet B on the back panel
of the S6L control surface to a secondary power source.
To connect power to the E6L engine:
1Connect the included IEC power cable from AC power inlet A on the back panel of the E6L engine to your power source.
2For fully redundant power connections, connect the other included IEC power cable from AC power inlet B on the back panel
of the E6L engine to a secondary power source.
To connect power to the Stage IO unit:
1Connect the included IEC power cable from an AC power inlet on the back of the Stage IO unit to your power source.
2For fully redundant power connections, connect the other included IEC power cable from the other AC power inlet on the back
of the Stage I/O unit to a secondary power source.
Disconnecting the Included IEC Power Cables
The IEC power cables included with S6L system devices lock when connected to the AC power in-
lets of S6L system devices, and must be released when disconnecting.
To release an included IEC cable from an AC power inlet on an S6L system device:
Simultaneously slide the two tabs on either side of the connector back, then pull the cable out of
the power inlet.
Connecting a Monitor
A DVI connector is provided on the S6L control surface back panel to view the external screen.
To connect a monitor:
1Connect an HDMI or DVI-D-compatible monitor cable from the DVI port on the back panel of the S6L control surface to the
DVI port on your monitor.
2If the monitor has a touchscreen function, enable it by connecting a USB cable from one of the USB ports on the back of the S6L
control surface to the USB port on the monitor.
Connecting a USB Keyboard and Mouse
The S6L control surface provides four USB 2.0 ports (two on the front and two on the back) to connect a USB keyboard and mouse.
To connect a USB keyboard and mouse:
Connect the keyboard and mouse/trackball to USB ports on the front or back of the S6L control surface.
How to Proceed
After unpacking your system and making basic connections, proceed to Activating S6L System Components.
VGA monitors are not compatible with the S6L control surface. Only connect a VGA monitor to the VGA port on your E6L engine
when restoring system software. Make sure the VGA monitor is not connected to the E6L when powering up your S6L system.
If you use a DVI-to-HDMI cable, make sure the DVI cable is DVI-D 24+1 spec
Never connect a bus-powered USB hub to your S6L system.

Activating S6L System Components 12
Activating S6L System Components
Activate each S6L system component using the Activation Card located in each component’s
package.
You must activate each S6L system component in order to access software and documentation
included with your system, including VENUE System Restore software and plug-ins. Both an
Avid account and an iLok account are required.
To obtain licenses and download links for your software:
1Make sure you have your iLok account and software set up first:
• If you do not already have an iLok account, visit www.ilok.com to sign up for free.
• While at iLok.com, download the iLok License Manager and install it on your computer. This application allows you to man-
age all your iLok licenses and accounts without having to open a web browser. An Internet connection is required to transfer
licenses to and from your iLok.com account.
2Visit www.account.avid.com and create an Avid Master Account. If you already have an account, skip to the next step.
3Visit www.avid.com/activation and log in to your Avid account using your registered email address.
4Follow the link to Avid Software Activation and Download and follow the instructions on-screen to enter your code.
After entering your Activation Code, new VENUE software will be deposited in your account (follow links to Products Not Yet
Downloaded).
5Repeat as necessary to activate each S6L component (control surface, engine, and Stage I/O unit(s)).
How to Proceed
After unpacking, making basic connections, and activating S6L system components, proceed to VENUE System Restore.
It is recommended that you use the same Avid account for all activations and downloads, and the same iLok account for all your
iLok licenses.
VENUE
|S6L
Activation Card

Part II: Software Installation

VENUE Software Installation Options 14
VENUE Software Installation Options
Before you can start using your VENUE | S6L system, you must install the most recent VENUE software on both your S6L control
surface and your E6L engine. VENUE software, plug-ins for your system, and additional software are accessed from your Avid ac-
count after Activating S6L System Components.
If you are configuring your system for the first time
It is required to perform a System Restore when configuring a system for the
first time. For instructions, proceed to VENUE System Restore.
If you are upgrading an already configured system
The most recent VENUE software can be installed as either a complete
System Restore, or as a VENUE Software Update.
To determine if a software update is available, check the most recent version of the What’s New in VENUE Software.pdf for details
on what type of installers are available, and any requirements.
If you will be performing a full System Restore, you don’t need to download the VENUE Updater (if available). If you are updating,
we recommend downloading the System Restore files to be able to keep them with the system at all times.

VENUE System Restore 15
VENUE System Restore
If you are configuring a system for the first time, or whenever no Software Update is available, you should install the most recent
VENUE System Restore software on both your E6L engine and S6L control surface.
VENUE software, plug-ins for your system, and additional software are accessed from your Avid account after you have activated
your purchase.
Follow the instructions in this section to perform a System Restore. If you are performing a System Restore on a system that has
already been in use, be sure to follow the instructions in Backing Up System Settings before proceeding.
System Restore Software Installation Overview
After Unpacking and Assembling Basic System Components, and Activating S6L System Components, getting your sys-
tem up and running with the latest software consists of the following general steps:
• Downloading VENUE System Restore software
• Creating two System Restore USB Drives (one for the E6L engine and one for the S6L control surface)
• Installing E6L engine System Restore software on the E6L Engine
• Installing S6L control surface System Restore software on the S6L control surface
To begin, proceed to Downloading VENUE System Restore Software.
The screens and text displayed on your system may differ slightly from the images shown on the following pages.

VENUE System Restore 16
Downloading VENUE System Restore Software
Once you have completed the activation process for all S6L system components, download links for all S6L system software and
documentation are available from the My Products and Subscriptions section of your Avid account. These items remain in your
account after you have downloaded them, in case you need to access them again.
To download your software:
1Go to www.avid.com/account and log into the Avid account that you used to activate your S6L system components.
2In the My Account page under My Products, click My Products and Subscriptions to access your software.
3Click these links to download ZIP files of the most recent S6L Console and E6L Engine System Restore files to your computer:
• VENUE 6.X.X.xxx_S6L_Console_Restore
• VENUE 6.X.X.xxx_E6L_Engine_Restore
4After download is complete, extract each ZIP file:
• For the S6L Console Restore and E6L Console Restore, locate the resulting ISO files.
5Make sure the files are accessible by a computer running Windows XP or higher (PCs and Macs running Windows virtual ma-
chines are supported), then proceed to Creating System Restore USB Drives.
Creating System Restore USB Drives
Windows XP or Higher and the Included System Restore USB Drives Required
After downloading System Restore software, create System Restore USB drives using a free utility called Rufus. You must create
one System Restore USB drive for the E6L engine using the E6L System Restore image, and another for the S6L control surface
using the S6L System Restore image.
Use the USB drives included in your E6L and S6L software and plug-ins packs when creating the System Restore USB drives. We
recommend using the included drives, which you should keep updated and with your system at all times. A separate computer run-
ning Windows XP or higher (virtual machines are also supported) with an Internet connection is required.
If you ever downgrade an S6L system to VENUE software version 5.5.2 or lower using its System Restore, you will need to
manually install the VENUE PACE Update. See the VENUE 5.5.3 Read Me.pdf for more information.
Make sure to only use the included USB drives when creating the initial System Restore drives. You can use commercially avail-
able USB drives with a capacity of least 4 GB each to create backups or replacements in case the original is misplaced or lost.
Other manuals for VENUE S6L
5
This manual suits for next models
8
Table of contents
Other Avid Technology Mixer manuals
Popular Mixer manuals by other brands

VAN DER ENDE
VAN DER ENDE Enmix Light installation manual

Tower Hobbies
Tower Hobbies T12010 Safety and instruction manual

WOLFF
WOLFF 056355 instruction manual

Hamilton Beach
Hamilton Beach HMD900-CE Operation manual

Numark
Numark AVM01 Quick start owner's guide

WAHL James Martin
WAHL James Martin ZX867 instructions