Avios Grand Tundra User manual

INSTRUCTION MANUAL

1. Please read this manual carefully and follow the instructions of the manual before you use this
products.
2. Our airplane is not a toy, which is only suitable for experienced pilot. Or if you are a novice
pilot, please operate under the guidance of an experienced pilot.
3. Not recommended for children under 14 years old.
4. Please adjust this plane according to the instructions and make sure to keep your body parts
out of the rotating propeller all the time, or it may cause damage to the plane or
serious injuries to your body.
5. Do not fly in the thunderstorm, strong wind or bad weather.
6. Never fly R/C planes where there are power lines overhead, automobiles, airport, railway
or near a highway.
7. Never fly R/C planes where are crowds of people. Give yourself plenty of room for flying, as
the plane can fly at a very high speed. Remember that you are responsible for others safety.
8. Do not attempt to catch the plane when you are flying it.
9. The operator should bear full responsibility of proper operation and usage with regards to
the model. We, Hobbyking will not be responsible for any liability or loss due to improper
operation.
SAFETY INSTRUCTIONS
1

Dear Avios Customer,
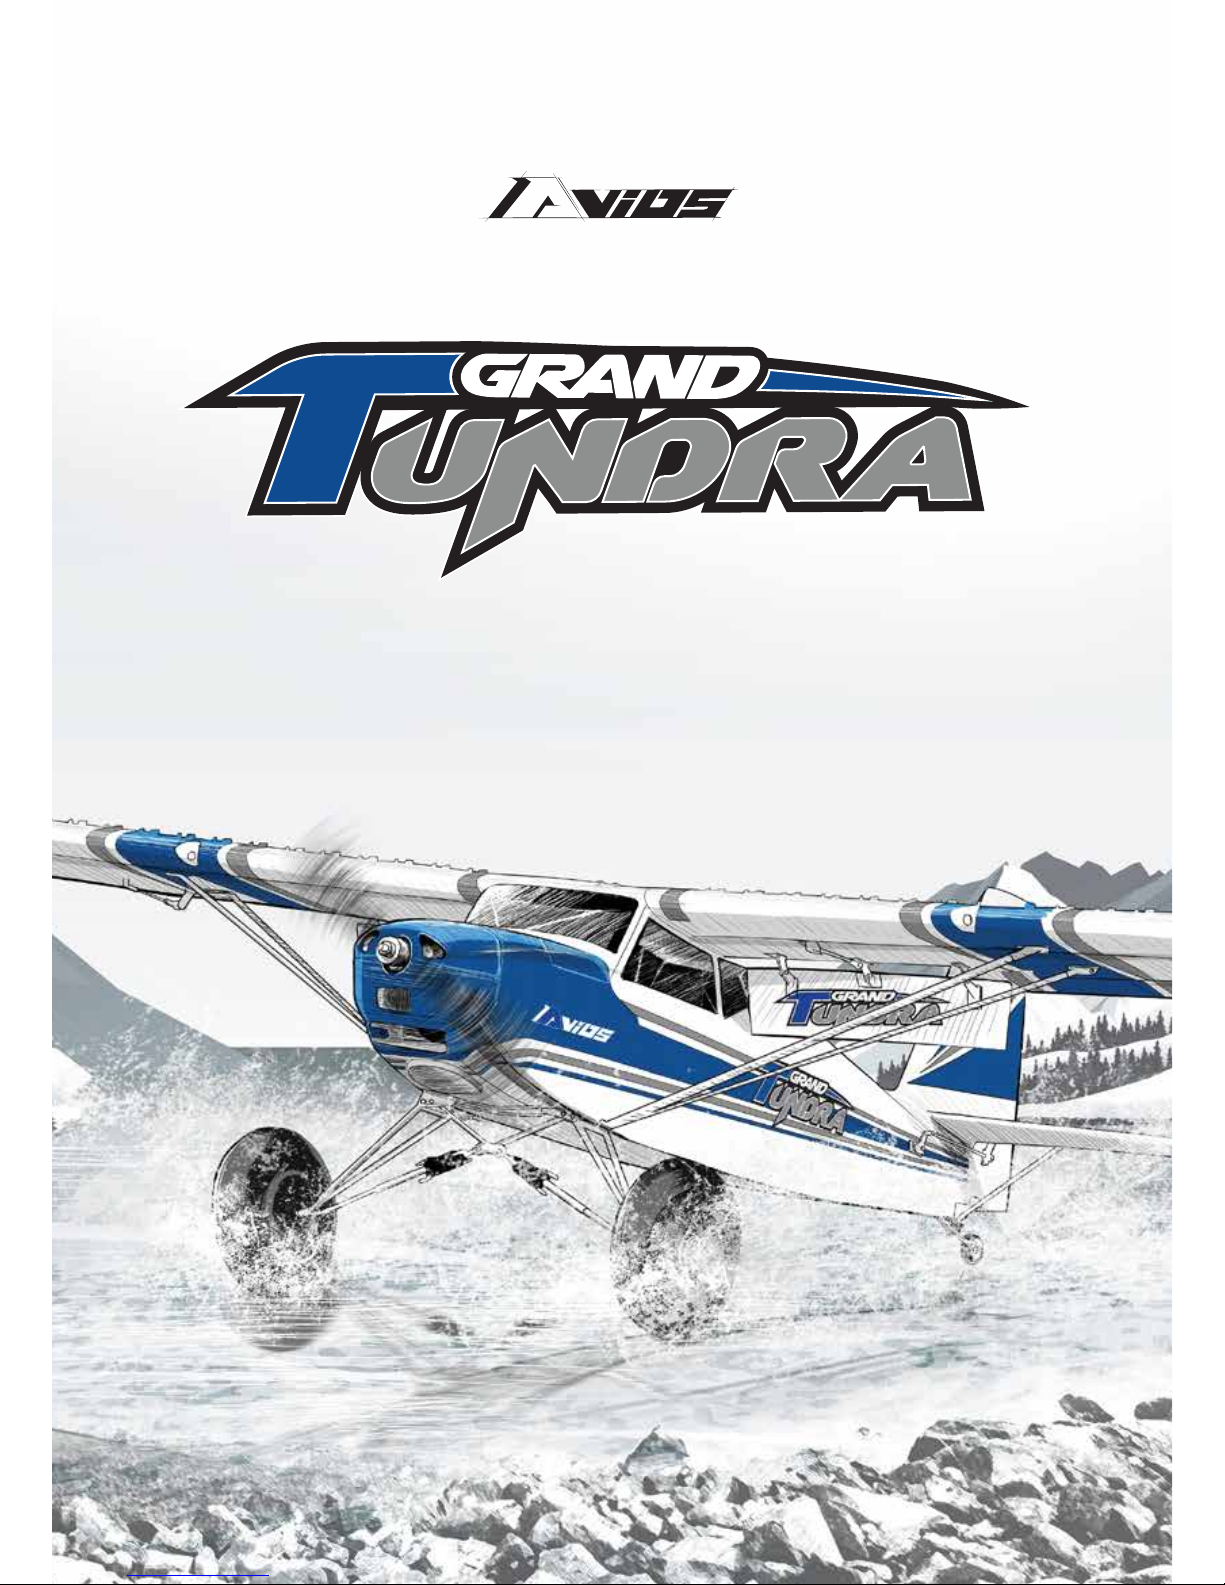
Congratulations on purchasing the fantastic Avios Grand Tundra.
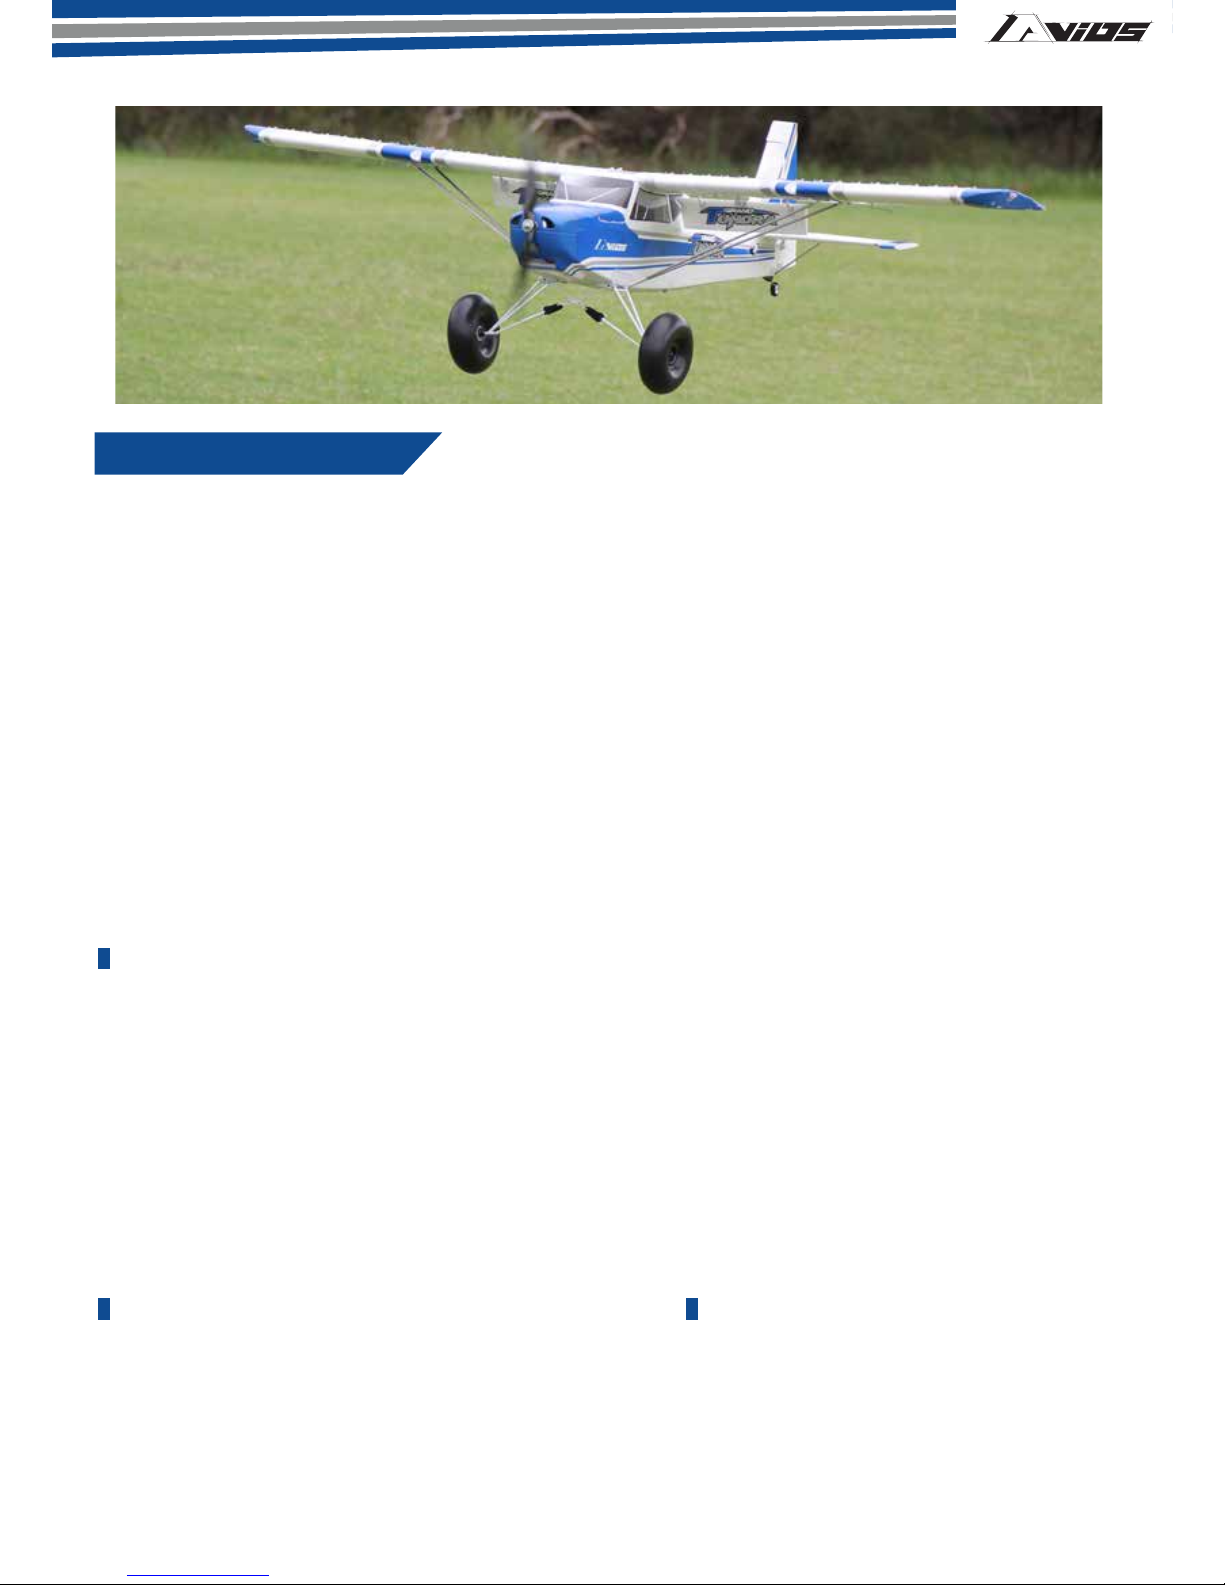
The Grand Tundra is an impressive RC aircraft with a huge presence in the air.
The wide flight envelope makes for a very forgiving aircraft giving you the confidence to challenge
yourself. From slow flight through to fast aerobatics, the Grand Tundra does it all with such finesse.
Featuring metal gear servos, ball-linked control rods, glider tow point and navigational lights -
Attach your camera to the FPV cockpit tray to put yourself in the driver's seat for a truly epic ride.
Enjoy short take-off and landings with huge 90-degree flaps, wing vortex generators, large tundra
wheels, optional floats, navigation lights and much more.
The Grand Tundra happily flies on 4S, however, on 6S you'll realize there is another side to the GT.
This is when the GT comes to life as it's no ordinary PNF model. If you have never tried skis or
floats then this plane is for you and its something that everyone must try as there is nothing like
landing or taking off on water. Note: Floats and Skis are optional.
Features:
• Wide flight envelope for stability
• 90-degree flaps for short take-off and landing
• Quality metal gear servos and ball-linked control rods
• Large soft Tundra wheels with actuating suspension
• Wing vortexes
• Cockpit tray for FPV cameras
• Navigational and landing lights
• Available in two schemes - Blue & Silver and Green & Gold
• Glider tow point
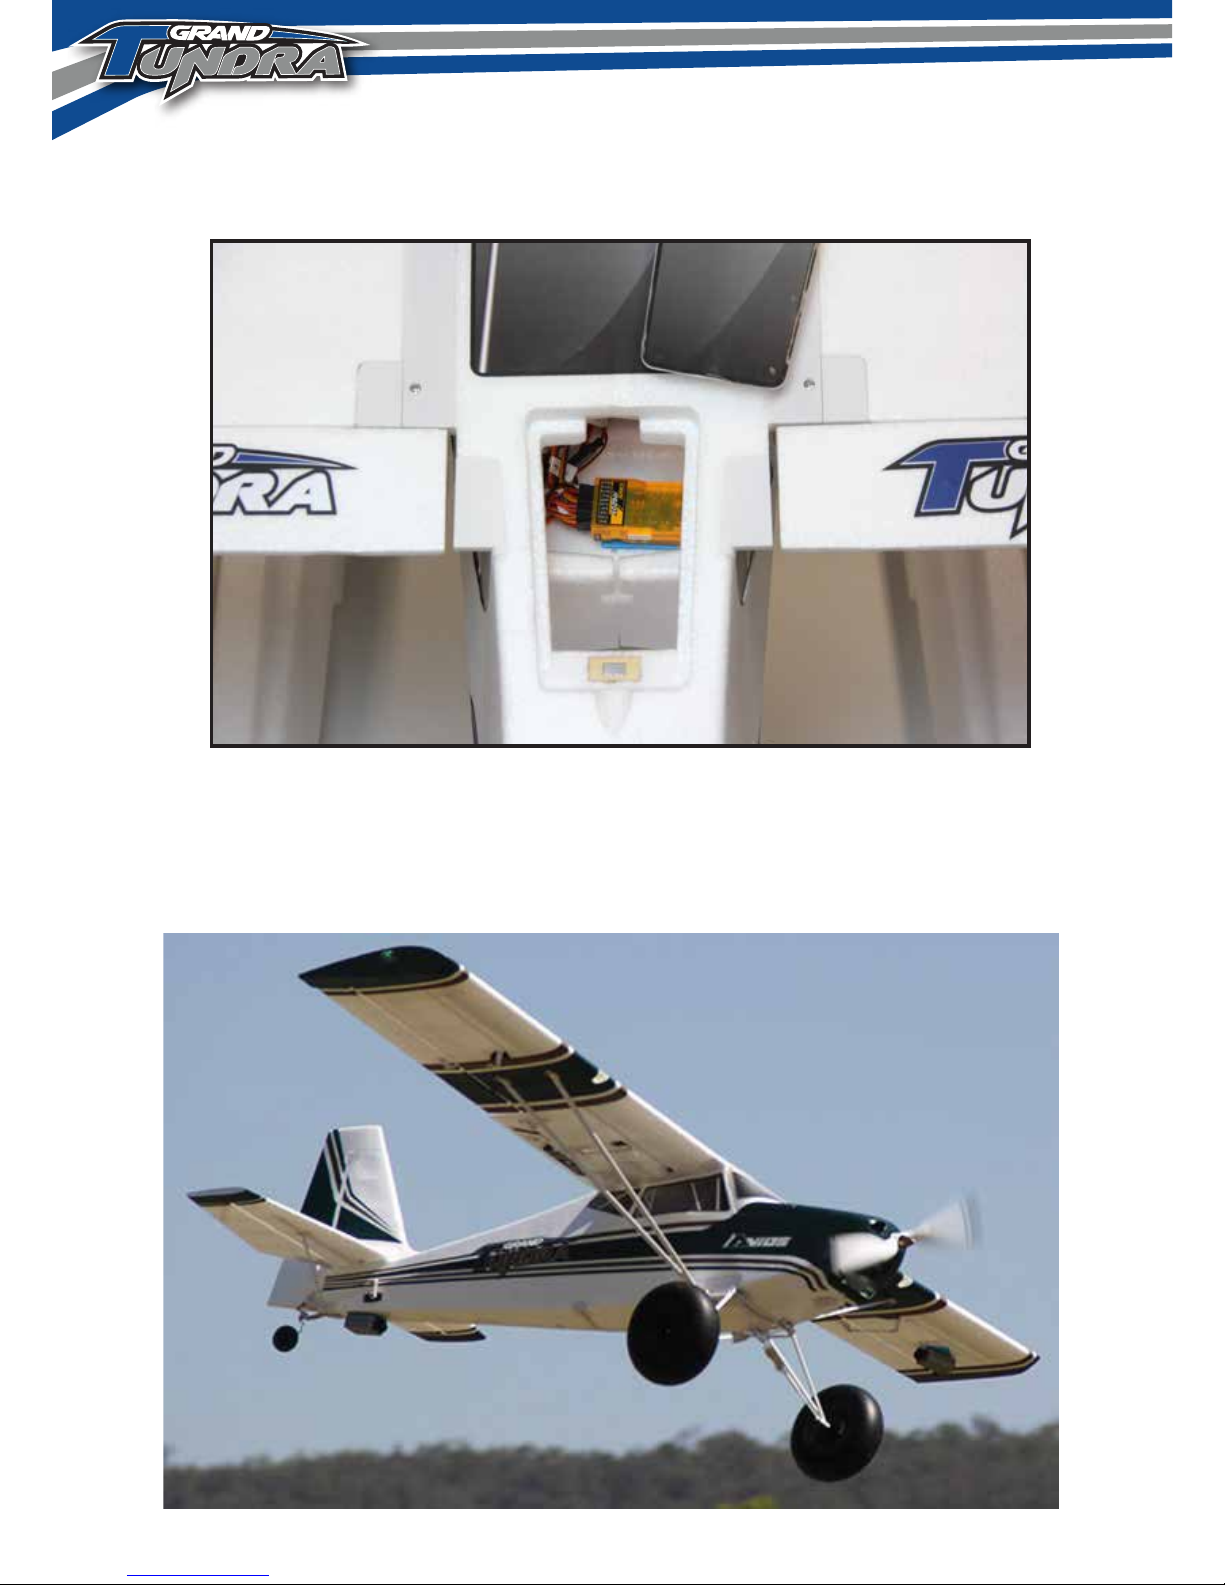
• Generous battery bay
• Optional Floats and Skis
Specifications:
Wingspan: 1700mm (66.9")
Length: 1260mm (49.6")
Motor: SK3 5045 500kV
ESC: Aerostar 60A RVS Reversing ESC
Propeller: 17x8 for 4S battery OR 16x8 for 6S battery
Read through all the steps in the manual and the Adventure awaits with the Avois Grand Tundra.
Recommended:
1 x 7 channel radio/receiver
1 x 4-6S 4000mAh Lipo Battery
2
INTRODUCTION

3
ASSEMBLY (PNF)
A
3.0X10mm
2.0X10mm
3.0X14mm
1. Out of the box your GT comes with reinforced foam hinge hinges. However before assembly can
begin, Each hinge line must be fixed back and forth 5-6 times to reduce tension and load on the
servo. Do thos for all control surface before continuing.
2A. To mount the undercarriage to the fuselage, start by inserting and securing the two main struts with
suppied bolts 3X10mm(6psc) and 3X14mm(2pcs) Now install the upper part of the gear shock
absorption brace with the supplied socket head bolts 2X10mm(2pcs).Besure to add the rubber
spacers to the right behind of the mount points on the upper brace . Then insert the upper of the
gear into the socket of the lower brace. We need to connect the upper and the lower brace with the
provided rubber bands before moving on. we recommend two bands for each side.

4
2.3X10mm
2.3X10mm
3. Insert the rudder into the hinge socket on the trailig hinge of vertical fin, secure the rudder into place-
with the supplied self tapping screw 2.3X10(1pc)while holding the rudder in position, do not over
tighten the screw for the freely moviaaaa
4. Install the taill wheel assembly to the plastic mount on the T/E of the vertical fin, then secure with the
provided self tapping screws2.3X10(2pcs)
2B. Now install the main wheels to the shaft, Hold the wheels in the shaft with supplied Nylon insert nuts,
busure do not over tigth the nuts for the freely spin of the wheels.

5
6. Try to place the tail brace into right slots and then secure them into place with the screws2.3X10
(4pcs ,2 for each side)
2.3x6
2.3X6mm
2.3X6mm
2.3X6mm

6
3X10mm bolt(4pcs)
2.3X6mm
3.0X10mm

7
1.7X4mm
With the wing struts packed in a separate bag in each, secure the tube to the main trunk
of the struts respectively with provided screws come with the struts’ bag(1.7X4mm).
Make sure the plastic securing bits at wing end should bent to the same side before screwing on.
Attach each wing strut to their respective sides (A), both struts are marked “L” and “R” to note left
and right hand sides if looking forward from the tail. Secure firmly in place using the “R” securing
bits. we recommend to secure the wing end of the struts using “R” the first.
9.

8
Also please choose the right prop to install to match what battary will you using,
The 17X8 FOR 4 cells the 16X8 for 6cells.

9
10. Install your choice of receiver (minimum 6 channel)
Congratulations, basic assembly of your Grand Tundra is now complete.
Please perform a final check on all screws, bolts and components,
ensuring all are secure and firmly in place.

10
SETTING UP YOUR MODEL:

11
16mm-25mm
12mm-25mm
12mm-25mm
15mm-25mm
15mm-25mm
16mm-25mm
12mm 25mm
15mm 25mm
16mm 25mm
75mm-80mm~
CONTROL THROWS:
75-80mm~
3. The Grand Tundra handles very well in flight and that’s not down to good design alone, but a
good pre-flight set-up too. Before you fly Grand Tundra please follow the recommended settings
below for optimum handling and performance.
4. Flaps on the Grand Tundra will need to be set for 3 stages (up/no flap, mid flap and full down
flap). Either via your radio or mechanically by turning the clevis’s on the flap control rod (or via
both in most cases), set mid flap to approximately 45 degrees and full flaps to approximately 90
degrees to the wing. In the “up/no flap” position ensure the flaps close fully without straining the
servos and are both level with trailing edge of the neutral ailerons. Also check that both flaps
deploy equally at every stage.

12
CG LOCATION:
5. The recommended center of the gravity (CG) for the Grand Tundra is approximately 75-80mm
from the leading edge of the wing. Your Grand Tundrawill balance within the CG range with the
advised battery secured with the Avios battery straps.
75-80mm
With assembly and set-up now complete,
your Avios Grand Tundra should now be ready for flight.
However we recommend your read and follow the advice
given in the fillowing pages of this manual
before flying your model.

13
2.3x10
2.3X10mm
GRAND TUNDRA OPTIONS:

14
3x10(4pcs)
2.3x10
3.0X10mm
2.6X10mm
2.3X10mm

15

16

17
Grand Tundra Optional Skis

18
HINTS AND TIPS WHEN FLYING YOUR GT.
Take off - When you have set up your Grand Tundra depending on the ground surface you will
need to hold a little up elevator when taxiing.
Once lined up on your runway slowly increase throttle on keeping the plane flying straight with the
use of rudder control, Once airborne simply keep the GT flying with a good rate of climb not letting
the GT off the throttle until you have climbed to good altitude.
Once you are at cruising speed (roughly 3/4 throttle on 4S) then adjust or trim your Grand Tundra
to make sure you have the GT flying straight and level. Now is a good opportunity to get a feel for
the airplane and see the stall, slow speed and how it handles with medium and full flaps.
Landing - Always keep the power on during slow speed turns to maintain your altitude and not sink
in height. Once on your base leg approach apply 1/2 flaps then turn onto your final approach. Once
lined up with your landing runway the use your rudder to control the GT's direction, use the throttle
to manage your rate of decent and use your elevator to correct the GT's attitude. Once those large
tyres touch the ground simply pull back the power and apply the elevator to taxi back.
Now your first flight is ticked off, check all of the screws, nuts and bolts. Check all of your control
surfaces and linkages. Check your motor and check all of your electronic components. Once
you've checked over the GT then the Adventure begins.
The Avios Grand Tundra is a dynamic STOL (Short Takeoff and Landing) RC model. It has the
ability to fly right to the edge of its flight envelope.
Short take off with full flaps and full power will get you into the air in a few feet and get ready to pull
the flaps up and climb out with an unlimited climb rate (6S).
A spectacular flying RC plane ready to for whatever you can throw at it.
The Avios Team.
Enjoy your Avios Grand Tundra
and
Happy Landings.

Table of contents
Other Avios Toy manuals

Avios
Avios KingTwin 1700 User manual

Avios
Avios Exra330 LX User manual

Avios
Avios Zazzy User manual

Avios
Avios SPITFIRE Mkvb User manual

Avios
Avios Albatross User manual

Avios
Avios Bush Mule User manual

Avios
Avios C-130V2 User manual

Avios
Avios Albatross HU-16 User manual

Avios
Avios Hawker Sea Fury FB11 EPO Warbird User manual

Avios
Avios MIG-17 FRESCO User manual