For your protection, please read these safety instructions
completely before operating the equipment and keep this
manual for future reference� The information in this sum-
mary is intended for persons who operate the equipment
as well as repair (servicing) personnel� Carefully adhere to
all warnings, precautions and instructions on the appara-
tus, and the ones described in the operating instructions�
Also, adhere to safety guidelines found in manuals for any
peripheral equipment�
This system contains no user-serviceable
parts: The system enclosed battery (recharge-
able battery for use in temporary relocation) in
this product is non-user replaceable and should
be removed by a qualified service technician
only�
To avoid risk of electric shock, this equipment
must only be connected to a supply mains with
protective earth�
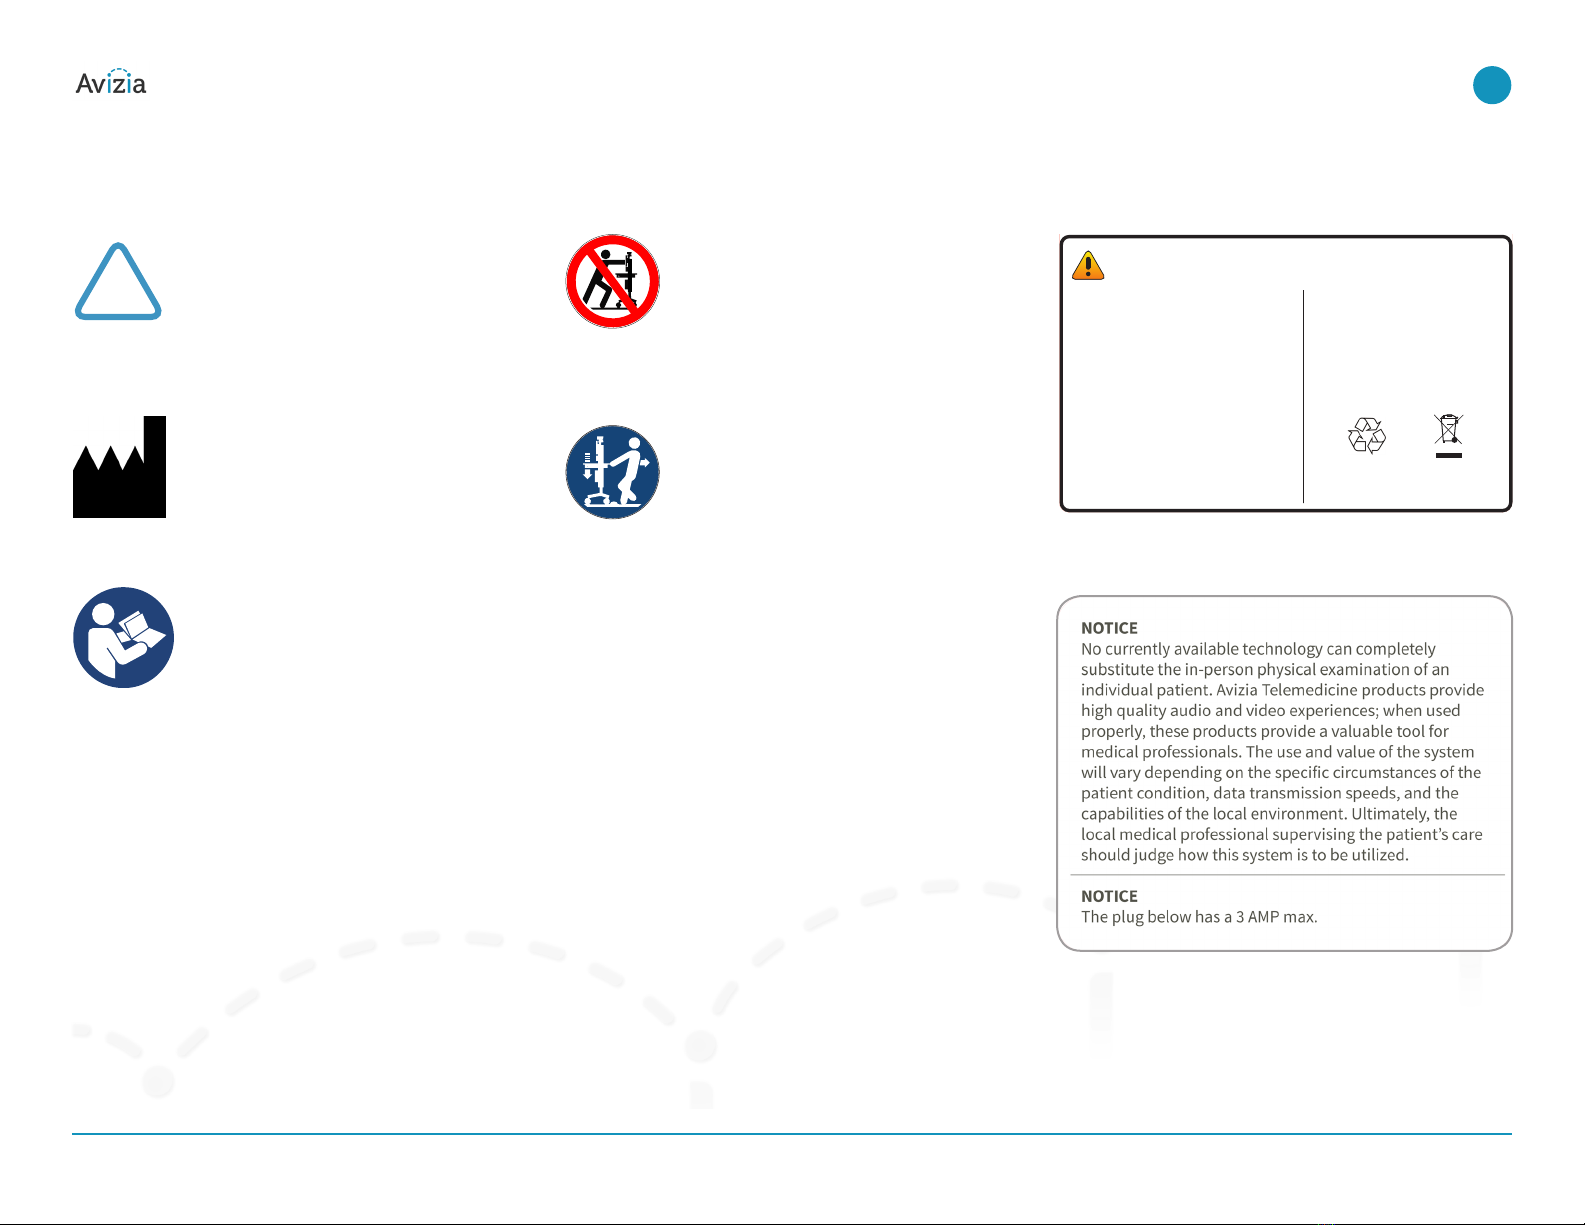
Lower before transporting: For your safety and
to protect the CA310, fully lower the work surface
before transporting the system� Pushing or
pulling the system with any part of the system
other than its handle may result in damage to the
system�
Traversing thresholds and obstacles on the
ground: Use the system handle to PULL the
system safely across thresholds, cords, cables,
and other potential obstacles on the ground�
Always fully lower the work surface before trans-
porting the system�
•Water and moisture - Do not operate the equipment under
or near water - for example near a bathtub, kitchen sink, or
laundry tub, in a wet basement, or near a swimming pool
or in areas with high humidity�
•Cleaning - Unplug the apparatus from the wall outlet
before cleaning or polishing� Please adhere to the general
cleaning guidelines found in this document’s section:
“Cleaning the System�”
•Power-Cord Protection - Route the power cord so as to
avoid it being walked on or pinched by items placed upon
or against it, paying particular attention to the plugs,
receptacles, and the point where the cord exits from the
apparatus�
•Mobility – Before transporting the system unplug the
power cord and wrap it around the cable hook� Also ensure
that the camera and display are in the operational posi-
tion (facing forward) and not in the maintenance position
(facing upward)� Use the system handle to maneuver the
system� Pull the system over thresholds, cords, cables, and
other obstacles on the ground� Fully lower the work surface
before transporting the system�
•Ventilation - Do not block any of the ventilation openings
of the apparatus� Install in accordance with the installa-
tion instructions� Never cover the slots and openings with
a cloth or other material� Never install the apparatus near
heat sources such as radiators, heat registers, stoves, or
other apparatus (including amplifiers) that produce heat�
•Attachments - Only use attachments as recommended by
the manufacturer�
•Accessories - Use only accessories intended for use with
this system�
•Lightning - Unplug this apparatus during lightning storms
or when unused for long periods of time�
•Servicing - Do not attempt to service the apparatus your-
self as opening or removing covers may expose you to
dangerous voltages or other hazards, and will void the war-
ranty� Refer all servicing to qualified service personnel�
•Opening the System - Do not open system service panels
while system is in use�
•Storage - If you need to store the system, ensure that it is
stored in a controlled environment to avoid damage� Refer
to the codec documentation for further guidelines�
•Repacking – We recommend you save and store the sys-
tem’s packing materials� They make for an ideal container
with which to transport the system�
•Damaged Equipment - Unplug the apparatus from the
outlet and refer servicing to qualified personnel under the
following conditions:
•When the power cord or plug is damaged or frayed
•If liquid has been spilled or objects have fallen into
the apparatus
•If the apparatus has been exposed to rain or mois-
ture
•If the apparatus has been subjected to excessive
shock by being dropped, or the unit has been dam-
aged
•If the apparatus fails to operate in accordance with
the operating instructions�
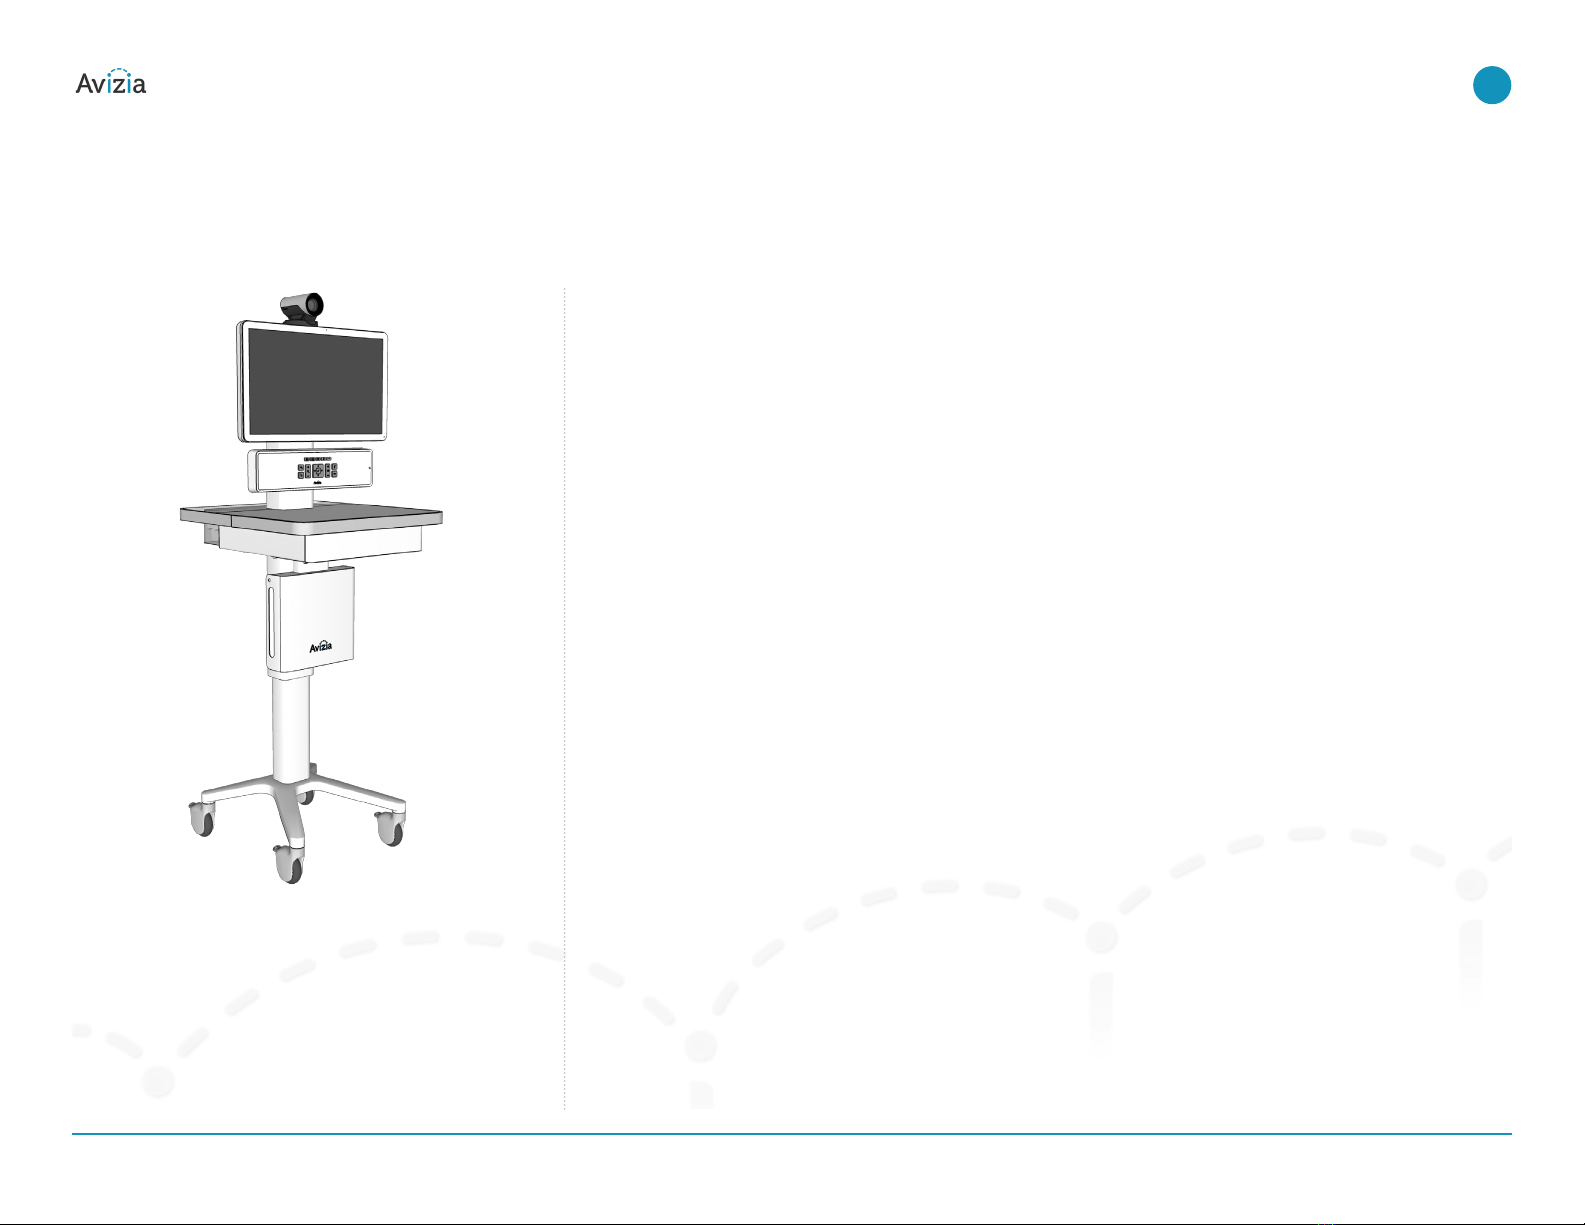
Operator safety summary
CA310 | Installation & User Guide Operator safety summary
© 2017 Avizia Inc. All rights reserved. | avizia.com | AVZ-270920-A
7
| Before getting started