Avonic AV-REC200 User manual

User Manual | Version 1..1
www.avonic.com
Recorder & Encoder with HDMI & SDI input
AV-REC200

22
CONTENTS
Introduction........................................................................................................................... 3
Contact................................................................................................................3
Join Avonic .. .. .. .. .. .. .. .. .. .. .. .. .. .. .. .. .. .. .. .. .. .. .. .. .. .. .. .. .. .. .. .. .. .. .. .. .. .. .. .. .. .. .. .. .. .. .. .. .. .. .. .. .. .3
Safety Notes.......................................................................................................................... 4
Package contents and Accessories .................................................................... 6
Contents.. .. .. .. .. .. .. .. .. .. .. .. .. .. .. .. .. .. .. .. .. .. .. .. .. .. .. .. .. .. .. .. .. .. .. .. .. .. .. .. .. .. .. .. .. .. .. .. .. .. .. .. .. .. .. .6
Product Overview.............................................................................................................. 6
Features .. .. .. .. .. .. .. .. .. .. .. .. .. .. .. .. .. .. .. .. .. .. .. .. .. .. .. .. .. .. .. .. .. .. .. .. .. .. .. .. .. .. .. .. .. .. .. .. .. .. .. .. .. .. .. .6
Installation ..............................................................................................................................7
Back side: Connections.. .. .. .. .. .. .. .. .. .. .. .. .. .. .. .. .. .. .. .. .. .. .. .. .. .. .. .. .. .. .. .. .. .. .. .. .. .. .. .. .. .. .. .. . 7
Front side: Button and Display layout.. .. .. .. .. .. .. .. .. .. .. .. .. .. .. .. .. .. .. .. .. .. .. .. .. .. .. .. .. .. .. .. .. .. .7
Operating Instructions: LCD Display.................................................................. 8
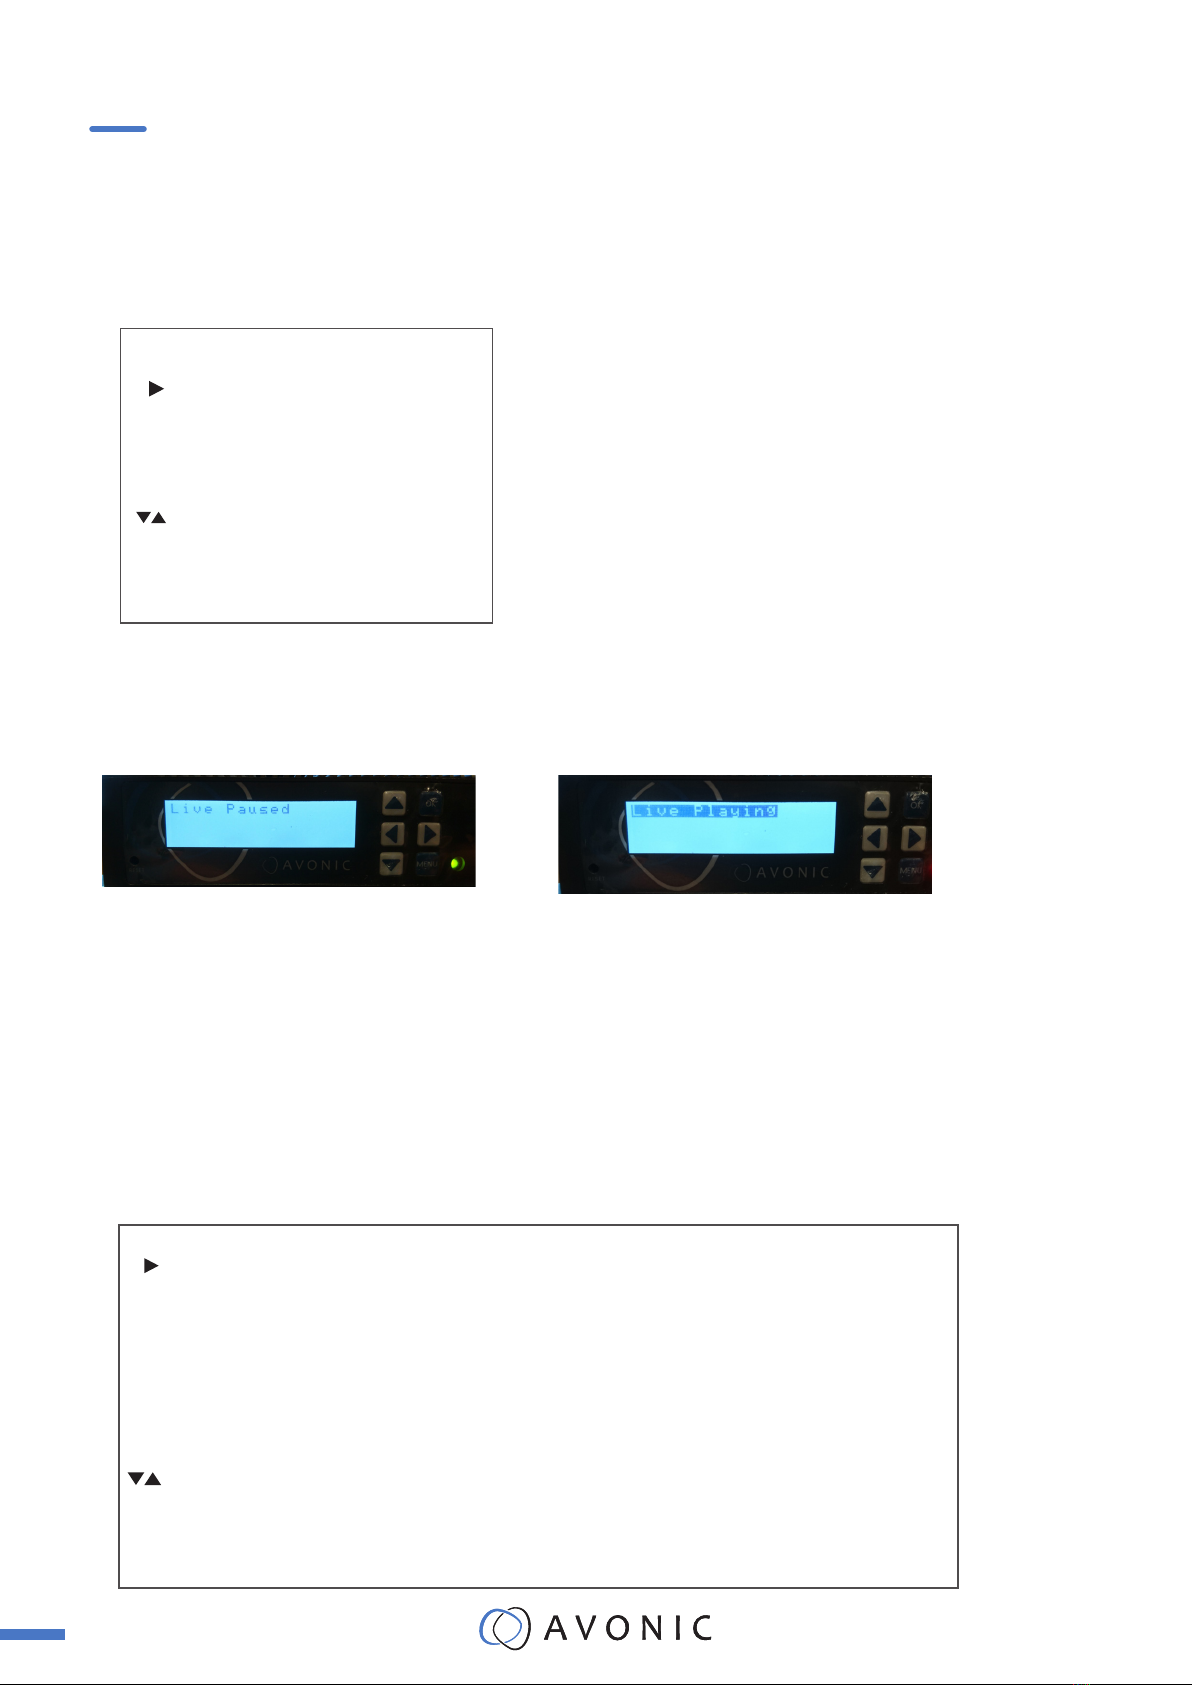
2. Live .. .. .. .. .. .. .. .. .. .. .. .. .. .. .. .. .. .. .. .. .. .. .. .. .. .. .. .. .. .. .. .. .. .. .. .. .. .. .. .. .. .. .. .. .. .. .. .. .. .. .. .. .. .. .. .. .. .8
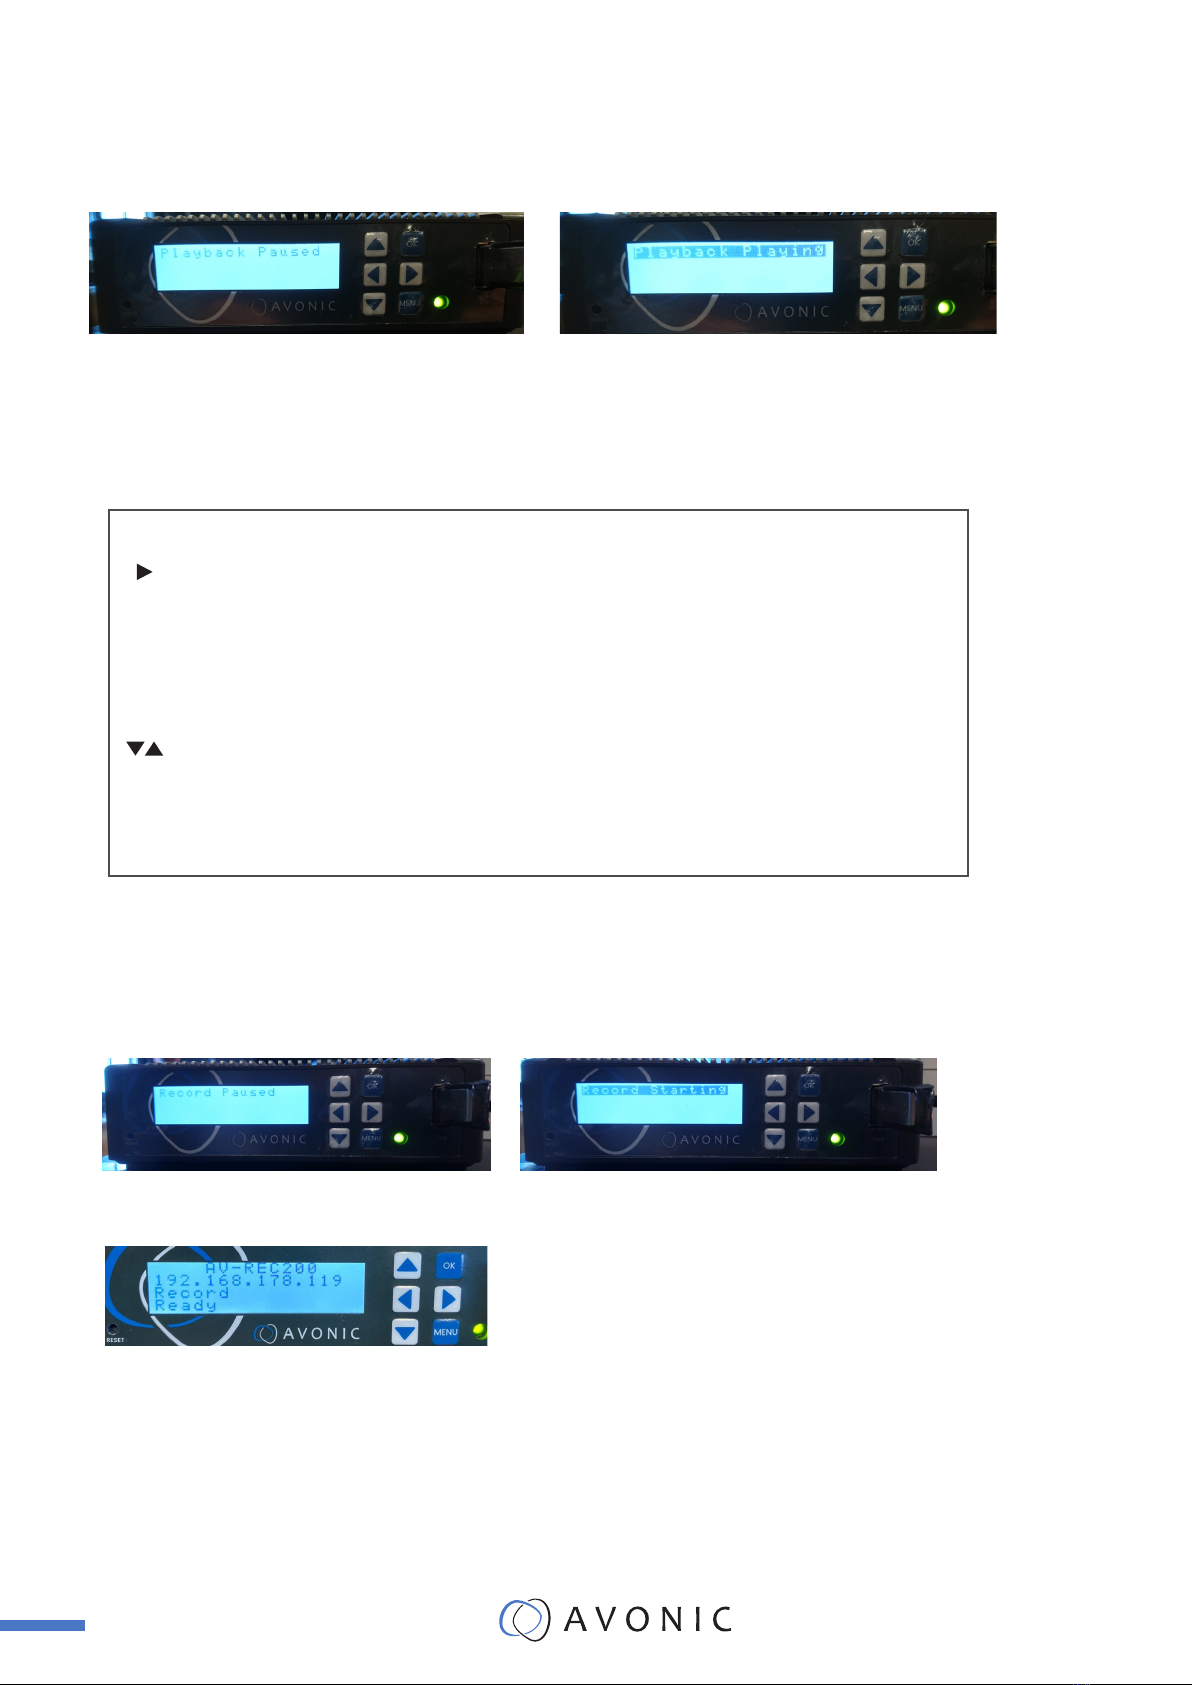
3. Playback .. .. .. .. .. .. .. .. .. .. .. .. .. .. .. .. .. .. .. .. .. .. .. .. .. .. .. .. .. .. .. .. .. .. .. .. .. .. .. .. .. .. .. .. .. .. .. .. .. .. .. .. .. .9
4. Record..............................................................................................................9
5. System. .. .. .. .. .. .. .. .. .. .. .. .. .. .. .. .. .. .. .. .. .. .. .. .. .. .. .. .. .. .. .. .. .. .. .. .. .. .. .. .. .. .. .. .. .. .. .. .. .. .. .. .. .. .. 10
Operating Instructions: WebGui........................................................................... 11
1. Powering up and Initialization of the AV-REC200 .. .. .. .. .. .. .. .. .. .. .. .. .. .. .. .. .. .. .. .. .. .. .. .. .11
2.1 Operating the webinterface .. .. .. .. .. .. .. .. .. .. .. .. .. .. .. .. .. .. .. .. .. .. .. .. .. .. .. .. .. .. .. .. .. .. .. .. .. .. .11
2.2 Live Service/ Streaming Setting. .. .. .. .. .. .. .. .. .. .. .. .. .. .. .. .. .. .. .. .. .. .. .. .. .. .. .. .. .. .. .. .. .. .. .. 12
2.2.1 Live Service / Streaming Setting Basic options. .. .. .. .. .. .. .. .. .. .. .. .. .. .. .. .. .. .. .. .. .. .. .. 13
2.2.1.1 Live Service / Streaming Alternative (Automatic Authorisation fail) .. .. .. .. .. .. .. 15
2.2.2 Live Service / Streaming Setting Advanced options .. .. .. .. .. .. .. .. .. .. .. .. .. .. .. .. .. .. .. 17
2.2.3 Record/ FTP Upload Settings .. .. .. .. .. .. .. .. .. .. .. .. .. .. .. .. .. .. .. .. .. .. .. .. .. .. .. .. .. .. .. .. .. .. .. .. 19
2.2.3.1 FTP Upload . .. .. .. .. .. .. .. .. .. .. .. .. .. .. .. .. .. .. .. .. .. .. .. .. .. .. .. .. .. .. .. .. .. .. .. .. .. .. .. .. .. .. .. .. .. .. .. .. 21
2.2.4. Playback Settings .. .. .. .. .. .. .. .. .. .. .. .. .. .. .. .. .. .. .. .. .. .. .. .. .. .. .. .. .. .. .. .. .. .. .. .. .. .. .. .. .. .. .. .. 22
2.2.5. Overlay Settings .. .. .. .. .. .. .. .. .. .. .. .. .. .. .. .. .. .. .. .. .. .. .. .. .. .. .. .. .. .. .. .. .. .. .. .. .. .. .. .. .. .. .. .. .. 23
How to create transparent BMP file for overlay. .. .. .. .. .. .. .. .. .. .. .. .. .. .. .. .. .. .. .. .. .. .. .. .. .. .. 24
2.2.6. System Settings. .. .. .. .. .. .. .. .. .. .. .. .. .. .. .. .. .. .. .. .. .. .. .. .. .. .. .. .. .. .. .. .. .. .. .. .. .. .. .. .. .. .. .. .. .. 25
Maintenance .......................................................................................................................29
Unauthorized Use .. .. .. .. .. .. .. .. .. .. .. .. .. .. .. .. .. .. .. .. .. .. .. .. .. .. .. .. .. .. .. .. .. .. .. .. .. .. .. .. .. .. .. .. .. .. .. .. 29
Troubleshooting................................................................................................................29
General advise .. .. .. .. .. .. .. .. .. .. .. .. .. .. .. .. .. .. .. .. .. .. .. .. .. .. .. .. .. .. .. .. .. .. .. .. .. .. .. .. .. .. .. .. .. .. .. .. .. .. 29
Power Issues.. .. .. .. .. .. .. .. .. .. .. .. .. .. .. .. .. .. .. .. .. .. .. .. .. .. .. .. .. .. .. .. .. .. .. .. .. .. .. .. .. .. .. .. .. .. .. .. .. .. .. .. 29
WebGUI. .. .. .. .. .. .. .. .. .. .. .. .. .. .. .. .. .. .. .. .. .. .. .. .. .. .. .. .. .. .. .. .. .. .. .. .. .. .. .. .. .. .. .. .. .. .. .. .. .. .. .. .. .. .. .. 29
API data...................................................................................................................................30
www.avonic.com

3www.avonic.com
Contact
INTRODUCTION
www.Facebook.com/
avonicPTZ
JOIN AVONIC
www.Linkedin.com/company/
avonic
www.twitter.com/
avonic
Thank you for your Avonic purchase. Before operating this product, please read the manual thoroughly and
retain it for future reference. The manual can be downloaded on www.avonic.com. Save this manual for future
reference.
For any questions or suggestions, contact your reseller or the local distributor of Avonic. Find the local distri-
butor on the website of Avonic. For the most recent version of the manual or datasheet, look at the Avonic
website: www.avonic.com.

4www.avonic.com
SAFETY NOTES
Important safety information
WARNING: Failure to follow these safety instructions could result in fire, electric shock, injury, or damage to
this Product or other property. Read all the safety information below before using
this Product.
WARNING: Before operating this product, please read the manual thoroughly and retain it for future refe-
rence. The manual can be downloaded on www.avonic.com.
Handling
Handle this Product with care. It is made of metal, glass, and plastic and has sensitive electronic components
inside. this Product can be damaged if dropped, burned, punctured, or crushed, or if it comes in contact with
liquid. If you suspect damage to this Product, discontinue use of this Product, as it may cause overheating or
injury.
WARNING: Do not pick up and move the unit while a tripod is attached. The fitting may break under the
weight of the tripod, which may result in injury.
Installation
Set up this Product on a hard, stable surface or mount it to a wall or ceiling. Only use an Avonic mount for
mounting to a wall or ceiling. Ensure the mounting construction is capable of supporting four times the weight
of the equipment downwards. Make sure to make use of a safety loop or drop protection that is
capable of preventing the Product from falling if the mounting construction fails. Never install a product abo-
ve persons to prevent any risk on injuries when it falls down.
WARNING: In order to maintain adequate ventilation, do not install or place this unit in a bookcase, built-in
cabinet or any other confined space. To prevent risk of electric shock or fire hazard due to overheating, ensure
that curtains and any other materials do not obstruct the ventilation.
WARNING: Check the installation at least once a year. An improper installation could cause the unit to fall
off resulting in personal injury.
Repairing
Don’t open this Product and don’t attempt to repair this Product yourself. Disassembling this Product may
damage it or may cause injury to you. If this Product is damaged, malfunctions, or comes in contact with liquid,
contact Avonic or an Avonic Authorized Service Provider. Repairs by service providers other than Avonic or an
Avonic Authorized Service Provider may not involve the use of Avonic genuine parts and may affect the safety
and functionality of the device. You can find more information about repairs and service at www.avonic.com.
Power
Power this Product with the included cable and power adapter. Other adapters may not meet applicable safe-
ty standards, and connecting with such adapters could pose a risk of death or injury.
WARNING: Using damaged cables, or using the Product when moisture is present, can cause fire, electric
shock, injury, or damage to this Product or other property. When you power this Product, make sure the cable is
fully inserted into the power adapter before you plug the adapter into a power outlet. It’s important to keep this
Product, the cable, and the power adapter in a well-ventilated area when in use.

5www.avonic.com
Power adapter
To operate the Avonic power adapter safely and reduce the possibility of heat-related injury or damage, plug
the power adapter directly into a power outlet. Don’t use the power adapter in wet locations, and don’t connect
or disconnect the power adapter with wet hands. Stop using the power adapter and any cables if any of the
following conditions exist:
• The power adapter plug or prongs are damaged.
• The cable becomes frayed or otherwise damaged.
• The power adapter is exposed to excessive moisture, or liquid is spilled into the power adapter.
• The power adapter has been dropped, and its enclosure is damaged.
Intended use
This Product shall not be used in the residential area and shall only be installed and operated by experienced
technicians.
Not a medical device
This Product is not a medical device and should not be used as a substitute for professional medical judgment.
It is not designed or intended for use in the diagnosis of disease or other conditions, or in the cure, mitigation,
treatment, or prevention of any condition or disease. Please consult your healthcare provider
prior to making any decisions related to your health.
Explosive and other atmospheric conditions
Using this Product in any area with a potentially explosive atmosphere, such as areas where the air contains
high levels of flammable chemicals, vapours, or particles (such as grain, dust, or metal powders), may be ha-
zardous. Exposing this Product to environments having high concentrations of industrial chemicals,
including near evaporating liquified gasses such as helium, may damage or impair this Product functionality.
Obey all signs and instructions.
High-consequence activities
This device is not intended for use where the failure of the device could lead to death, personal injury, or severe
environmental damage.

6
Quantity Description Avonic SKU
1 pc Device AV-REC200
1 pc Power Supply AV-PSU200
The Avonic AV-REC200 is the ideal standalone USB/SD Card recorder and web streaming device. Users
can simply connect an HDMI or SD/HD/3G-SDI input and in a few simple steps, they will be streaming and/
or recording. With support for UDP/HLS/RTMP/RTSP live output and USB/SD card recording the AV-REC200
enables corporate streaming, live streaming to various platforms and live high bitrate full HD 1080P60 re-
cording. A simple to use webinterface and IP control enable ease of use and full integration with 3rd party
control systems.
PRODUCT OVERVIEW
• High Definition input resolutions up to 1080p60
• Live streaming to various platforms including Facebook Live and YouTube
• H.264, H.265 encoding
• H.264, H.265 coding
• Front panel screen with status, setup and control capabilities
• 3G-SDI and HDMI inputs
• HDMI Out, USB storage, SD-card storage, RTSP via RJ45
• Live Meeting Broadcasts
• Logo overlay
• full ip control via web interface
• Autonomous FTP uploading of finished recordings
Features
Contents
PACKAGE CONTENTS AND ACCESSORIES
www.avonic.com

7
1. 2. 3.
4. 5.
6.
1. Power Supply Input
2. RJ45 network connector for streaming and management purposes
3. HDMI loop output
4. RS 232 input (future use)
5. Audio IN
6. HDMI IN
7. Close Caption over CVBS Input (NOT ACTIVE)
8. 3G-SDI IN
9. SD card slot
Back side: Connections
INSTALLATION
Front side: Button and Display layout
1. Display screen, shows management IP address, operational mode, input stream standard,
output protocol, running status etc.
2. Navigation buttons, for navigating through front panel display.
3. Ok button
4. Menu button
5. Power and status indicator, changes color on basis of operational status of the REC200.
6. USB storage input for use with playback and/ or recording features
1. 2. 3. 4. 5. 6. 7. 8.
9.
www.avonic.com

8www.avonic.com
The LCD screen can be accessed by pushing the [MENU] Button on the REC200. Use the arrow
buttons to move the cursor to the item to be set. Press the [OK] button to enter the corresponding
sub-menu, or save the configuration. Press [Menu] to go back.
MENU
Live
Playback
Record
System
Select Item
[OK] Enter
[Menu] Exit
Live
Select Item
[OK] Enter
[Menu] Exit
Setting
Encoding
Live Output
Live Playing/paused
Video Source
Video Profile
Audio Source
Youtube, Facebook,
UDP, RTMP, RTSP, HLS
HDMI/SDI
480p - 1080p
HDMI/SDI, Audio IN
ON/OFF
ON/OFF
ON/OFF
ON/OFF
2. Live
Select “Setting”.
Click [OK] to start live streaming. Click again [OK] to pause or stop streaming.
Under Encoding Video Source and Audio Source you can choose between HDMI or SDI and under
audio source also between the Audio IN to embed audio in your stream or recording. Select te in-
terface you want by pressing [OK] on the REC200. That source will be set “ON”, while other interfaces
will be set (automatically) “OFF”. The same applies also for selecting Video Profile. Choosing one
profile will be set that profile “ON”, while other profiles will be set “OFF”.
Select “Youtube” or “Facebook” under “Live Output”. The REC200 will give a code to connect with
Youtube or Facebook.
OPERATING INSTRUCTIONS: LCD DISPLAY

9
www.avonic.com
4. Record
Playback
Select Item
[OK] Enter
[Menu] Exit
Setting
Playback List
Playback Output
Playback playing/ paused
Default List/ User defined
Youtube, Facebook,
UDP, RTMP, RTSP, HLS ON/OFF
3. Playback
Select “playback playing” or “playback paused” to play back or pause the recorded video.
Select [OK] to start playing back. Select again [OK] to pause or stop playing back.
Under “Playback List” are all the playback lists of recorded video’s available. Standard is a Default List, but user
defined lists can also be made. To do that, read chapter Operating Instructions: WebGUI on page 22.
Choose under “Playback Output” the way how the recorded video’s will be played back.
Choose “Setting”.
Click [OK] to start recording. Click again [OK] to pause or stop the recording.
The record is ready when you see the image below.

10
www.avonic.com
System
Select Item
[OK] Enter
[Menu] Exit
Network
Version
Recovery
Reboot
Host IP,
Host Gateway
Host Mask,
Host DNS
Net Mode
Software/hardware version
Recover Yes/No
Reboot Yes/No
192.168.1.100
192.168.1.1
255.255.255.0
192.168.1.1
DHCP
DNS
Disable/Enable
Static/Dynamic
5. System
Select under System “Network” to set up the Host IP, or gateway address/port etc. Use the Up and down but-
tons on the REC200 to change the numbers of the address/port and the Left/ right buttons to go to the next
number. [OK] will save the adress/ port number.
Set the Network mode (Net Mode) on “DHCP Enabled” and “DNS Dynamic” if a DHCP server is used within the
network. If not, select DNS Static and fill manually the HOST IP, Gateway, Mask and DNS numbers.
Choose “Version” to see the software/ hardware version used by the REC200.
Choose “Recovery” and “Reboot” to recover or reboot REC200 fabrique settings.
Record
Select Item
[OK] Enter
[Menu] Exit
Setting
Storage Device
Record Starting/ Paused
Udisk, SDcard ON/OFF
Select under “Storage Device” what storage device is used to store the recorded video: Udisk (USB drive), or
SDcard.

11
OPERATING INSTRUCTIONS: WEBGUI
Connect the supplied power transformer to the unit and wait until it is booted up. This process takes approxi-
mately 35 seconds to 1 minute to complete. All of the features of the AV-REC200 can be accessed through the
webinterface, in the now following part of this manual we will explain how to use it.
1. Connect the AV-REC200 directly to a pc or to a networkswitch.
2. The default ip address on which the AV-REC200 can be found is 192.168.1.100. Make sure that the
ip address of your computer has been put in the same subnet range of the AV-REC200
to be able to connect to it.
3. Open a webbrowser and enter the ip address of the AV-REC200 - the browser will connect to
the unit. Once the connection has been established, a login page will appear. The default user
name and password are admin/admin.
All of the features of the AV-REC200 can be accessed through the webinterface
Default IP address : 192.168.1.100
Default Username and Password : admin/admin
Image 3
1. Powering up and Initialization of the AV-REC200
2.1 Operating the webinterface
www.avonic.com

12
Image 4
4. After logging in, you will be directed to the status page of the AV-REC200, with a live preview of the
incoming video signal on top and information about the incoming signal, recording status and
streaming status:
To access the Live Service and Streaming Setting configuration page, click on the menu button on the
top left of the webpage, the main menu will slide out from the left, see the image below, and choose Live Service/
Streaming Setting.
2.2 Live Service/ Streaming Setting
Image 5
www.avonic.com

13
2.2.1 Live Service / Streaming Setting Basic options
The Live Service/ Streaming Setting page will look like the screenshot below, with the basic options for the input
and output settings.
1. Input HDMI, SDI
2. Mode Manual, Youtube, Facebook
3. Output UDP, RTMP*, RTMPS*, HLS, RTSP
4. IP/URL IP or URL on which the streamed content can be found
5. Port Portnumber of the IP or URL
6. Video Profile user defined
12mbps 1080p video/ 192kbps audio
8mbps 1080p video/ 192kbps audio
6mbps 1080p video/ 128kbps audio
4mbps 1080p video/ 128kbps audio
8mbps 720p video/ 192kbps audio
6mbps 720p video/ 128kbps audio
4mbps 720p video/ 128kbps audio
4mbps 576p video/ 128kbps audio
2mbps 576p video/ 96kbps audio
4mbps 480p video/ 128kbps audio
2mbps 480p video/ 96kbps audio
Image 6
*Mode: Manual, Output: RTMP/ RTMPS: when one of these options is selected you need to authorize
the device for the chosen service Facebook or Youtube or alternatively create a manual streamkey,
see pictures on the next page. Follow the steps indicated on the page of the platform. On page 13
there are a couple of screenshots how the screen of the REC200 looks when you have successfully
authorised your REC200 with your account. After the account is registered with Youtube in the exam-
ple on the following page (image 7~10) and you click on ‘Start Streaming’. It can take one or two
minutes before the little antenna symbol in the center of the screen turns green, indicating that the
REC200 is live and streaming to the platform. On the REC200 itself the light next to the “menu” button
will turn orange when streaming is active.
www.avonic.com

14
Image 8 authorization Image 9 authorization success
Image 10 authorized and streaming
Image 11 youtube dashboard
www.avonic.com
The screen will look like this when you choose Mode: Youtube, or Facebook. If you click on “Autho-
rize Your Device”, you will get the Live Authorization pictures below. Follow the steps, click on conti-
nue and then on “Start Streaming”.
Image 7

15
2.2.1.1 Live Service / Streaming Alternative (Automatic Authorisation fail)
In some cases, Google security will prevent the automatic authorisation to take place. In this case, a manual
set up is also possible:
1. Login to your Youtube account and click the Go Live button
2. Set up a new stream according to your preferences
3. After setting this up, you will find yourself on this page:
4. Copy the stream URL and Stream Key
5. Navigate to your REC200 and login to the WebGUI
6. Select the Stream Settings Menu
7. Select the correct input
8. Select Mode Manual
9 Select output: RTMP/RTMPS
10. Paste the Youtube Stream key in the uploading Node field of the REC200
11. Video Profile 1080p-6000Kbps is the preferred seting for Youtube. You can also set up these settings
manual according to your preferences.
www.avonic.com
Image 12
Image 13

16
12. Apply these settings and start streaming to Youtube. Youtube should now give you a preview of your stream:
www.avonic.com
Image 14
Image 15

17
By clicking on the advanced tab, the dropdown menu will present an expanded range of options for recording
and streaming:
INPUT:
Audio Source “HDMI/SDI Audio”, or enable “audio line IN” to embed audio on stream and/ or
recording
HDCP Test Mode Enable/ disable, for testing and development purposes only!
VIDEO:
Video Type H.264
Video Aspect Ratio automatic, 16:9 (SD), 4:3 (SD)
Profile High, Main, Baseline
Video Resolution 1920x1080, 1680x1200, 1600x900, 1440x1050, 1440x900, 1360x768, 1280x1024,
1280x720, 1280x800, 1280x768, 1024x768, 1024x576, 960x540, 850x480,
800x600, 720x576, 720x540, 720x480, 720x404, 704x576, 640x480, 640x360,
480x270, Automatic
GOP (Group of Pictures) Size 1~61
(Video) Frame Rate (FPS) 12~60
Video Bit Rate (kbps) 600~20000
Video Mode Constant Bitrate (CBR), Variable Bitrate (VBR).
Buffer Enable/Disable
AUDIO:
Audio Type MPEG1_Layer2 (MP2), AAC, AC3, EAC3
Audio Sampling Rate (KHz) 48
Audio Bit Rate (kbps) 32, 48, 64, 80, 96, 112, 128, 160, 192, 224, 256, 320, 384
2.2.2 Live Service / Streaming Setting Advanced options
www.avonic.com

18
The last step on this page is to press Apply and after that the green “Start streaming” button to start
broadcasting your stream.
Image 16
www.avonic.com

19
The Record Settings page is shown in the picture below. Here you can select which way and where
a stream is recorded.
1. USB states whether or not a USB device is inserted
2. SD states whether or not a SD card is inserted
3. Storage Device Select either USB or SD to record
4. Record File Format *.ts, *.mp4, *.mov
5. Record Name name the recorded file
6. Record Mode Loop, Size, Time
7. Record Time/ Size Determine maximum recording Time or Size of the file (kilobytes)
8. Loop enable/ disable loop recording when recording device is full
9. Apply click to save the settings if you changed them
10. Start recording click on the green button
WARNING: MAKE SURE TO SAFELY REMOVE THE USB/SD BEFORE TAKING IT OUT OF THE REC200, IF
YOU DO NOT, IT MAY CORRUPT THE LAST RECORDING!
NOTE: YOU CAN ONLY USE FAT32 USB/SD DRRIVES AND RECORD A MAX OF 4 GB FILE SIZE. AFTER THAT
THE REC200 WILL RECORD A NEW FILE WITH A GAP OF 2 SECONDS BETWEEN THE TWO FILES.
2.2.3 Record/ FTP Upload Setting
Image 17
www.avonic.com

20
Image 18
After you have clicked on the “Start Recording” button, a bar appears that is slowly turning green. Here you can
see how much storage in gigabytes is left on the USB or SD device.
Recording time (max)
File format Video profile File size Hour Minutes
.ts 1080p - 720p, 6000 kbps 4 Gb 144
.MP4 1080p - 720p, 6000 kbps 4 Gb 148
.MOV 1080p - 720p, 6000 kbps 4 Gb 1 48
Upload/ Download time
Speed (bit rate) File size Hour Minutes
1.5 Mbps 4 Gb 6 21
5 Mbps 4 Gb 1 54
6 Mbps 4 Gb 1 35
8 Mbps 4 Gb 1 14
10 Mbps 4 Gb 0 57
www.avonic.com
The table below shows how long you can record for different file formats and how long uploading and
downloading takes for recordings made with the REC200. Note that the times mentioned in the table are
a rough estimation and can possibly deviate a few minutes.
Other manuals for AV-REC200
2
Table of contents
Other Avonic Media Converter manuals