12 13
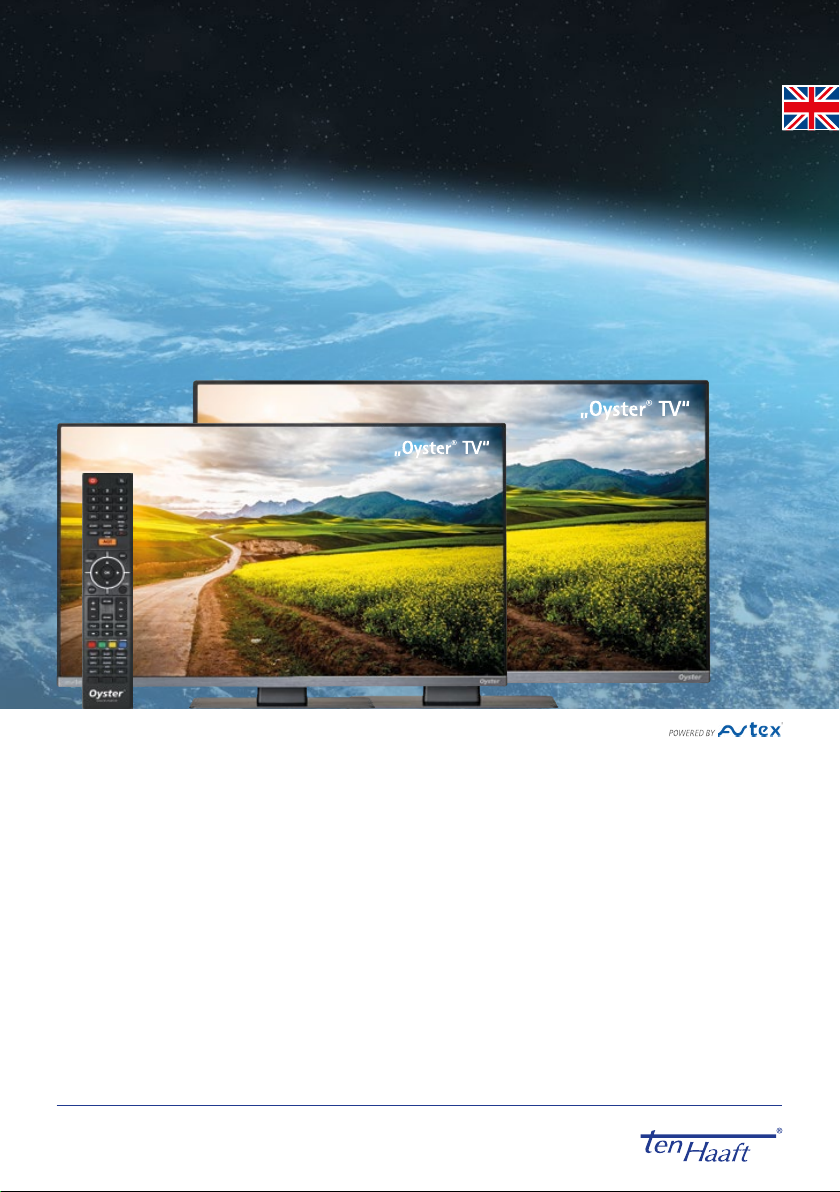
3. OPERATION OF THE OYSTER®TV
3.1 Start-up
Your Oyster® TV is equipped at the factory with the corresponding standard channel list and, if necessary, with
favourite lists (to create additional favourite lists, see page 28, Editing channels / Creating a favourite list
(satellite TV)). If channels are missing or you want to add other channels, you must start a channel search. (See
page 23)
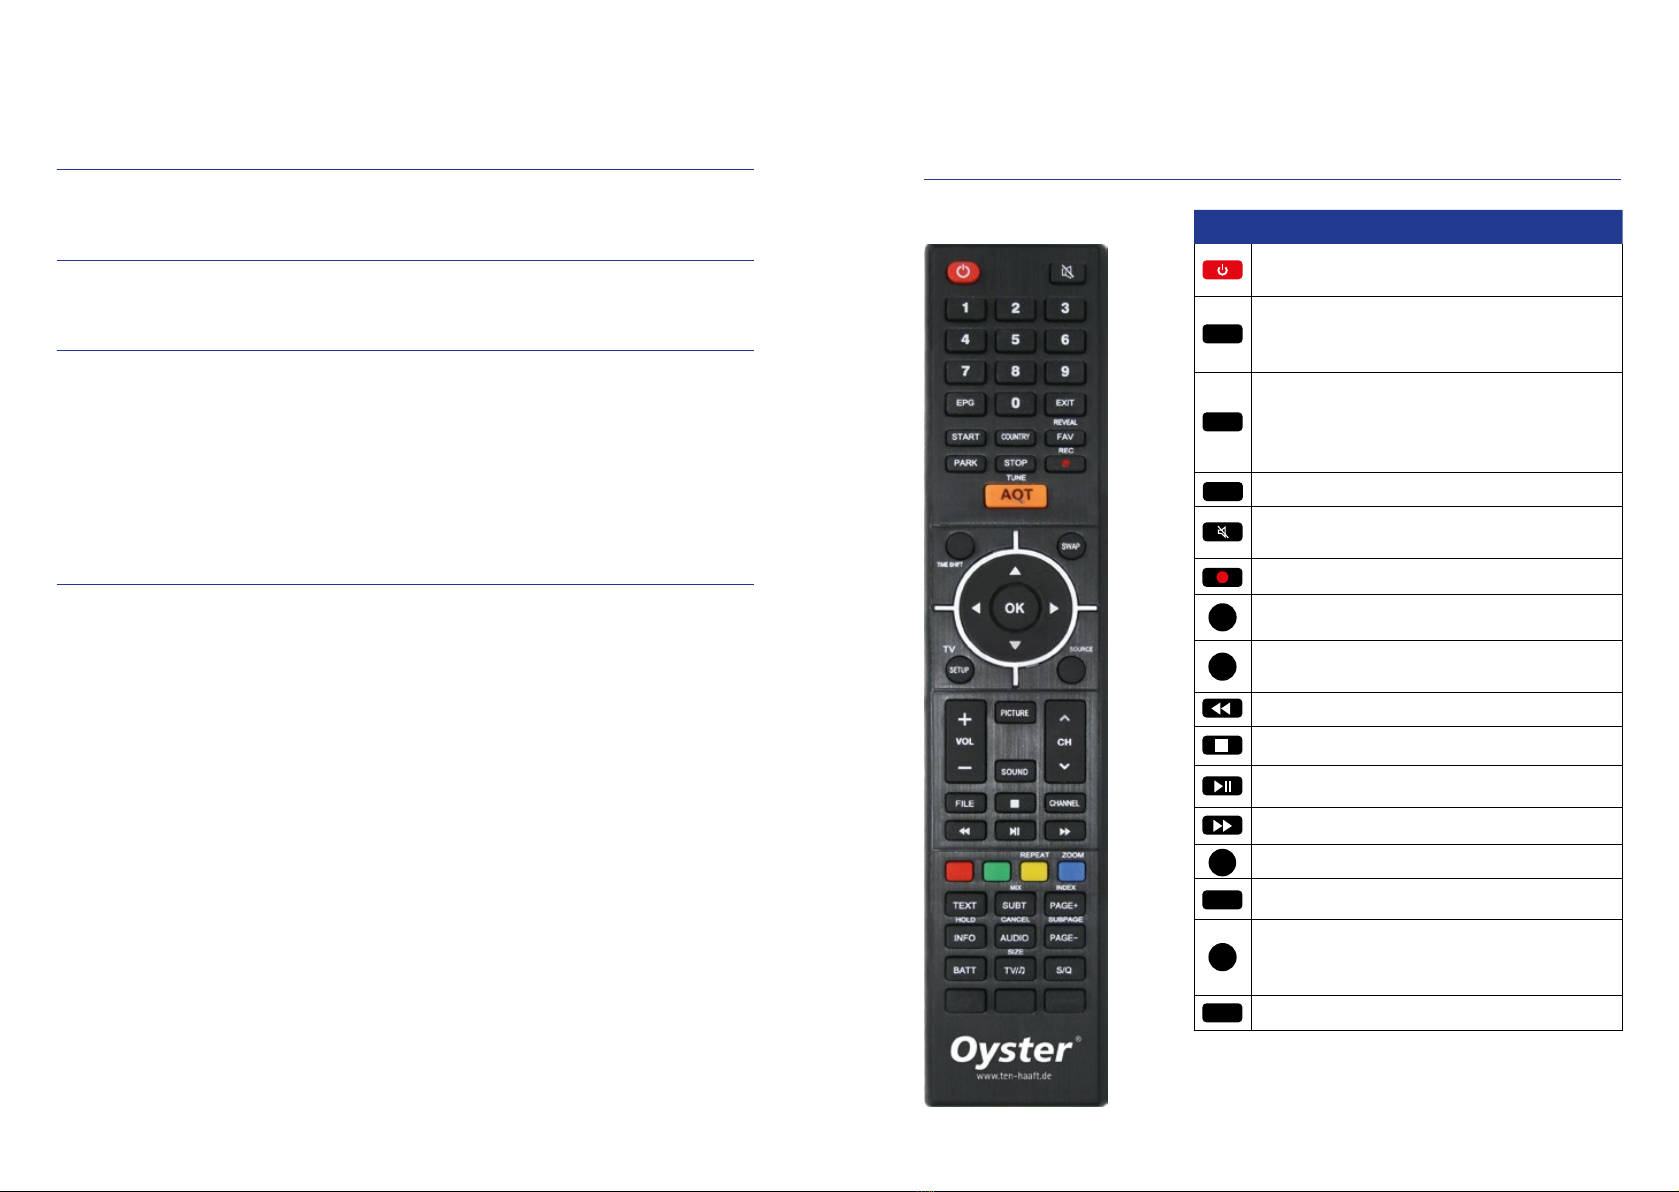
Please select the desired signal source. For use with a ten Haaft satellite system, this must be set to DVB-S.
Press the “SOURCE” SOURCE button to display the signal source menu:
Use the up / down buttons to select the input, to
OK
conrm. If you do not select any source with the
button
OK
, you will automatically be returned to the current signal source.
Press „EXIT“ EXIT button to quit the menu. The following signal inputs can be selected. Press the appropriate
buttons on the remote control:
• Digital TV = DVB-T / T2
• Satellite = DVB-S / S2
• AV = analogue image and sound sources
• HDMI 1 = digital connection via HDMI input
• HDMI 2 = digital connection via HDMI input
• USB = video, photo or music playback from a USB device.
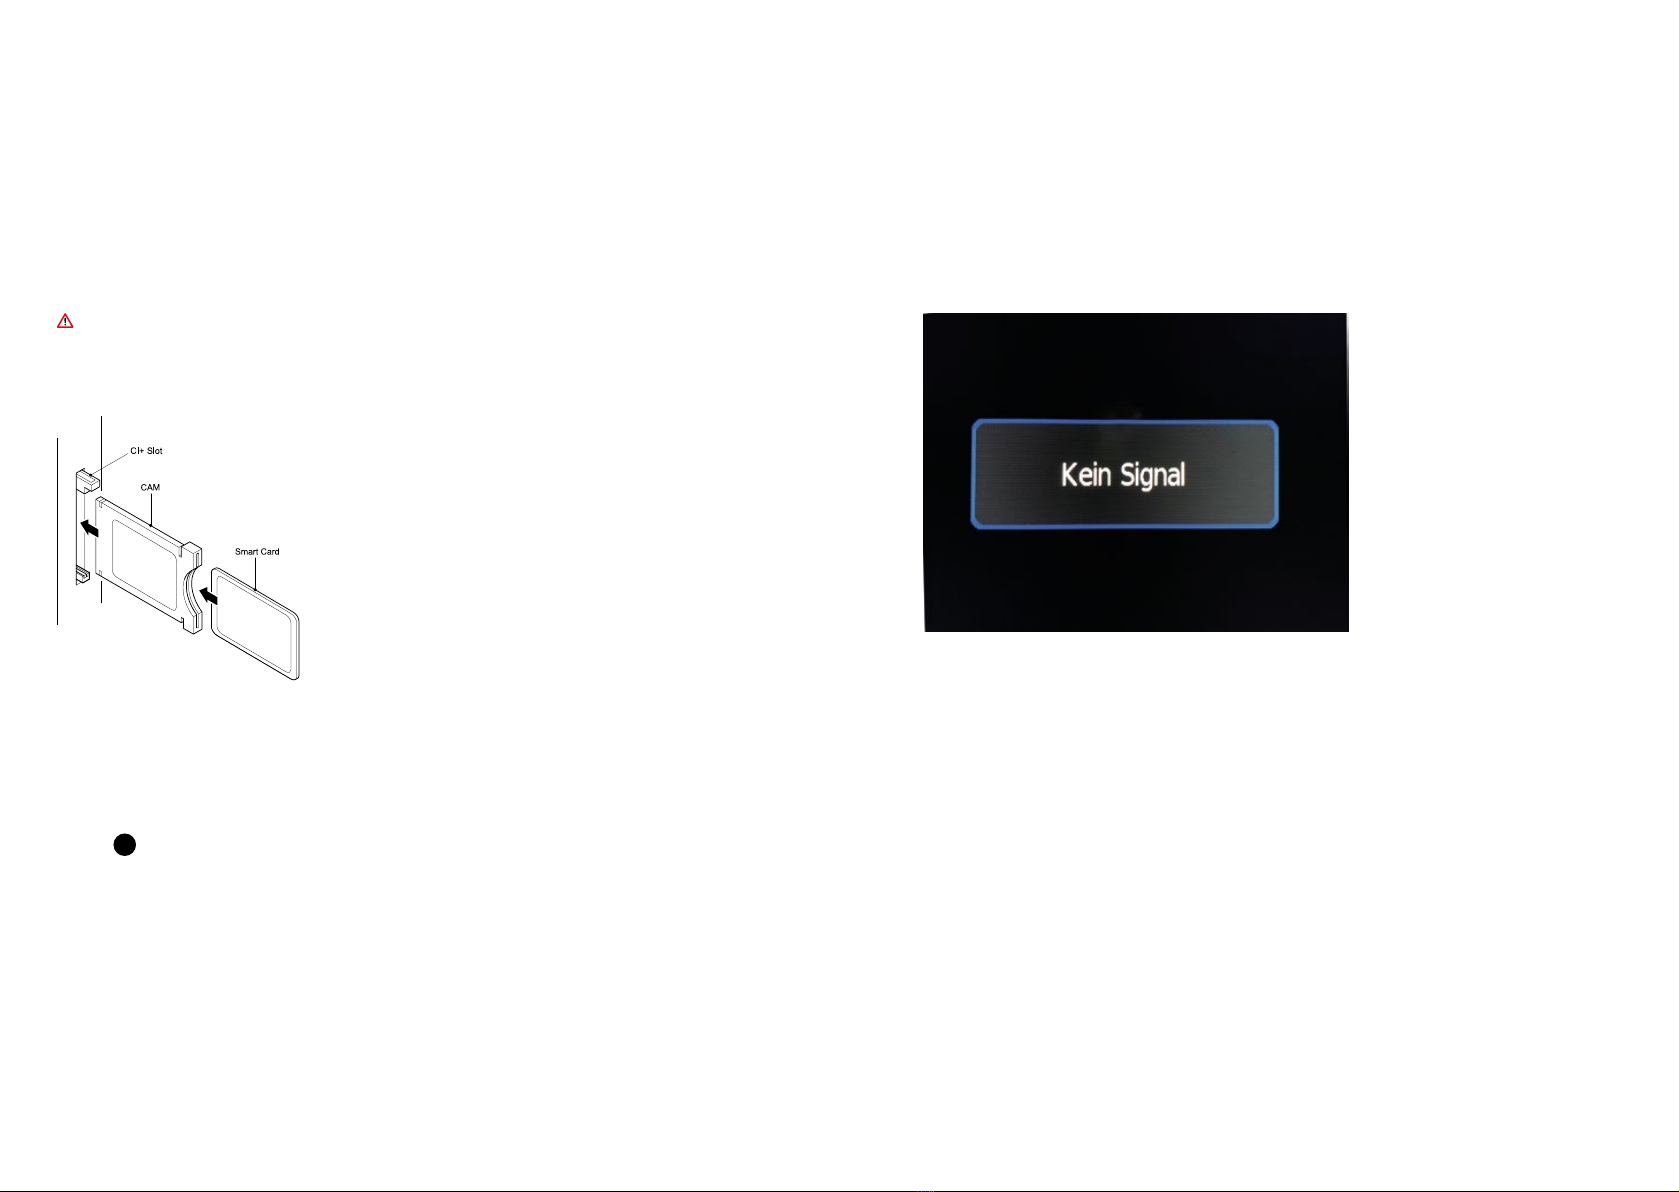
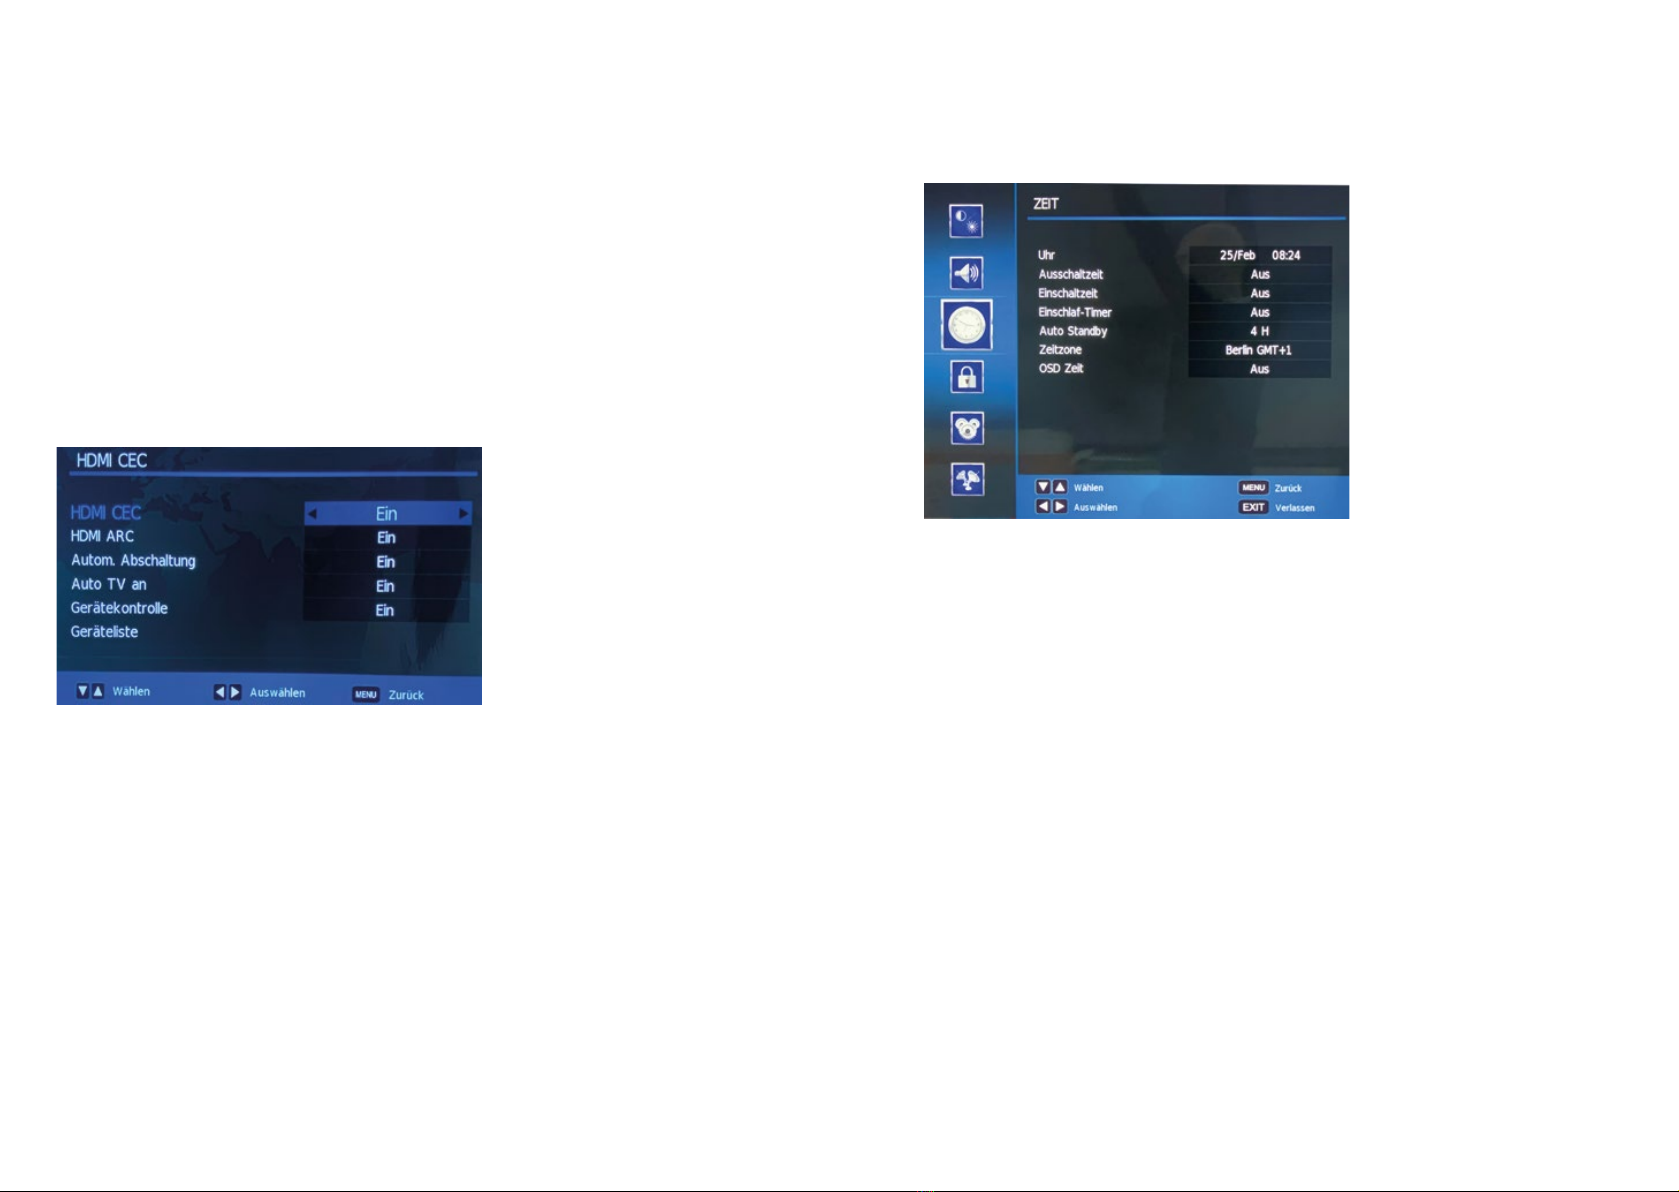
3.2 General TV settings
The settings menu allows you to set up your television.
• In order to call up the display menus, press the “SETUP” SETUP button.
• You can navigate in the menus with .
• You can quit the settings menu with Exit or Setup.
FIGURE
In this menu you can change different settings for the picture of the Oyster® TV. Here you can make the following
settings:
Picture mode
Standard / dynamic / mild / personal
These are predened picture settings.
The latter can be personalised by you.
Only with the “Personal” settings are the sliders for contrast, brightness, etc. operable. These predened set-
tings can be switched through in sequence directly via the “PICTURE” button.
Colour temperature
Normal / warm / cold
This setting shifts the white level of the picture more towards blue (cold) or red (warm). Select the setting that
suits you personally.
Picture format
Please always leave on “Auto”. Manual changes usually make no sense here.
3. OPERATION OF THE OYSTER®TV