1
The Santa Fe Style Awning
OWNER’S MANUAL & INSTALLATION INSTRUCTIONS
Important Installation Information:
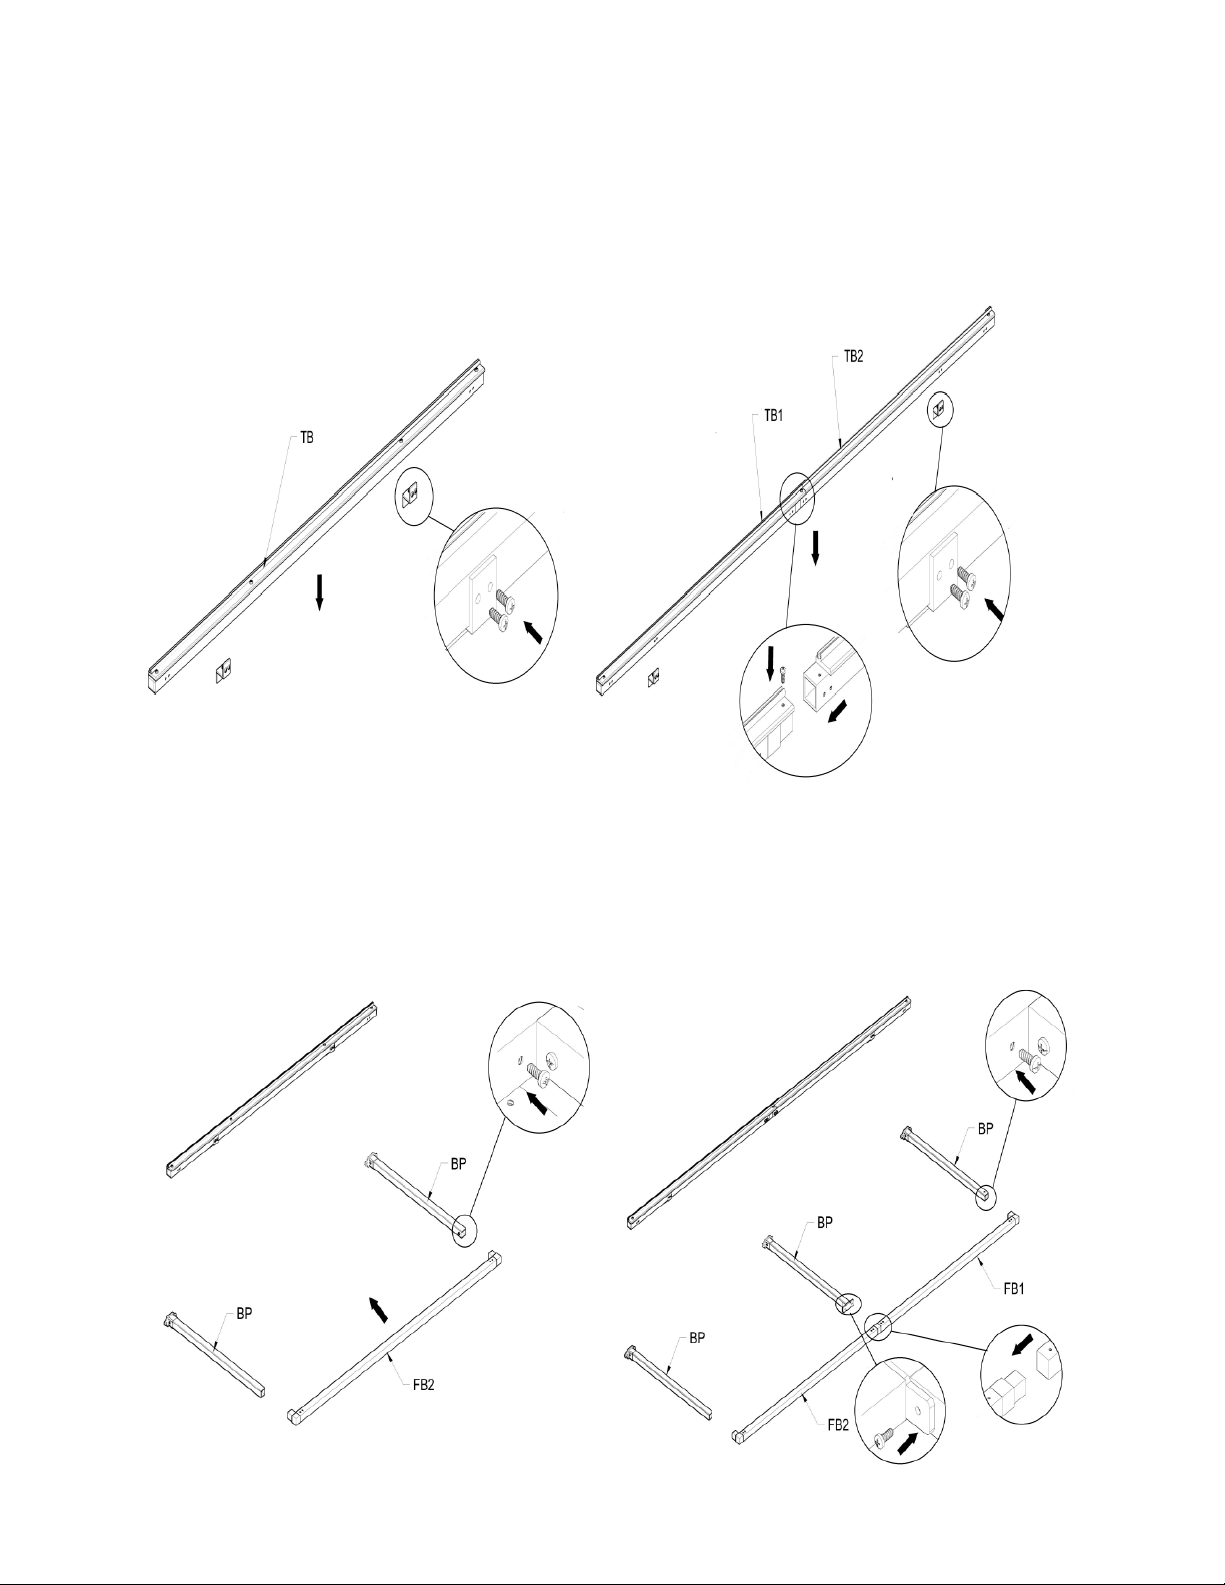
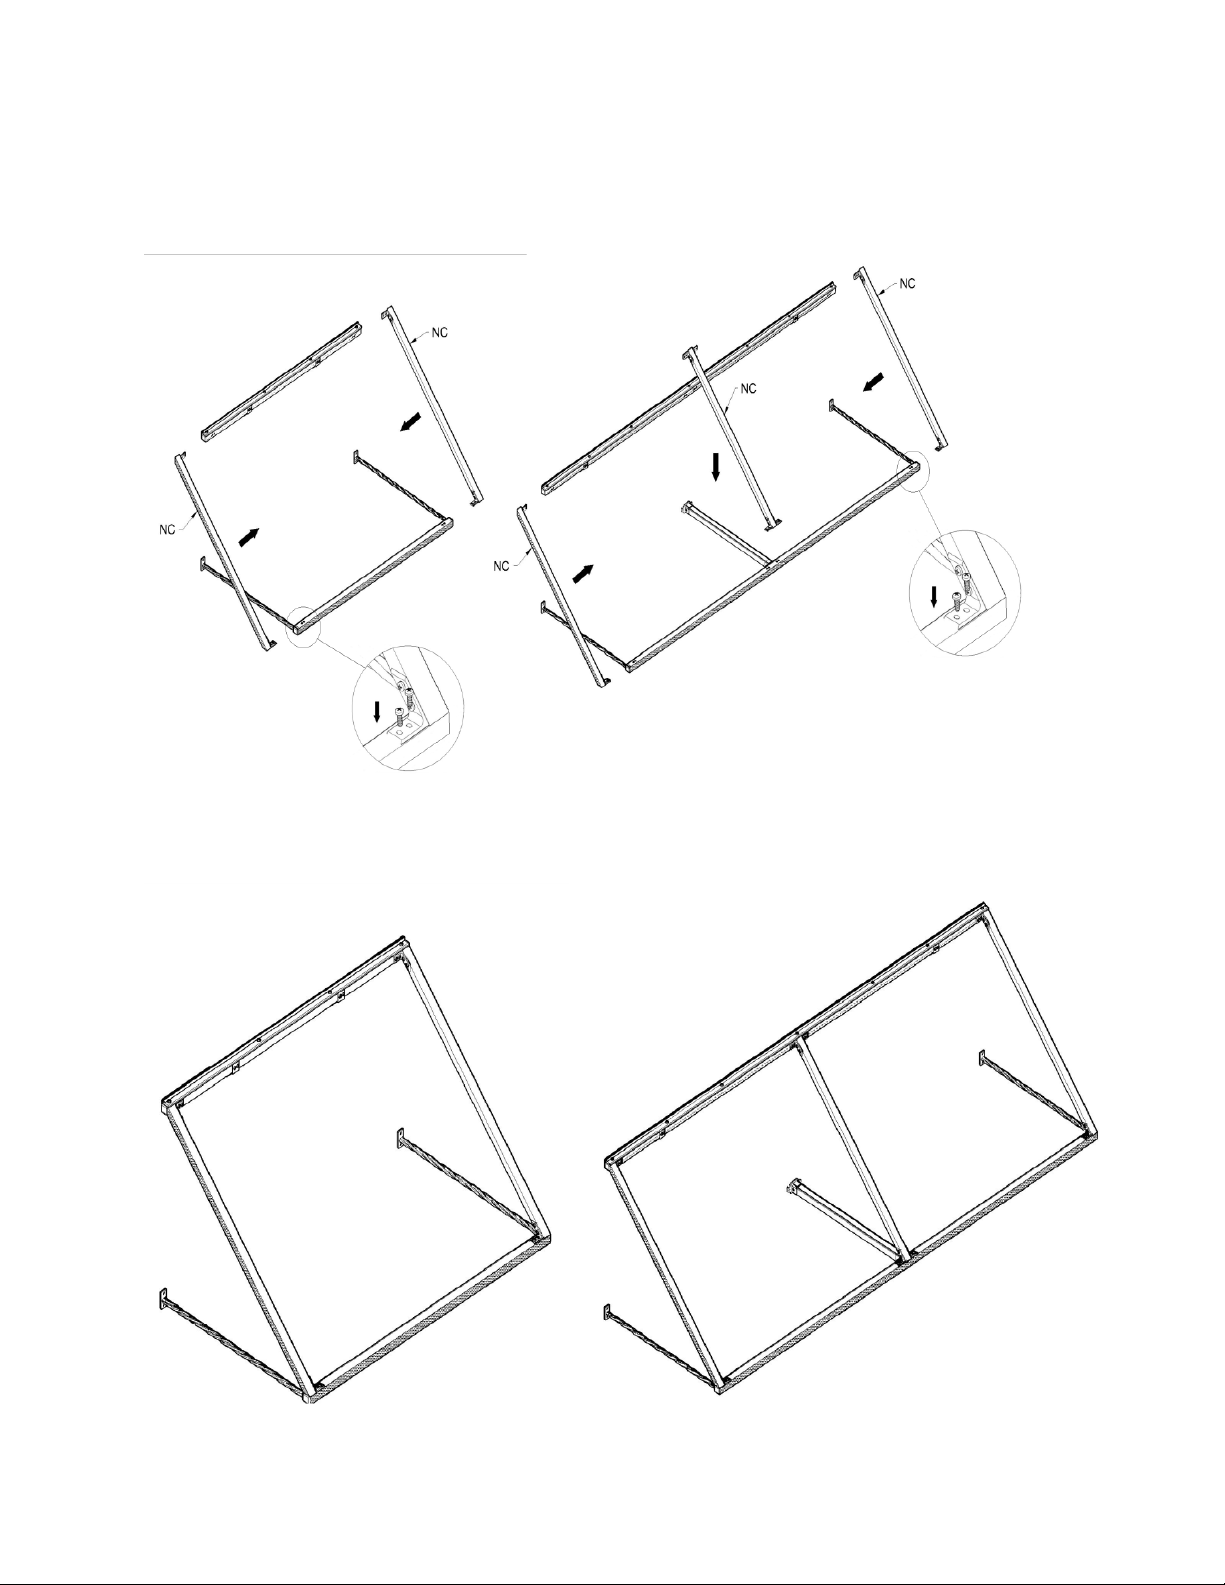
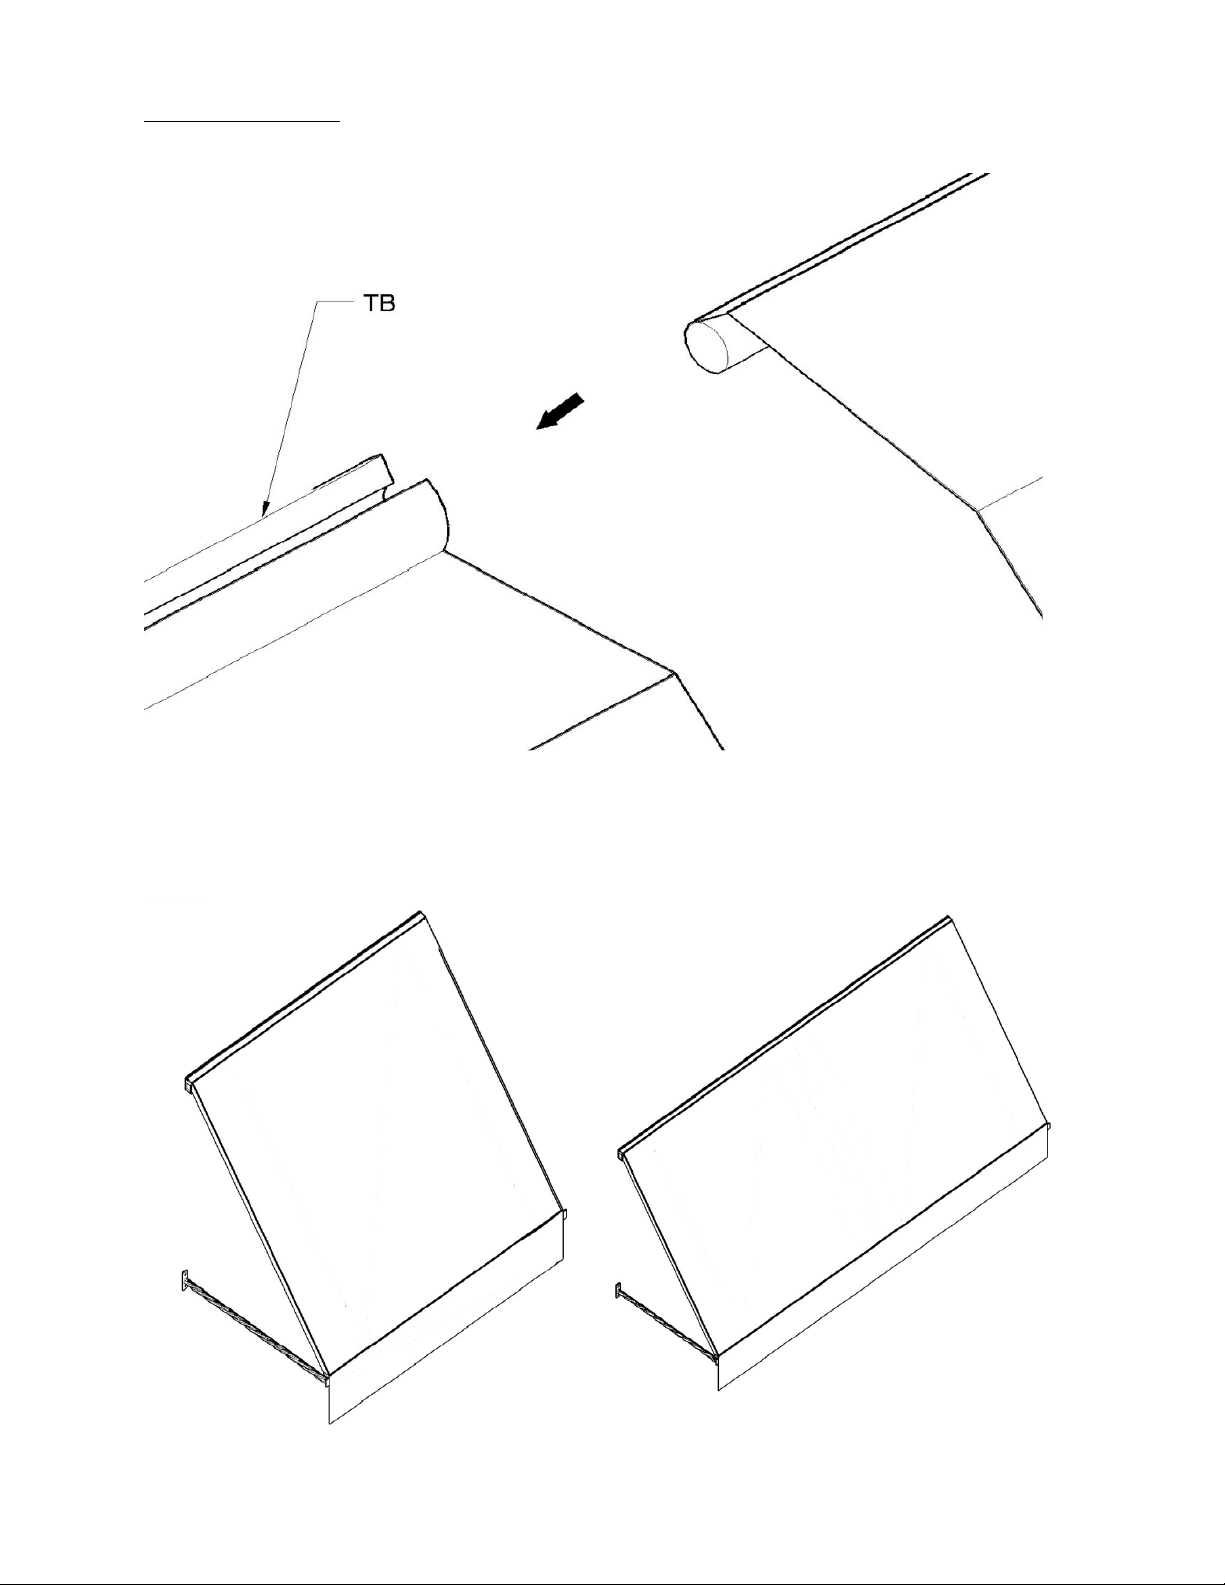
The Santa Fe frame must be installed on the wall as there is no connecting part
between Projection Bar (PB) and Top Bar (TB).
Please read instructions fully before installing.
WARNING: Adult Assembly Required
WARNING: Assembly Kit Contains Parts With Sharp Points, Sharp Edges, and Small Parts That Can Present
Cho ing Hazards to Children.
WARNING: Components Are Pac ed In Plastic Bags that are a Suffocation Hazard.
NOTE: Please inspect the parts for damage during shipping and/or for any missing items. If you suspect that there
may be damage or a shortage, contact us and we will send replacement parts if needed. At this time, visualize how
the components fit together and ma e sure that you have identified the various parts.
Models with Valance: SANT21, ESANT13, SANT22, ESANT23, SANT32, SANT33, SANT34, SANT43, SANT44
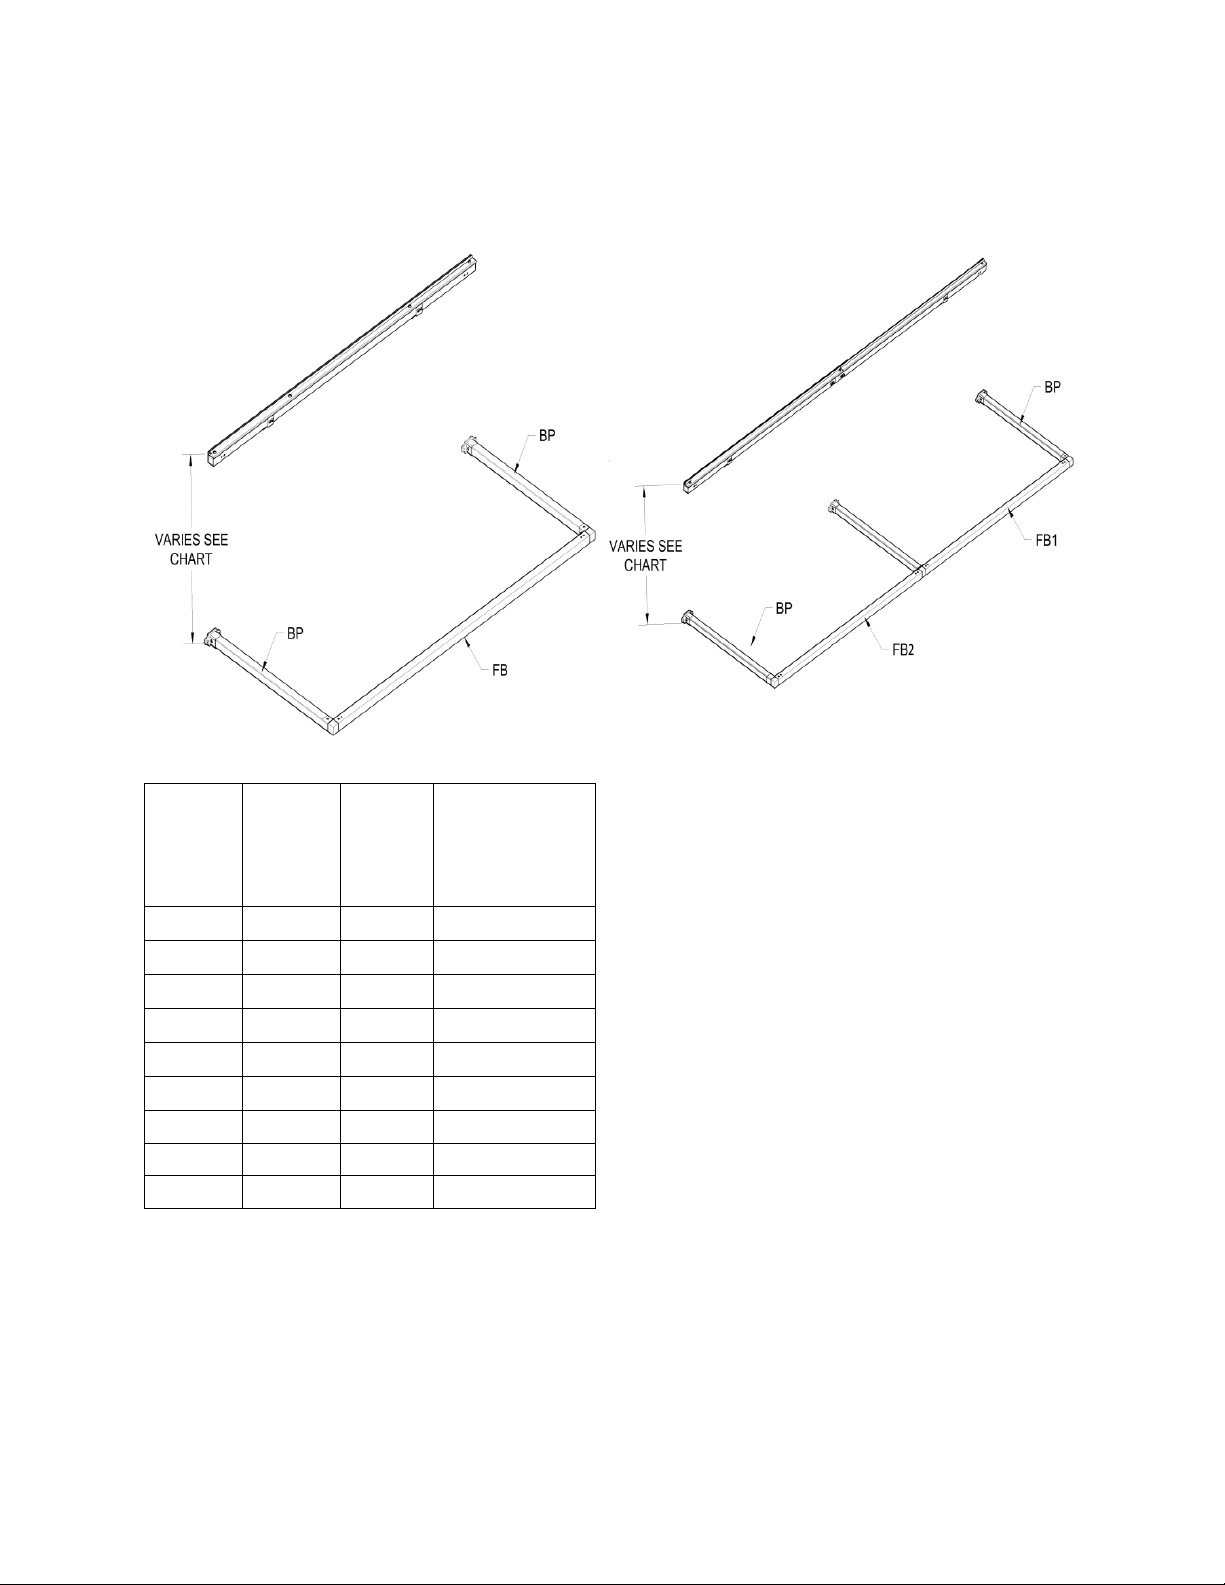
Awning size Width in inches Awning Size Width to Inches
3 40.5 12 148.5
4 52.5 13 160.5
5 64.5 14 172.5
6 76.5 15 184.5
7 88.5 16 196.5
8 100.5 17 208.5
9 112.5 18 220.5
10 124.5 19 232.5
11 136.5 20 244.5
OUR AWNINGS ARE DESIGNED 4.5” WIDER THAN STANDARD WINDOW/DOOR OPENINGS SO THEY ANCHOR TO THE
STUDS AROUND THE WINDOW OR DOOR. EXAMPLE: RR22-5 IS FOR 5’-0” WIDE WINDOW. IT MEASURES 4.5”
WIDE, 31” TALL, (24” PLUS 7” VALANCE AND 24” DEEP (PROJECTION)
There is a variety of building wall surfaces; Awntech® does not supply the hardware to install your awning. You will
need to purchase installation hardware at your local hardware store. We have advised you on different surface
applications below: