5
Mounting AX-Lightness and
engage Aheadset®-stems
Many AX-Lightness (a) and engage stems can be
mounted in either vertical orientation. These ip-op
models allow handlebars to be positioned at two dif-
ferent heights by simply inverting the stem.
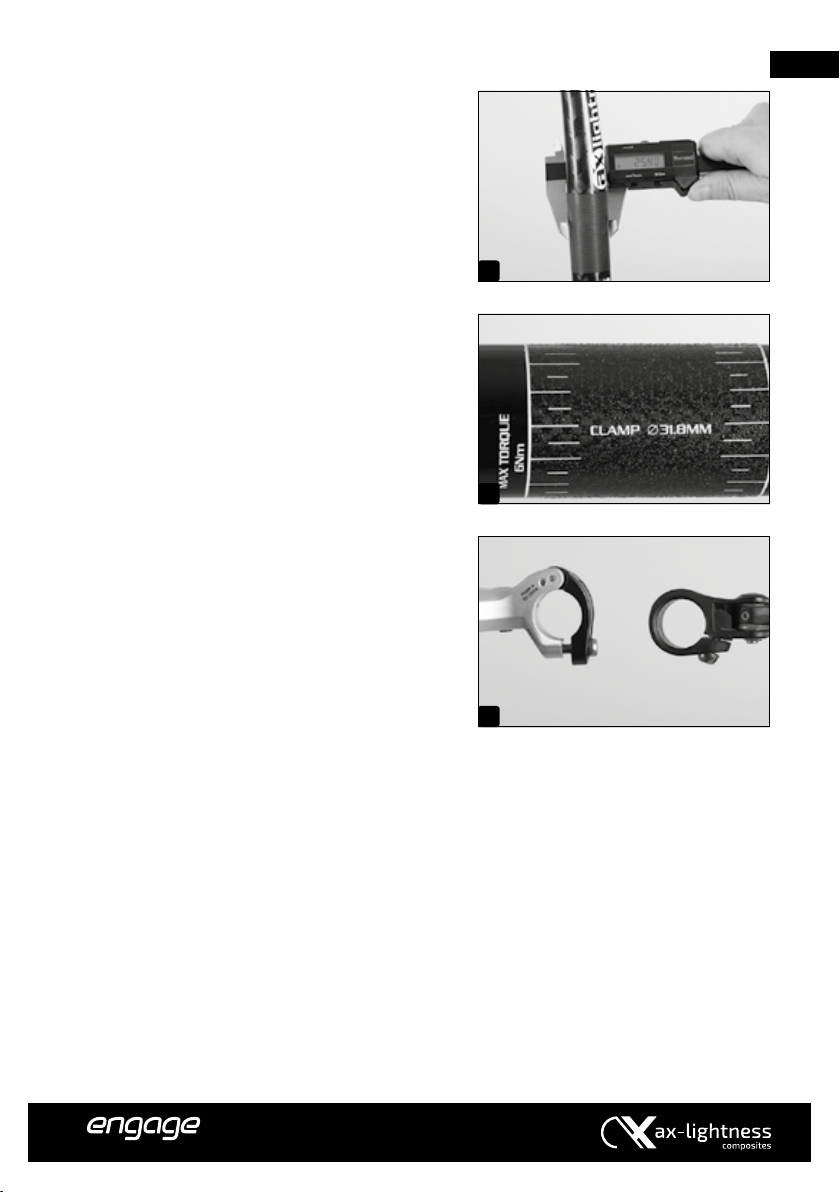
Make sure the AX-Lightness and engage stem and
fork steerer tube always have matching or compati-
ble clamp diameters (b)!
If you t a new AX-Lightness and engage stem on
a fork with carbon steerer tube, check the clamping
area of the fork for notches or abrasion marks. In case
damage is visible, ask your AX-Lightness and engage
dealer whether the fork must be replaced.
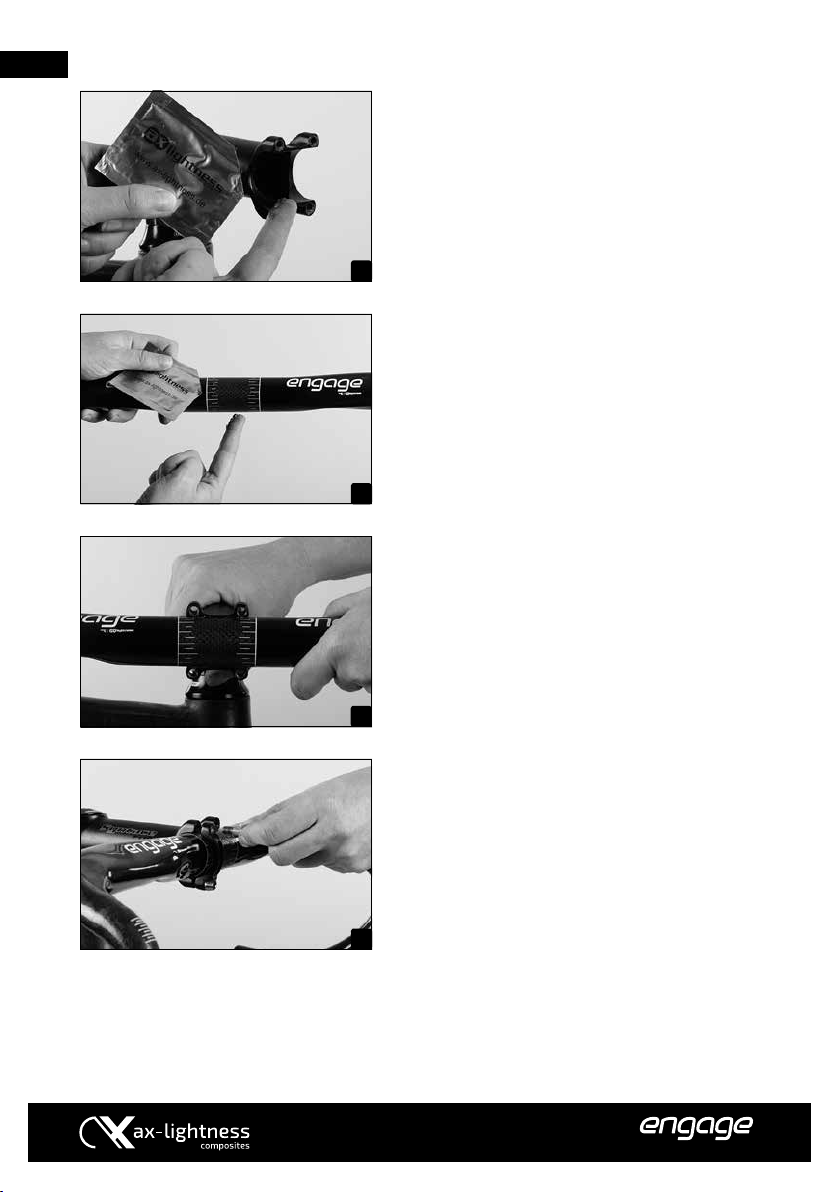
Make sure the clamping areas are absolutely free of
grease, especially when the clamping surfaces are
made of carbon. Use AX-Lightness carbon assembly
paste (c) on the clamping areas to optimize the xing.
Grease the threads and the connecting surfaces/
heads of the steerer clamp bolts (d). Keep lubricants
away from clamping surfaces.
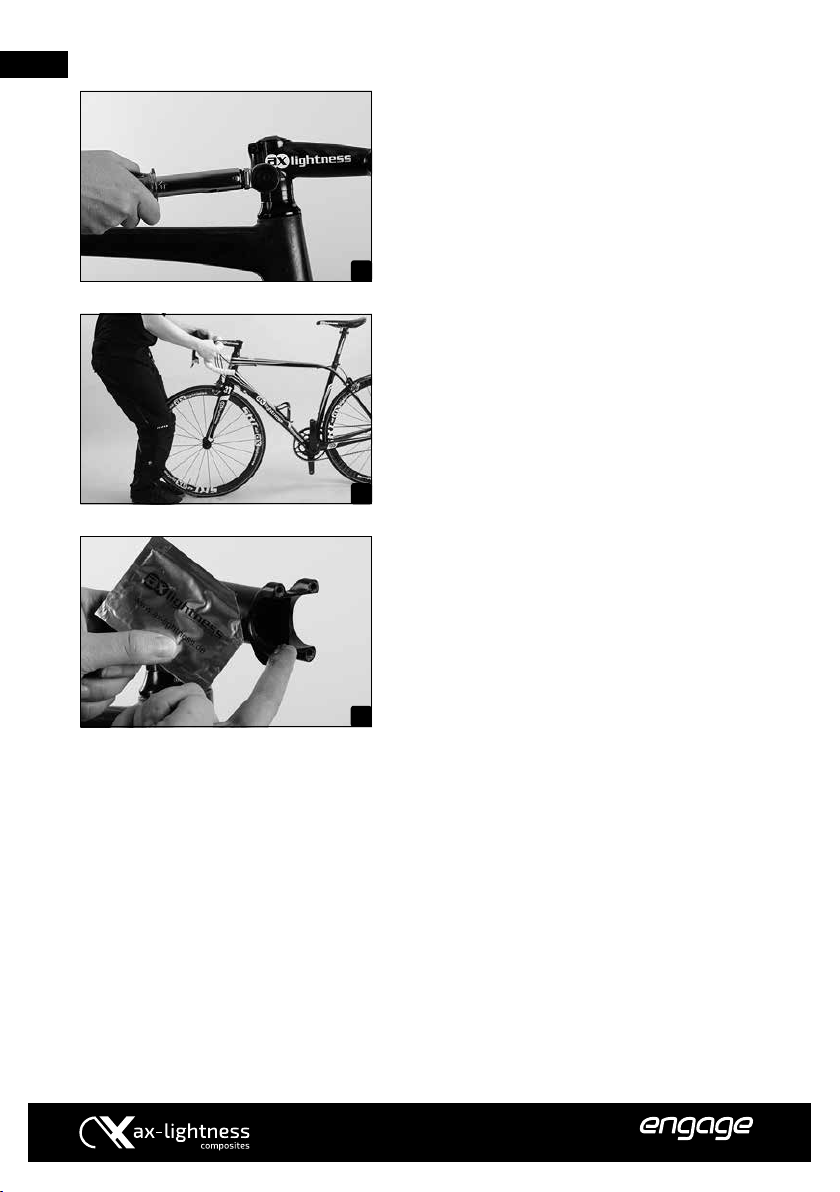
Slide the AX-Lightness and engage stem on the fork
steerer tube (e). It must t snugly on the fork. Do not
t stems which have play on the steerer tube.
Depending on the steerer tube length and the de-
sired stem position, insert spacers (f) on the fork
steerer above the upper cover of the headset, and/
or above the stem. You can stack them up to a maxi-
mum height of 30 mm.
Spacers are available in dierent heights. You have
installed the correct number of spacers, when the
steerer tube ends 2 mm below the top edge of the
stem.
Make sure the stem provides sucient support for
the steerer tube and the steerer tube ends 2 mm at
the most below the top edge of the AX-Lightness and
engage stem. This ensures a reliably clamping when
tightening the clamping bolts of the steerer tube
clamp to the prescribed torque value.
If the preferred height of your AX-Lightness and
engage stem results in a deeper position of the stem
on the steerer tube, the steerer tube projects from the
stem. To check whether you have found the proper
position, slide spacers on the steerer by making sure
that the steerer tube ends 2 mm below the top edge
of the stem. After the test ride the steerer tube of a
carbon fork must be shortened.
For proper load distribution during clamping the
clamp bolts of AX-Lightness and engage stems are
designed to be screwed in in a determined direction
(g). Be sure not to change the screw-in direction.
Tighten the stem bolts only a little, if you intend to
mount the handlebar right afterwards. The headset
has to be adjusted afterwards (h) (see chapter “Ad-
justing the Aheadset®-headset”).
iAX-Lightness and engage stems are ip-
op models, i.e. they allow an upward or
downward oriented mounting.
gThe space between the top of the steerer
tube and the upper edge of the AX-Light-
ness and engage stem should not exceed
a maximum of 2 mm. The space between
the top of the steerer tube and the upper
edge of the AX-Lightness and engage stem
should not exceed a maximum of 2 mm.
gObserve the maximum spacer height of 30
mm and do not insert permanently more
than 5 mm of spacers above the stem, if
your fork steerer tube is made of carbon.
88 89
Handlebars - Stem
a
b
c
d
h
g
f
e
by ax-lightness