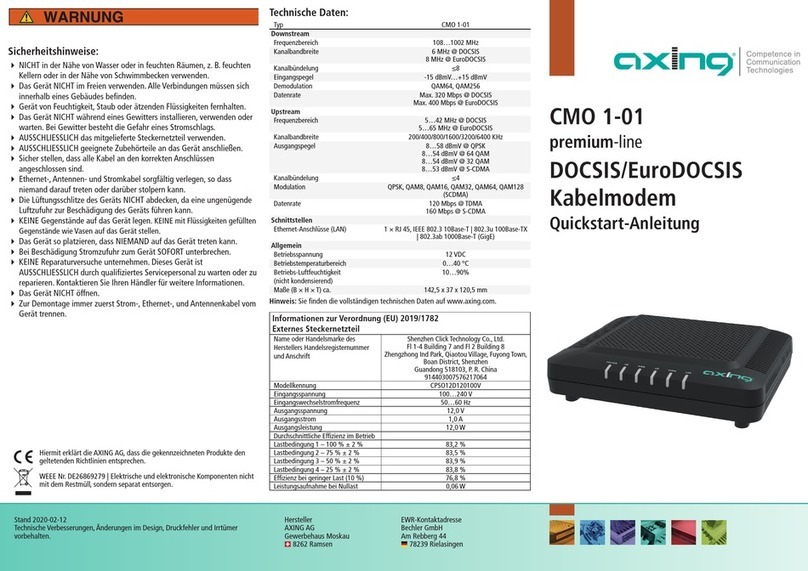
axing premium-line CMO 2-01 User manual

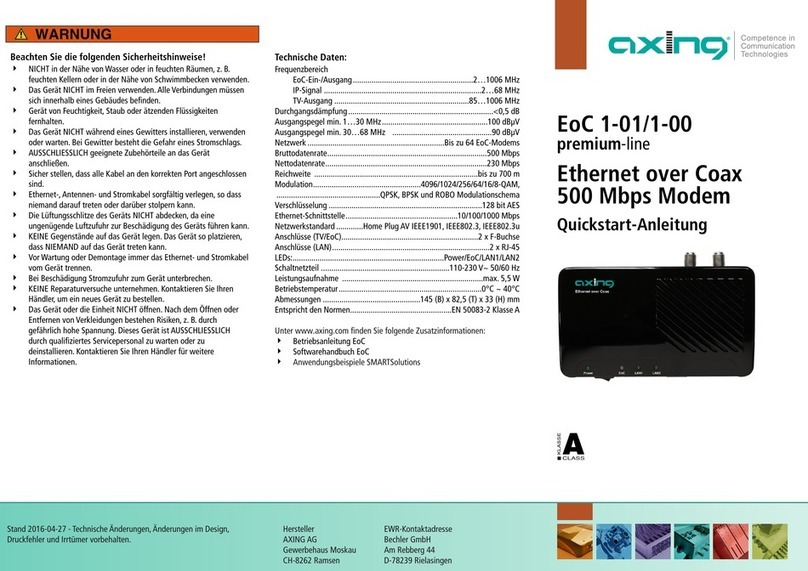
Hersteller
AXING AG
Gewerbehaus Moskau
8262 Ramsen
EWR-Kontaktadresse
Bechler GmbH
Am Rebberg 44
78239 Rielasingen
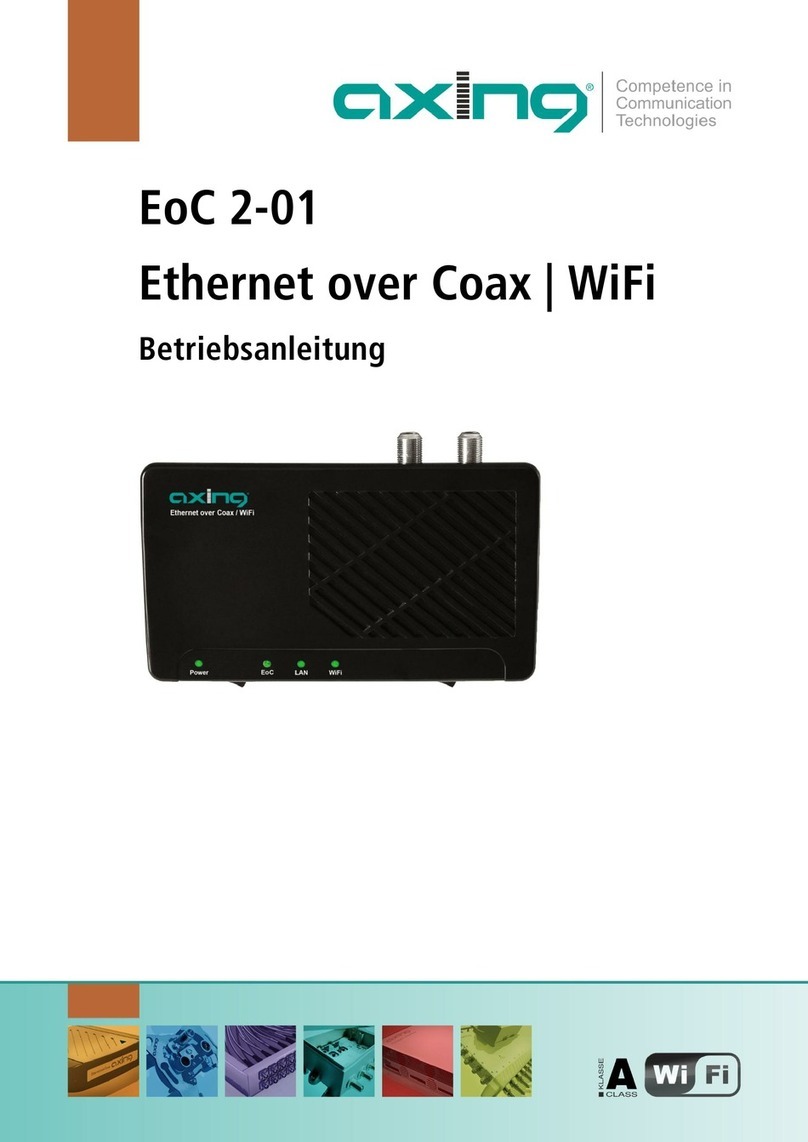
Stand 2020-02-18
Technische Verbesserungen, Änderungen im Design, Druckfehler und Irrtümer
vorbehalten.
Sicherheitshinweise:
NICHT in der Nähe von Wasser oder in feuchten Räumen, z. B. feuchten
Kellern oder in der Nähe von Schwimmbecken verwenden.
Das Gerät NICHT im Freien verwenden. Alle Verbindungen müssen sich
innerhalb eines Gebäudes befinden.
Gerät von Feuchtigkeit, Staub oder ätzenden Flüssigkeiten fernhalten.
Das Gerät NICHT während eines Gewitters installieren, verwenden oder
warten. Bei Gewitter besteht die Gefahr eines Stromschlags.
AUSSCHLIESSLICH das mitgelieferte Steckernetzteil verwenden.
AUSSCHLIESSLICH geeignete Zubehörteile an das Gerät anschließen.
Sicher stellen, dass alle Kabel an den korrekten Anschlüssen
angeschlossen sind.
Ethernet-, Antennen- und Stromkabel sorgfältig verlegen, so dass
niemand darauf treten oder darüber stolpern kann.
Die Lüftungsschlitze des Geräts NICHT abdecken, da eine ungenügende
Luftzufuhr zur Beschädigung des Geräts führen kann.
KEINE Gegenstände auf das Gerät legen. KEINE mit Flüssigkeiten gefüllten
Gegenstände wie Vasen auf das Gerät stellen.
Das Gerät so platzieren, dass NIEMAND auf das Gerät treten kann.
Bei Beschädigung Stromzufuhr zum Gerät SOFORT unterbrechen.
KEINE Reparaturversuche unternehmen. Dieses Gerät ist
AUSSCHLIESSLICH durch qualifiziertes Servicepersonal zu warten oder zu
reparieren. Kontaktieren Sie Ihren Händler für weitere Informationen.
Das Gerät NICHT öffnen.
Zur Demontage immer zuerst Strom-, Ethernet-, und Antennenkabel vom
Gerät trennen.
CMO 2-01
premium-line
DOCSIS/EuroDOCSIS
Kabelmodem
WiFi
Quickstart-Anleitung
Technische Daten:
Typ CMO 2-01
Downstream
Frequenzbereich 108…1002 MHz
Kanalbandbreite 6 MHz @ DOCSIS
8 MHz @ EuroDOCSIS
Kanalbündelung ≤8
Eingangspegel -15 dBmV…+15 dBmV
Demodulation QAM64, QAM256
Datenrate Max. 320 Mbps @ DOCSIS
Max. 400 Mbps @ EuroDOCSIS
Upstream
Frequenzbereich 5…42 MHz @ DOCSIS
5…65 MHz @ EuroDOCSIS
Kanalbandbreite 200/400/800/1600/3200/6400 KHz
Ausgangspegel 8…58 dBmV @ QPSK
8…54 dBmV @ 64 QAM
8…54 dBmV @ 32 QAM
8…53 dBmV @ S-CDMA
Kanalbündelung ≤4
Modulation QPSK, QAM8, QAM16, QAM32, QAM64, QAM128
(SCDMA)
Datenrate 120 Mbps @ TDMA
160 Mbps @ S-CDMA
Schnittstellen
Ethernet-Standards 2 × RJ 45, IEEE 802.3 10Base-T | 802.3u 100Base-TX |
802.3ab1000Base-T (GigE)
WiFi-Standard IEEE 802.11b/g/n, 2.4 GHz single-band
WiFi-Signalrate 300 Mbps
WiFi-Verschlüsselung WPA/WPA2
Allgemein
Betriebsspannung 12 VDC
Betriebstemperaturbereich 0…40 °C
Betriebs-Luftfeuchtigkeit
(nichtkondensierend)
10…90%
Maße (B × H × T) ca. 167 × 125 × 38 mm
Informationen zur Verordnung (EU) 2019/1782
Externes Steckernetzteil
Name oder Handelsmarke des
Herstellers Handelsregisternummer
und Anschrift
Shenzhen Click Technology Co., Ltd.
Fl 1-4 Building 7 and Fl 2 Building 8
Zhengzhong Ind Park, Qiaotou Village, Fuyong Town,
Boan District, Shenzhen
Guandong 518103, P. R. China
914403007576217064
Modellkennung CPSO24C120150V
Eingangsspannung 100…240 V
Eingangswechselstromfrequenz 50…60 Hz
Ausgangsspannung 12,0 V
Ausgangsstrom 1,5 A
Ausgangsleistung 18,0 W
Durchschnittliche Effizienz im Betrieb
Lastbedingung 1 – 100 % ± 2 % 84,1 %
Lastbedingung 2 – 75 % ± 2 % 85,1 %
Lastbedingung 3 – 50 % ± 2 % 86,3 %
Lastbedingung 4 – 25 % ± 2 % 86,0 %
Effizienz bei geringer Last (10 %) 82,2 %
Leistungsaufnahme bei Nullast 0,04 W
Hiermit erklärt AXING AG, dass sich das Gerät in Übereinstimmung mit den
grundlegenden Anforderungen und den anderen relevanten Vorschriften der
Richtlinien 2014/53/EU, 2009/125/EG sowie 2011/65/EU befindet.
Die Langfassung der CE-Konformitätserklärung finden Sie in englischer
Sprache unter http://download.axing.com/CE/CE_CMO00201.pdf
WEEE Nr. DE26869279 | Elektrische und elektronische Komponenten nicht
mit dem Restmüll, sondern separat entsorgen.
Verwendungsbereich:
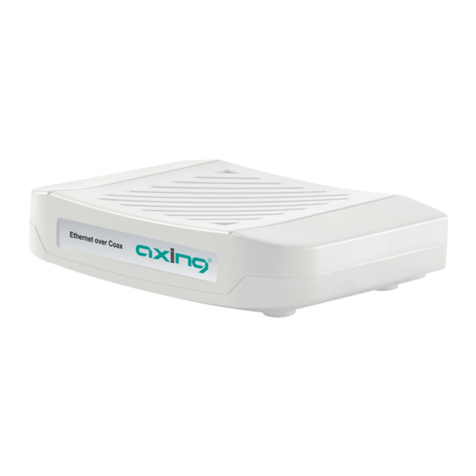
Das Kabelmodem CMO 2-01 dient dazu einen Internetzugang für die
angeschlossenen Computer über den Kabelfernsehanschluss zu realisieren.
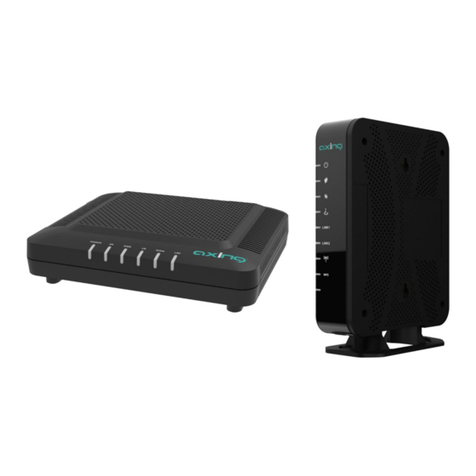
Das CMO 2-01 kann als Tischgerät verwendet werden.
Benutzen Sie die Geräte ausschließlich wie in der Betriebsanleitung
vorgegeben. Werden die Geräte für andere Einsätze verwendet, wird keine
Garantie übernommen!
Hinweis: Sie finden die vollständige Betriebsanleitung zum Download indem
Sie auf www.axing.com im Suchfeld den Artikel eingeben.
Lieferumfang:
9Kabelmodem CMO 2-01
9Ethernet-Kabel
912 VDC Steckernetzteil zur Spannungsversorgung
9Quickstart-Anleitung
Anschluss:
Verbinden Sie den DATA-Anschluss (F-Buchse) der Antennensteckdose mit
der F-Buchse des CMO2-01
Verwenden Sie ein hochgeschirmtes Anschlusskabel mit F-Steckern.
Verbinden Sie das mitgelieferte Steckernetzteil mit dem DC-Anschluss des
Modems.
Stecken Sie das Steckernetzteil in die Steckdose.
Schalten Sie das Kabelmodem ein.
Die Power-LED leuchtet nun dauerhaft.
Während des Bootvorgangs blinken mehrere LEDs.
Nach dem Booten beginnt der Downstream-Kanalscan.
LAN-Verbindung:
Verbinden Sie z.B. die Ethernetschnittstelle Ihres Computers mit der
Ethernetschnittstelle des CMO2-01. Verwenden Sie das beiliegende
Ethernetkabel mit RJ45-Steckern oder ein vergleichbares Kabel.
Beim angeschlossenen Computer muss in den Netzwerkeinstellungen die
Option IP-Adresse automatisch beziehen aktiviert sein.
LEDs auf der Frontseite:
LED Name Farbe Verhalten Bedeutung
POWER Grün
An Gerät eingeschaltet
Aus Gerät ausgeschaltet oder
Betriebsspannungsfehler
DS
Grün
Blinkt Downstream wird gescannt
An Downstream eingelockt
Aus Downstream ungenutzt
Orange An Kanalbündelung aktiv
Aus Kanalbündelung nicht aktiv
US
Grün
Blinkt Upstream wird gescannt
An Upstream eingelockt
Aus Upstream ungenutzt
Orange An Kanalbündelung aktiv
Aus Kanalbündelung nicht aktiv
ONLINE Grün
Blinkt Kabelmodem wird provisioniert
An Kabelmodem online
Aus Kabelschnittstelle ungenutzt
LINK 1
LINK 2
LAN1
LAN2
Grün
oder
Orange
An
Ethernet verbunden
Grün =1000-Mbit/s
Orange = 100-Mbit/s
Blinking Datenverkehr aktiv
Aus Ethernet nicht verbunden
Wi-Fi Grün
An WiFi aktiviert
Blinkt WiFi-Datenverkehr
Aus WiFi nicht aktiviert
WPS WPS Grün
Blinkt WPS-Kopplung
An WPS aktiviert
Aus WPS nicht aktiviert
Konfiguration:
Die Konfiguration des Gerätes erfolgt über eine grafische Benutzeroberfläche.
Öffnen Sie den Webbrowser ihres Computers.
Geben Sie die Standard-IP-Adresse http://192.168.100.1 ein und drücken Sie
die Eingabetaste.
Geben Sie in der Eingabeaufforderung folgende Zugangsdaten ein:
Benutzername: AXING_USER
Passwort: u$erPassw0rd (0 = Null)
Drücken Sie die Eingabetaste.
Die Seite Status der GUI wird im Browser angezeigt.
Auf der Seite Basic können Sie die DHCP-Einstellungen konfigurieren.
Auf der Seite Wireless können Sie die WiFi-Einstellungen konfigurieren.
WiFi-Verbindung:
Per Eingabe:
Auf dem Typenschild des Geräts ist der werkseitige WiFi-Name (SSID) und das
Passwort (WPA Pre-Shared Key) aufgedruckt.
Geben Sie SSID und Passwort am Notebook, Smartphones oder Tablets ein.
Über die WPS-Taste (WiFi Protected Setup, nicht kompatibel mit Apple®-
Geräten):
Melden Sie sich wie oben beschrieben an der Konfigurations-Oberfläche an
(http://192.168.100.1).
Gehen Sie auf die Seite Wireless > Primary Network.
Wählen Sie rechts auf der Seite im Dropdown-Menü
AutomaticSecurityConfiguration die Option WPS.
Klicken Sie auf Apply, um die WPS-Funktion zu aktivieren.
Drücken Sie die WPS-Taste am CMO 2-01 für weniger als 5 Sekunden*.
Die WPS-LED beginnt zu blinken.
Verbinden Sie nun Ihr Gerät mit dem Kabelmodem. Beachten Sie ggf. die
Bedienungsanleitung Ihres Gerätes.
* Drücken Sie die WPS-Taste länger als 5 Sekunden, um WiFi ein- oder
auszuschalten.

Manufacturer
AXING AG
Gewerbehaus Moskau
8262 Ramsen
EEA contact address
Bechler GmbH
Am Rebberg 44
78239 Rielasingen
State of the art 2020-02-18
Technical improvements, changes in design, printing- and other errors expected.
Safety advices:
Do NOT use the device near water or in rooms with high humidity such
as humid cellars or near swimming pools.
Do NOT use the device outdoors.All connections must be located inside
a building.
Keep the device away from moisture, dust or corrosive liquids.
Do NOT install the device, use it or perform maintenance during a
thunderstorm. There is a risk of electric shock during thunderstorm.
Use ONLY the supplied AC adapter.
Connect ONLY appropriate accessories to the device.
Make sure that all cables are connected to the correct port.
Carefully lay the Ethernet, antenna and electric cables to ensure that
nobody can step on or stumble over them.
Do NOT cover the ventilation slots of the device since insufficient air
supply may result in damage to the device.
Do NOT place any objects on the device. Do not place objects filled with
liquids such as vases on the device.
Position the device in a place where NOBODY can step on it.
In case of damage, interrupt the power supply IMMEDIATELY.
Do NOT try to repair the device.This equipment should ONLY be serviced
or repaired by qualified service personnel. Contact your distributor for
more information.
Do NOT open the device.
Prior dismounting, disconnect the electric, Ethernet and antenna cable
from the device.
CMO 2-01
premium-line
DOCSIS/EuroDOCSIS
cable modem
WiFi
Quick start guide
Technical data:
Type CMO 2-01
Downstream
Frequency range 108…1002 MHz
Channel bandwidth 6 MHz @ DOCSIS
8 MHz @ EuroDOCSIS
Channel bonding ≤8
Input level -15 dBmV…+15 dBmV
Demodulation QAM64, QAM256
Data rate Max. 320 Mbps @ DOCSIS
Max. 400 Mbps @ EuroDOCSIS
Upstream
Frequency range 5…42 MHz @ DOCSIS
5…65 MHz @ EuroDOCSIS
Channel bandwidth 200/400/800/1600/3200/6400 KHz
Output level 8…58 dBmV @ QPSK
8…54 dBmV @ 64 QAM
8…54 dBmV @ 32 QAM
8…53 dBmV @ S-CDMA
Channel bonding ≤4
Modulation QPSK, QAM8, QAM16, QAM32, QAM64, QAM128
(SCDMA)
Data rate 120 Mbps @ TDMA
160 Mbps @ S-CDMA
Interfaces
Ethernet 2 × RJ 45, IEEE 802.3 10Base-T | 802.3u 100Base-TX |
802.3ab1000Base-T (GigE)
WiFi standard IEEE 802.11b/g/n | 2.4 GHz single-band
Wifi signal rate 300 Mbps
WiFi encryption WPA/WPA2
General
Operation voltage 12 VDC
Operating temperature range 0…40 °C
Operating humidity (non-condensing) 10…90%
Dimensions (W × H × D) appr. 167 × 125 × 38 mm
Note: You can find the complete technical data at www.axing.com.
Commission regulation (EU) 2019/1782
External plug-in power supply
Manufacturer’s name or trademark
commercial registration number and
address
Shenzhen Click Technology Co., Ltd.
Fl 1-4 Building 7 and Fl 2 Building 8
Zhengzhong Ind Park, Qiaotou Village, Fuyong Town,
Boan District, Shenzhen
Guandong 518103, P. R. China
914403007576217064
Model identifier CPSO24C120150V
Input voltage 100…240 V
Input AC frequency 50…60 Hz
Output voltage 12,0 V
Output current 1,5 A
Output power 18,0 W
Average active efficiency
Load condition 1 – 100 % ± 2 % 84,1 %
Load condition 2 – 75 % ± 2 % 85,1 %
Load condition 3 – 50 % ± 2 % 86,3 %
Load condition 4 – 25 % ± 2 % 86,0 %
Efficiency at low load (10 %) 82,2 %
No-load power consumption 0,04 W
Hereby, AXING AG declares that the device is in compliance with the
essential requirements and other relevant regulations of directives
2014/53 / EU, 2009/125 / EC and 2011/65 / EU.
The long version of the CE declaration of conformity can be found in English
at http://download.axing.com/CE/CE_CMO00201.pdf
WEEE Nr. DE26869279 | Electrical and electronic components must not be
disposed of as residual waste, it must be disposed of separately.

Field of application:
The CMO 2-01 cable modem is used to set up Internet access for the
connected computers via the CATV connection. The CMO 2-01 can be used as
a desktop device.
Use the devices only as specified in the operating instructions. If the devices
are used for other applications, no guarantee is given!
Note: You can call up the detailed operation instructions for download by
entering the article in the search field at www.axing.com.
Scope of delivery:
9Cable modem CMO 2-01
9Ethernet cable
912 VDC power adapter for power supply
9Quick start guide
Connections:
Connect the DATA connector (F-female) of the antenna wall outlet to the
Fconnector of the CMO 2-01.
Use a highly shielded connection cable with F plugs.
Connect the supplied AC adapter to the DC connector of the modem.
Plug the power supply unit into the mains socket.
Switch on the cable modem.
The power LED lights up permanently.
During the boot process, several other LEDs are blinking.
After booting, the Downstream channel scan starts.
LAN connection:
For example, connect the Ethernet interface of your computer to the
Ethernet interface of the CMO 2-01. Use the supplied Ethernet cable with
RJ45 connectors or a comparable cable.
The option Obtain IP address automatically must be activated in the
network settings.
LEDs on the front panel:
LED Name Colour Behavior Meaning
POWER Green
On Device switched on
Off Device switched off or
powerfailure
DS
Green
Blinking Downstream scanning
On Downstream locked
Off Downstream idle
Orange On Channel bonding active
Off Channel bonding not active
US
Green
Blinking Upstream scanning
On Upstream locked
Off Upstream idle
Orange On Channel bonding active
Off Channel bonding not active
ONLINE Green
Blinking Cable modem provisioning
On Cable modem online
Off Cable interface idle
LINK 1
LINK 2
LAN1
LAN2
Green
or Orange
On
Ethernet connected
Green =1000-Mbit/s
Orange = 100-Mbit/s
Blinking Data in traffic
Off Ethernet not connected
Wi-Fi Green
On WiFi enabled
Blinking WiFi data in traffic
Off WiFi disabled
WPS WPS Green
Blinking WPS in paring
On WPS enabled
Off WPS disabled
Configuration:
The device is configured via the graphical user interface.
Open the web browser of your computer.
Type the default IP address of the CMO http://192.168.100.1 and press
Enter.
Enter the following access data at the prompt:
Username: AXING_USER
Password: u$erPassw0rd (0 = zero)
Press Enter.
The Status page of the GUI is shown in the Browser.
On the Basic page configure the DHCP settings.
On the Wireless page configure the WiFi settings.
WiFi connection:
By entering:
The factory WiFi name (SSID) and password (WPA Pre-Shared Key) are
printed on the unit‘s nameplate.
Enter the SSID and password on your notebook, smartphone, or tablet.
By WPS button (WiFi Protected Setup, not compatible with Apple®devices):
Log in to the configuration interface as described above
(http://192.168.100.1).
Go to the page Wireless > Primary Network.
On the right side of the page select in the drop down menu
AutomaticSecurityConfiguration the option WPS.
Click Apply to enable the WPS function.
Press the WPS button on the CMO 2-01 for less than 5 seconds*.
The WPS LED starts to blink.
Connect your device to the cable modem. If necessary, follow the operating
instructions of your device.
* Press the WPS button more than 5 seconds will turn on or turn off WiFi.
Table of contents
Languages:
Other axing Modem manuals

axing
axing premium-line CMO 1-01 User manual

axing
axing EoC 1-01 User manual

axing
axing Premium EoC 1-01 User manual

axing
axing EoC 2-98 premium User manual

axing
axing EoC 1-11 User manual

axing
axing EOC 30-02 User manual

axing
axing EoC 10-01 User manual

axing
axing EOC 1-31 User manual

axing
axing CMTS 1-00N User manual

axing
axing EoC 1-01 User manual
Popular Modem manuals by other brands

THOMSON
THOMSON THG540 user manual

Motorola
Motorola SB5100 - SURFboard - 38 Mbps Cable Modem Software License, Warranty, Safety, and Regulatory Information

P1
P1 dx-825 Quick installation guide

Teltonika
Teltonika U3G150 quick start guide

Myzone
Myzone Stick PC installation guide

Sierra Wireless
Sierra Wireless compass series quick start guide