manuals.online logo
Brands
  1. Home
  2. •
  3. Brands
  4. •
  5. Axor
  6. •
  7. Plumbing Product
  8. •
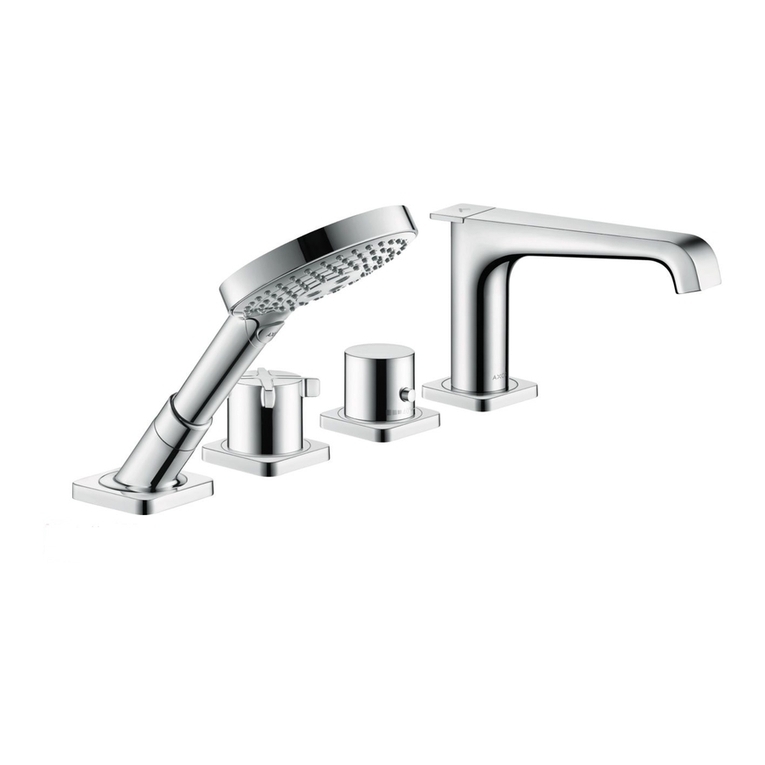
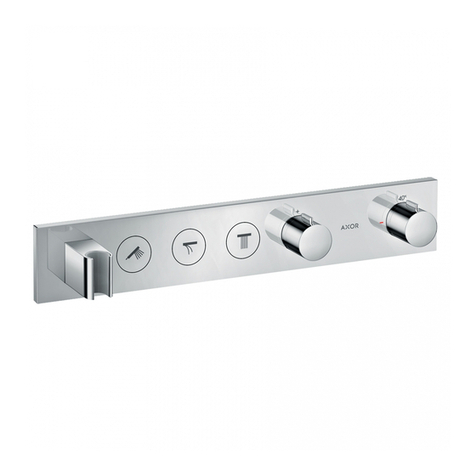
  9. Axor Citterio Select 39861003 User manual

Axor Citterio Select 39861003 User manual

INSTALLATION
EN / Instructions for use / assembly instructions 2
DE / Gebrauchsanleitung / Montageanleitung 3
AXOR Citterio Select
39861003
2
ASSEMBLY (see page 4)
FAULT CAUSE REMEDY
⁄ Mixer stiff ⁄ Cartridge defective, calcified ⁄ Exchange cartridge
⁄ Mixer dripping ⁄ Cartridge defective ⁄ Exchange cartridge
⁄ Low flow with Select valve after valve replacement ⁄ Improper Select valve installed ⁄ Replace Select valve #98462000
⁄ Water escaping in area of swivel spout ⁄ O-ring defective ⁄ Exchange O-ring
⁄ Water escaping at the threaded base ⁄ connection hoses not completely screwed into basic body ⁄ Tighten connection hoses by hand
⁄ O-ring at the connection hose defective. ⁄ Exchange O-ring
⁄ Hot water temperature too low ⁄ Hot water limiter incorrectly set ⁄ Set hot water limiter
⁄ Select button stiff ⁄ Select button soiled ⁄ Clean Select button and grease 19x1,5 O-ring (see page
9)
CLEANING
see enclosed brochure
SPARE PARTS (see page 9)
MAINTENANCE (see page 8)
The check valves must be checked regularly according to DIN EN 1717 in
accordance with national or regional regulations (at least once a year).
OPERATION (see page 8)
⁄ Hansgrohe recommends not to use as drinking water the first half liter of
water drawn in the morning or after a prolonged period of non-use.
⁄ Minor leaking may occur briefly at the spout when opening the fitting via
the lever.
⁄ Use the lever to open the tap and set the desired temperature. The water
flow can be paused by pressing the Select button on the face side of the
spout. When the tap is not used for a longer period of time, f.e. when
retiring at night or leaving the house, it must be closed completely by
means of the lever.
FLOW DIAGRAM (see page 7)
DIMENSIONS (see page 7)
ADJUSTMENT (see page 7)
To adjust the hot water limiter. Using a hot water limiter in combination with a
continuous flow water heater is not recommended.
Do not use silicone containing acetic acid!
SYMBOL DESCRIPTION
SAFETY NOTES
Gloves should be worn during installation to prevent crushing and cutting injuries.
The hot and cold supplies must be of equal pressures.
INSTALLATION INSTRUCTIONS
⁄ Prior to installation, inspect the product for transport damages. After it has been
installed, no transport or surface damage will be honoured.
⁄ The pipes and the fixture must be installed, flushed and tested as per the applicable
standards.
⁄ The plumbing codes applicable in the respective countries must be observed.
⁄ During initial start-up and after servicing, air in the fittings can cause noise. After
switching the jet on and off about 15 times, the noise will stop.
TECHNICAL DATA
Operating pressure: max. 1 MPa
Recommended operating pressure: 0,1 - 0,5 MPa
Test pressure: 1,6 MPa
(1 MPa = 10 bar = 147 PSI)
Hot water temperature: max. 70°C
Recommended hot water temp.: 65°C
Thermal disinfection: max. 70°C / 4 min
The product is exclusively designed for drinking water!
EN
3
MONTAGE (siehe Seite 4)
STÖRUNG URSACHE ABHILFE
⁄ Armatur schwergängig ⁄ Kartusche defekt, verkalkt ⁄ Kartusche austauschen
⁄ Armatur tropft ⁄ Kartusche defekt ⁄ Kartusche austauschen
⁄ Geringer Durchfluss mit geöffneten Select-Ventil nach
dem Tausch des Ventils
⁄ Falsches Select-Ventil verbaut ⁄ Select-Ventil austauschen #98462000
⁄ Wasseraustritt im Bereich des Schwenkauslaufes ⁄ O-Ring defekt ⁄ O-Ring austauschen
⁄ Wasseraustritt am Befestigungsschaft ⁄ Anschlussschläuche nicht ganz in den Grundkörper
eingeschraubt
⁄ Anschlussschläuche von Hand festziehen
⁄ O-Ring am Anschlussschlauch defekt ⁄ O-Ring austauschen
⁄ Zu niedrige Warmwassertemperatur ⁄ Warmwasserbegrenzung falsch eingestellt ⁄ Warmwasserbegrenzung einstellen
⁄ Select-Knopf schwergängig ⁄ Select-Knopf verschmutzt ⁄ Select-Knopf reinigen und O-Ring 19x1,5 fetten (siehe
Seite 9)
REINIGUNG
siehe beiliegende Broschüre
SERVICETEILE (siehe Seite 9)
WARTUNG (siehe Seite 8)
Rückflussverhinderer müssen gemäß DIN EN 1717 regelmäßig in
Übereinstimmung mit nationalen oder regionalen Bestimmungen auf ihre
Funktion geprüft werden (mindestens einmal jährlich).
BEDIENUNG (siehe Seite 8)
⁄ Hansgrohe empfiehlt, morgens oder nach längeren Stagnationszeiten den
ersten halben Liter nicht als Trinkwasser zu verwenden.
⁄ Beim Öffnen der Armatur über den Hebelgriff kann kurzzeitig minimal
Wasser am Auslauf austreten.
⁄ Über den Hebelgriff wird die Armatur geöffnet und die gewünschte
Temperatur eingestellt. Durch den stirnseitig am Auslauf befindlichen
Select-Knopf kann der Wasserfluss pausiert werden. Bei längerer
Nichtverwendung, z. B. über Nacht oder bei Verlassen des Hauses, muss
die Armatur über den Hebelgriff vollständig geschlossen werden.
DURCHFLUSSDIAGRAMM (siehe Seite 7)
MASSE (siehe Seite 7)
JUSTIERUNG (siehe Seite 7)
Einstellen der Warmwasserbegrenzung. In Verbindung mit Durchlauferhitzern
ist eine Warmwassersperre nicht zu empfehlen.
Kein essigsäurehaltiges Silikon verwenden!
SYMBOLERKLÄRUNG
SICHERHEITSHINWEISE
Bei der Montage müssen zur Vermeidung von Quetsch- und Schnittverletzungen
Handschuhe getragen werden.
Große Druckunterschiede zwischen den Kalt- und Warmwasseranschlüssen müssen
ausgeglichen werden.
MONTAGEHINWEISE
⁄ Vor der Montage muss das Produkt auf Transportschäden untersucht werden. Nach
dem Einbau werden keine Transport- oder Oberflächenschäden anerkannt.
⁄ Die Leitungen und die Armatur müssen nach den gültigen Normen montiert, gespült
und geprüft werden.
⁄ Die in den Ländern jeweils gültigen Installationsrichtlinien sind einzuhalten.
⁄ Bei Erstinbetriebnahme und nach Wartungsarbeiten kann es durch Luft in der
Armatur zu einem Geräusch kommen. Nach ca. 15 Aktivierungen der Armatur ist
das Geräusch verschwunden.
TECHNISCHE DATEN
Betriebsdruck: max. 1 MPa
Empfohlener Betriebsdruck: 0,1 - 0,5 MPa
Prüfdruck: 1,6 MPa
(1 MPa = 10 bar = 147 PSI)
Heißwassertemperatur: max. 70°C
Empfohlene Heißwassertemperatur: 65°C
Thermische Desinfektion: max. 70°C / 4 min
Das Produkt ist ausschließlich für Trinkwasser konzipiert!
DE
4
max. 37 mm
max. 60 mm
(3 Nm)
SW 24 mm
(4 Nm)
1.
2.
SW 10 mm
SW 19 mm
(4 Nm)
3.
1a 2 3
1b
4
150°
75° 75°
45° 105°
45°
105°
24 x 15°
5a
Montage Montage
5
910
SW 17 mm
SW 12 mm
2.
1.
678
!
5b
110°
55° 55°
25° 85°
25°
85°
24 x 15°
110°
MontageMontage
6
1.
11 12
> 2 min
2.
Montage
7
60 °C 10 °C 0,3 MPa
bar
4,5
0,0
0,5
1,0
1,5
2,0
2,5
3,0
3,5
4,0
5,0
0,45
0,00
0,05
0,10
0,15
0,20
0,25
0,30
0,35
0,40
0,50
5,50,55
6,00,60
036912 15 18 21 24 27 30
MPa
00,1 0,2 0,3 0,4 0,5
Q = l/min
Q = l
/
sec
SW 3 mm
36°C
38°C
43°C
60°C
55°C
50°C
4 X
SW 3 mm
(5 Nm)
1.
1.
2.
2.
1 2 3
4 5 6
AXOR Citterio Select
398610 03
4°
234
342
230
219
64Ø
180
99
69
133
225
max. 70
840
Ø 34
ca. 500
G3/8
G3/8
G1/2
103
28Ø
22Ø
180
141
159
JustierungJustierung / Maße / Durchflussdiagramm
8
open / öffnen hot / warm
cold / kalt
close / schließen
1.
2.
1 2 3
SW 10 mm SW 19 mm
(4 Nm)
SW 10 mm SW 19 mm
Bedienung / Wartung Bedienung / Wartung
9
AXOR Citterio Select
398610 03
95962000
(19 x1,5)
98112000
(8x2)
98463000
92566000
97523000
92569000
92634000
(40x3)
92568000
97827000
(8x1, 75)
96456000
95291000
97548000
92961000
92500000
95049000
96099000
92567000
92570003
92583000
98112000
(8x2)
98211000
(21x2, 5)
98365000
92730000
95008000
96461000
98193000
(32x2)
98603000
96338000
39891000
96029000
(M6x10)
98422000
(7x1,5)
95372000
96456000
95291000
(18,5x8x2)
Serviceteile
10
11
AXOR ⁄ Hansgrohe SE
Auestraße 5–9
77761 Schiltach
Deutschland
info@axor-design.com
axor-design.com
09/2017
9.02968.32

Other Axor Plumbing Product manuals

Axor Retroaktiv 06105XX0 User manual

Axor

Axor Retroaktiv 06105XX0 User manual

Axor Citterio E 36100 Series Manual

Axor

Axor Citterio E 36100 Series Manual

Axor 51307 Series User manual

Axor

Axor 51307 Series User manual

Axor Wall-Mounted Widespread Faucet Set 38043001 User manual

Axor

Axor Wall-Mounted Widespread Faucet Set 38043001 User manual

Axor Montreux 16505001 User manual

Axor

Axor Montreux 16505001 User manual
Axor Starck 10820001 User manual

Axor

Axor Starck 10820001 User manual

Axor Citterio 39835XX1 User manual

Axor

Axor Citterio 39835XX1 User manual

Axor Uno 38112 Series User manual

Axor

Axor Uno 38112 Series User manual

Axor Montreux Handshower 16320XX1 User manual

Axor

Axor Montreux Handshower 16320XX1 User manual

Axor Massaud 18113181 Installation guide

Axor

Axor Massaud 18113181 Installation guide

Axor Montreux 16802XX1 Installation guide

Axor

Axor Montreux 16802XX1 Installation guide

Axor Starck  10801000 Manual

Axor

Axor Starck 10801000 Manual

Axor Uno 38119 Series User manual

Axor

Axor Uno 38119 Series User manual

Axor One 48791 1 Series Instruction Manual

Axor

Axor One 48791 1 Series Instruction Manual

Axor Edge 46140007 Manual

Axor

Axor Edge 46140007 Manual

Axor Citterio E Series Manual

Axor

Axor Citterio E Series Manual

Axor Axor Montreux 16802XX0 User manual

Axor

Axor Axor Montreux 16802XX0 User manual

Axor Edge 46140001 Instruction Manual

Axor

Axor Edge 46140001 Instruction Manual

Axor Starck Manual

Axor

Axor Starck Manual

Axor Starck Organic 12410000 Manual

Axor

Axor Starck Organic 12410000 Manual

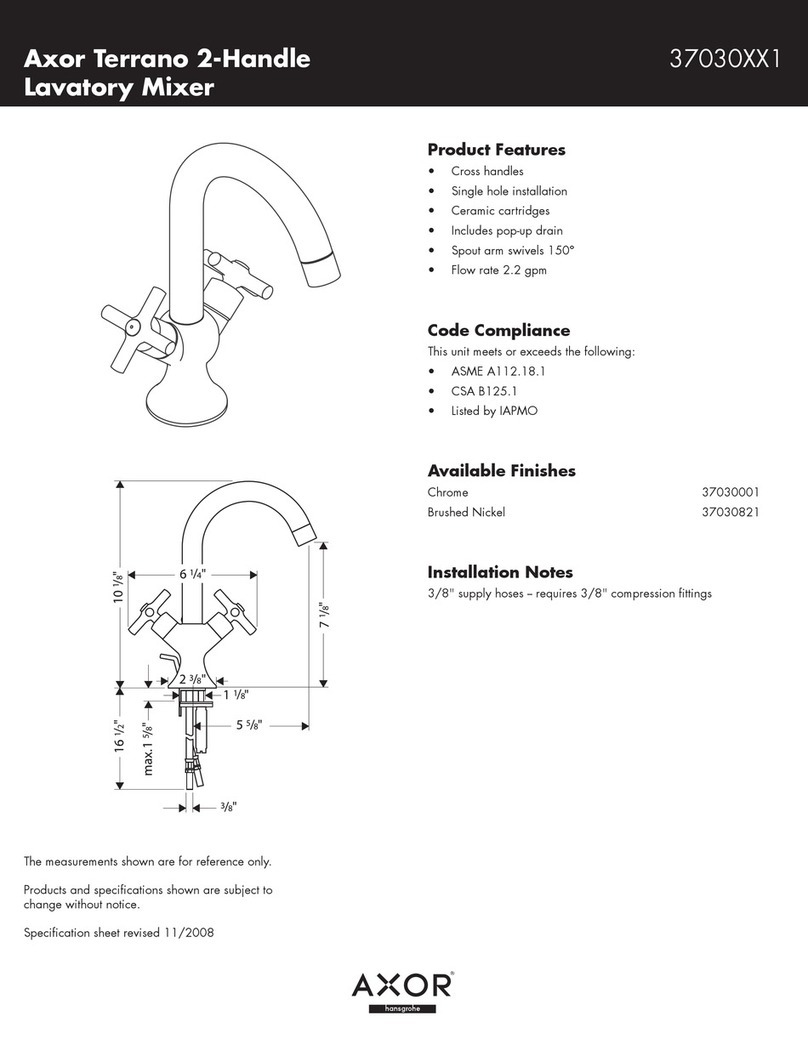
Axor Terrano 37030XX1 Installation guide

Axor

Axor Terrano 37030XX1 Installation guide

Axor Uno Widespread Lavatory Set 38053XX1 Installation guide

Axor

Axor Uno Widespread Lavatory Set 38053XX1 Installation guide

Axor 230 Showerarm 26435 1 Series Instruction Manual
Axor

Axor 230 Showerarm 26435 1 Series Instruction Manual

Axor Brushed Nickel 28514821 User manual

Axor

Axor Brushed Nickel 28514821 User manual

Popular Plumbing Product manuals by other brands

Franke F5LT1010 Installation and operating instructions

Franke

Franke F5LT1010 Installation and operating instructions

Hans Grohe Talis M51 200 2jet 72813 Series Instructions for use/assembly instructions

Hans Grohe

Hans Grohe Talis M51 200 2jet 72813 Series Instructions for use/assembly instructions

Hans Grohe AXOR Starck 10030 Series Assembly instructions

Hans Grohe

Hans Grohe AXOR Starck 10030 Series Assembly instructions

Blanco Stellar Medium Single Bowl 441025 Specifications

Blanco

Blanco Stellar Medium Single Bowl 441025 Specifications

Villeroy & Boch Butler Double Sink 6323 installation instructions

Villeroy & Boch

Villeroy & Boch Butler Double Sink 6323 installation instructions

Gessi R4012 installation instructions

Gessi

Gessi R4012 installation instructions

Helvex NAO WM installation guide

Helvex

Helvex NAO WM installation guide

Franke F3EV1013 Installation and operating instructions

Franke

Franke F3EV1013 Installation and operating instructions

Hans Grohe Talis N 180 A-Style 2jet 72846XX1 User instructions

Hans Grohe

Hans Grohe Talis N 180 A-Style 2jet 72846XX1 User instructions

Kohler ESCALE Installation & user guide

Kohler

Kohler ESCALE Installation & user guide

Grohe GROHTHERM 1000 COSMOPOLITAN 34 065 manual

Grohe

Grohe GROHTHERM 1000 COSMOPOLITAN 34 065 manual

Elkay Pacemaker BPSH15C Specifications

Elkay

Elkay Pacemaker BPSH15C Specifications

Kraus KHF200-30 installation manual

Kraus

Kraus KHF200-30 installation manual

Iqua lino L20 Installation & user manual

Iqua

Iqua lino L20 Installation & user manual

THG PARIS 5840/8 Series installation instructions

THG PARIS

THG PARIS 5840/8 Series installation instructions

Delabie SECURITHERM H9726 manual

Delabie

Delabie SECURITHERM H9726 manual

Moen MONTICELLO T2529 Specifications

Moen

Moen MONTICELLO T2529 Specifications

Pfister Raya F-529-ERYGS Welcome guide

Pfister

Pfister Raya F-529-ERYGS Welcome guide

manuals.online logo
manuals.online logoBrands
  • About & Mission
  • Contact us
  • Privacy Policy
  • Terms and Conditions

Copyright 2025 Manuals.Online. All Rights Reserved.