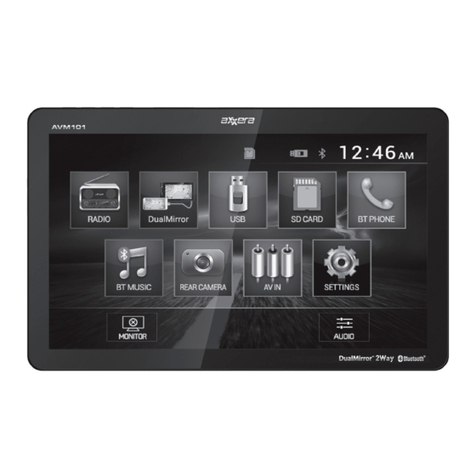
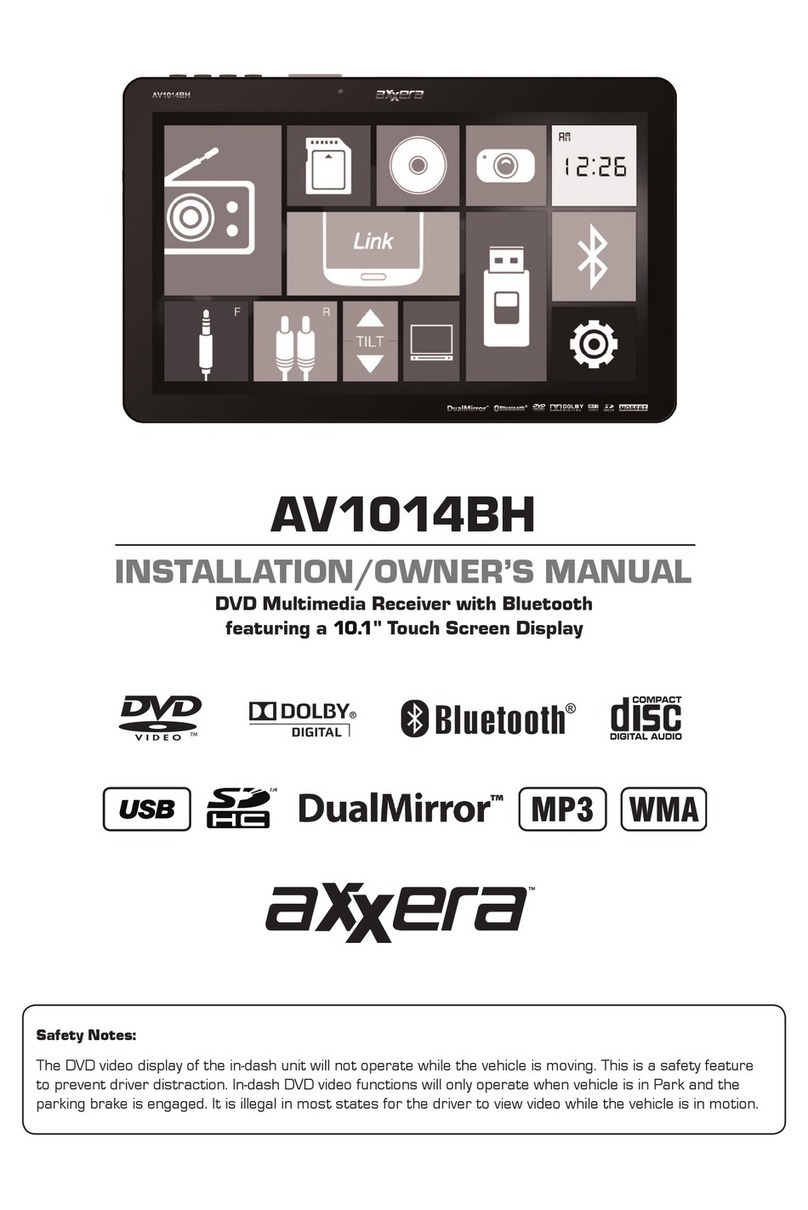
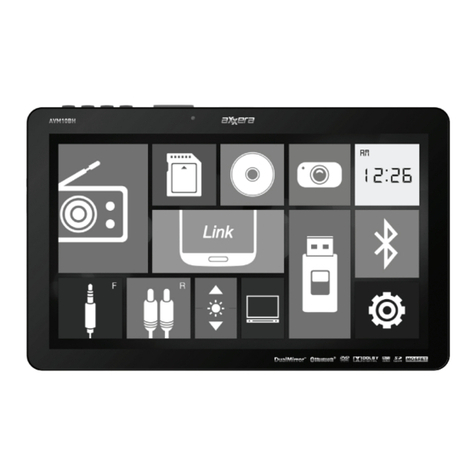
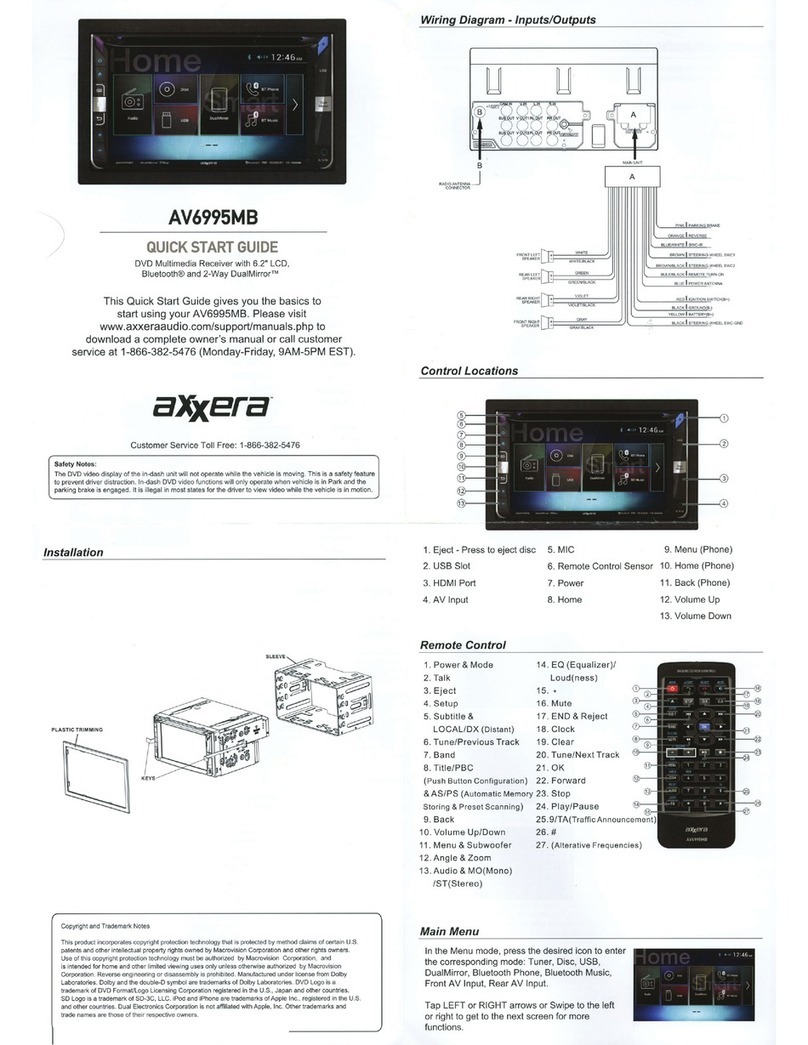
Axxera AV7116Bi User manual

Installation
Wiring Diagram - Inputs/Outputs
Remote Control
Audio Control
Tap VOL to select between Volume, Bass, Treble,
Balance and Fader. You can adjust the level for
each audio option by turning the rotary left and
right.
1 2 3 4
9
10
11
12
13
14
24
23
22
21
20
19
1. Power
2. Mode
3. Play/Pause
4. Mute
7LWOH
6XE7LWOH
6HWXS
$QJOH
9. Slow
10. Volume UP
11. Zoom
12. Select/Talk
13. Seek UP/Next Track
14. Volume Down
$XGLR
*RWR
(4/RXG(QGFDOO
1XPEHUNH\V
19. Root
20. OSD
(On Screen Display)
21. Local/Random
22. Seek Down/
Prevous Track
23. AS/PS/Repeat
24. Stereo/Program
6WRS
(QWHU
%DQG
Copyright and Trademark Notes
This product incorporates copyright protection technology that is protected by method claims of certain U.S.
patents and other intellectual property rights owned by Macrovision Corporation and other rights owners.
Use of this copyright protection technology must be authorized by Macrovision Corporation, and
is intended for home and other limited viewing uses only unless otherwise authorized by Macrovision
Corporation. Reverse engineering or disassembly is prohibited. Manufactured under license from Dolby
Laboratories. Dolby and the double-D symbol are trademarks of Dolby Laboratories. DVD Logo is a
trademark of DVD Format/Logo Licensing Corporation registered in the U.S., Japan and other countries.
SD Logo is a trademark of SD-3C, LLC. iPod and iPhone are trademarks of Apple Inc., registered in the U.S.
and other countries. Dual Electronics Corporation is not affiliated with Apple, Inc. Other trademarks and
trade names are those of their respective owners.
7<3,&$/)5217/2$'',102817,1*0(7+2'
The DVD video display of the in-dash unit will not operate while the vehicle is moving. This is a safety feature
to prevent driver distraction. In-dash DVD video functions will only operate when vehicle is in Park and the
parking brake is engaged. It is illegal in most states for the driver to view video while the vehicle is in motion.
Safety Notes:
1
2
3
4
9
10
11
12
Control Locations
1. Eject - Press to eject disc
2. AV In
3. USB Slot
4. Mic
7XQH7UDFN'RZQ
VOL Up/Down/Talk
Mute/End call
Band
9. Open/Power
10. Release
11. Mode
13 14
12. Tune/Track Up
1
2
13. Reset
14. microSD
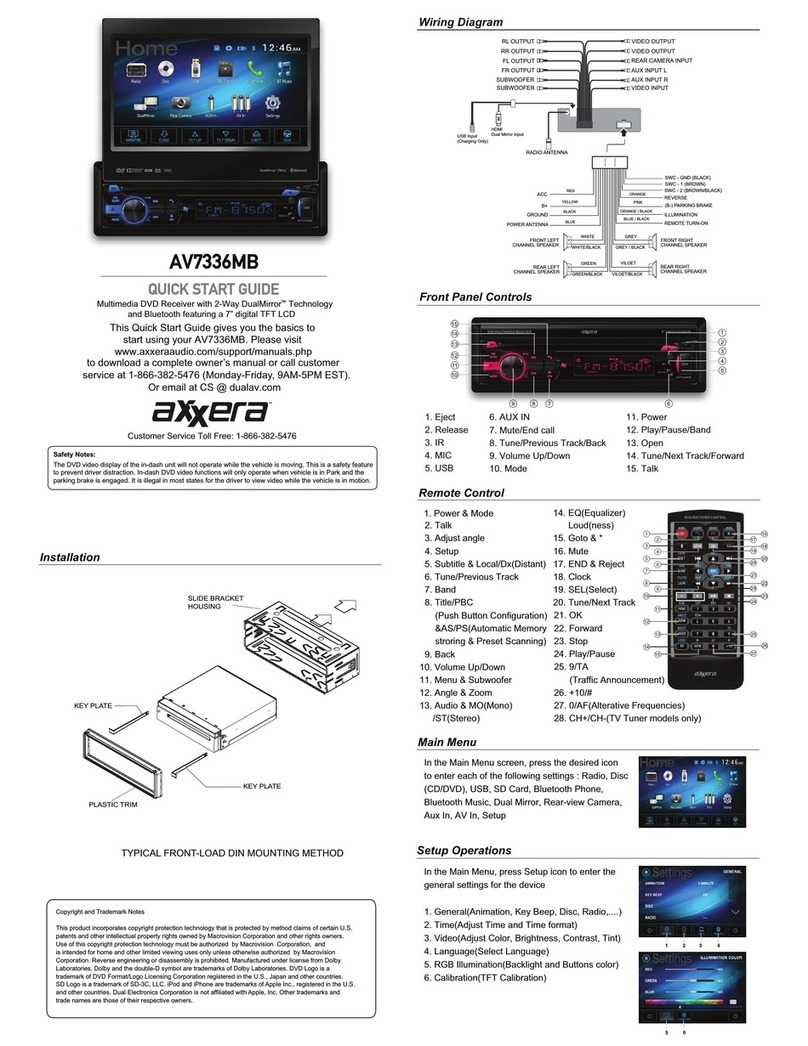
7KLV4XLFN6WDUW*XLGHJLYHV\RXWKHEDVLFVWR
VWDUWXVLQJ\RXU$9%L3OHDVHYLVLW
www.axxeraaudio.com/support/manuals.php
download a complete owner’s manual or call customer
VHUYLFHDW0RQGD\)ULGDy$030(67
Multimedia DVD Receiver with Bluetooth
IHDWXULQJD´GLJLWDO7)7/&'
AV7116Bi
&XVWRPHU6HUYLFH7ROO)UHH
QUICK START GUIDE

This warranty gives you specific legal rights. You may also have other rights which vary from state to state.
Dual Electronics Corp. warrants this product to the original purchaser to be free from defects in material and
workmanship for a period of one year from the date of the original purchase.
Dual Electronics Corp. agrees, at our option, during the warranty period, to repair any defect in material or workman-
ship or to furnish an equal new, renewed or comparable product (whichever is deemed necessary) in exchange
without charges, subject to verification of the defect or malfunction and proof of the date of purchase. Subsequent
replacement products are warranted for the balance of the original warranty period.
Who is covered? This warranty is extended to the original retail purchaser for products purchased from an authorized
Dual dealer and used in the U.S.A.
What is covered? This warranty covers all defects in material and workmanship in this product. The following are not
covered: software, installation/removal costs, damage resulting from accident, misuse, abuse, neglect, product
modification, improper installation, incorrect line voltage, unauthorized repair or failure to follow instructions supplied
with the product, or damage occurring during return shipment of the product. Specific license conditions and copyright
notices for the software can be found via www.dualav.com.
What to do?
1. Before you call for service, check the troubleshooting guide in your owner’s manual. A slight adjustment of any
custom controls may save you a service call.
2. If you require service during the warranty period, you must carefully pack the product (preferably in the original
package) and ship it by prepaid transportation with a copy of the original receipt from the retailer to an
authorized service center.
3. Please describe your problem in writing and include your name, a return UPS shipping address (P.O. Box not
acceptable), and a daytime phone number with your shipment.
4. For more information and for the location of the nearest authorized service center please contact us by one of the
following methods:
&DOOXVWROOIUHHDW
(Monday-FridayDPWRSP(67
(PDLOXVDWFV#GXDODv.com
Exclusion of Certain Damages: This warranty is exclusive and in lieu of any and all other warranties, expressed or
implied, including without limitation the implied warranties of merchantability and fitness for a particular purpose and
any obligation, liability, right, claim or remedy in contract or tort, whether or not arising from the company’s negligence,
actual or imputed. No person or representative is authorized to assume for the company any other liability in
connection with the sale of this product. In no event shall the company be liable for indirect, incidental or consequential
damages.
©2016 Dual Electronics Corp.
NSC0116-V01
Printed in China
Pairing and Connecting
Before you can use a Bluetooth device, it must be paired and connected. The
unit broadcasts the pairing signal constantly when no devices are
currently connected. Complete the pairing sequence from your Bluetooth device.
The device name is "Dual BT". The Bluetooth passcode "0000". Once pairing is
complete, most Bluetooth will
connect automatically if the device is in range when
the unit is powered-on.
Dialing a Number
Press to display keypad and dial a number.
Making and Ending a Call
Press to connect a call, and press to
end a call.
Accessing Recent Call List
Press to access the recent call list and
view/select numbers from recent Received,
Dialed or Missed calls.
Transfering Audio
Press to transfer audio between the head unit
and mobile phone.
Streaming Audio
Press to play or pause the music.
Press to skip to the previous track.
Press to advance to the next track.
1. Current Mode Indicator
2. Information Display
3. Tune Up
4. Preset Station Display
3UHYLRXV0HQX
6WHUHR
Loud
Local/Dx
9. Next Menu
10. Tune Down
11. Mute
In the Menu mode, press the desired icon
to enter the corresponding mode: Tuner, Disc,
USB, SD Card, BT Phone, BT Music, Aux In,
AV In, Setup.
Main Menu
Bluetooth Operation
One-Year Limited Warranty
Tuner Operation
CD Operations
DVD Operations
Bluetooth Microphone
The microphone is built-in to the receiver.
General Operation
Select the Tuner icon from the Main Menu screen or press MODE unit Tuner
is selected.
Insert a DVD in the disc slot for playback.
1. Mute
2. Previous
3. Play/Pause
4. Next Track
%DFNZDUG
)RUZDUG
1H[W0HQX
5DQGRP
9. Circulate
10. Audio
11. Dial
12. Menu
13. Stereo
*RWR
6XEWLWOH
7LWOH
7LOWXS
7LOWGRZQ
19. Previous Menu
1. Previous Menu
2. Mute
3. Audio
4. Backward
)RUZDUG
1H[W0HQX
Tilt up
Tilt down
9. Stop
Insert a CD in the disc slot, and the unit will
read the disc.
Setup Menu
From the Main Menu screen, press Setup to
HQWHUWKH6HWXS0HQX7KHILUVWVHWXS
options will be displayed on the screen.
12. Audio
13. AS/PS
14. Band
iPod Operation
Select iPod on the Main Menu
1. Previous Track
2. Mute
3. Audio
4. Rewind
)DVW)RUZDUG
1H[W Track
www.axxeraaudio.com
Steering Wheellnterface(SWI) Operation
In
main screen
please
press
SETUP
and
select
SWC.
It will
show
as
below.
Description
1.
Functions
2.
Save the function to the
steering wheel control
3.
Reset to default
, , -r ,»"#..v
!l'v
-~. ~
~
'<li
+
< < <
•ill
•••
,·_,
"
Steering Whee/learning
Process
Before learning, press to reset RESET icon to remove any
previous settings.
1.
Press the desired button
of
the steering wheel and the
· unit will display "Please choose steer the 1st key function".
Then Press the same function icon on the screen
2.
The unit will show "Press press steerthe 2nd key" on the
screen. Press the next desired button
of
the steering wheel,
then please press the same function icon on the screen.
3.
Repeat this procedure to complete the SWC setting.
Once complete, press "Confirm"
SWC
Connecting
Wires
0
z
(9
r--
u
,_.
~
u
r--
(f)
~
N I
(f)
r-
()
I
~
I
-
(f)
-
()
J
~
(/)
'------
SWC
GND
SWC1
SWC2

APPLICABLE
VEHICLES
_______________
_
Make Connector
SWCl
SWC2
SWC
-
GND
Chevy/Buick/Olds/Pontiac A A6
N/A
A7
APPLICABLE
VEHICLES
'""' ' 2004-12 Acura
Ford/Lincoln/Mercury B
18
N/A
19 2004-09 Buick
c
14
N/A
RG*
2000-08 Chevrolet
2004-12
Ford*
Honda/
Acura D 7
N/A
6 2003-12 Honda
E 3
N/A
RG*
2006-13 Hyundai
F 16
N/A
5 2006-13
Kia
2003-12 Lexus
Kia/Hyundai G 18
N/A
19
2003-11 Lincoln
H 6
N/A
18
2003-12 Mazda
I 4
N/A
17 2003-11
Mercury
J 5
N/A
6 2005-11 Nissan
2002-04 Oldsmobile
Mazda K 6
N/A
5 2001-08 Pontiac
2004-12 Scion
Nissan L
16
6 15 2003-13 Toyota
M 75 74 76
N 70 69 71
*2012
Ford F-150
0 23 22
25
Not
compatible
p 22 21
23
Q 13 12
14
Toyota/Scion/Lexus R 21 22 23
s 7 8 6
*
RG
=Ground
wir
e
from
the
radio harne
ss

IMPORTANT
____________________________________
___
This
unit
only
works
with
analog steering wheel controls.
Does
not
support anydata-bus system.
Chevrolet/
Buick/
Olds/
Pontiac
Ford/
Lincoln/
Mercury
I i
----,
,.
-~
:::-i
r
-/
.
_b...i.....=
•
n·
A~
-.-c==::E=::i
::x
::oo
3'-
A
12
B1-s~~~~12
24-PIN
(frontfacing)
A
,1.___-~--
-.
,
~
/
12~
cv:;:o::;::;
-·
--·
v>-~-1
:
C
.l;-
)
~~
l
d
UD
,
24
+-
<~'
0 " ·
~
-..
.,,
_.
,
.,
'"
0
"0
fr-
·'-1--
13
c.
_....
.
.....
. '' ''
·--
-
--=---
/
24-PIN
(front
facing)
B
NOTMAIN
POWER
CONNECTOR
/ I
~
r;
::::
;L"'
"'1---
<'
i1 I•C=-:FJ!i ! I
7
----t
--c:J
c c 0 0
':J
c-
t--
1
l
~DC"O
OCl
j
20+
CO'::Jt:I
:::J~14
20-PIN
(front
facing)
c I I
(~
ATC
H-
~
L-~
~
12
-:n
C}-
1
Honda
!
~
I
'!
! I
!
~
!
I - :
2
4~
1
·
1
1
·
I,
ts
i
~
1
3
Kia/
Hyundai
Mazda
Nissan
Toyota/
Scion
24-P/N
(front
facing)
G
24-PIN
(front
facing)
K
,
i
=+=~~
20
-:---
"•
' ' • • •
--+f-
19
1B
20-P/N
(frontfacing)
L
..
'
~ 1
_;
:zm
=-=i
·
~
~
~
8-P/N
(front
facing)
p
/ / /
13
~:;~~
-
~
-~
"Jo
~
c
o~
l
~
~
~
24
1...:
---~;
:;
:Jr.s
-.
-~,
:";":
·
?<:
·
~
,
.
L
1
2
24-P/N
(front
facing)
H
~-
-~
/
r /
7s
-L
: •. , l·'.
~
6
1
76
---Eti•
i •
~
62
16-P/N
(front
facing)
M
/
24.L·n
1
F
~lEJEZ:'
2
o 3
4+
.
,
.
~
:.
:
1-
-
,..
-
•
--
H
I
...
-
--
- . ' ._, ·.- .
l.J
,
8-P/N
(front
facing)
a
24-P/N
(front
facing)
F
(!_
-(/
12
t£G
tr.XXJ.~o-t-
1
24 f-Bo"'=
co
g=
ot
t-
13
....
_________
__
_____;,
24-P/N
(front
facing)
I
16-PIN
(front
facing)
N
NOTMAIN
POWER
CONNECTOR
, I
/ /
1-T
~
D
,;
fd!'
ii!'
i!'
!
~;
:
20-PIN
(
front
facing)
s
I ,
J
~
c:c
J !
6"61
!oo(
I C'.OCl
n~
.
CI
O
;:;
oo
;;;
;
:
OQQ
t:=_j~
1/ 20-P/N
(front
facing)
J
Note. According
to
vehicle
type
, please change
the
IMPEDANCE
setting
from
GENERAL
menua
if
the
steering wheel control does
not
work
.

A
WARNING
A
Upon installation ofthis Monitor/DVD player ('"unit") into a vehicle. the driverofthe
vehicle must not operate this unit by watching videos
or
playing video games
while driving. Failure to follow this instruction could lead to driver distraction
which could result in serious injury
or
death to the vehicle's occupants
or
persons outside the vehicle and/orproperty damage.
Several states prohibit the installation of monitors/DVD players
if
the screen is
visible from the driver's seat. Ifyou reside in a jurisdiction which has enacted
such a law. this unit must not be installed so that the screen is visible from the
driver's seat. When installing this unit in the front console/dashboard. the unit
must
be
positioned so that it is facing the front passengerseat only. Failure
to follow this instruction could lead to driver distraction which could result in
serious injury
or
death to the vehicle's occupants
or
persons outside the vehicle
and/orproperty damage.
This unit is designed so that it may
be
operated only when the vehicle is in ''Park"'
and the parking brake is fully engaged.
To
this end. this unit includes a parking
brake lock-out feature which prohibits the unit from operating
if
the vehicle is
not in "Park" and/orthe parking brake is not fully engaged. When installing
this unit. the installer must connect the parking brake detect
wire
("Pink Lead")
to the parking brake mechanism in orderto make the parking brake lock-out
feature operable.
DO
NOT
simply ground the parking brake detect
wire
to a
metal portion ofthe vehicle. Failure to properly install the parking brake lock-
out feature could lead to driver distraction which could result in serious injury
or
death to the driver's occupants
or
persons outside the vehicle and/orproperty
damage.
Once
the parking brake lock-out feature is installed. the owner/user must not
attempt to disrupUneutralize the parking brake lock-out feature by
(a)
partially
engaging the parking brake and/or
(b)
purchasing/using any device
or
unit
designed to send necessary brake signals to the unit. Failure to follow these
instructions could lead to driver distraction which could result in serious injury
or
death to the driver's occupants
or
persons outside the vehicle and/or property
damage.
When operating this unit. keep the unit'svolume level
low
enough so that
the vehicle's occupants can heartraffic-related sounds such as police and
emergencyvehicles. Failure to follow this instruction could lead to driver
distraction which could result in serious injury
or
death to the vehicle's
occupants
or
persons outside the vehicle and/orproperty damage.
NSA0512-V03

Congratulations
on
your
purchase
of
this
Dual
high
performance
mobile
audio
model.
We
take
great
pride
in
the
quality,
value
and
performance
that
is
the
trademark
of
every
product
we
sell. Each
model
is
subjected
to
rigorous
testing
to
ensure
years
of
trouble-free
performance
in
your
vehicle.
If
you
should
experience
any
technical
difficulties
with
installation
or
operation,
do
not
return
this
product
to
the
place
of
purchase.
Please
contact
Dual
toll-free
at
1-866-382-5476
or,
by
e-mail
at
for
help.
Our
highly
skilled
team
of
technicians
can
answer
questions,
provide
parts
and
assist
with
any
installation
or
operation
questions.
Table of contents
Other Axxera Car Video System manuals

Axxera
Axxera AVM10BH Operating instructions

Axxera
Axxera AV1014BH Operating instructions

Axxera
Axxera AVM101LH Operating instructions

Axxera
Axxera AV6116Bi Operating instructions

Axxera
Axxera AV614BH User manual

Axxera
Axxera AV604Bi User manual

Axxera
Axxera AV7336MB User manual

Axxera
Axxera AV6995MB User manual
Popular Car Video System manuals by other brands

Boss Audio Systems
Boss Audio Systems BV9378NV user manual

ESX
ESX Infotainment Touchscreen Naviceiver Vision... owner's manual

Clarion
Clarion VRX878RVD Owner's manual & installation manual

Bosch
Bosch Center CM-C 19 operating instructions

Pyle
Pyle PLVSR10GR instruction manual

USA SPECS
USA SPECS BT45-NIS manual