B & D Electromedical NIPPY Clearway User manual
0985 Version 2 February 2011
NIPPY CLEARWAY
COUGH ASSISTOR
INSTRUCTIONS FOR USE
This book must be kept with the machine
B & D Electromedical
Unit A2 The Bridge Business Centre
Timothy’s Bridge Road
Stratford–upon-Avon,
Warwickshire. CV37 9HW
Tel: 01789 293460 Sales
01789 721577 Technical Support
Fax: 01789 262470
www.nippyventilator.com
Copies of these instructions may be downloaded from
www.nippyventilator.com/downloads

0985 Version 2 February 2011

0985 Version 2 February 2011
NIPPY Clearway
INSTRUCTION MANUAL INDEX
Page
Operation
Description 1-2
Intended Use 3
Contraindications 3
Features 4
Explanation of Controls
Explanation of Symbols Used 5
Fascia Buttons 6-7
Fascia Display 7
Rear Panel Layout 8
Outlets 8
Internal Memory Back up Battery 9
Handheld Ins/Exs Switch 9
Getting Started
Breathing circuits 10
Switching on/off 10
The Main Screen 11
How to Adjust The Nippy Clearway 11
The Menu Screen 12
How to use the on-screen Menu 12
Structure of the Main Menu 13
How to use the on-screen help 14
Using Help with the Settings Locked 14
Setting Up
Mode Selection 15
Nippy Clearway in Manual Mode 16
Auto Modes Treatment Review Screen 17
Auto Modes manual Override 18
Nippy Clearway in Basic Auto Mode 18-19
Nippy Clearway in Prog. Timed Auto Mode 20-21
Nippy Clearway in Prog. Triggered Auto Mode 22-23
Nippy Clearway in NIV. Mode 24
Advanced Settings - Airway Pressure Vibration 25
Advanced Settings – Post Exsufflation Breaths 25
Compliance data 25
Running on Battery Power 26
External battery 26
Battery Care 27-28
Connecting Auxiliary Equipment 29
Pneumatic Diagram 29
Operation Under Extreme Conditions 30
Accessories and Spares 30
Warnings and Cautions 31
Maintenance
User Maintenance 32
Servicing 33
Warranty/Transportation 33
Factory Service / Repair 33
Specifications 34
International Standards 34
EMC Information 35-37
Locking the Settings
39

0985 Version 2 February 2011

1
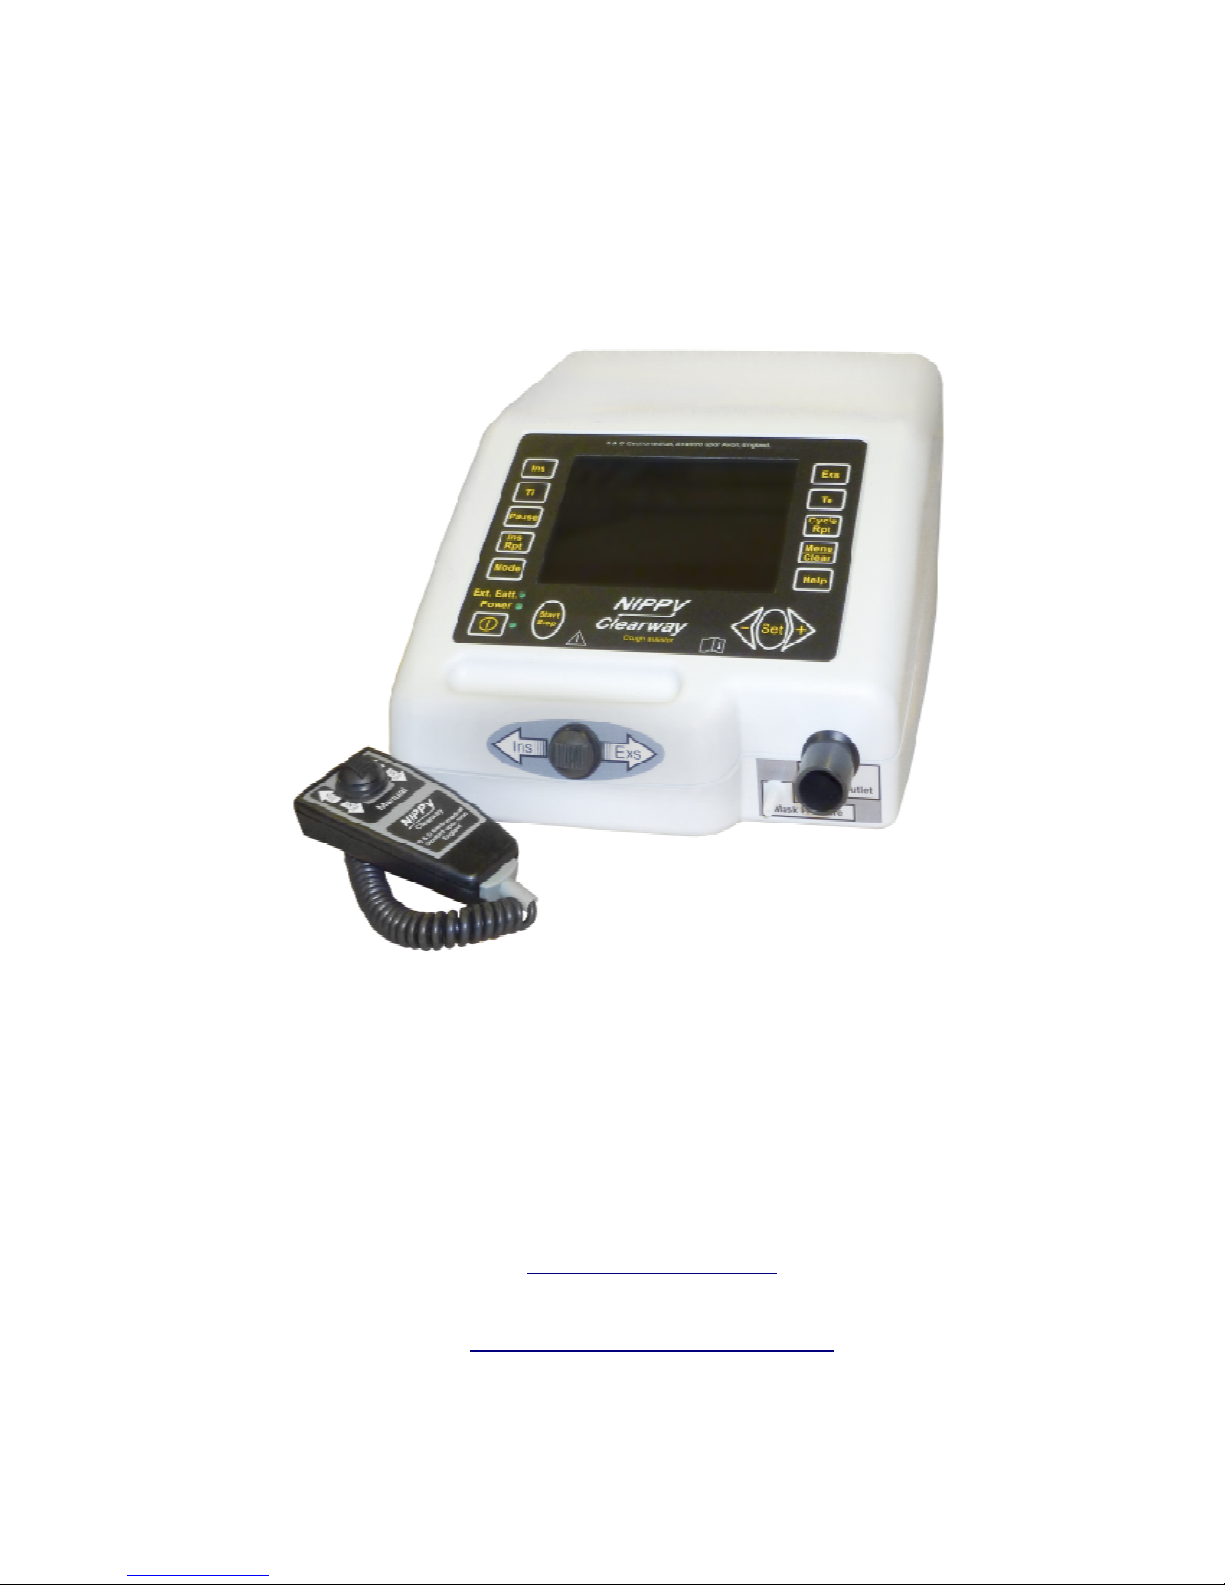
Description
The Nippy Clearway is a pressure controlled, mechanical insufflator / exsufflator
cough assist machine. It assists in the mobilisation and clearance of bronchial
secretions by inflating the lungs with a positive airway pressure then providing a
rapid change to negative pressure to assist the patient’s cough. In auto modes a
graphical representation of the treatment and an audible synchronisation signal is
provided to help synchronise the cough effort with the shift to negative pressure.
Ambient air is compressed by a turbine and delivered to the patient through a close
fitting facemask, mouthpiece or a tracheotomy. Very accurate and consistent
pressure control is achieved using the Clearway’s unique bi-directional servo control
valve and remote pressure sensing. The pressure displayed on-screen is the actual
working pressure at the mask/patient interface.
The output pressure and timing can be adjusted by controls on the fascia panel. The
Pressure, and all settings are displayed on a colour LCD(Liquid Crystal Display)
screen.
The settings can be achieved using the buttons around the outside of the display.
More advanced features and adjustments can be accessed via the menu.
It is designed for non-continuous use. The Nippy Clearway may be used for up to 30
minutes in any 1 hour period.
For greater convenience the Nippy Clearway may be powered by an external
battery.
There are 5 modes of operation:-
Manual Positive and negative pressures are applied using the
manual switch on the front of the machine or with a remote
handheld switch plugged into the RS232 input.
Basic Auto In basic auto mode the clearway cycles between insufflation
and exsufflation followed by a pause, for a maximum of 20
cycles.
Timed Programmable Auto The Nippy Clearway can be pre programmed to
deliver a timed sequence, which could include one or more
insufflations before exsufflation. This sequence can be
repeated up to 10 times if desired.
Triggered Programmable Auto This is the same as the timed auto mode with
patient trigger on insufflations.
NIV NIV mode is provided to give the patient up to 15 minutes of
respiratory support to aid the recovery from the exertion of
the cough assist treatment.
Table of contents
Popular Medical Equipment manuals by other brands


Getinge
Getinge Arjohuntleigh Nimbus 3 Professional Instructions for use

Mettler Electronics
Mettler Electronics Sonicator 730 Maintenance manual

Pressalit Care
Pressalit Care R1100 Mounting instruction

Denas MS
Denas MS DENAS-T operating manual

bort medical
bort medical ActiveColor quick guide

AccuVein
AccuVein AV400 user manual


