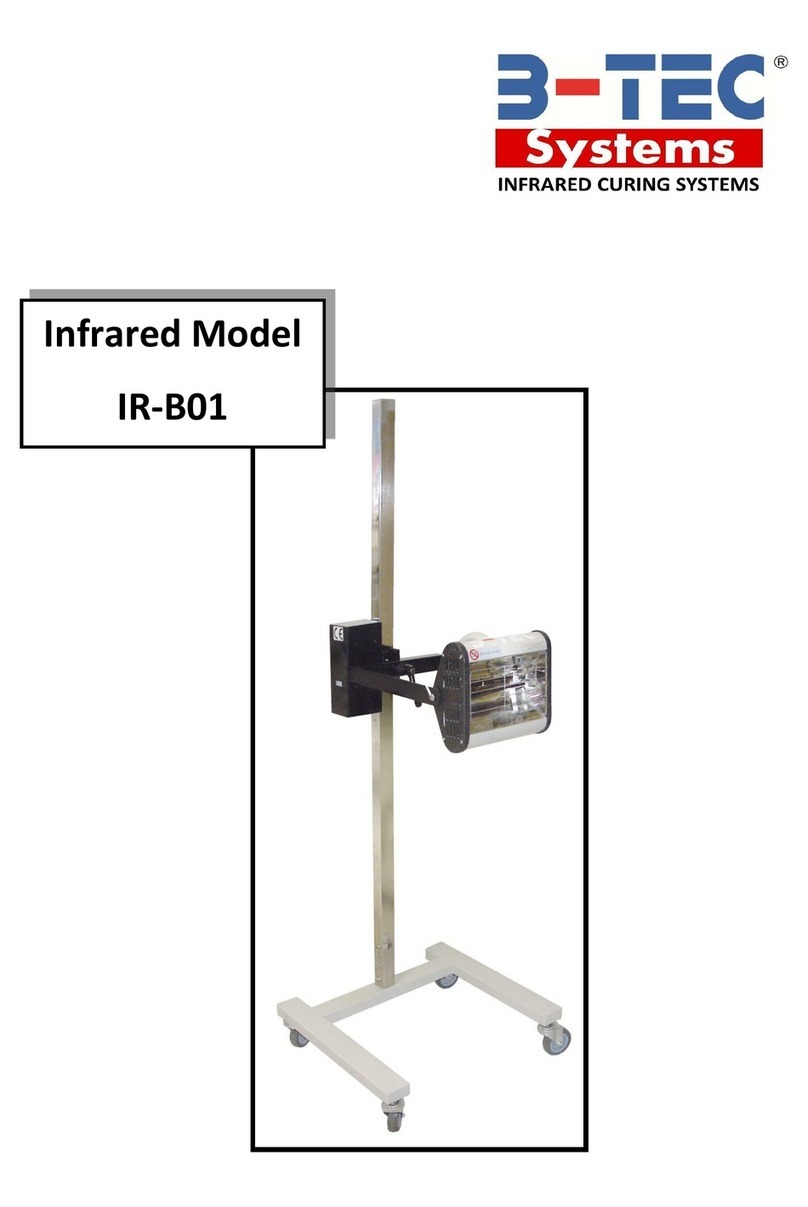
B-TEC IR-B02 User manual

B -TEC GmbH • Zunftweg 6-8 • D-31303 Burgdorf / Ehlershausen • Telephone : ++49(0)5085-97100-0
Fax : ++49(0)5085-97100-30 • Email : B-TEC@t-online.de • www.btecsystems.de
Declaration of conformity according to DIN EN 45014
Manufacturer:
Herewith, we declare that the machines and marketed models described in the following conform in
conception and in design to the relevant fundamental safety and health requirements of the applicable
EU directives.
All of our manufactured or assembled parts conform to the listed regulations.
If you change the machine without our explicit agreement, this declaration will be herewith invalidated.
Product type: Painting- and drying equipment (paint dryer)
Type designation: IR-B02
Serial-nr: Construction year: 2013
Parameters:
Rated voltage:
Rated current:
Rated frequency:
Rated power input:
Protection class:
Degree of protection:
230 V
11 A
50 Hz
2040 W
I
IPX0
Tested according to:
EN 60335-1/A2:2006
EN 60335-2-30/A2:2007
EN 50366/A1:2006
This EC-Attestation of Conformity is issued on a voluntary basis according to the Low Voltage Directive
2006/95/EC relating to electrical equipment designed for use within certain voltage limits. It confirms
that the listed equipment complies with the principal protection requirements of the directive
Responsibility for technical documents: Hans-Joachim Bödrich, Michael Bellroth
Address: Refer to manufacturer´s address
Location/Date/Manufacturer`s signature
Function of the signer: Managing director
equipment and facility engineering
B-TEC GmbH
Zunftweg 6-8
D-31303 Burgdorf / Ehlershausen
.................................................................................
Hannover, 01.03.2013

B -TEC GmbH • Zunftweg 6-8 • D-31303 Burgdorf / Ehlershausen • Telephone : ++49(0)5085-97100-0
Fax : ++49(0)5085-97100-30 • Email : B-TEC@t-online.de • www.btecsystems.de
Table of contents
1. Important information ........................................................................................................................ 1
2. Safety regulations and maintenance advices ....................................................................................... 2
2.1 Work area ..................................................................................................................................... 2
2.2 Use................................................................................................................................................ 2
2.3 Wartung und Pflege ...................................................................................................................... 3
2.4 Weitere Hinweise.......................................................................................................................... 3
3. Technical description of the machine .................................................................................................. 4
2.1 Technical information.................................................................................................................... 4
2.2 Wiring diagram.............................................................................................................................. 4
2.3 Spare parts.................................................................................................................................... 5
3. Installation.......................................................................................................................................... 7
4. Operating instructions ........................................................................................................................ 8
4.1 Curing times.................................................................................................................................. 8
5. Replacement of emitter lamp tube...................................................................................................... 9
6. Troubleshooting.................................................................................................................................10
equipment and facility engineering

IR-B02 Page 1
equipment and facility engineering
1. Important information
We thank you for your trust you gave to us by buying the infrared emitter "IR-B02". At the rating
plate at your device you will find the exact name and serial-number of your infrared emitter for an
uncomplicated service and shipment of spare parts.
The short- wave infrared Paint Dryer is special for baking finish of automobile, which is featured with
high penetrability, short baking period, long service life, high cost efficiency, convenient and flexible
use without site limit.
The B-TEC device has been built under highest quality standards for high reliability. Because of
certain procedures there are places and parts that can´t be protected without compromising the
usability and function. Therefore we ask you to read this document carefully before using the
machine to reach maximum life and reliable operation.
Read this document carefully before commissioning and keep it for future
reference!
The B-TEC devices and machines are only allowed to be used for the purpose explicitly described
below. Any other use is in contrast with the regulations. The manufacturer cannot be held liable for
damages resulting from such non-regulations use.
Improper use can endanger the health of the operator and of others and cause damage to the
machine itself or to other materials and assets.
The B-TEC machines are only to be used for purpose explicitly described below!
Improper use can endanger the health of the operator!
The manufacturer is not liable for damages caused by changes of the machine
that have not been specifically authorized by the manufacturer. The removal or
alteration of safety devices immediately voids the warranty and is an
infringement of European safety standards.

IR-B02 Page 2
equipment and facility engineering
2. Safety regulations and maintenance advices
The B-TEC GmbH machines are operationally safe and are constructed according to the state of the
art. Due to the nature of the processes there are processes and parts that cannot be protected
without impairing operability and functionality. Improper use can endanger the health of operator
and of other and cause damage to the device itself or to other materials and assets. B-TEC GmbH is
not liable for any damages resulting from improper or incorrect use.
There is no liability for damages or injuries resulting of the following situations:
Oblivion of the instructions given in this manual
Changes of technical product specifications
Change or break the safety device
2.1 Work area
It is not allowed to use this machine in an explosive or combustible environment; otherwise it
may lead to fire.
In case the machine is used in a baking house, it is a must to purify the in-house air first.
Be careful of the uneven floor when moving the machine to avoid any overturn.
Avoid any accident caused by random placement and dark lights. Please keep the site clean with
enough light.
Do not use this machine when it is rainy or damp. Water coming into the machine may lead to
electric shock or damage to the machine.
For outdoor use, please use the outdoor-specific cables marked with “W- A” or “W” for
avoidance of electric shock.
Do not use this heater in the immediate surroundings of a bath.
keep the working area clean and free of any obstructions, oil, waste article or other broken
parts.
2.2 Use
Special attention should be paid to the current operation for safety. The operator is not allowed
to operate the machine when he gets drunk or takes drugs, otherwise miss- operation of this
machine may lead to serious injury and even death.
Proper Dressing: It is not allowed to wear too loose clothes and accessories. Please bind your
hair if it is too long.
Avoidance of Accidents: make sure that the power switch is closed when connecting with the
power supply. The opened switch may result in accident.
When the machine is started, the wrench or any adjusting tools should be avoided to touch the
live part of the machine, which may result in electric shock.
Any unconscious start of this machine should be avoided.
When you leave, make sure the power is shut down and unplugged.
It is not allowed to knock or crash the equipment.
It is not allowed to insert any hard object into the emitter.
Before using remove any part of the packaging.
Remove all objects in front of the pipe before starting.
Read and follow this Instruction manual and the safety instructions carefully before
commissioning!

IR-B02 Page 3
equipment and facility engineering
Any person should keep away from the painting place for at least 4 meters.
This device should not be directed at staff or highly flammable substances.
Do not move the machine during operations. It can lead to premature failure of the emitter.
Keep your body away from the floor to reduce the possibility of electric shock.
In order to avoid overheating, do not cover the heater. The instructions shall state that the
heater must not be located immediately below a socket-outlet. The instructions for stationary
visibly glowing radiant heaters shall warn about the possible danger of installation close to
curtains and other combustible materials.
When the machine is working, try your best not to allow any stander-by, child or visitor close to
the site. If necessary, protective equipment should be provided.
It is not allowed to use two lamps to bake or allow one lamp to bake the other one when there is
no object to be baked.
Don’t misuse the electric wire. It is not allowed to drag the machine with the power wire or pull
the power plug. Please keep the power wire away from the hot, oily or sharp or movable
objects. Please replace the damaged cables and wires as soon as possible for avoidance of
electric shock.
2.3 Maintenance and care
Regular cleaning of tubes and reflector panel should be done by using a piece of soft cloth or
cotton with alcohol (Note: cleaning must be conducted after the machine is disconnected with
the power and cooled down). You are not allowed to start the lamp tube until the alcohol
becomes volatile, otherwise it may lead to explosion.
The device has to be protected by a 11-Ampere-fuse.
The machine should be well grounded for safety. The grounding device should be connected to
the proper output port under correct direction. Unauthorized alteration or change of output
port is strictly prohibited. Use of any outlet converter is also disallowed. For any uncertainty,
please find a professional electrician to check whether the grounding is correct. Please make
sure the machine is well grounded to avoid the electric shock.
If the wire is damaged, contact the manufacturer, service provider or a professional to replace it
in order to avoid injuries and accidents. Please replace damaged wires and power lines as soon
as possible to avoid electric shocks.
For replacement of lamp tube, ask the repair service center or a technician to do so.
2.4 More information
If any lamp tube fails to work after starting, it may result from the loosened outlet socket. In such
case, just switch off the machine and lock the socket on the arm box.

IR-B02 Page 4
equipment and facility engineering
3. Technical description of the machine
The short- wave infrared Paint Dryer is special for baking finish of automobile, which is featured with
high penetrability, short baking period, long service life, high cost efficiency, convenient and flexible
use without site limit.
1. Every emitter is controlled by a separate switch.
2. Every emitter can be swinged 360° and the whole baking lamp can be swinged 300°.
3. The height is adjustable from 40cm to 200cm.
4. An electronic timer is adopted to time the baking.
5. An ultrasonic distance measuring device is provided.
2.1 Technical information
2.2 Wiring diagram
Input current
11 A
Input voltage
220/230 V - 50/60 Hz (1PH)
Short-wave quartz halogen infrared tube
2 x 10²⁰ W
Max. power
2100 W
Range of time
2 x 35 min
Baking area
600 x 800 mm
Baking time
1 - 35 min
Temperature
60°C - 70°C
Dimension: (W x H x L)
700 x 1550 x 580 mm
Digital display
Ultrasonic distance measurement
Control
Board
J
Diagram
ON ON
OFF
OFF
S2 S3
D3D2
IR1 IR2
L
E
N
T1
Main Switch
S1
D1
R
ultrasonic
emitter
- Technical changes and errors reserved. All pictures similar -

IR-B02 Page 5
equipment and facility engineering
2.3 Spare parts

IR-B02 Page 6
equipment and facility engineering
S/N
Name of Parts
Item No.
1
Pedestal
B02-1
2
Square-tube Column
B02-2
3
Front Wheel
B02-3
4
Real Wheel
B02-4
5
3*1.0 Power Wire
B02-5
6
AM8 Adjustable Handle
B02-6
7
220V/6W Small Transformer
B02-7
8
25A Solid Relay
B02-8
9
Potential Device
B02-9
10
Large Rocker Switch (Red)
B02-10
11
Locking Ring
B02-11
12
Panel
B02-12
13
Control Box
B02-13
14
Connectors (Left and Right)
B02-14
15
AM12Adjustable Handle
B02-15
16
Front Protective Net
B02-16
17
Rear Protective Net
B02-17
18
U-shape Support
B02-18
19-1
Small Button (Blue)
B02-19-1
19-2
Small Button (Yellow)
B02-19-2
20
Green LED
B02-20
21
Side Panel of Emitter
B02-21
22
Bent Plate
B02-22
23
Large Reflector Panel
B02-23
24
Ceramic Terminal
B02-24
25
High-temperature Tube
B02-25
26
PG7
B02-26
27
Control Panel
B02-27
28
Large Rocker Switch (Black)
B02-28
29
Ultrasonic Distancesensor(B2S)
B02-29

IR-B02 Page 7
equipment and facility engineering
3. Installation
1. Insert the upper section ③of the vertical bar into the lower section ②.
2. Take out the pedestal ①,insert the well-installed vertical bar into the pedestal ①and fasten
the screws.
3. Fix the locking ring ④onto the vertical bar, allowing the emitter side in the front and fasten
the handle.
4. Attach the power wire.
5. Remove the red plastic films from the emitter tubes and the stickers from the protection
covers.
6. Take out the red foam cubes behind the tubes.
Notes:
Power supply: 11Amp, 1 PH 230V/50Hz
When adjusting the height of lamp cap, use your left hand to support the lamp bracket and
your right hand to loosen the handle of the locking ring ④for two circles, and then move the
bracket with your two hands supporting the two ends of the lamp bracket. It is not allowed
to operate it by using one hand so as to avoid any damage to the lamp tube caused by lamp
cap falling down.

IR-B02 Page 8
equipment and facility engineering
4. Operating instructions
Notes:
Power supply: 1PH 230V 50/60HZ
Do not touch the lens cap during and after curing to avoid
burns.
1. Move the device and choose the optimal distance between emitter and car body. The
optimal distance amounts approximately 30 –50 cm. (When using the distance sensor: green
light)
2. Adjust the direction of the emitters. They have to be aligned parallel to the car body.
3. Adjust the timer button (7) to set Pre-heating baking time.
4. Adjust the timer button (8) to set full baking time.
5. Turn on the power switch (11).
6. Turn on the switch for ultrasonic distance measuring device (6) and set the optimal distance.
The optimal distance is reached, when the green indicator lights on (3). As required, you can
also shut down and ignore this function.
7. Turn on emitter (9,10) to start work.
8. The machine stops automatically after the entered time. If you want to continue, restart the
machine after cutting off the power some minutes.
4.1 Curing times
All values are only reference values. Discuss the exact times with your supplier !!
Paint type
Flash off
Full bake (Minutes)
Filler/Stopper
---
5-7
Primer
---
6-8
Hi-build
---
10-12
Solid-color
---
11
Clear coat
---
12
(1) red light: Distance is too close
(2) yellow light: Distance is rather close
(3) green light: Distance is suitable
(4) yellow light: Distance is rather far
(5) red light: Distance is too far
(6) Switch for ultrasonic distance measuring device
(7) Timer for pre-heating time
(8) Timer for full baking time
(9),(10) Start key
(11) Power switch

IR-B02 Page 9
equipment and facility engineering
Waterborne primer
---
8-10
Waterborne basecoat
---
5
5. Replacement of emitter lamp tube
Interrupt the power supply, before replacing the infrared tube!
1. Remove the side panel.
2. Release the radiating panel.
3. Loosen the two leads in the lamp and remove them.
4. Remove the protective net in front of the emitter.
5. Take out the defect tube and fix the new tube with same model number and wire the tube
properly.
6. Install the protective net, radiating panel and the side panel.
Use a piece of soft cloth or cotton to clean the reflector panel and the tube with alcohol. Cleaning
must be conducted after the machine is disconnected with the power and cooled down. You are not
allowed to start the lamp tube until the alcohol becomes volatile, otherwise it may lead to explosion!
Disconnect
the wires of the emitter
1
2
3
4
5
6

IR-B02 Page 10
equipment and facility engineering
6. Troubleshooting
Problem:
Cause:
Troubleshooting:
Uneven baking
The emitter is not as high as the
repaired surface
Adjust the emitter to allow it to be
as high as the repaired surface
Small pores on the
baked surface
Too near between the emitter
and the repaired surface
Insufficient Preheating time
Fast thinning agent included in
the paint
Increase the distance
Increase the preheating time
Use standard or slow thinning agent
Poor curing or
transparent coating
Too far between the emitter and
the repaired surface
Insufficient baking
Too thick coating
Make the machine closer
Increase the baking time
Thin the coating
Difficult stains
Too long baking
Too near distance
Shorten the baking
Increase the distance
Fuzzy Edge
The repair surface is too large
Curing in two steps
Move the device for second step
Preheating for first time and do not
use preheating for second time
For optimal baking performance, we recommend that users should work out the suitable operating
procedures, baking time and distance according to the local natural conditions, working environment
and the types of paints.
Above specifications, exterior or diagrams are descriptive and subject to revision. If there are any
discrepancies or changes, actual products shall prevail without otherwise notification.
Other manuals for IR-B02
1
Table of contents
Other B-TEC Dryer manuals
Popular Dryer manuals by other brands

Labesto
Labesto LECD701Y instruction manual

Kenmore
Kenmore 796.8156 Series Use & care guide

Speed Queen
Speed Queen AES28AWF installation instructions

GE
GE ddg7680r Use and care guide

Westinghouse
Westinghouse EasyCare WDH804N8SA user manual

Fisher & Paykel
Fisher & Paykel DE5060M Installation instructions & user guide

Stelpro
Stelpro EL-NINO Installer's guide

Carmen
Carmen Pro-Salon 1300 Watt instruction manual

GE
GE Profile DPGT650EH Dimensions and installation information

Sound Link
Sound Link AID202 user manual

LG
LG 50144803 - DLE5955W 27in Electric Dryer User's guide and installation instructions

Bosch
Bosch WTG8640SIN User manual and installation instructions