BAB TECHNOLOGIE FLATTOUCH 101 User manual

<
BAB TECHNOLOGIE GmbH
FLATTOUCH
Installation Manual
Type 10.1“, 15,6“, 18,5” and 21.0“
Article Nr.: 04651s, 04655s, 04659s, 4661s
Version I
Stand 04/2022
Datum: 27. April 2022
EN

Table of contents
Installation Manual
2
BAB TECHNOLOGIE
FLATTOUCH
BAB TECHNOLOGIE GmbH
Hörder Burgstraße 18
44263 Dortmund
Tel.: +49 (0) 231 –476 425 - 30
Fax.: +49 (0) 231 –476 425 - 59
www.bab-tec.de

Installation Manual
Table of contents
FLATTOUCH
BAB TECHNOLOGIE
3
TABLE OF CONTENTS
1Notes ............................................................................................................................................... 5
2Assembly.......................................................................................................................................... 6
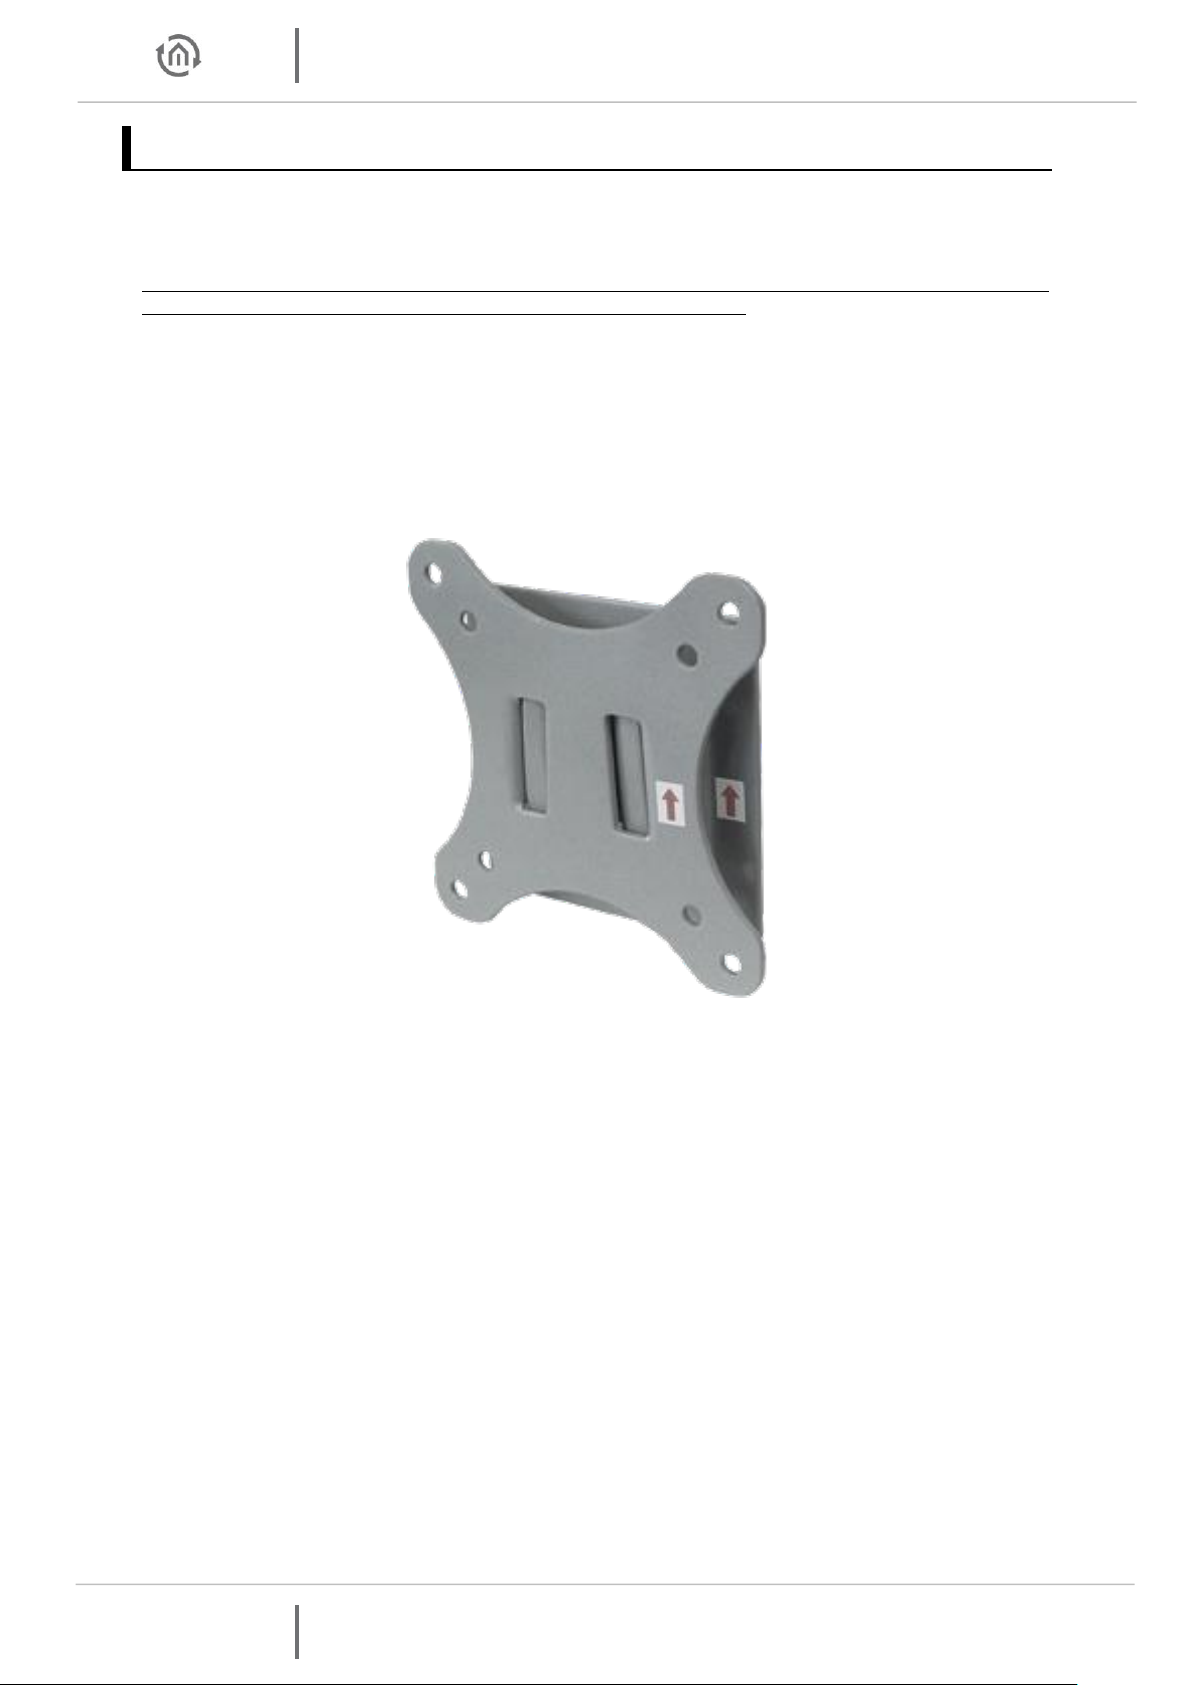
2.1 Moounting with optional VESA Mount.......................................................................................7
3Commissioning ................................................................................................................................ 9
3.1 Connect the FLATTOUCH..............................................................................................................9
3.2 Switch On –Off FLATTOUCH ..................................................................................................... 10
4Appendix .......................................................................................................................................11
4.1 Article numbers and Identifiers ................................................................................................. 11
4.2 Dimensions................................................................................................................................. 11
TABLE OF FIGURE
<........................................................................................................................................................................................1
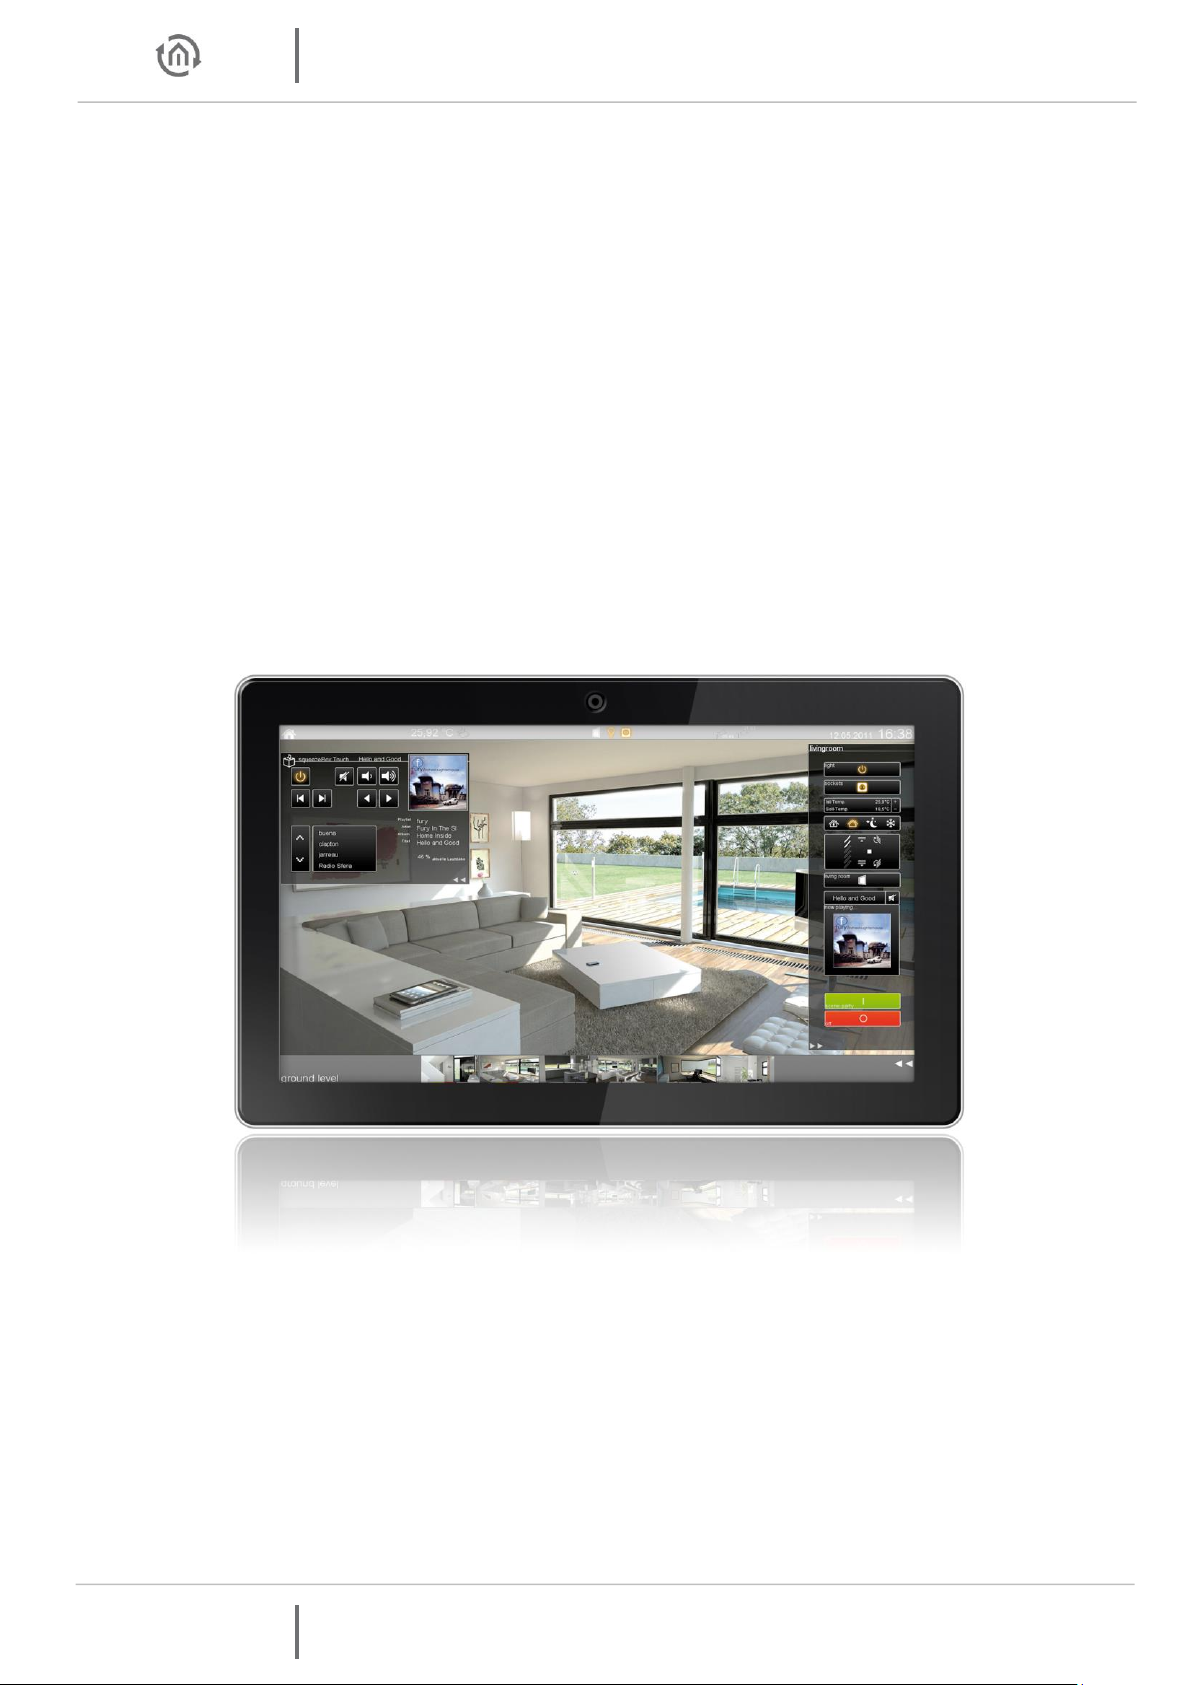
Figure 1 FLATTOUCH........................................................................................................................................................4
Figure 2 Connections of the FLATTOUCH (15.6”)...........................................................................................................9

Notes
Installation Manual
4
BAB TECHNOLOGIE
FLATTOUCH
FLATTOUCH
The finery FLATTOUCH version is characterized by a minimal panel thickness of only 48mm (10,1“
only 38mm), an easy installation using a standard monitor bracket (VESA).
The FLATTOUCH are delivered in the sizes 10.1", 15.6", 18.5" and 21.5". The aspect ratio of
the screens is 16:9 (16:10 for the 10.1"). The surface of the front is continuous and IP65 (front)
protected.
An optional wall bracket (VESA 75 size) allows a quick installation on a wall and by the slim frame
of stainless steel the FLATTOUCH appears like a LCD-television.
In combination with the CONTROL T2 this Panel becomes a central information point that can
be adjusted individually to the particular request.
The FLATTOUCH comes equipped with Windows 10 IoT Enterprise on a 500 GB drive and is delivered
ready to use.
Figure 1 FLATTOUCH

Installation Manual
Notes
FLATTOUCH
BAB TECHNOLOGIE
5
1NOTES
ATTENTION! REALLY important notes:
Packaging:
•Do not unpack the FLATTOUCH until you reach your destination.
•Only transport the FLATTOUCH in its original packaging.
•Only ship the FLATTOUCH in its original packaging. For this reason we
recommend that you keep the original packaging!
NOTE: We would like to point out that the sender, not the carrier, is liable for damage
caused by improper packaging.
Connecting:
•Only use the external power adapter included in the scope of supply - other
power adapters can cause damages to the device.
•Ensure that the power supply unit supplied is adequately ventilated.
Installation:
•Make sure that is given sufficient ventilation on the backside of the panel.
•Don´t cover or block vent holes of the panel.
They are important for the (convection-) cooling of the panel!

Assembly
Installation Manual
6
BAB TECHNOLOGIE
FLATTOUCH
2ASSEMBLY
The FLATTOUCH can be easily mounted on a wall with a VESA75 adapter. We offer a matching wall mount
that is particularly low profile.
PLEASE MIND, THAT YOU NEED ACCESS FOR POWER SUPPLY (CORD POWER SUPPLY with “schuko”plug)
AND NETWORK AT THE PLACE OF INSTALLATION FOR THE FLATTOUCH.
The wall mount consists of 2 parts. An adapter plate for the wall and another adapter plate for the
FLATTOUCH.
Please ensure that the holder is mounted horizontally. There is a corresponding marking on the adapter
plates.
(The picture shows both parts as they are hung into each other).

Installation Manual
Assembly
FLATTOUCH
BAB TECHNOLOGIE
7
2.1 MOOUNTING WITH OPTIONAL
VESA MOUNT
The first step is to mount the adapter plate for the wall. The adapter plate is attached to the wall with
four screws.
MAKE SURE THE WALL BRACKET IS IN THE CORRECT POSITION:
The correct position is marked by an arrow. The arrow is on both parts and must point upwards.
Next, screw the adapter plate for the FLATTOUCH onto the back of the FLATTOUCH using the four screws
provided.

Assembly
Installation Manual
8
BAB TECHNOLOGIE
FLATTOUCH
In the last step, the FLATTOUCH is hooked onto the wall bracket.
In the following picture you can see how the adapter plate of the FLATTOUCH is hooked onto the adapter
plate mounted on the wall.

Installation Manual
Commissioning
FLATTOUCH
BAB TECHNOLOGIE
9
3COMMISSIONING
The FLATTOUCH is delivered fully installed. This means that the operating system is pre-installed including
all necessary drivers and plug-ins and is ready for operation.
Tip:
A (USB) keyboard and a (USB) computer mouse are helpful for commissioning the FLATTOUCH.
3.1 CONNECT THE FLATTOUCH
The FLATTOUCH requires the supplied power supply (mains adapter) and network connection for
operation. The network cable is connected directly to a router or switch to which the visualization server
is also connected.
All connections are located under a cover that is secured with two Phillips screws. The screws are on both
sides on the bottom of the FLATTOUCH.
Note:
On the FLATTOUCH 10.1", the two Phillips screws are on the back of the FLATTOUCH and are covered
with rubber covers!
Figure 2 Connections of the FLATTOUCH (15.6”)
•Orange arrow: The four-pole connection for the power supply (DC IN).
•Green arrow: RJ-45 socket (network connection). The network cable is connected here
•Red arrow: 4* USB ports, e.g. to connect a keyboard and mouse for commissioning
•Blue arrow: button to switch on the FLATTOUCH

Commissioning
Installation Manual
10
BAB TECHNOLOGIE
FLATTOUCH
3.2 SWITCH ON –OFF FLATTOUCH
As soon as the FLATTOUCH is connected to the power supply and the network, it switches on
automatically. If not, a short tap on the "Power Switch" is sufficient (see blue arrow in the
previous illustration).
A short tap on the "Power Switch" closes the operating system and shuts down the
FLATTOUCH.
If necessary, the FLATTOUCH can be switched off by pressing and holding the "Power Switch"
(approx. 6 seconds).
After the operating system has been started, the CONTROL T2 is started automatically.
However, the start-up behaviour can be adjusted at any time.

Installation Manual
Appendix
FLATTOUCH
BAB TECHNOLOGIE
11
4APPENDIX
4.1 ARTICLE NUMBERS AND IDENTIFIERS
FLATTOUCH 10.1”...............................................................................................................................04651s
FLATTOUCH 15.6”...............................................................................................................................04655s
FLATTOUCH 18.5”...............................................................................................................................04659s
FLATTOUCH 21.5”...............................................................................................................................04661s
Optional
FLATTOUCH Wall Mount......................................................................................................................04620
4.2 DIMENSIONS
Width Height Depth Weight
FLATTOUCH 101 263 170 38 1,5
FLATTOUCH 1560 396 245. 48 4,5
FLATTOUCH 1850 464 284 48 6,8
FLATTOUCH 2150 536 328 48 8,0
This manual suits for next models
7
Table of contents