• Choose a length between 1-3.5mm in 0.5mm increments. Slide the
switch across, so the line is lined up with the desired length.
Body Groomer comb guides for the Body Groomer
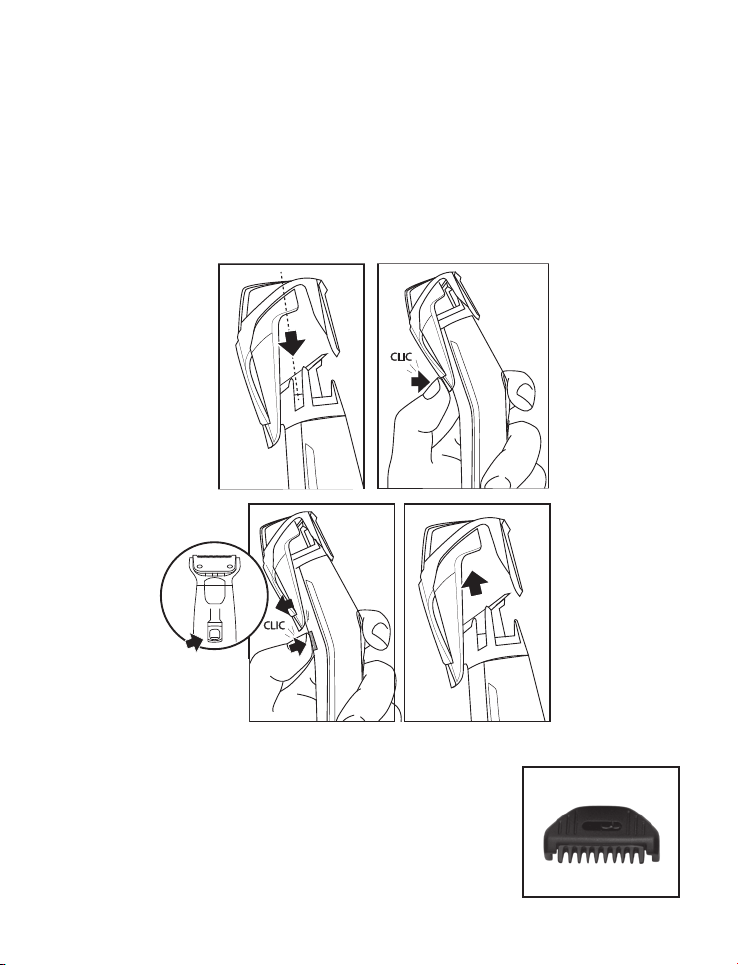
• Ensure the appliance is switched off
• Attach the body groomer head by taking off the current head and
snapping the body groomer head into the base of the appliance.
• Attach a comb guide (3, 5, 7mm) by placing on top of the body
groomer head and pressing down.
• To remove the body groomer comb guide push the comb guide up
TRIMMING
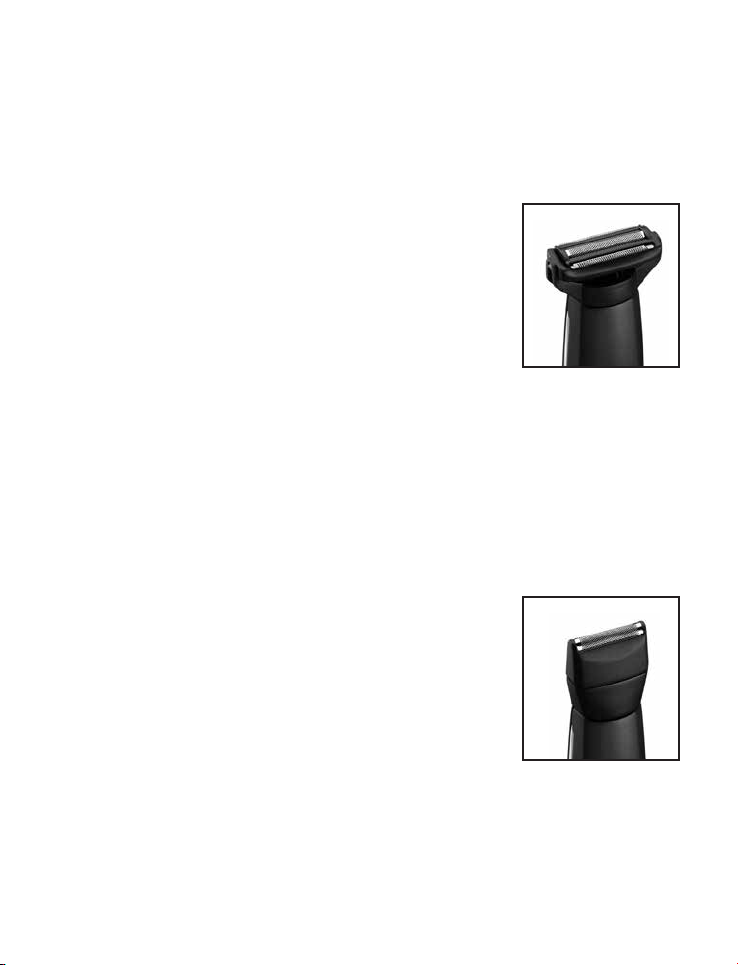
Precision Trimmer
Using the Precision Trimmer with 7-position stubble and
6-position beard comb guides
• Attach the 7-position beard comb guide (2-14mm) or the 6-position
stubble comb guide (1-3.5mm) and select the required length.
• If you require more than one cutting length, start with the longest
length rst.
• Switch the trimmer on.
• Hold the trimmer with the teeth of the trimmer pointing upwards, yet
at against the skin.
• Move the trimmer upwards and outward through the hair, against the
direction of hair growth.
• The trimmer will work most efciently when cutting through hair at its
own speed.
• Never switch the appliance off whilst in the hair.
• Note: The Precision Trimmer can be used without any comb guides
and will cut roughly to a length of 0.5mm.
To outline using the Precision Trimmer
• Do not attach a comb guide.
• Hold the trimmer upside down with the blade
facing downwards, yet at against the skin.
• Move the trimmer gently downwards in small