manuals.online logo
Brands
  1. Home
  2. •
  3. Brands
  4. •
  5. Bakers Pride
  6. •
  7. Convection Oven
  8. •
  9. Bakers Pride Cyclone BP-200 User manual

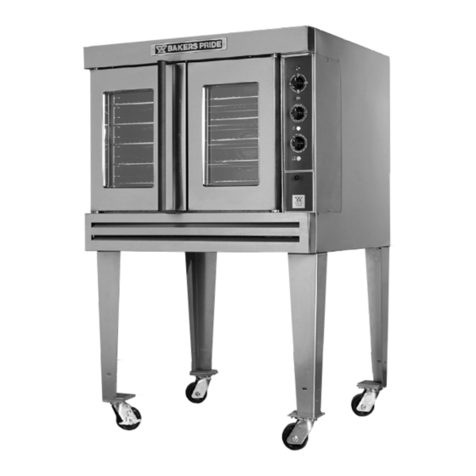
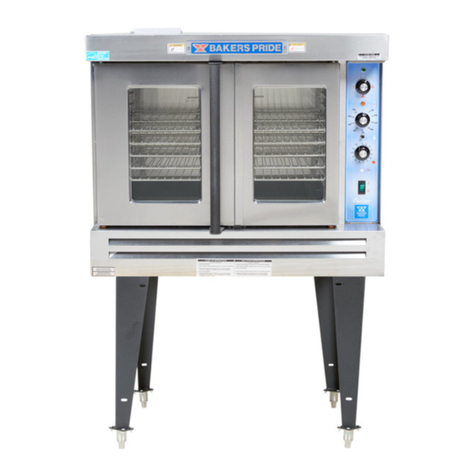
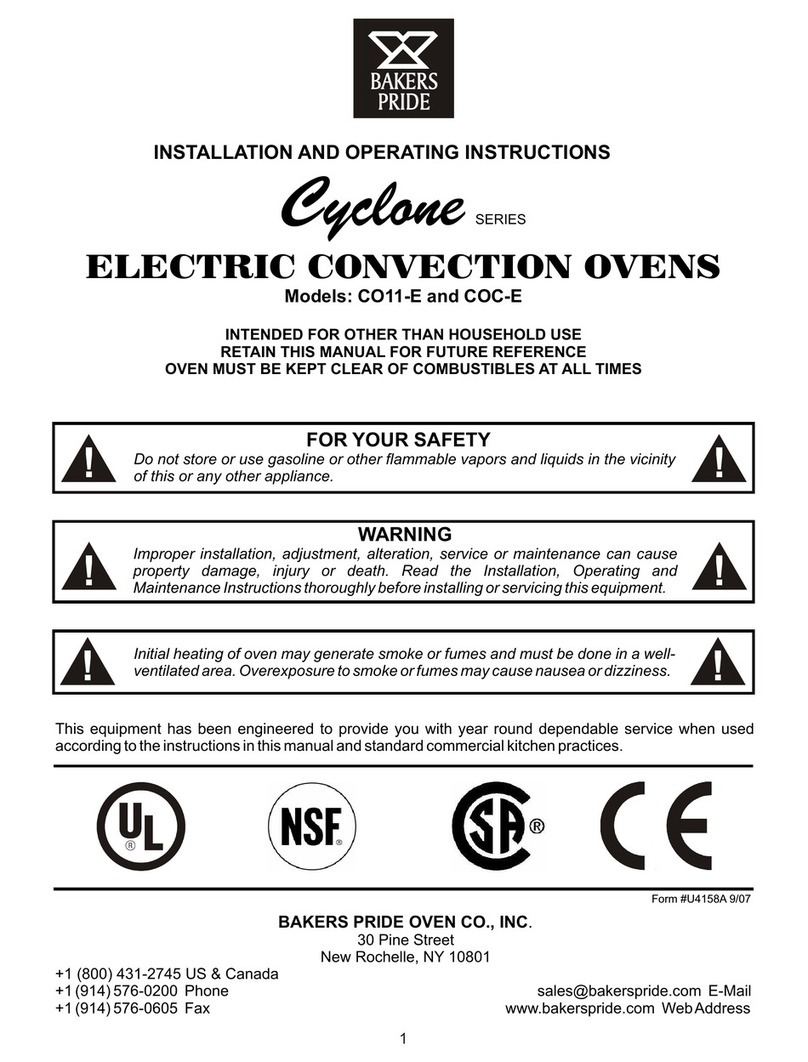
Bakers Pride Cyclone BP-200 User manual

!!
WARNING: Improper installation, adjustment, alteration, service or maintenance
can cause property damage, injury or death. Read the Installation, Operating and
Maintenance Instructions thoroughly before installing or servicing this equipment.
!!
FOR YOUR SAFETY: Do not store or use gasoline or other flammable vapors and
liquids in the vicinity of this or any other appliance.
!!
WARNING: Initial heating of oven may generate smoke or fumes and must be
done in a well-ventilated area. Overexposure to smoke or fumes may cause
nausea or dizziness.
BAKERSBAKERS
PRIDEPRIDE
INSTALLATION AND OPERATING INSTRUCTIONS
Cyclone SERIES
1/2 SIZE ELECTRIC CONVECTION OVEN-
Model: BP-200
INTENDED FOR OTHER THAN HOUSEHOLD USE
RETAIN THIS MANUAL FOR FUTURE REFERENCE
OVEN MUST BE KEPT CLEAR OF COMBUSTIBLES AT ALL TIMES
This equipment has been engineered to provide you with year round dependable service when used
according to the instructions in this manual and standard commercial kitchen practices.
P/N U4162A 1-08
BAKERS PRIDE OVEN CO., INC.
30 Pine Street
New Rochelle, NY 10801
(914) 576-0200 Phone (800) 431-2745 US & Canada
(914) 576-0605 Fax www.bakerspride.com Web Address
T
R
E
E
T
K
N
I
D
V
I
E
E
I
R
F
CM
1
Get user manuals: See SafeManuals.com
INDEX
TECHNICAL DATA ................................................................................................................................................................ 2
Data plate ............................................. ......................................................................................................................... 2
Power supply terminal board ..........................................................................................................................................2
After sales service .......................................................................................................................................................... 2
Specifications.................................................................................................................................................................. 3
PART RESERVED FOR INSTALLER......................................................................................................................................3
Safety standards .............................................................................................................................................................3
Environmental standards ................................................................................................................................................3
Transport and unpacking ................................................................................................................................................3
Installation instructions ................................................................................................................................................... 4
Electrical connections .....................................................................................................................................................4
Automatic safety and control devices of the oven .......................................................................................................... 5
Replacing spare parts .....................................................................................................................................................5
PART RESERVED FOR USER ...............................................................................................................................................6
General safety standards ................................................................................................................................................6
Use of the oven ...............................................................................................................................................................6
Routine maintenance ......................................................................................................................................................7
What to do in case of a breakdown or long periods of disuse ........................................................................................8
PARTS LIST & EXPLODED VIEW .........................................................................................................................................9
ELECTRICAL DIAGRAM ........................................................................................................................................................11
WARRANTY.............................................................................................................................................................................12
DATA PLATE
The data plate containing the oven characteristics is glued to the back.
POWER SUPPLY TERMINAL BOARD
The power supply terminal block is inside the right side of the oven. A small data plate positioned near the terminal block
states the types of connections which are possible.
AFTER SALES SERVICE
Technical Service: Perfect operation over time of our convection ovens is ensured by a wide-ranging technical service
network. Specialized technicians are ready to intervene in a timely manner to ensure the work of food services professionals
continues uninterrupted.
Warranty: All our convection ovens undergo careful operating tests before they go on the market, as shown by the test
certificate that is enclosed with each one of them and by the one-year guarantee.
IMPORTANT FOR FUTURE REFERENCE
Please complete this information and retain this manual for the life of the equipment. For
Warranty Service and/or Parts, this information is required.
Model Number Serial Number Date Purchased
2
TECHNICAL DATA
Get user manuals: See SafeManuals.com
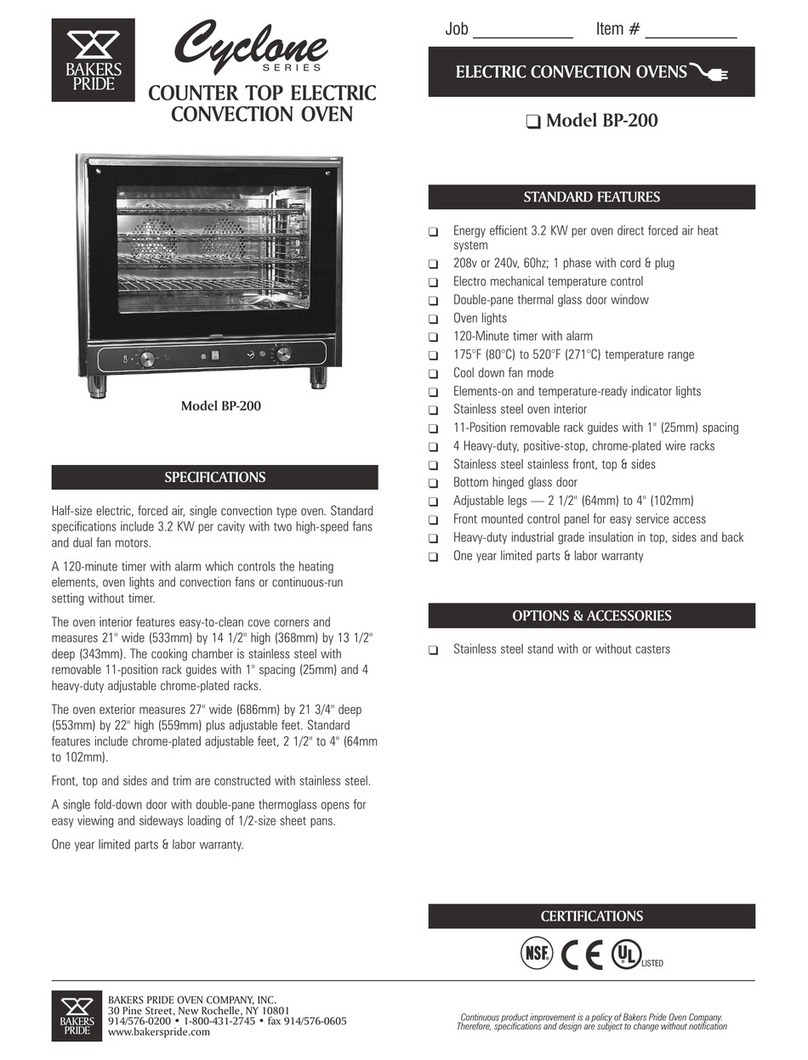
SPECIFICATIONS ½ Oven Technical Data
External dimensions: 27” x 21 3/4” x 25 1/4”
Internal dimensions: 21 ½” x 14 ½” x 16 1/8”
Rack dimensions: ½ size
Dimensions
W x D x L No. of pans
or racks Power supply Power
For further electrical details, refer to the electrical diagram in this manual.
41 Phase 15, Amp, 240V, 60Hz
Plug NEMA 6-20P standard
Kw 3.2
27” 21 3/4”
25 1/4”
PART RESERVED FOR INSTALLER
SAFETY STANDARDS
!The installer must read this booklet carefully before installing the convection oven.
!Installation and subsequent maintenance, cleaning, inspection and repairs must be carried out with the electrical power
supply disconnected.
!Installation of the ovens must be in comply with current standards in the country of use. Otherwise the manufacturer shall not
honor the warranty in the event of direct or indirect damage.
!Installation, adjustment and assistance are to be carried out by qualified personnel in compliance with current
accident prevention legislation in the country of use. The installer must also check for any fire prevention
regulations.
!The manufacturer shall not be held liable for any damage arising from improper use of the convection oven, unauthorized
modifications and anything not covered by this manual.
ENVIRONMENTAL STANDARDS
All materials used for packaging are compatible with environmental protection standards. They may be stored without any hazard,
or disposed of in accordance with current laws in the country of use. Do not leave the plastic coverings within reach of children
or animals as they are potentially hazardous. The plastic components which can be disposed of and recycled are marked as
follows: POLYETHYLENE: packaging outer film, instructions bag, etc. POLYPROPYLENE: clips, etc.
TRANSPORT AND UNPACKING
Any movement of the oven must be carried out by suitable means
such as a forklift or pallet loader. These must be at least half as
large as the convection oven (see fig.1). If it is necessary to store
the oven temporarily, keep it in a covered, ventilated place at a
temperature from 14°F to 122°F, with humidity no higher than
95%.
Use protective gloves and remove the packaging. Lift the oven
with a forklift, remove the base and place it in its intended
location.
After removing the packaging, immediately check the
condition of the oven. If in doubt, do not use the oven.
Contact an authorized retailer.
Figure 1
3
Get user manuals: See SafeManuals.com
INSTALLATION INSTRUCTIONS
POSITIONING AND SET-UP FOR USE
1) Place the machine in its place of intended use in compliance with the following instructions:
A) Check that there is enough space (minimum 8”) from any walls or obstacles which may prevent proper air flow
(fig.2).
B) Check that maintenance can be performed with a certain freedom of movement.
C) Avoid placing the oven in places with poor air circulation, in places exposed to sunlight, where there are high
temperatures, near heat sources or in windy locations (fig.3).
D) Ambient air temperature must not exceed 89°F. Above that temperature, proper operation of the oven cannot be
ensured.
E) Always install the oven under a properly operating aspiration hood for the extraction of vapors.
2) Remove the film which covers some parts of the oven before starting to use it.
3) Clean all substances, including glue residue. Do not use abrasive substances.
4) Position the machine so that it is perfectly level and set the height by means of the leveling feet (fig. 4).
ELECTRICAL CONNECTIONS
The oven is setup for operation at the voltage set forth on the technical
data plate. All ovens are provided with a power cord. The flexible cable
for connection to the electrical mains must not have characteristics
which are less than those of a type with rubber insulation mod. H07RN
F and it must have a section which corresponds with that set forth in the
section “Technical Data” of the oven. The cable must also be anchored
to the frame with the cable clamp, the screw of which can be reached
through a hole in the frame. It must in any case be positioned in such a
way that at no point does it reach a temperature which is 122°F greater
than the ambient temperature. It must be type SJTO plug 20A 250V P
section 3xAWG12.
The connection to the electrical line must be made by placing an
automatic switch of sufficient capacity (see “Technical data” of the
oven) and with an opening distance between contacts of at least 3 mm.
Also, during operation of the oven, the power supply must not vary from
the nominal voltage value by ±10%.
The oven MUST be earthed by means of the terminal which carries the
earth symbol on the connection board (fig. 6).
It must also be inserted in an equipotential system (the efficiency of
which must be checked in accordance with current standards) using
the terminal with the equipotential symbol (fig. 6A). It is located near the
electrical cable entry on the panel of the oven bottom.
The manufacturer will not be held liable if this accident prevention
standard is not adhered to.
Figure 5
Figure 6 Figure 6A
4
19”
19”
19”
8” 8”
8”
Figure 2 Figure 3 Figure 4
Get user manuals: See SafeManuals.com
1
2
B
A
AUTOMATIC SAFETY & CONTROL DEVICES OF OVEN
Replacement of spare parts must be performed exclusively by qualified
and AUTHORIZED personnel. Turn the main switch OFF and unplug the
convection oven before carrying out any spare parts replacement.
REPLACEMENT OF MOTORS: It is necessary to remove the back by
removing the 4 fastening screws “A” and the 4 screws “B” that support them
(fig.8).
OUTER COVERING: Remove the 4 rear fastening screws “C” (fig.9).
BULB, HEATING ELEMENT AND MOTOR FAN: It is necessary to access
the inside of the oven, first removing pans, racks and related supports, and
then the conveyor.
30W MOTOR: Remove the fan by following the procedure outlined above,
disconnect the motor from the electrical system, loosen the 4 screws and
replace the motor. Before re-installing the fan, check that there is no friction
between the motor shaft and the ring nut located inside the oven. If there is,
loosen the fixing screws of the ring nut and re-tighten them after eliminating
the friction and having centered the ring nut on the motor shaft.
HEATING ELEMENTS: Disconnect the heating element connections outside
the oven chamber. Loosen the heating elements from inside the oven
chamber and replace them.
ELECTRO-MECHANICAL CONTROLS: All the electric components are
visible. To replace them it is necessary to disconnect the attachments,
remove the knobs, unscrew the fastening screws or nuts and replace them.
Attention: For theadjustable thermostat, safety thermostat and
thermometer, unscrew the guard and the supports and remove the bulbs.
Once they have been replaced use high-temperature resistant silicone to
seal the holes. After replacement, reseal the holes for the passage of the
capillaries with high temperature silicone.
CHAMBER FACE GASKET: It is simply pressed in. Pull to remove it. NB:
Before removing it, note its position carefully so as to place the new one in the
same position.
REPLACEMENT OF CHAMBER LIGHT AND GLASS GASKET: Check and
replace the glass gasket and any lights in the oven chamber (fig.10).
PROTECTION OF THE AUXILIARY ELECTRICAL CIRCUIT
It is checked by the fuses positioned on a terminal block at the line entry.
PROTECTION OF THE CHAMBER FAN
A remote switch stops the fan motor in the event of a malfunction or overload.
It is located behind the oven and must be reset manually. When it cuts in, it
stops the motor and shuts off the heating elements.
OVEN CHAMBER SAFETY THERMOSTAT
The safety thermostat disconnects the heating elements if the temperature in
the oven chamber is too high (644°F). It must be reset manually. If it activates,
technical service must be notified. All components are protected by the
following type of fuse: CLASS CC,G 600V 20A.
REPLACEMENT OF SPARE PARTS
Figure 7
Figure 8
Figure 9
Figure 10
5
1
2A
B
C
C
Get user manuals: See SafeManuals.com

Other manuals for Cyclone BP-200

2

Other Bakers Pride Convection Oven manuals

Bakers Pride Cyclone BCO-G1 User manual

Bakers Pride

Bakers Pride Cyclone BCO-G1 User manual

Bakers Pride Cyclone CO11-G1 User manual

Bakers Pride

Bakers Pride Cyclone CO11-G1 User manual

Bakers Pride BCO-E User manual

Bakers Pride

Bakers Pride BCO-E User manual

Bakers Pride Cyclone CO11-G User manual

Bakers Pride

Bakers Pride Cyclone CO11-G User manual

Bakers Pride Cyclone CO11-E1 User manual

Bakers Pride

Bakers Pride Cyclone CO11-E1 User manual

Bakers Pride BCO-E User manual

Bakers Pride

Bakers Pride BCO-E User manual

Bakers Pride Cyclone BCO-G1 User manual

Bakers Pride

Bakers Pride Cyclone BCO-G1 User manual

Bakers Pride BCO-E User manual

Bakers Pride

Bakers Pride BCO-E User manual

Bakers Pride Cyclone BCO-G1 Quick start guide

Bakers Pride

Bakers Pride Cyclone BCO-G1 Quick start guide

Bakers Pride Cyclone BCO-E1 Use and care manual

Bakers Pride

Bakers Pride Cyclone BCO-E1 Use and care manual

Bakers Pride C011-G1 User manual

Bakers Pride

Bakers Pride C011-G1 User manual

Bakers Pride Convection-Flo 101 User manual

Bakers Pride

Bakers Pride Convection-Flo 101 User manual

Bakers Pride GDCO-G User manual

Bakers Pride

Bakers Pride GDCO-G User manual

Bakers Pride Cyclone CO11-G User manual

Bakers Pride

Bakers Pride Cyclone CO11-G User manual

Bakers Pride Cyclone CO11-G User manual

Bakers Pride

Bakers Pride Cyclone CO11-G User manual

Bakers Pride Cyclone BCO-E1 User manual

Bakers Pride

Bakers Pride Cyclone BCO-E1 User manual

Bakers Pride Cyclone BP-200 User manual

Bakers Pride

Bakers Pride Cyclone BP-200 User manual

Bakers Pride Cyclone BCO-E1 User manual

Bakers Pride

Bakers Pride Cyclone BCO-E1 User manual

Bakers Pride Cyclone BCO-E1 User manual

Bakers Pride

Bakers Pride Cyclone BCO-E1 User manual

Bakers Pride COC-E User manual

Bakers Pride

Bakers Pride COC-E User manual

Bakers Pride Cyclone CO11-E1 User manual

Bakers Pride

Bakers Pride Cyclone CO11-E1 User manual

Bakers Pride Cyclone CO11-G User manual

Bakers Pride

Bakers Pride Cyclone CO11-G User manual

Bakers Pride BCO-G User manual

Bakers Pride

Bakers Pride BCO-G User manual

Bakers Pride Cyclone BP-200 User manual

Bakers Pride

Bakers Pride Cyclone BP-200 User manual

Popular Convection Oven manuals by other brands

Goldair GOV300 operating instructions

Goldair

Goldair GOV300 operating instructions

Aroma ABT-266SC instruction manual

Aroma

Aroma ABT-266SC instruction manual

Dometic DOTRC11B owner's guide

Dometic

Dometic DOTRC11B owner's guide

Smeg ALFA341VE user manual

Smeg

Smeg ALFA341VE user manual

homark 01-711000 Instruction manual and guarantee

homark

homark 01-711000 Instruction manual and guarantee

Vulcan-Hart C4ED Installation and operation manual

Vulcan-Hart

Vulcan-Hart C4ED Installation and operation manual

Jenn-Air SVE47600 use and care manual

Jenn-Air

Jenn-Air SVE47600 use and care manual

Waring WCO500 instructions

Waring

Waring WCO500 instructions

Moffat turbofan E25 Service manual

Moffat

Moffat turbofan E25 Service manual

Deni Quick-n-Easy 10400 Instructions for proper use and care

Deni

Deni Quick-n-Easy 10400 Instructions for proper use and care

Sharp R-980J Operation manual

Sharp

Sharp R-980J Operation manual

Whirlpool OBI M50 Use & care guide

Whirlpool

Whirlpool OBI M50 Use & care guide

Wells WVOC-4HF Operation manual

Wells

Wells WVOC-4HF Operation manual

LG LSWS306ST Service manual

LG

LG LSWS306ST Service manual

Convotherm The MINI OES-6.08 Operator's manual

Convotherm

Convotherm The MINI OES-6.08 Operator's manual

Lang GCSF-ES Installation and operation instructions

Lang

Lang GCSF-ES Installation and operation instructions

Electrolux 6 GN1/1 Short form specification

Electrolux

Electrolux 6 GN1/1 Short form specification

Unox BAKERLUX SPEED.Pro Use and maintenance

Unox

Unox BAKERLUX SPEED.Pro Use and maintenance

manuals.online logo
manuals.online logoBrands
  • About & Mission
  • Contact us
  • Privacy Policy
  • Terms and Conditions

Copyright 2025 Manuals.Online. All Rights Reserved.