manuals.online logo
Brands
  1. Home
  2. •
  3. Brands
  4. •
  5. Bakker Elkhuizen
  6. •
  7. Indoor Furnishing
  8. •
  9. Bakker Elkhuizen WORK & MOVE User manual

Bakker Elkhuizen WORK & MOVE User manual

Work Smart - Feel Good
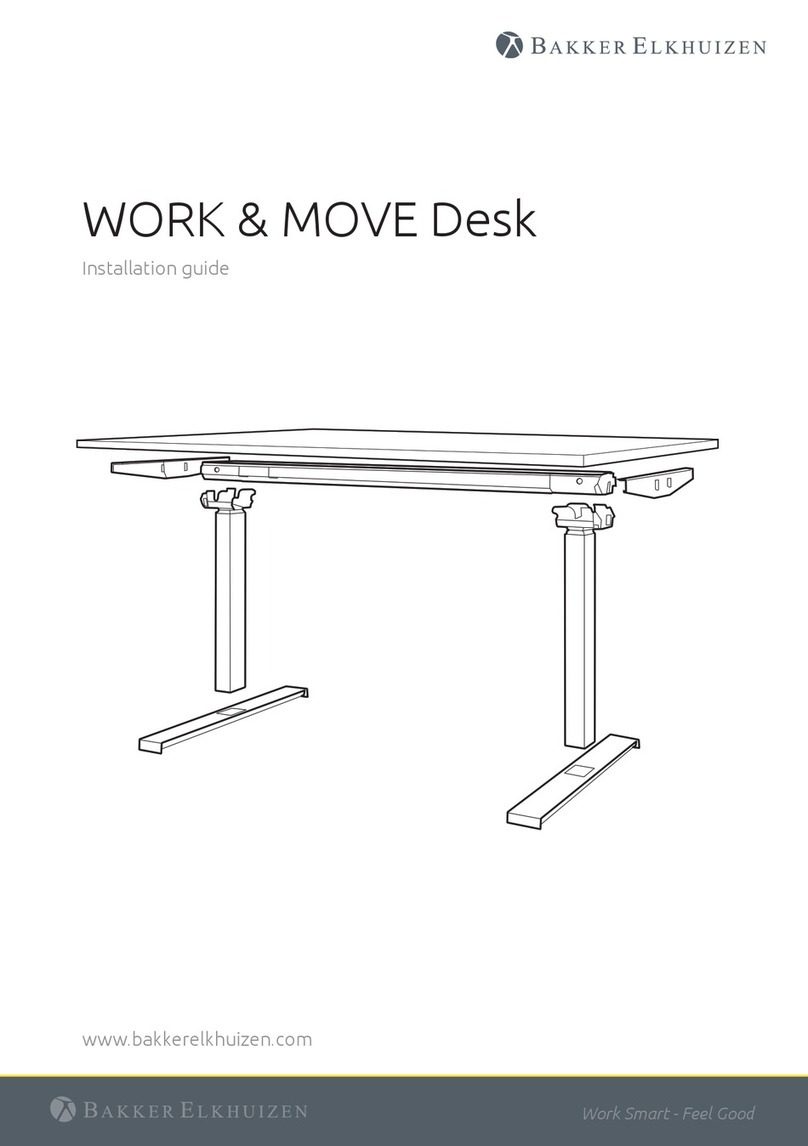
WORK & MOVE Desk
Installation guide
www.bakkerelkhuizen.com
FR DENL ENInstruction video
Work Smart - Feel Good
A. Cantilever (2x)
B. Columns (2x)
C. Beam
D. Feet (2x)
EAnti collision dongle.
F. Manual controller
G. UTP Splitter
H. UTP Cable
I.
M.
Screws:
gnitnuoMx22-
screws (20 + 2 extra)
swercsgnitnuoMx2-
for the desk panel
1.
- 3x Cable clamps
rofswercs6Mx8-
mounting the
feet on columns.
A
B
F
J
D
C
M
K
Parts:
E
L
J. Power cable
K. Tabletop
L.Levelling feet
WORK & MOVE Connector
I
GH
Work Smart - Feel Good
2.
3.
Extend beam to required length
(width 1150 to 1750 mm), adjustable in 50 mm steps.
Make sure, when placing the beam on the tabletop, that the RJ45 socket
is on the same side as the drill holes for the desk controller. Or in the case
of a Table Top with pre-drilled holes: make sure that the drill holes match
the holes in the beam.
Turn tabletop upside down with the drill holes facing up.
The beam must not be pulled completely apart
to make sure the drive shaft is not pulled apart.
Minimum adjustment in the connection end is 100 mm
(to keep power and RJ45 (data cable) sockets accessible),
otherwise adjustable in 50 mm steps.
Work Smart - Feel Good
4.
Click!
5.
Mount cantilever on the end of both sides of the beam.
Make sure that the cantilevers are placed correctly and
cannot be twisted o the beam.
Do not extract the beam using the cantilevers as handles.
Place a cantilever slightly tilted at end of beam.
Press cantilever into place until a click is heard and
pawls lock cantilever in correct position.
Place assembled frame in correct position.
Make sure that the drill holes match the holes in the beam & cantilevers.
4.3
4.1
4.2
Beam
Cantilever
Work Smart - Feel Good
6.
Fasten frame to tabletop using 20 mounting screws as follows
(lining up with drill holes):
A. 4 screws at ends of beam. Use
one of these to x mains cable to
beam with cable clamp creating a
cable relief, see step 7.
B. 8 screws at extension points.
C. 8 screws in cantilevers.
AA B
C
C
CC
Beam
Cantilever
D. Mount the manual controller.
Plug the black cable into the RJ45
socket of the beam. Use the 2
mounting screws to secure it.
E. Insert the WORK & MOVE desk
UTP cable into the RJ-45 socket.
Connect this to the WORK & MOVE
desk UTP splitter.
F. Mount the WORK & MOVE desk
UTP Splitter.
G. Connect the anti-collision stick and
the WORK & MOVE cable* into the
WORK & MOVE desk UTP splitter.
F
E
D
G
*Ensure that only one manual
controller is connected to the
beam at the same time.
* If you put the WORK & MOVE cable into the RJ45 socket you can operate the table with the WORK & MOVE
software that’s installed on your laptop. In case you want to move the table up or down without WORK &
MOVE connected you use the manual controller.
Table top
Work Smart - Feel Good
8.
Mount columns.
Ensure columns
are completely
retracted.
If the column extracts when turned upside down,
turn the spindel clockwise until the end.
8.1
7.
Connect the power cable Ensure to make a cable
relief using the cable
clamp when fastening the
cable to the tabletop.
Work Smart - Feel Good
8.2
8.3
Click!
Tilt columns and
place correctly
on beam using
guiding notches.
Fix column to beam by pressing down until a “click”
is heard and both pawls lock column in correct position.
Check that both pawls are visible after mounting of the columns.
Otherwise, remove column and try again.
9.
Mount feet on columns using
eight M6 mounting screws.
9.1
Mount feet.
Work Smart - Feel Good
10.
11.
9.2
Mount leveling feet.
Turn the WORK and MOVE desk around on his feet and make sure that it’s
level. If necessary, level out the table with the adjustment leveling feet
screws (see 9.2).
Connect the WORK & MOVE desk to the power outlet.
Your desk is now ready for use.
Download the WORK & MOVE Software. You have received the WORK &
MOVE license and manual by e-mail with your order.
Work Smart - Feel Good
Disassembly
For disassembling the beam, use a WORK & MOVE Desk frame
disassembly tool (ordering code BNELINWMDT).
The disassembly tool has ridges on one side.
1.
Set the desk to its minimum height so
columns are completely retracted.
2.
Disconnect from mains supply.
3.
Turn table upside down.
4.
Disconnect, unscrew and remove the
manual controller.
5.
Unscrew and remove the feet.
Work Smart - Feel Good
6.
Place disassembly tool on beam with the
ridges facing towards the cantilever.
8.
At the same time press disassembly tool
down and tilt rmly column to remove from
beam.
7.
Press straight down to loosen cantilever.
9.
Repeat step 6 to 8 for the other side of the
frame.
Work Smart - Feel Good
All rights reserved. All trade names are registered trademarks
of the respective manufacturers listed. All specications are
subject to change without prior notice.
BakkerElkhuizen
Taalstraat 151
5261 BC Vught
The Netherlands
tel. +31 36 546 7265
fax. +31 36 546 7830
email. info@bakkerelkhuizen.com

This manual suits for next models

1

Other Bakker Elkhuizen Indoor Furnishing manuals

Bakker Elkhuizen WORK & MOVE Desk User manual

Bakker Elkhuizen

Bakker Elkhuizen WORK & MOVE Desk User manual

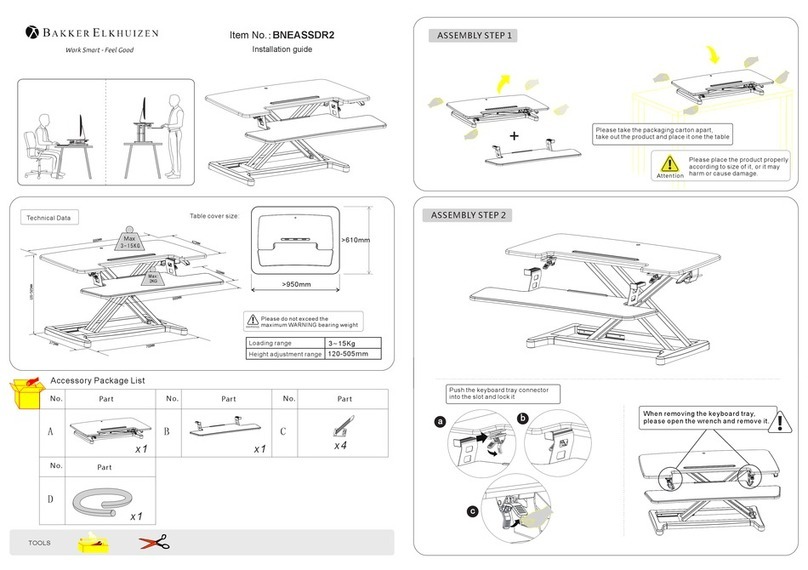
Bakker Elkhuizen BNEASSDR2 User manual

Bakker Elkhuizen

Bakker Elkhuizen BNEASSDR2 User manual

Popular Indoor Furnishing manuals by other brands

OYPLA Home 3879 user manual

OYPLA Home

OYPLA Home 3879 user manual

Seconique Furniture OSLO 5 DRAWER NARROW CHEST Assembly instructions

Seconique Furniture

Seconique Furniture OSLO 5 DRAWER NARROW CHEST Assembly instructions

Rockler Blum 55894 instructions

Rockler

Rockler Blum 55894 instructions

Coaster 509741 Assembly instructions

Coaster

Coaster 509741 Assembly instructions

Northridge Home 9V320V60 Assembly instructions

Northridge Home

Northridge Home 9V320V60 Assembly instructions

Kewaunee DCLT10R2436 Assembly instructions

Kewaunee

Kewaunee DCLT10R2436 Assembly instructions

Flash Furniture SDA-AD723002-4-BK-GG Assembly instructions

Flash Furniture

Flash Furniture SDA-AD723002-4-BK-GG Assembly instructions

Clou Look at Me CL/08.08.110.21 installation instructions

Clou

Clou Look at Me CL/08.08.110.21 installation instructions

Alvin Portable Parallel Straightedge Board PXB datasheet

Alvin

Alvin Portable Parallel Straightedge Board PXB datasheet

Teknik 5420173 manual

Teknik

Teknik 5420173 manual

Manfroi Rack HOVER Assembly instructions

Manfroi

Manfroi Rack HOVER Assembly instructions

Dimensions Furniture 150 Rocker Assembly instructions

Dimensions Furniture

Dimensions Furniture 150 Rocker Assembly instructions

Multimo A228-ROYAL Assembly instructions

Multimo

Multimo A228-ROYAL Assembly instructions

LDI SAFCO Whiffle 3906 instructions

LDI

LDI SAFCO Whiffle 3906 instructions

Hillsdale Furniture 100312 Assembly instructions

Hillsdale Furniture

Hillsdale Furniture 100312 Assembly instructions

RSA Lighting QCT2375 specification

RSA Lighting

RSA Lighting QCT2375 specification

Flexa 82-70131 Series Assembly instructions

Flexa

Flexa 82-70131 Series Assembly instructions

Wayfair Hall Tree Product instructions

Wayfair

Wayfair Hall Tree Product instructions

manuals.online logo
manuals.online logoBrands
  • About & Mission
  • Contact us
  • Privacy Policy
  • Terms and Conditions

Copyright 2025 Manuals.Online. All Rights Reserved.