Spring rotation (quarterly).You can prolong Reformer spring life
by rotating springs of the same weight each quarter. Unhook and
move to another position on the springbar. Rotating springs helps
them wear more evenly.
Risers on the outside. Wood risers must be installed on the
outside of the frame. Risers can loosen over time, so always
make sure they are tight.
Springs hooked downward under carriage. Make sure springs are
hooked in a downward
position. See Figure 3.
Secure the carriage. When your
Reformer is not in use, be sure
that at least two springs secure
the carriage to the springbar.
Default settings. Many users have a “default setting” for
Reformers. At the end of a session, the user connects a
prescribed number of springs in neutral tension, sets the footbar
at a pre-determined height, and sets the ropes at a specified
length. This ensures that the equipment is ready for the next use,
and that the carriage is secured by the springs.
Footstrap under tension in box
work. When using the box and
footstrap, be sure the footstrap
is under tension (with snaps
pulling from the top of the
eyebolt) before beginning the
exercise. See Figure 4.
REFORMER WHEEL AND TRACK MAINTENANCE
Clean the tracks and wheels (weekly). For smooth carriage travel
and to maintain the longevity of the wheels, we recommend that
you wipe down the tracks once a week.
Disconnect the springs and clean the entire length of the tracks
with a soft cloth and Balanced Body Cleaner, mild soap with
water or a mild commercial cleaner such as, Fantastik® or 409®.
Do not use abrasive cleansers or pads, as they can damage the
anodizing on the rails. To clean the wheels, hold the cloth against
the wheels while you move the carriage. If you feel a bump in
the ride, dirt has adhered to the surface of the rails or wheels.
Clean hair and debris out of the rails. Hair can wrap around the
wheel axles and eventually build up and cause wheel failure. Use
tweezers to remove hair from the wheels.
Lubrication. Never spray silicone near or inside the wheels – this
can wash the lubricant out of the bearings and ruin the bearings.
You can purchase dry silicone at most hardware and auto parts
stores. Pulleys sometimes require lubrication to stop a squeak.
Direct a very quick spray of dry silicone or Teflon spray into the
pulley. “Dry” silicone does not have an oil base. Oil-based (“wet”)
silicone and WD40 should not be used as they attract dirt. Be
careful not to over spray. You may want to remove ropes to avoid
getting silicone on them.
Do not lubricate the Allegro 2 rails.
Footbar supports (quarterly). For all Balanced Body footbars with
footbar support brackets, verify that the pivot screw attaching the
footbar support bracket to footbar is tight, but not so tight that it
prevents the support from rotating freely. For Legacy Reformers,
tighten the pivot bolt to secure footbar support.
Headrest (monthly). Make sure the hinge screws and bolts on
your headrest are tight.
Under the Reformer (monthly). Move Reformers and make sure
you clean the floor space underneath.
Standing Platform Footbar Bumpers (wood Reformers only). If
your standing platform footbar bumpers (the small plastic pieces
that protect the standing platform from the footbar) are broken
or damaged, please call Balanced Body to replace.
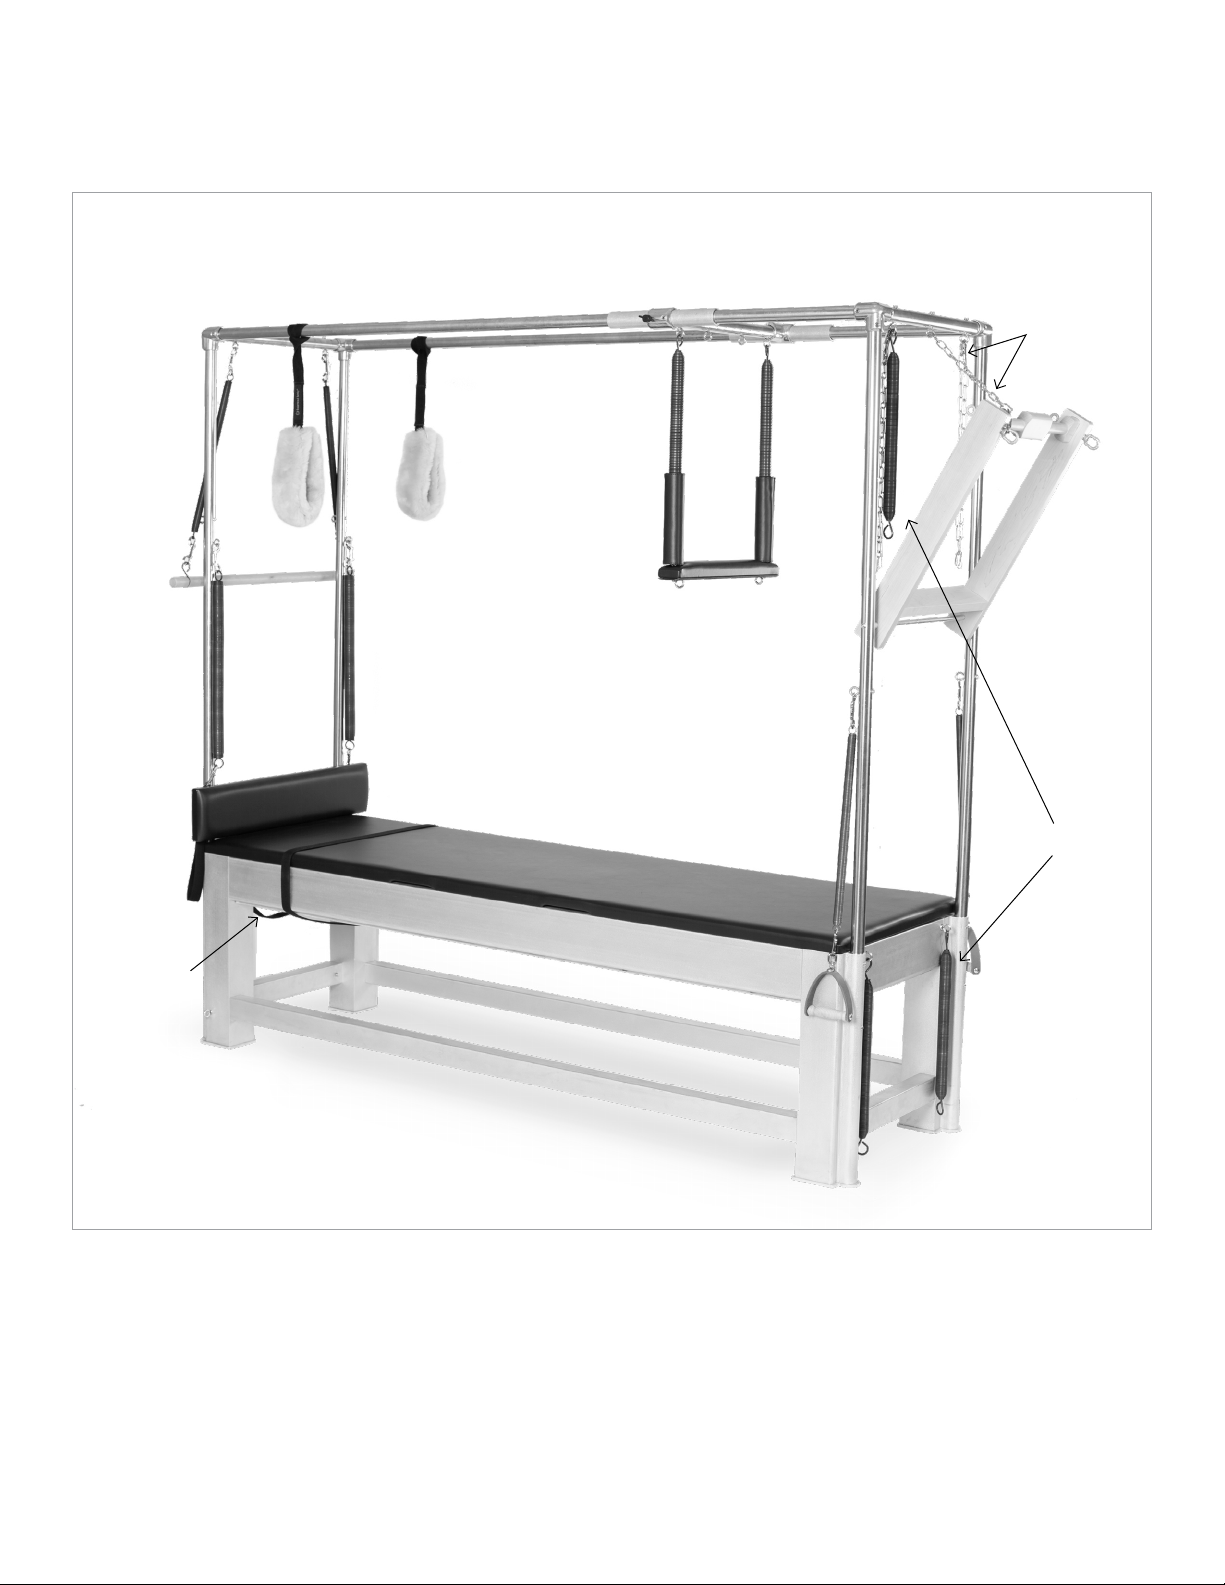
TRAPEZE TABLE (CADILLAC) & TOWERS
Cotter pins removed. These
pins are located in the vertical
tubes that align the canopy
to the frame and should be
removed as soon as installation
is complete. Unremoved cotter
pins can tear clothing and
lacerate the skin. Use pliers to
remove the pins.
Save the pins in case you need to disassemble and reassemble
the table for transportation purposes. See Figure 5.
Push-Through Bar (PTB) with Sliders.
The PTB moves vertically to accommodate different users
and exercises. The sliders on the tubes allow for this vertical
movement. Make sure these sliders are clean and easy to move.
Before beginning any exercise, ensure that the sliders are properly
aligned with the PTB holes and locked into position. Apply a
downward force to ensure. If you notice wear on the slider knob
pins, please call Balanced Body to replace. Using the PTB in this
condition could cause injury.
Weekly maintentance for Push-Through Bars with Sliders. Check
to ensure the pins in the plunger knobs protrude and lock into
the vertical tubes. Pull both knobs out and move the sliders to
a different position. Release the knobs before the next hole and
continue to slide the system into position. Once over a hole the
pin of the knob will automatically drop into the opening. Once
each slider is in a new position apply a downward force on the
PTB. The pins of the sliders should not come out of the holes. If
the pins do not stay in the tube holes, the pull knobs need to be
replaced. Call Balanced Body for replacement parts.
Push-Through Bar (PTB) with T-pin setting.For bottom sprung
exercises, if your client’s head is below the PTB, use the T-pin setting
in addition to the safety strap or chain. Spotting your client is highly
recommended. This is important for safety.
Push-Through Bar (PTB) control. Make sure you have enough
room around the trap table to safely use the PTB without fear of
hitting other people. The PTB can be dangerous if not properly
Figure 3: Springs hooked downward
Figure 4: Foot strap under tension
Figure 5: Cotter pin before and after
removal from Trap Table.
Contact Us
1-800-PILATES | +1-916-388-2838
pilates.com | info@pilates.com
215-000 | 11.12.21
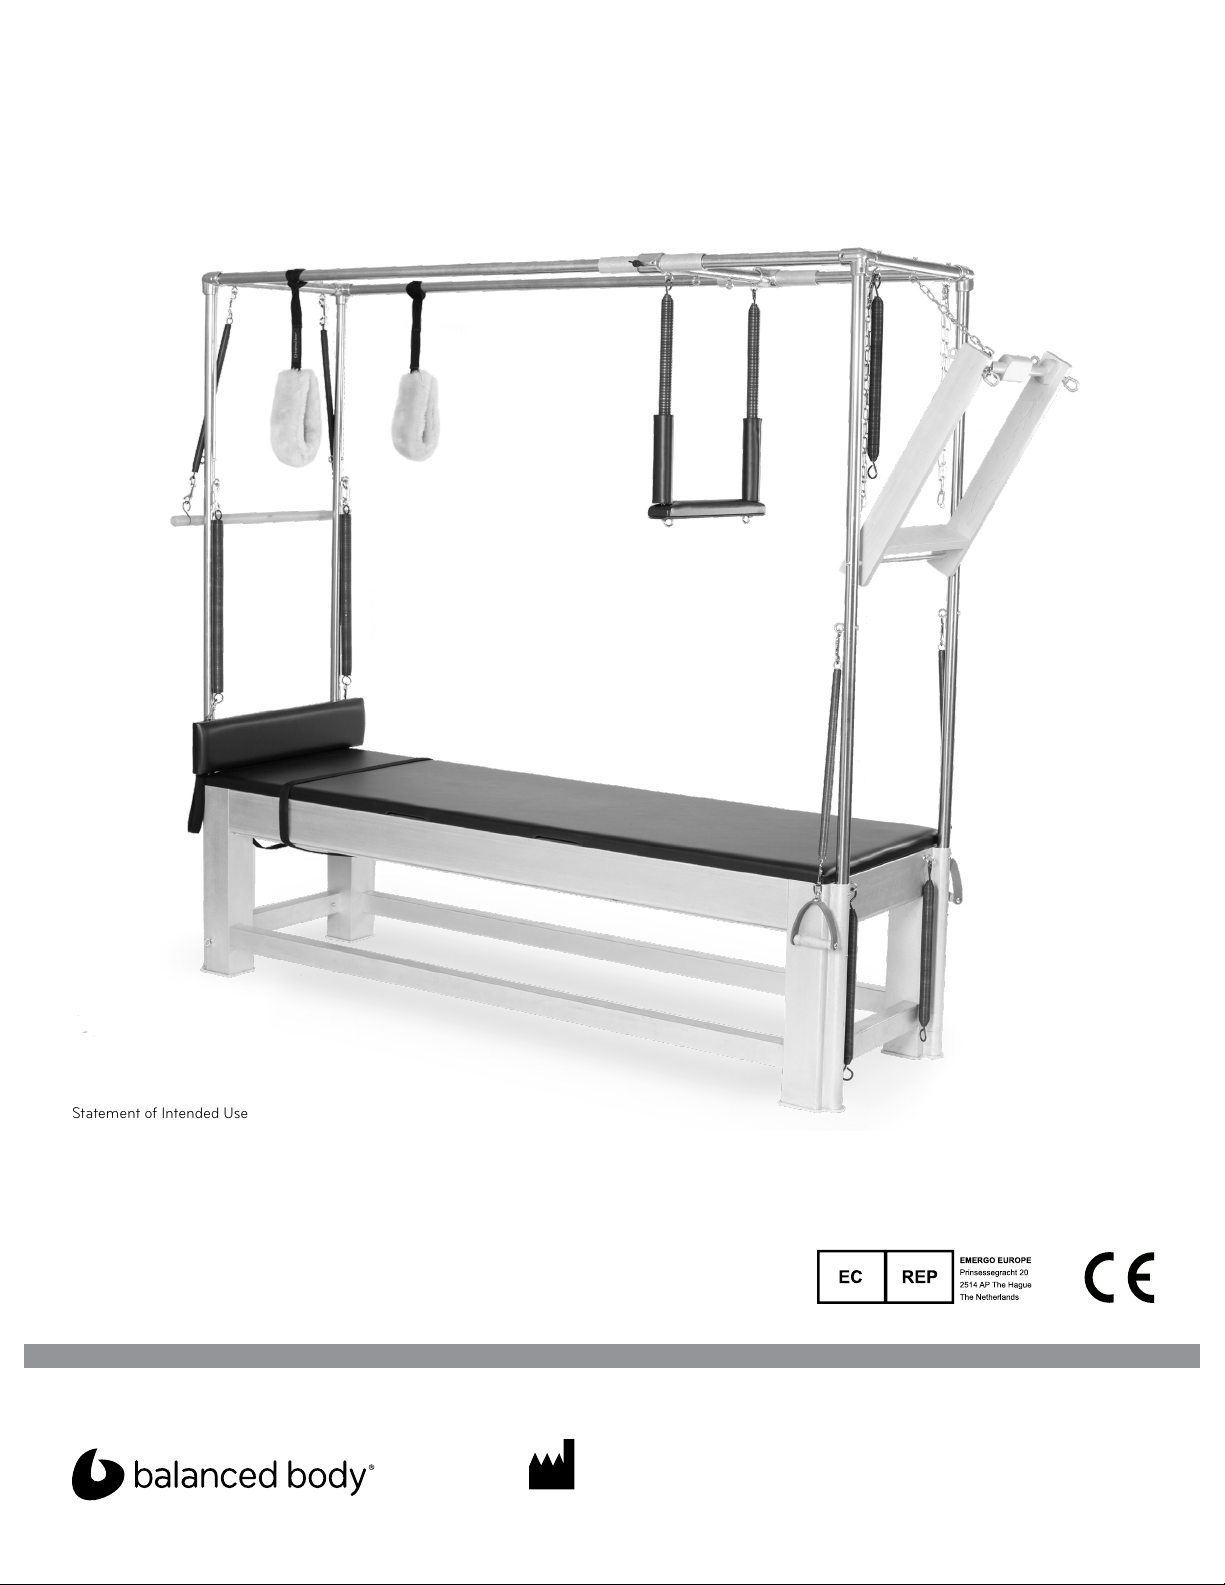
Safety First:A guide to proper maintenance
and safe use of your Pilates equipment.
For over 35 years, Balanced Body has been introducing
safety-related innovations to Pilates equipment. Many of our
improvements are now industry standards, resulting in Pilates
equipment that’s safer today than ever before.
Safety depends on proper maintenance and safe use, in addition
to the quality of the equipment. This guide was created to help
you use and maintain your equipment for optimum safety. Please
read it through carefully and keep for future reference. If you have
any questions, give us a call. Failure to follow these instructions
may result in serious injury.
ALL EQUIPMENT
Springs
Spring inspections are critical to maintain your equipment in
safe operating condition. All Balanced Body springs should be
replaced at least every two years. Certain environments and
usages can shorten the expected life of the springs and you may
need to replace the springs more frequently. Therefore, it is very
important to inspect springs on a regular basis since worn or
old springs lose resilience and may break during use. Injury may
result if a spring breaks during use.
During use, do not allow springs to recoil in an uncontrolled
manner. This will damage the spring and shorten its expected life.
Inspect springs for gaps and kinks (weekly or monthly,
depending on frequency of use). Look for gaps and kinks
between the coils when the spring is at rest. It is not unusual
for the spring to have a very small gap on the tapered end (a
gap is sometimes created during the manufacturing process).
However, there should be no gaps in the body of the spring. If you
see any gaps or kinks in the body of the spring, discontinue use
and replace the springs immediately. See Figure 1. Additionally,
corrosion anywhere on the coils will shorten the life of the spring.
Discontinue using the spring immediately if you see any rust or
oxidation during inspection.
Kink
Figure 1
Snaps
Inspect snaps for wear (monthly). First, verify that the snap hook
is working properly. If the snap hook does not retract and return
properly, discontinue using the spring immediately and replace
the snap. Eyebolts can cause excessive wear on snap hooks.
If the hook shows a lot of wear, discontinue using the spring
immediately and call Balanced Body to replace spring or snap.
See Figure 2.
Figure 2: Good snap: no wear on hook. Bad snap: excessive wear on hook.
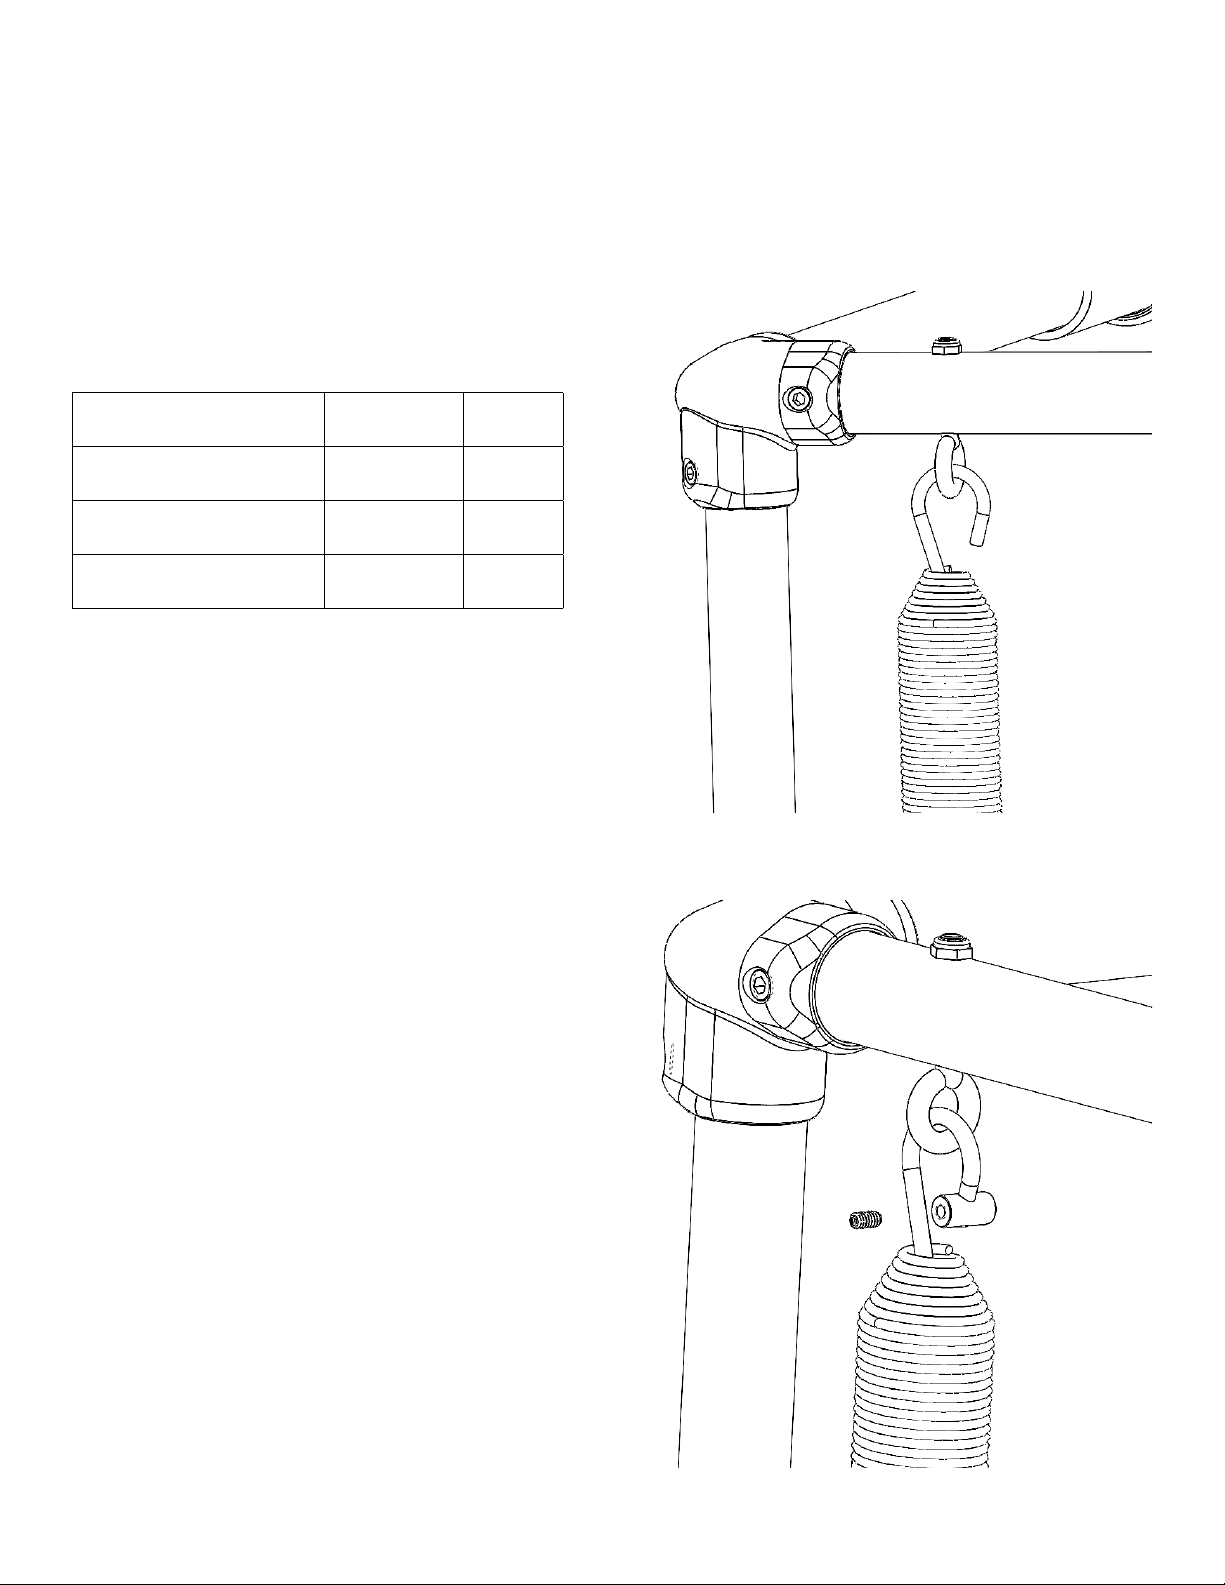
EYEBOLTS, NUTS AND BOLTS
Tighten all equipment bolts and screws (monthly). Verify that all
eyebolts, nuts and bolts are tight. See the section titled “How to
inspect and tighten nuts and bolts.”
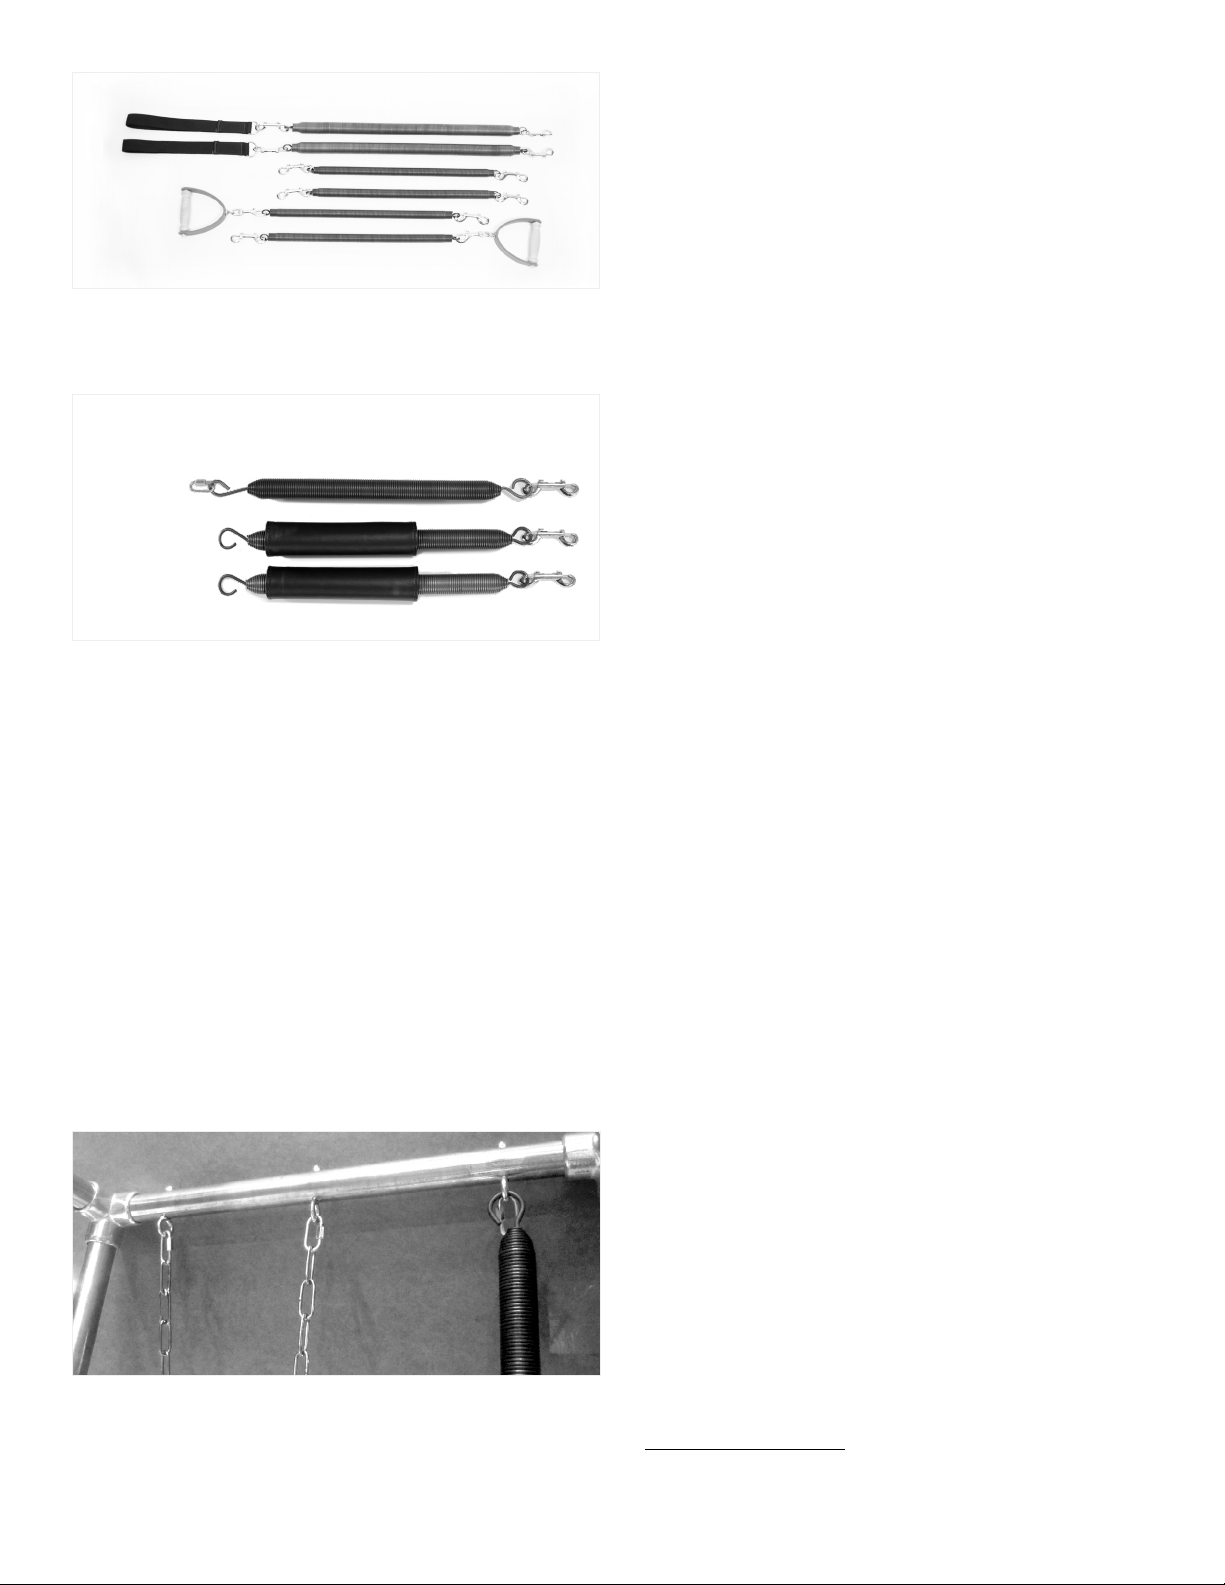
ROPES AND STRAPS
Rope and strap wear (quarterly). Ropes should be replaced if you
can see the core of the rope through the outer lining, or if the
ropes are flattened. Straps should be replaced as soon as any
fraying is noticed. Be sure to check the sections of rope or straps
that attach to the clips and run through the pulleys.
REFORMERS
Check springbar hooks or eyebolts (quarterly). Balanced Body
makes two different springbar systems:
»Revo Springbar. Make sure springbar hooks and handle
are tight.
Standard Springbar. Verify that the nuts securing the springbar
hooks are tight. See section titled “How to inspect and tighten
nuts and bolts.”
9