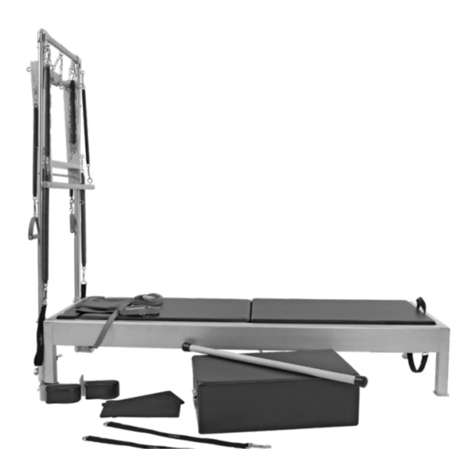
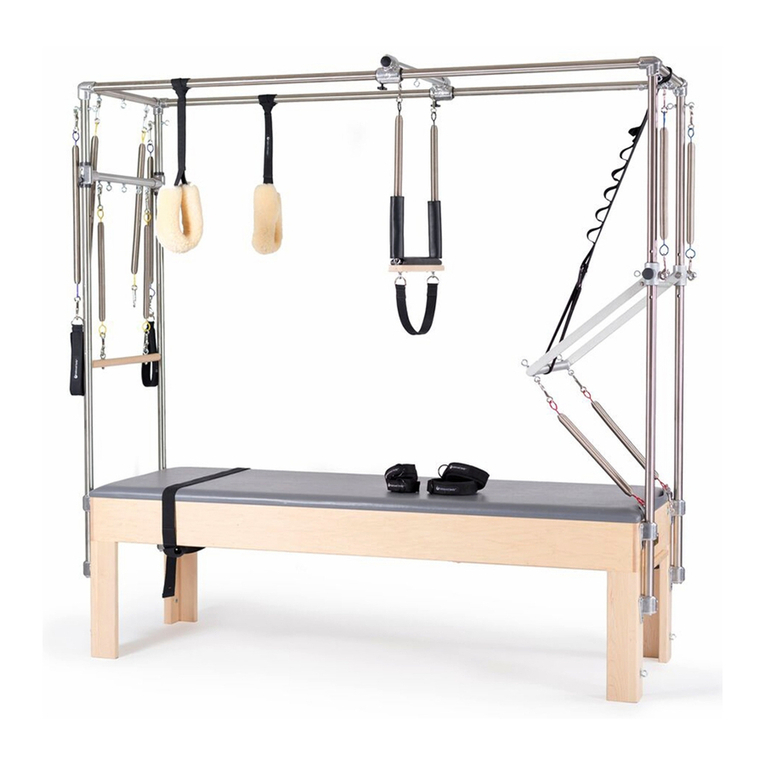
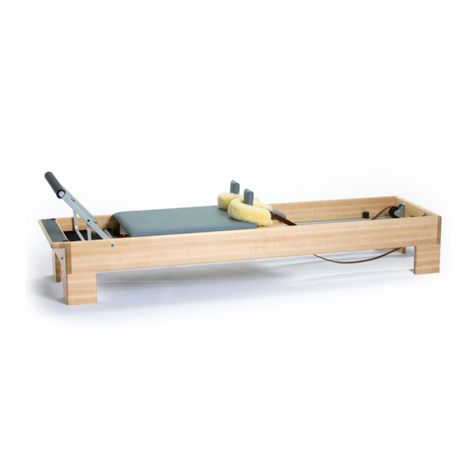
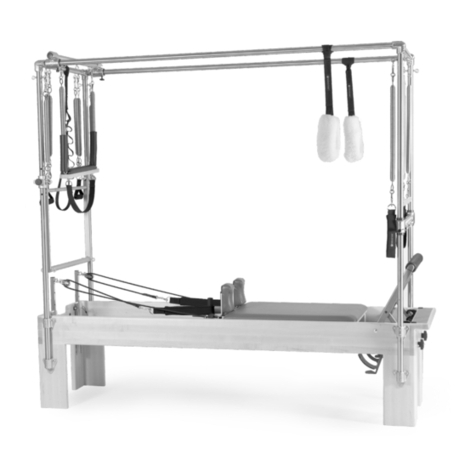
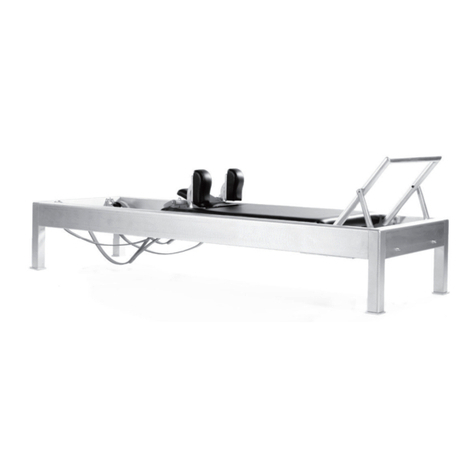
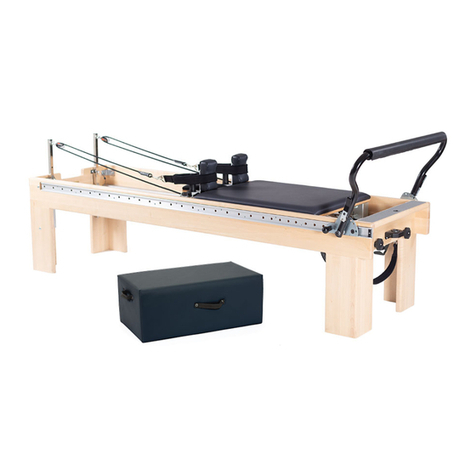
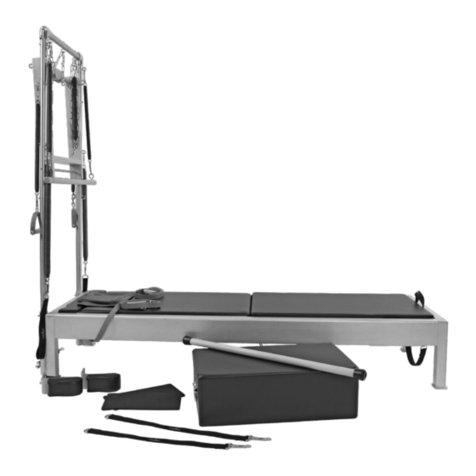
Balanced Body Clinical Reformer User manual

Assembly of The Balanced Body®
Clinical Reformer®
THIS IS A MEDICAL DEVICE
Contact Us
1-800-PILATES | +1-916-388-2838
pilates.com | info@pilates.com
17285 | 2021-06
Balanced Body, Inc
Sacramento, CA
001-916-388-2838
EC
EMERGO EUROPE
Molenstraat 15
2513 BH, The Hague
The Netherlands
REP
Balanced Body, Inc.
5909 88th St,
Sacramento, CA 95828 USA

STATEMENT OF INTENDED USE
The Clinical Reformer® device is intended by the manufacturer
to be used by people for the purposes of physiotherapy,
rehabilitation, the prevention, treatment and relief of injuries,
supportive, functional therapy for a disability or for general
strengthening and improving the mobility of the human
body. Should injury occur during usage please report to the
manufacturer and competent authority of the Member State in
which the user and/or patient is established.
DÉCLARATION SPÉCIFIANT L’USAGE PRÉVU
L’appareil Clinical Reformer® a été conçu pour être utilisé à
des fins de physiothérapie, de réhabilitation, de prévention,
de traitement et de soulagement des blessures, de thérapie
fonctionnelle et de soutien dans le cadre d’un handicap, ou de
renforcement global et d’amélioration de la mobilité du corps
humain. Si une blessure se produit au cours de l’utilisation,
signalér au fabricant et à l’autorité compétente de l’État membre
dans lequel l’utilisateur et / ou le patient est établi.
DICHIARAZIONE DI DESTINAZIONE D’USO
Il dispositivo Clinical Reformer® è destinato dal produttore
a essere utilizzato dalle persone per scopi di fisioterapia, di
riabilitazione, di prevenzione, trattamento e sollievo da infortuni,
di terapia di sostegno e funzionale per una disabilità o di rinforzo
e miglioramento generali della mobilità del corpo umano. In caso
di infortuni durante l’utilizzo, Rapporto al produttore e all’autorità
competente dello Stato membro in cui è stabilito l’utilizzatore e /
o il paz iente.
DECLARACIÓN DE USO PREVISTO
El dispositivo Clinical Reformer® está diseñado con fines de
fisioterapia, rehabilitación, prevención, tratamiento y alivio de
lesiones, terapia de apoyo y funcional para una discapacidad o
para el fortalecimiento general y la mejora de la movilidad del
cuerpo humano. En caso de que se produzcan lesiones durante
su uso, Reporte al fabricante y a la autoridad competente del
Estado miembro en el que está establecido el usuario y / o
paciente.
ANGABE DER BESTIMMUNGSGEMÄSSEN
VERWENDUNG
Das Gerät Clinical Reformer® wurde vom Hersteller für die
Verwendung durch Personen zu Zwecken der Physiotherapie,
der Rehabilitation, der Vorbeugung, Behandlung und Linderung
von Verletzungen, der unterstützenden, funktionellen Therapie
bei einer Behinderung oder zur allgemeinen Stärkung und
Verbesserung der Mobilität des menschlichen Körpers
vorgesehen. Sollten bei der Anwendung Verletzungen auftreten,
bericht und der zuständigen Behörde des Mitgliedstaats
gemeldet, in dem der Benutzer und / oder Patient ansässig ist.
02

How to Assemble your Clinical Reformer
PARTS LIST (INCLUDED):
DESCRIPTION Part Number Qty.
Ankle Velcro (pair) 101-001 1
Padded Double Loops (pair) 101-009 1
Neoprene Handles (pair) 101-016 1
Thigh Velcro (pair) 101-020 1
Carriage Extension Stopper 200-211 1
Adjustable Ropes w/snaps (pair) 210-026 1
Padded Footstrap 210-031 1
Risers w/pulley 950-184 2
Infinity Foot Plate 707-187 1
Sitting Box 721-002 1
Shoulder Rest Kit, TwistLock 950-251 1
TwistLock Post 616-400 2
TOOLS NEEDED (NOT INCLUDED):
Phillips Screwdriver
IN CASE OF FREIGHT DAMAGE If there is freight damage, make
certain you keep all packaging material. You must call Balanced
Body within 3 business days.
DESCRIPTION Part Number Qty.
Spring, Reformer, Red SPR9070 3
Spring, Reformer, Blue SPR9071 1
Spring, Reformer, Yellow SPR9241 1
Spring, Reformer, Green SPR9293 1
Infinity Footbar 950-189 1
Infinity Trunion, Right (installed) 950-112 1
Infinity Trunion, Left (installed) 950-113 1
Plunger lock out knob (installed) GEN8000 2
Wood Screw GEN9073 2
Footbar Stopper REF0702 2
Standing Platform Extender 17873 1
Standing Platform Extender Pad 17878 1
Risers
Pulleys Footbar
Carriage
Proprioception
T-bar mount
C-Channel
03

ATTACH THE FOOTBAR
This can be done by one
person, but it is easier and
safer to have a person hold
each side.
1. Pull the plunger knob straight out so that the recessed cross-
pin comes out of the slots. Then turn the knobs so that they
are locked with the retracted pin.
2. Slide the trunion into the aluminum C-channels that run
down both sides of the Reformer frame. (Figure A and B)
3. Twist the plunger knob until it locks into the desired position.
4. Attach the black stops to the end of the channels with the
provided wood screws. (Figure C)
INSTALL THE CARRIAGE
Turn the carriage over and clean all the wheels of shipping dust,
etc. Clean the full length of the rail surfaces inside the frame.
Carefully place the carriage into the frame with the headrest
facing away from the footbar.
INSTALL THE SHOULDER RESTS
Note the two protruding studs on the bottom of the shoulder
rests. Lower the shoulder rest studs into the key holes and slide
shoulder rests away from the carriage pad. See Figure D.
Note: The shoulder rests can be installed in two positions. One
position is wider and more comfortable for broad shoulders.
Swap the left and right shoulder rests to change between
standard and wide configurations.
INSTALL THE LOCKING SHOULDER POSTS
Screw the locking shoulder posts onto the exposed bolt on each
shoulder rest. Turn the posts clockwise to tighten them and lock
the shoulder rests into position. See Figure E. Over tightening
the posts will make them difficult to remove. They should be
snug but not too tight. To remove the shoulder rests, turn the
post counter-clockwise 1-2 turns and gently slide the shoulder
rests towards the carriage, then lift them up and out.
ATTACH THE SPRINGS TO THE UNDERSIDE
OF THE CARRIAGE
1. Locate the bracket with five eyebolts attached beneath the
carriage. Hook the springs onto the eyebolts. The hook
should be facing down.
2. The bodies of the springs
should rest on the flat,
padded brace under the
carriage (Figure F).
INSTALL THE SPRINGBAR
3. If your Reformer is configured with a no-roll springbar, install
it into the “gears” under the footbar with its hooks facing up.
INSTALL THE RISERS
4. Remove the detent pin from the metal riser receiver and
insert the riser with the pulley facing the carriage. Re-insert
the detent pin to set the desired riser height.
Figure A
Trunion
Plunger Knob
Figure C
Figure B
Figure D
Figure E
Figure F
04

ATTACH THE ROPES
5. To attach the ropes, first
engage at least one spring
from the carriage to the
springbar to stabilize the
carriage. Unroll the ropes
and separate them.
6. Clip a cotton loop onto the
end of each rope and hang
the loops on the shoulder
rests. (Figure G.) Thread the other end of each rope through a
pulley and back into the cam cleats on the carriage to adjust
the length. Be sure to go through the chrome eyestraps on both
sides of the cam cleats. Always push the rope firmly down into
the cleats to ensure a good drip.
USING THE EXTENSION STOPPER
To limit the carriage travel, insert the extension stopper into the
desired hole in the top of the frame rail.
INSTALLING THE PLATFORM EXTENDER
To install the Studio Reformer Standing Platform Extender on a
Reformer with an Infinity Footbar, first loosen the two black
plastic knobs beneath the standing platform at the end of the
frame. Adjust the footbar so that it is laying horizontally with the
Reformer frame (Figure H)
Gently lower the tongue of the Standing Platform Extender into
the silver bracket on the inside of the frame. Gently tighten the
black knobs on the outside of the frame. (Figure I).
EASY TO USE PLUNGER LOCKOUT KNOBS
Balanced Body’s Allegro® Reformer, and Clinical Reformer®and
Studio Reformer®with Infinity footbars come with plunger lockout
knobs that make adjusting and moving the Reformer footbar
along the frame much easier.
To use, pull the plunger knob straight out so that the recessed
cross-pin comes out of the slots as shown in Figure H. Then turn
the knob so that the cross-pin rests on the bolt head as shown in
Figure I. Repeat on other side.
With the knobs in the “locked out” position, reposition the footbar
along the frame of your Reformer as desired. Then turn the
knobs so that the cross-pin is once again recessed, firmly locking
the footbar into its new position.
INSTALLING THE JUMPBOARD ON A CLINICAL
REFORMER WITH AN INFINITY FOOTBAR®
To install the jumpboard
(regular or Jumpus Maximus)
on a Reformer with an Infinity
Footbar, first loosen the two
black plastic knobs beneath the
standing platform at the foot
end of the frame.
Adjust the footbar to the 4th
position from the end of the
Reformer. Then adjust the footbar to the second highest vertical
position (Figure L). Next, place the tongue of the jumpboard into
the silver bracket on the inside of the frame. Finally, re-tighten
the black knobs on the outside of the frame.
If you have any questions, please call Balanced Body at
1-800-PILATES (1-800-745-2837) or +1-916-388-2838.
Figure G
Figure H
Figure I
Figure L
Figure J
Figure K
05

ADDITIONAL SAFETY AND USAGE
For additional usage and safety information or to view complete
equipment manual translations (USER GUIDE #15451), please
visit https://www.pilates.com/store/faq-safety/. For printed
instructions, contact your seller.
Para obtener más información sobre el uso y la seguridad, o
para ver las traducciones completas del manual (GUIA DEL
USUARIO #15451), visite https://www.pilates.com/store/
faq-safety/. Para obtener instrucciones impresas, comuníquese
con su vendedor.
Pour plus d’informations sur l’utilisation et les consignes de
sécurité ou pour consulter le manuel integral disponible (GUI-
DA UTENTE #15451), veuillez https://www.pilates.com/store/
faq-safety/ . Per le istruzioni stampate contatta il tuo venditore.
Per ulteriori informazioni sull’uso e sulla sicurezza, oppure per
consultare le traduzioni complete del manuale , (MODE D’EMPLOI
#15451) visitare https://www.pilates.com/store/faq-safety/. Pour
obtenir des instructions imprimées, contactez votre vendeur.
Für zusätzliche Informationen zu Gebrauch und Sicherheit oder
vollständige Übersetzungen der Gebrauchsanweisung (BENU-
TZERHANDBUCH #15451) besuchen https://www.pilates.com/
store/faq-safety/. Für gedruckte Anweisungen wenden Sie sich
an Ihren Verkäufer.
WARNING: This machine is potentially dangerous, and Balanced Body Inc.
assumes no liability towards use or misuse. If you are not fully aware of the
safety issues and use of this machine, do not use it. Use only with qualified
instructor supervision. Please refer to the Additional Usage and Safety section
for more information.
ADVERTENCIA: Esta máquina es potencialmente peligrosa, y Balanced Body
Inc. no asume ninguna responsabilidad por su uso o mal uso. Si no conoce
completamente los asuntos relativos a la seguridad y el uso de este dispositivo,
no lo utilice. Úselo solo bajo la supervisión de un instructor calificado. Consulte
la sección Otros usos y seguridad para obtener más información.
AVERTISSEMENT : Cette machine est potentiellement dangereuse et Balanced
Body Inc. n’assume aucune responsabilité quant à son utilisation ou sa
mauvaise utilisation. Si vous ne vous êtes pas pleinement familiarisé avec les
questions de sécurité et l’utilisation de cet appareil, ne l’utilisez pas. Utilisez
cet appareil uniquement sous la supervision d’un instructeur qualifié. Pour plus
d’informations, veuillez vous reporter à la section Utilisation et sécurité.
ATTENZIONE: questo macchinario è potenzialmente pericoloso e Balanced
Body Inc. non si assume la responsabilità in caso di utilizzo o di utilizzo
improprio. Se non siete ben informati sulla sicurezza e l’utilizzo di questo
dispositivo, non utilizzatelo. Utilizzatelo solo sotto la supervisione di un
istruttore qualificato. Per ulteriori informazioni fate riferimento all’utilizzo
addizionale e alla sezione dedicata alla sicurezza.
ACHTUNG: Dieses Gerät ist potenziell gefährlich, und Balanced Body Inc.
übernimmt keine Haftung für dessen Gebrauch oder Missbrauch. Wenn Sie mit
den Sicherheitsrisiken und dem Gebrauch dieses Geräts nicht völlig vertraut
sind, verwenden Sie es bitte nicht. Gebrauchen Sie es nur unter Aufsicht
eines qualifizierten Trainers. Für zusätzliche Informationen lesen Sie bitte den
Abschnitt Zusätzliche Gebrauchs- und Sicherheitshinweise.
Click here for Balanced Body Patent Data.
Clic aquí para obtener datos de patentes de Balanced Body.
Cliquez ici pour consulter les données de brevet du corps
équilibré.
Fare clic qui per i dati sui brevetti di Balanced Body.
Klicken Sie hier für Balanced Body Patent Data.
Klicka här för Balanced Body Patent Data.
单击此处以获取平衡车身专利数据。
QUESTIONS?
Please call Balanced Body Technical Support at
1-800-PILATES (U.S.) or +1-916-388-2838 (International).
Contact Us
1-800-PILATES | +1-916-388-2838
pilates.com | info@pilates.com
17285 | 02.27.20
Other Balanced Body Medical Equipment manuals

Balanced Body
Balanced Body Clinical Reformer Administrator Guide

Balanced Body
Balanced Body Reformer Trapeze Combination Administrator Guide

Balanced Body
Balanced Body Contrology User manual

Balanced Body
Balanced Body Contrology Reformer User manual

Balanced Body
Balanced Body Contrology Classical Reformer with Tower Programming manual

Balanced Body
Balanced Body Contrology Cadillac Administrator Guide

Balanced Body
Balanced Body Contrology Cadillac User manual

Balanced Body
Balanced Body Allegro 2 Reformer User manual

Balanced Body
Balanced Body Cadillac Administrator Guide

Balanced Body
Balanced Body Ron Fletcher Reformer User manual