manuals.online logo
Brands
  1. Home
  2. •
  3. Brands
  4. •
  5. Balanced Body
  6. •
  7. Medical Equipment
  8. •
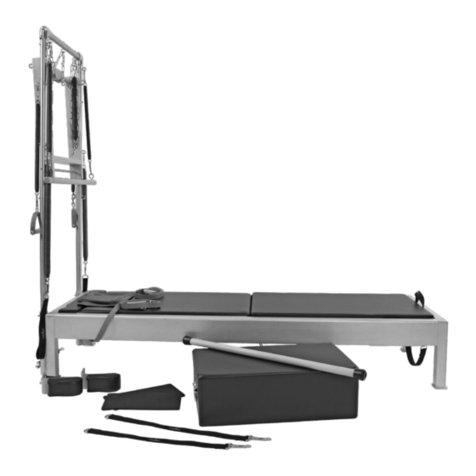
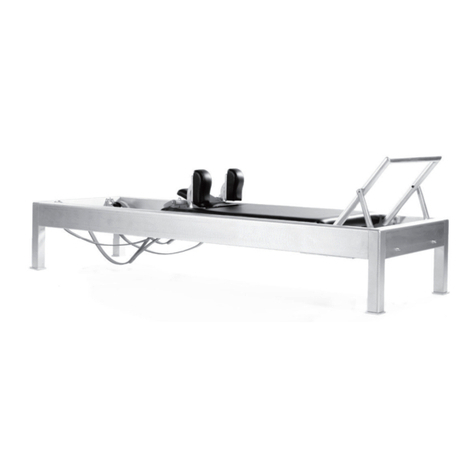
  9. Balanced Body Ron Fletcher Reformer User manual

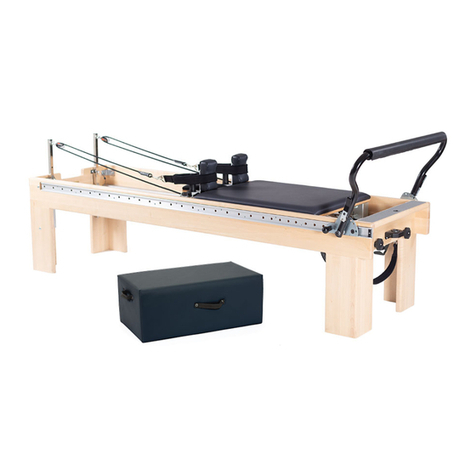
Balanced Body Ron Fletcher Reformer User manual

How to assemble your Ron Fletcher Reformer
IN CASE OF FREIGHT DAMAGE
If there is freight damage, make certain you keep all packaging
material. Please call Balanced Body within three business days.
PARTS LIST (INCLUDED):
Description Part Number Qty
Short Foot Strap 101-111 1
Wool Fuzzies 101-022 1
Extension Stopper 200-211 1
Shoulder Rest 707-087 1
Standard Sitting Box 721-002 1
Leather Straps 950-052 1
Extension Straps (pair) 101-010 1
4-Hook Springbar 950-054 1
Red Springs Open Hooks SPR9007 4
SHOULDER REST HARDWARE
Item Description Part Number Qty
A Flat Head Allen Bolt 1/4-20 x 2 3/4 GEN9249 2
BEyebolt GEN9231 2
C Large Washer 1/4” GEN9204 4
DSmall Washer GEN9305 2
EFinish Washer 210-050 2
F 1/4” Lock nut GEN9021 4
TOOLS NEEDED
(NOT INCLUDED):
»Flathead Screwdriver
»7/16” Wrench or adjustable
end wrench
INSTALL THE CARRIAGE
Turn the carriage over and clean all the wheels of shipping dust,
etc. Clean the full length of the rail surfaces inside the frame.
Carefully place the carriage into the frame with the headrest
facing away from the footbar.
ATTACH THE SPRINGS
To attach the springs, hook them to the eyebolts on the
underside of the carriage. The hooks of the spring should be
facing downward. Place the spring bar into the gear slots located
inside the frame near the footbar. Make sure the eyebolts are
facing the carriage. Move the carriage toward the foot-end of the
Reformer and attach the springs to the eyebolts on the spring
bar.
INSTALL THE SHOULDER RESTS
1. Position the shoulder rest with the metal flange over the
drilled holes in the wooden block next to the headrest.
2. Install the Allen bolt in the hole closest to the shoulder rest.
(Figure B.)
3. Install the eyebolt with the finish washer and a small washer
into the other hole. See Figure B.
4. On the underside of the
carriage, put one large
washer and a hex nut on
the end of the Allen bolt
and eye bolt and tighten.
Figure B
Figure A
Contact Us
1-800-PILATES | +1-916-388-2838
pilates.com | info@pilates.com
400-116 | 12.28.18
ATTACH THE STRAPS
1. Remove the clip from one
strap end by unscrewing
the two screwposts with a
flat head screwdriver.
See Figure C.
2. Feed the unclipped end
of the strap through the
top of caster wheel at the
head-end of the frame.
The smooth side of the
leather should be facing
up. Bring the strap down
and around the caster
wheel and back toward the
carriage. See Figure D.
3. Re-attach the clip to the
strap end and tighten both
screwposts. Then attach
the strap to the eyebolt
at the head-end of the
carriage. See Figure E.
4. Your strap should look like this. Repeat process with other
strap. See Figure F.
ADJUSTING THE STRAPS
Adjusting the buckle on the “looped” end of the strap can alter
the length of your straps.
1. Slide the buckle toward
the desired hole on the
strap and push the tooth
of the buckle into the hole.
Then feed the strap end
into the buckle as shown.
Make sure the tooth of the
buckle is facing away from
the incoming strap end.
See Figure G.
2. Connect the buckle tooth
to the strap end on the
underside by pushing it
through an elongated
notch. Then push the
tooth back toward the
buckle – you’ll feel a slight
click when the tooth is
secured to the buckle. See
Figure H.
NOTE: Make sure you test the loop by pulling the loop and the
strap away from each other. If the loop stays intact, it has been
properly secured.
Figure C
Figure D
Figure E
Figure G
Figure H
Figure F
Casters
Carriage
Wool Fuzzies Shoulder Rests
Footbar
MAINTENANCE
»Inspect springs for kinks, bends, or gaps.
»Remove hair and debris from the axles of the wheels. Debris
can create pressure on the bearings, causing them to wear. If
you hear noise from the wheels, replace them. Otherwise, no
maintenance on the wheels is required
»Repair any tears in the upholstery with an upholstery repair kit
available at auto parts stores, or have the repair done locally.
»Contact Balanced Body for other upholstery and re-upholstery
options.
»Check and tighten all screws and bolts. Replace any missing
screws or other parts.
»Check the footbar bolts on a monthly basis to make sure they
are still secure.
CLEANING
Wipe the carriage pad, headrest, footbar and shoulder rests with
a soft cloth and a mild, non-abrasive mixture of soap and water
after each use. Keep the carriage track and wheels free from
dust and dirt. Clean the frame with a mild, non-abrasive mixture
of soap and water. Keep the straps and springs clear of dust.
If you have any questions, please call Balanced Body at
+1-800-PILATES (1-800-745-2837) or 916-388-2838.
Contact Us
1-800-PILATES | +1-916-388-2838
pilates.com | info@pilates.com
400-116 | 12.28.18
Other Balanced Body Medical Equipment manuals

Balanced Body Clinical Reformer Administrator Guide

Balanced Body

Balanced Body Clinical Reformer Administrator Guide

Balanced Body Cadillac Administrator Guide

Balanced Body

Balanced Body Cadillac Administrator Guide

Balanced Body Contrology User manual

Balanced Body

Balanced Body Contrology User manual

Balanced Body Contrology Classical Reformer with Tower Programming manual

Balanced Body

Balanced Body Contrology Classical Reformer with Tower Programming manual

Balanced Body Contrology Cadillac Administrator Guide

Balanced Body

Balanced Body Contrology Cadillac Administrator Guide

Balanced Body Clinical Reformer User manual

Balanced Body

Balanced Body Clinical Reformer User manual

Balanced Body Contrology Cadillac User manual

Balanced Body

Balanced Body Contrology Cadillac User manual

Balanced Body Reformer Trapeze Combination Administrator Guide

Balanced Body

Balanced Body Reformer Trapeze Combination Administrator Guide

Balanced Body Allegro 2 Reformer User manual

Balanced Body

Balanced Body Allegro 2 Reformer User manual

Balanced Body Contrology Reformer User manual

Balanced Body

Balanced Body Contrology Reformer User manual

Popular Medical Equipment manuals by other brands

Levabo all on manual

Levabo

Levabo all on manual

Ossur FOOT-UP 07810 Series manual

Ossur

Ossur FOOT-UP 07810 Series manual

Solaire Medical Inner Space Ventaire Retrofit Installation

Solaire Medical

Solaire Medical Inner Space Ventaire Retrofit Installation

Otto Bock 12K27 Instructions for use

Otto Bock

Otto Bock 12K27 Instructions for use

DoseLogix Topi- CLICK Topi-Filler quick start guide

DoseLogix

DoseLogix Topi- CLICK Topi-Filler quick start guide

iCRco VERTX Service manual

iCRco

iCRco VERTX Service manual

medi circaid juxtafit essentials lower leg inelastic compression... manual

medi

medi circaid juxtafit essentials lower leg inelastic compression... manual

Otto Bock 28P212 Series instructions

Otto Bock

Otto Bock 28P212 Series instructions

Clinton 6198 Assembly instructions

Clinton

Clinton 6198 Assembly instructions

Novametrix Medical Systems OXYPLETH 520A Service manual

Novametrix Medical Systems

Novametrix Medical Systems OXYPLETH 520A Service manual

SurgiTel Surgical Mini LED manual

SurgiTel

SurgiTel Surgical Mini LED manual

Huntleigh AKRON 3 SECTION DRAINAGE Service manual

Huntleigh

Huntleigh AKRON 3 SECTION DRAINAGE Service manual

ulrich medical golden gate CS 3715 Assembly and disassembly instructions with special cleaning instructions

ulrich medical

ulrich medical golden gate CS 3715 Assembly and disassembly instructions with special cleaning instructions

iProven OXI-27 quick start guide

iProven

iProven OXI-27 quick start guide

F&P Airvo 3 user manual

F&P

F&P Airvo 3 user manual

ResMed Tubing Wrap User instructions

ResMed

ResMed Tubing Wrap User instructions

KINEX KS2 Shoulder CPM Patient instructions

KINEX

KINEX KS2 Shoulder CPM Patient instructions

Otto Bock Omo Neurexa plus Patient instructions

Otto Bock

Otto Bock Omo Neurexa plus Patient instructions

manuals.online logo
manuals.online logoBrands
  • About & Mission
  • Contact us
  • Privacy Policy
  • Terms and Conditions

Copyright 2025 Manuals.Online. All Rights Reserved.