manuals.online logo
Brands
  1. Home
  2. •
  3. Brands
  4. •
  5. Balboa Instruments
  6. •
  7. Controllers
  8. •
  9. Balboa Instruments ML900 User manual

Balboa Instruments ML900 User manual

Initial Start-up
When your spa is first actuated, it will go into Priming mode (after displaying some configuration information). Please see
the M-7 Installation Instruction Manual for complete instructions on Power-up and Pump Priming. The Priming
mode will last for up to 4 minutes and then the spa will begin to heat the spa and maintain the water temperature in the
Standard mode. You can exit Priming mode early by pressing “Warm” or “Cool.”
EL SERIES (Mach 1) CONTROL WITH ML900 PANEL
The ML900 panel can be used with the EL8000, EL5000, and EL2000 systems. This reference card lists all features that are available
for this panel. If your spa is not fully equipped, the panel buttons on your spa control may not be laid out as shown or respond as
described in this document.
The pump responsible for heating and filtration (pump 1 low on non-circ systems, or the circ pump on circ systems) will be
referred to simply as the pump.
Timeouts refer to a preset length of time that a function is programmed to operate before shutting off automatically. Certain
conditions (filters or freeze) can cause a function to operate longer, while faults can cause a function to operate for a shorter
length of time. The system keeps track of timeouts regardless of other conditions occurring.
In multi-button sequences, if buttons are pressed too quickly in sequence, they may not register.
1. Setting the Time
Once the spa has been properly connected the first time (every power
up on the EL2000), notice the “Time” icon appearing on the screen.
Press Then
Select the hour by pressing
Press to exit the time setting procedure and enter
the optional filter cycle programming. (Exits
programming on some EL2000 systems.)
Or
2. Optional Filter Cycle Programming
You are not required to set filter cycles; however, it is an option
available to you. To change the filter cycle settings:
Press “Time” “Mode/Prog” “Mode/Prog” “Mode/Prog” within 3
seconds. You will see the “SET FILTER 1” and a flashing “START
TIME” icon appear on the display.
Press “Up” or “Down” to choose the filter start time hour. Enter the
hour by pressing “Mode/Prog”.Press “Up” or “Down” to choose the
filter start time minutes. Each press changes the start time by
5 minutes.
Enter the minutes by pressing “Mode/Prog.”
Press “Mode/Prog” to see the “SET FILTER 1” and a flashing “END
TIME” icon. Adjust the time as done above.
Press “Mode/Prog” to see the “SET FILTER 2” (PM cycle) and a
flashing “START TIME” icon. Proceed as above.
Press “Mode/Prog” to see “SET FILTER 2” and a flashing “END
TIME” icon. Adjust the time as done above.
Pressing “Mode/Prog” will enter the new filter cycle times into the
system and display the current water temperature.
Pressing “Time” at any time during this programming sequence will
save the values entered up to that point and exit programming.
If you would like to select continuous filtration, set the filter 1
start and end times to be the exact same time.
Press to exit programming.
Press to enter.
Select minutes by pressing Or
(Each press changes the time by 1 hour)
(Each press changes the time by 1 minute)
Jets Icon - Spins fast on high speed; spins
slow on low speed. Light Icon - On dim, the LCD will show the
center circle plus one quarter of the light
beams. Half of the light beams will show
on medium brightness, and all of the light
beams will show on bright.
Fiber-Optic Light Icon - Spins when the
wheel is on; stands still when wheel is off.
Heat Icon - Indicates different stages of heating.
Icon Legend
Example of one Auxiliary Panel available
Blower Icon - Biggest in highest speed;
smallest in lowest speed.
Blower
1-speed operation: on/off;
2-speed operation: med/hi/off; or
3-speed operation: lo/med/hi/off.
If left on, the blower will automatically turn off after
15 minutes.*
Mister (optional)
Press the “Mister” button (or “Option” button if your system is
equipped with a mister but your panel does not have a mister
button) to turn the Mister on and off. If left on, the mister will
automatically turn off after 15 minutes.*
Option (when not used for Mister)
Press the “Option” button to turn optional equipment (such as
TV or Stereo) on and off (with no timeout), or to operate
some types of TV lifts.
Invert
Press the “Invert” button to change the numbers in the display
to read upside down. Another press returns the display to its
normal right-side-up display.
Light (optional if fiber wheel is installed)
Press the “Light” button to turn the spa light on and off, and to
shift between dim and bright settings if your light is dimmable.
On dim, the LCD will show center circle plus one quarter of
the light beams. Half of the light beams will show on medium
brightness, and all of the light beams will show on bright.
Fiber (optional)
If a fiber-optic light with wheel is installed, press the “Fiber”
button once to start the light and wheel, press it again to stop
the wheel, and then again to turn the light off. The fiber icon
stands still when the fiber optic light is on by itself, and rotates
when the color wheel is also on.
Both spa light and fiber-optic light can be used simultaneously
on the EL8000 and EL5000 systems. If either light is left on, it will
automatically turn off after 4 hours.
Fiber with wheel is not available on EL2000. Use the “Light”
button if your fiber-optic system is on/off only (no separate
wheel stop).
Circ Pump (optional)
If your system is equipped with a circ pump, it may be
configured to work in one of two different ways:
1) The circ pump operates continuously (24 hours) with the
exception of turning off for 30 minutes at a time when the
water temperature reaches 3°F (1.5°C) above the set
temperature (most likely to happen in very hot climates).
On certain configurations, the circ pump stays on continuously,
regardless of water temperature.
2) The circ pump will come on when the system is checking
temperature (polling), during filter cycles, during freeze
conditions, or when another pump is on.
Preset Filter Cycles
On all systems, the pump and the ozone generator** will run
during filtration. At the start of each filter cycle, the blower will
run on highest speed for 30 seconds to clean out the air
channels. The lowest speed of pump 2 and pump 3 will run
for 5 minutes; the mister will run for 5 seconds.
(The following is specific to all systems that are
programmed according time)
There are two filter cycles per day. The start/end times of each
cycle are programmable. To program, set time as instructed
above, then press “Mode/Prog” to advance to the next setting
(or to exit after the last setting). The default filter cycles are
as follows:
The first filter cycle is automatically activated at 8:00 AM and
operates the pump until 10:00 AM. The filter 1 indicator icon
will light when filter 1 is running.
Temp Set (80°F - 104°F / 26.0°C - 40.0°C)
The start-up temperature is set at 100°F/37.5°C. The last measured
temperature is constantly displayed on the LCD.
Note that the last measured spa temperature displayed is
current only when the pump has been running for at least
2 minutes.
Warm / Cool
Press the “Warm” or “Cool” button once to display the set
temperature. Each time either button is pressed again, the set
temperature will increase or decrease depending on which
button is pressed. After three seconds, the LCD will automatically
display the last measured spa temperature.
Time
When time hasn’t been programmed, the TIME icon flashes. To
set the time, press “Time” then “Mode/Prog.” Use the “Warm” and
“Cool” buttons to adjust time. See previous page for more
detailed instructions. (Time settings on EL2000 systems are not
preserved in the event of power loss; time will have to be
reprogrammed upon each power up.)
If your spa has an optional pH/ORP sensor (not available on
EL2000 systems), pressing “Time” twice will display the current
pH level; pressing it three times will display the current ORP.
Mode/Prog
This button is used to switch between standard, economy, and
sleep modes. Press “Mode/Prog” to enter mode programming,
press “Cool” to cycle through to desired mode (LCD flashes until
confirmed), then press “Mode/Prog” to confirm selection.
Standard mode maintains the desired temperature. Note that the
last measured spa temperature displayed is current only when the
pump has been running for at least 2 minutes. The “STANDARD”
icon will display until the mode is changed.
Economy mode heats the spa to set temperature only during
filter cycles. The “ECONOMY” icon will display until mode is
changed.
Pressing “Jets 1” while in Economy mode puts the spa in
Standard-In-Economy mode, which operates the same as
Standard Mode, then reverts to Economy Mode automatically
after 1 hour. During this time, a press of the “Mode/Prog” button
will revert to Economy Mode immediately.
Sleep mode heats the spa to within 20°F (11°C) of the set
temperature only during filter cycles. The “SLEEP” icon will
display until mode is changed.
Standby Mode
Pressing “Warm” or “Cool” then “Jets 2” will turn off all spa
functions temporarily. This is helpful when changing a filter.
Pressing any button resets the spa.
Jets 1
Press the “Jets 1” button once to turn pump 1 on or off, and to
shift between low and high speeds if equipped. If left running,
the low speed turns off after 2 hours and the high speed turns off
after 15 minutes.*
On non-circ systems, the low speed of pump 1 runs when the
blower or any other pump is on. It may also activate for at least
2 minutes every 30 minutes to detect the spa temperature
(polling) and then to heat to the set temperature if needed,
depending upon mode. When the low speed turns on
automatically, it cannot be deactivated from the panel; however,
the high speed may be started.
Jets 2 (optional on EL5000 and EL2000)
Press the “Jets 2” button once to turn pump 2 on or off, and to
shift between low and high speeds if it is a two-speed pump. If
left running, the pump will turn off after 15 minutes.*
Jets 3 (available on EL8000 only)
Press the “Jets 3” button once to turn pump 3 on or off, and to
shift between low and high speeds if it is a two-speed pump. If
left running, the pump will turn off after 15 minutes.*
*15-minute timeouts may be changed to 30 minutes and 2-hour timeouts may be changed to 4 hours on some models/installations.
The second filter cycle is automatically activated at 8:00 PM and
operates the pump until 10:00 PM. The filter 2 indicator icon
will light when filter 2 is running.
(The following is specific to EL2000 systems that are
programmed according to duration rather than time)
The first filter cycle (“day”) begins 6 minutes after the spa is
powered up. The second filter cycle (“night”) begins 12 hours
later. Filter duration is programmable for 1-12 hours (F1-F12).
The default filter time is 2 hours. To program, press “Warm” or
“Cool,” then “Jets 1.” Press “Warm” or “Cool” to select the filter
duration. Press “Jets 1” to select the number of filter cycles. The
display will show “dn” (both “day” and “night” cycles); “d” (day
cycle only); or “n” (“night” cycle only). Press “Warm” or “Cool”
to adjust, then press “Jets 1” to exit the programming mode. For
continuous filtration, use F12 and “dn.”
Note: Some EL2000 systems are capable of being programmed by
time rather than by duration (see Preset Filter Cycles section). On
EL2000 systems with duration programming only, the spa powers
up at 12:54, thus the first filter cycles begins 6 minutes later at
1:00. If you would like your spa to begin filtering at another time,
you may change the clock to align with your preferred filter time,
rather than the actual time of day.
Clean-up Cycle (optional)
When the pump or blower is turned on by a button press, a
clean-up cycle begins 30 minutes after the pump or blower is
turned off or times out. The pump and the ozone generator**
will run for one hour.
**Ozone (optional)
On most systems, the ozone generator (if installed) runs during
filter cycles (except when pump 1 is operating at high speed on a
non-circ system) and during clean-up cycles.
On some systems, the ozone generator operates whenever the
pump runs.
If your system is configured with the optional ozone suppress
feature, the ozone generator will turn off for 1 hour any time a
function button (Jets 1, Jets 2, Blower, etc.) is pressed.
Freeze Protection
If the temperature sensors detect a drop to 44°F (approximately
6.7°C) within the heater, then the pump automatically activates to
provide freeze protection. The equipment stays on until 4 minutes
after the sensors detect that the spa temperature has risen to 45°F
(approximately 7.2°C) or higher. In colder climates, an optional
additional freeze sensor may be added to protect against freeze
conditions that may not be sensed by the standard sensors. Aux
freeze sensor protection acts similarly except with the temperature
thresholds determined by the switch and without a 4-minute
delay in turnoff. See your dealer for details.
Locking the Panel
Press “Time” “Jets 1” then “Warm” within 3 seconds. When
locked, the PL indicator light will light. All buttons are frozen
except the “Time” button. To unlock the panel, press “Time”
“Jets 1” then “Cool.”
Locking the Set Temperature
Press “Warm” or “Cool” then “Time,” “Jets 1,” and “Warm” within
3 seconds to activate the lock. The TL indicator light will light
when the set temperature is locked.
To unlock the set temperature, press “Warm” or “Cool” then
“Time,” “Jets 1” and “Cool.”
Diagnostic Messages
Message Meaning
No message on display.
Power has been cut off to the spa.
“Overheat” - The spa has shut down.
One of the sensors has detected 118°F
(approximately 47.8°C) at the heater.
“Overheat” - The spa has shut down.
One of the sensors has detected that
the spa water is 110°F (approximately
43.3°C).
“Ice” - Potential freeze condition
detected.
Spa is shut down. The sensor that is
plugged into the Sensor “A” jack is not
working.
Spa is shut down. The sensor that is
plugged into the Sensor “B” jack is not
working.
Sensors are out of balance. If displayed
by itself, it may just be a temporary
condition. If it also says “SERVICE
REQ’D,” spa is shut down.
A substantial difference between the
temperature sensors was detected. This
could indicate a flow problem.
Persistent low flow problems. (Occurs
on the third occurrence of the “HTR
FLOW LOW” message.) Heater is
shut down, but other spa functions
continue to run normally.
Action Required
The control panel will be disabled until power returns. Spa settings
and time of day will be preserved for 30 days with a battery backup
on EL8000 and EL5000 systems; settings only are preserved until the
next power-up on EL2000 systems.
DO NOT ENTER THE WATER. Remove the spa cover and allow
water to cool. Once the heater has cooled, reset by pushing any
button. If spa does not reset, shut off the power to the spa and call
your dealer or service organization.
DO NOT ENTER THE WATER. Remove the spa cover and allow
water to cool. At 107°F (approximately 41.7°C), the spa should
automatically reset. If spa does not reset, shut off the power to the
spa and call your dealer or service organization.
No action required. The pumps and the blower will automatically
activate regardless of spa status.
If the problem persists, contact your dealer or service organization.
(May appear temporarily in an overheat situation and disappear
when the heater cools.)
If the problem persists, contact your dealer or service organization.
(May appear temporarily in an overheat situation and disappear
when the heater cools.)
If the problem persists, contact your dealer or service organization.
Check water level in spa. Refill if necessary. If the water level is
okay, make sure the pumps have been primed. If problem persists,
contact your dealer or service organization.
Follow action required for “HTR FLOW LOW” message.
Turn spa off then back on again to restore heating capability.
P/N 40121-1 06/22/2004
Warning! Shock Hazard! No User Serviceable Parts.
Do not attempt service of this control system. Contact your dealer or service organization for assistance. Follow all owner’s
manual power connection instructions. Installation must be performed by a licensed electrician and all grounding
connections must be properly installed.
Diagnostic Messages (continued)
Periodic Reminder Messages (Press the “Mode” button to reset a displayed reminder.)
Message Frequency Action Required
Every 7 days Test and adjust chemical levels per manufacturer’s instructions.
Every 30 days Remove, clean, and reinstall filter per manufacturer’s instructions.
Every 30 days Test & reset GFCI per manufacturer’s instructions. Drain and refill spa per
manufacturer’s instructions.
Every 90 days Drain and refill spa per manufacturer’s instructions.
Every 180 days Clean and condition cover per manufacturer’s instructions.
Every 180 days Clean and condition wood per manufacturer’s instructions.
Every 364 days Install new filter.
Inadequate water detected in heater.
(Displays on third occurrence of
“HEATER MAY BE DRY - WILL
RETEST SHORTLY” message.) Spa
is shut down.
When your spa is first actuated, it will go
into Priming mode.
Temperature Unknown.
Temperature not current in Economy
or Sleep Mode.
Standby Mode has been activated by
pressing a button combination on
user panel.
pH is low.
pH is high.
Sanitizer is low.
Sanitizer is high.
Check water level in spa. Refill if necessary. If the water level is
okay, make sure the pumps have been primed. Press any button
to reset.
Follow action required for “HEATER MAY BE DRY - WILL RETEST
SHORTLY” message. Spa will not automatically reset; you may
press any button to reset.
See the M-7 Installation Instruction Manual for complete
instructions on Power-up and Pump Priming. The Priming mode
will last for up to 4 minutes and then the spa will begin to heat
the spa and maintain the water temperature in the Standard mode.
After the pump has been running for 2 minutes, the temperature will be
displayed.
In Economy or Sleep mode, the pump may be off for hours outside a
filter. If you wish to see the current spa temperature, either switch to
Standard mode or turn Jets1 on for at least two minutes.
Press any button to leave Standby Mode and return operation.
Add pH increaser according to manufacturer’s instructions.
Add pH decreaser according to manufacturer’s instructions.
Add sanitizer according to manufacturer’s instructions.
Remove spa cover and allow sanitizer to dissipate.
or

Other Balboa Instruments Controllers manuals

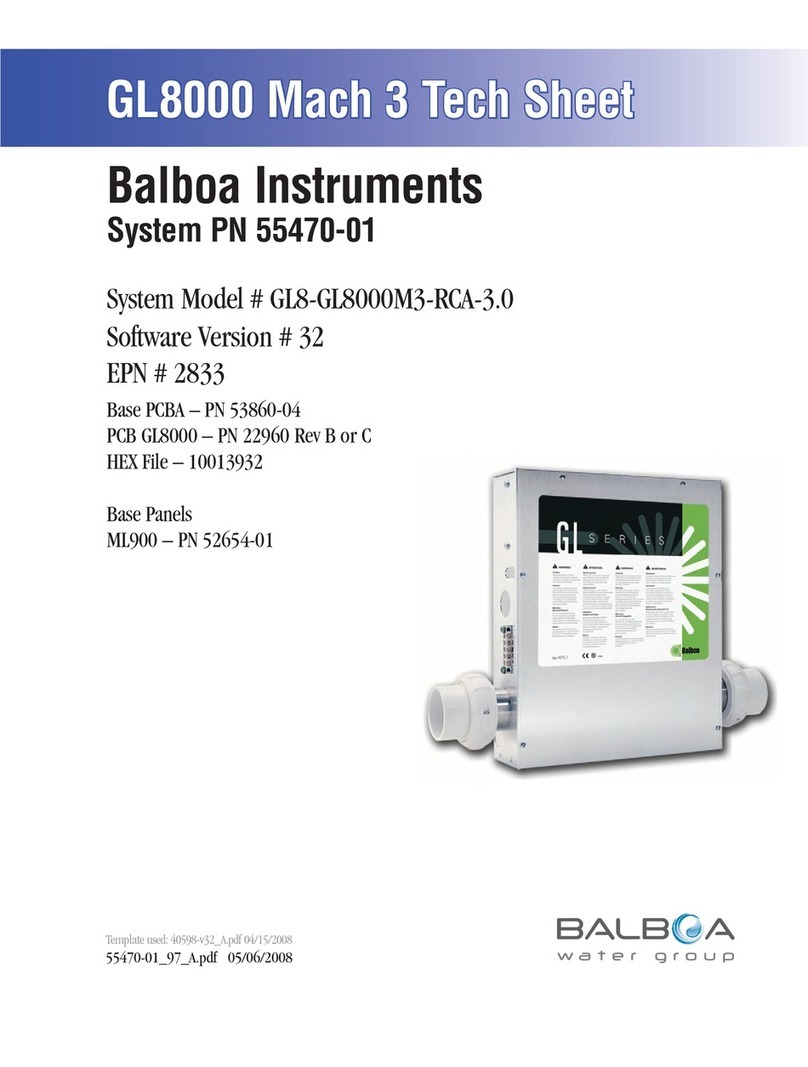
Balboa Instruments GL8000 Mach 3 User manual

Balboa Instruments

Balboa Instruments GL8000 Mach 3 User manual

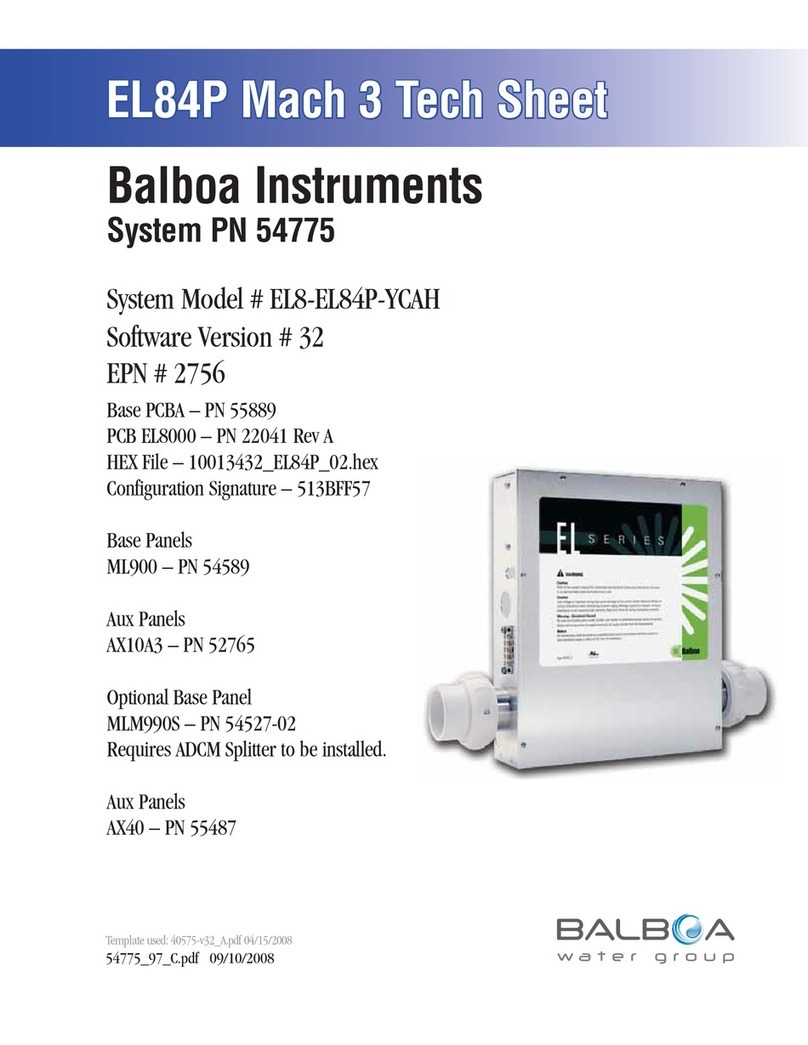
Balboa Instruments EL8-EL84P-YCAH User manual

Balboa Instruments

Balboa Instruments EL8-EL84P-YCAH User manual

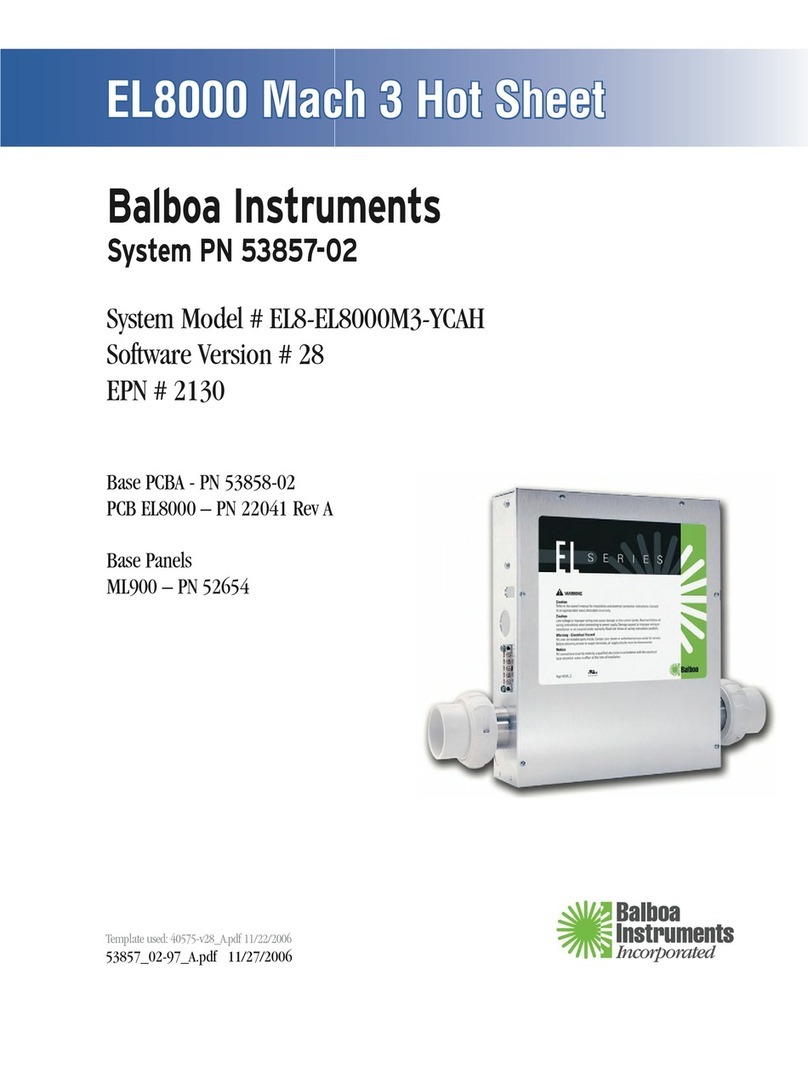
Balboa Instruments EL2001 Mach 3 User manual

Balboa Instruments

Balboa Instruments EL2001 Mach 3 User manual

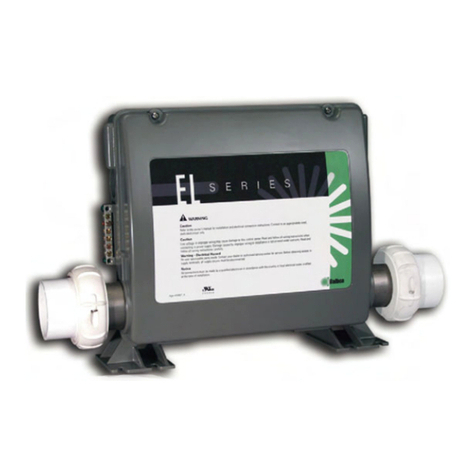
Balboa Instruments EL Series User manual

Balboa Instruments

Balboa Instruments EL Series User manual

Popular Controllers manuals by other brands

Kelly KDHE Series user manual

Kelly

Kelly KDHE Series user manual

Elan EM78P458 user guide

Elan

Elan EM78P458 user guide

B&R Automation PC 620 user manual

B&R

B&R Automation PC 620 user manual

Omron E5AN user manual

Omron

Omron E5AN user manual

hager TX 206H quick start guide

hager

hager TX 206H quick start guide

hpmont HD5L series user manual

hpmont

hpmont HD5L series user manual

Honeywell HON 372 Operating and maintenance instructions

Honeywell

Honeywell HON 372 Operating and maintenance instructions

Johnson Controls FX70 installation instructions

Johnson Controls

Johnson Controls FX70 installation instructions

Shinko FCR-13A instruction manual

Shinko

Shinko FCR-13A instruction manual

GESTRA LRR 1-52 Original Installation & Operating Manual

GESTRA

GESTRA LRR 1-52 Original Installation & Operating Manual

CLA-VAL CF1 Series Installation operation & maintenance

CLA-VAL

CLA-VAL CF1 Series Installation operation & maintenance

AUMA SA-UW Operation instructions

AUMA

AUMA SA-UW Operation instructions

PS Engineering PAC45L manual

PS Engineering

PS Engineering PAC45L manual

Emerson Fisher EZH Series instruction manual

Emerson

Emerson Fisher EZH Series instruction manual

Panasonic Vossloh-Schwabe Light Controller IP/DALI 2CH quick start guide

Panasonic

Panasonic Vossloh-Schwabe Light Controller IP/DALI 2CH quick start guide

Crestron MPC-M10 Do guide

Crestron

Crestron MPC-M10 Do guide

Dontek Aquasun 3 instruction manual

Dontek

Dontek Aquasun 3 instruction manual

AMX NetLinx Integrated Controller NI-3100 Dimension Guide

AMX

AMX NetLinx Integrated Controller NI-3100 Dimension Guide

manuals.online logo
manuals.online logoBrands
  • About & Mission
  • Contact us
  • Privacy Policy
  • Terms and Conditions

Copyright 2025 Manuals.Online. All Rights Reserved.