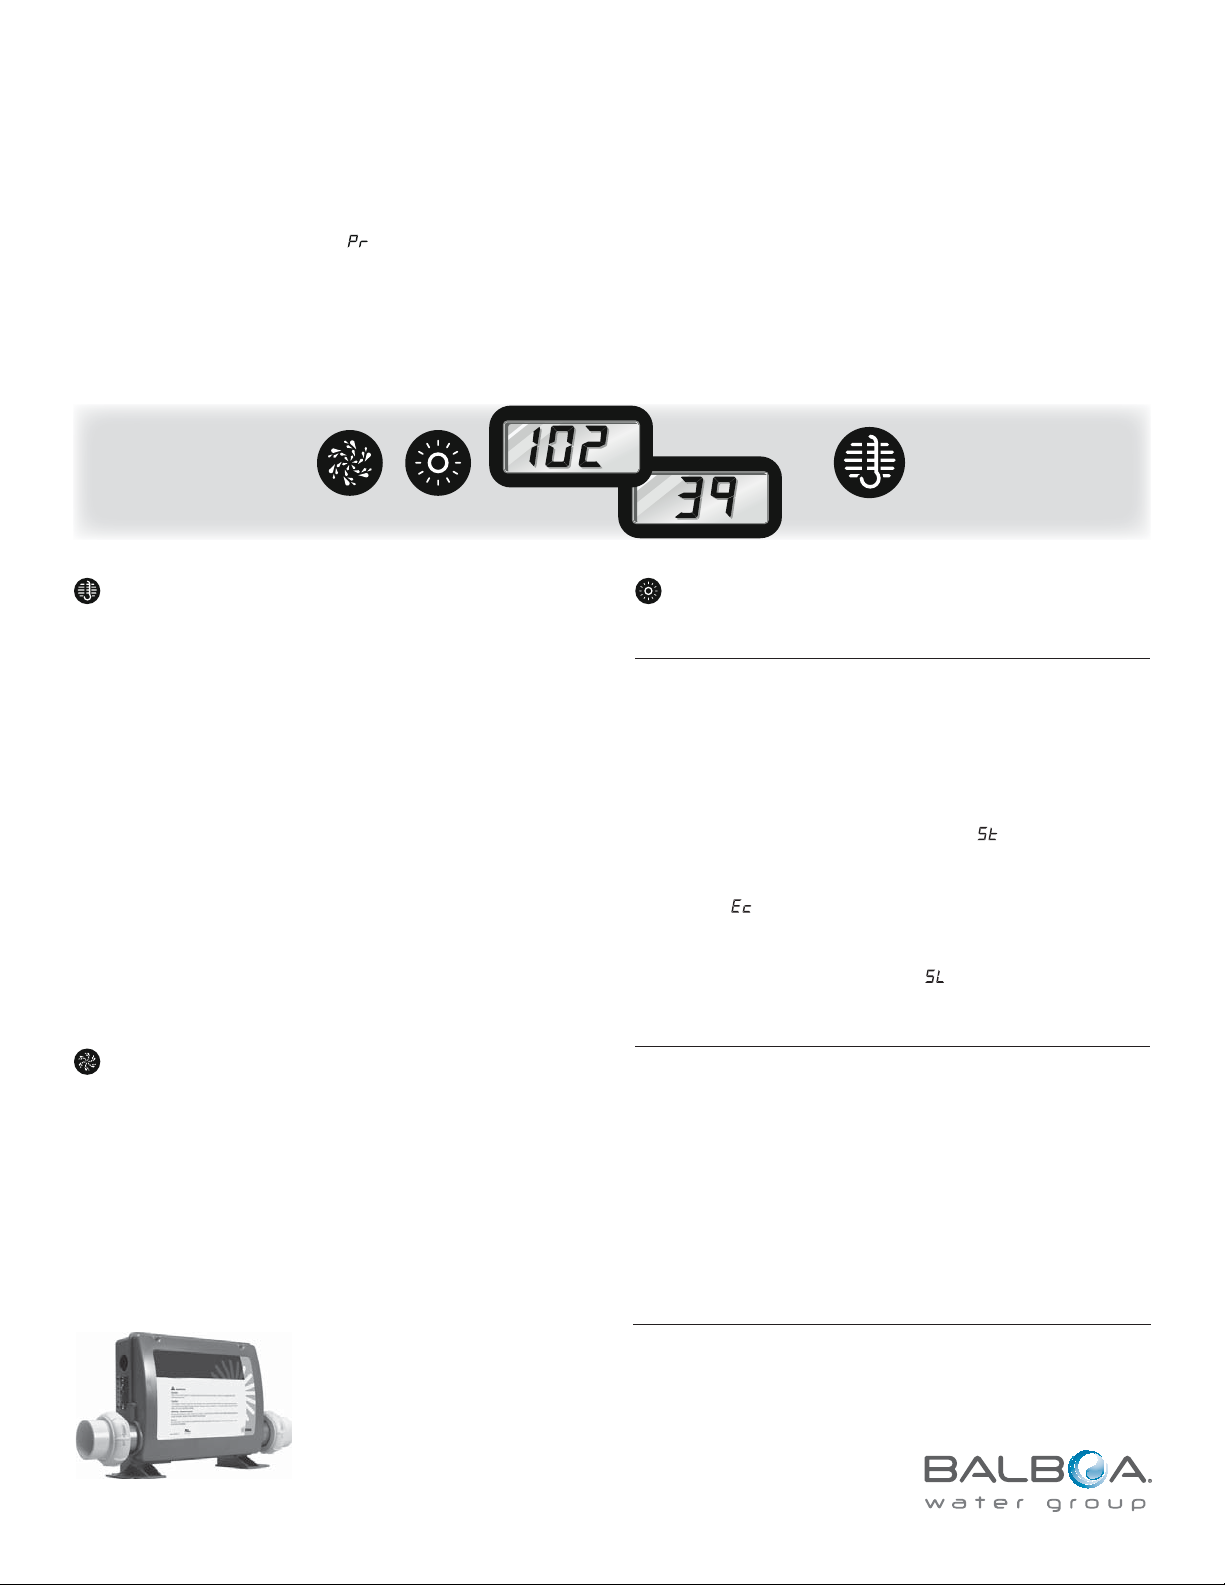
manuals.online logo
Brands
  1. Home
  2. •
  3. Brands
  4. •
  5. Balboa Water Group
  6. •
  7. Control System
  8. •
  9. Balboa Water Group VS100 Series User manual

Balboa Water Group VS100 Series User manual

Light Temp
Jets
http://www.balboawatergroup.com/
Temp Control (80°F - 104°F / 26°C - 40°C)
The last measured water temperature is constantly displayed.
The water temperature displayed is current only when the
pump has been running for at least 1 minute.
On panels with a single “Temp” or “Set” button, to display
the set temperature, press the button once. To change the set
temperature, press the button a second time before the display
stops flashing. Each press of the button will continue to either raise
or lower the set temperature. If the opposite direction is desired,
allow the display to revert to the current water temperature. Press
the button to display the set temperature, and again to make the
temperature change in the desired direction.
On panels with “Warm” and “Cool” buttons, to display the
set temperature, press “Warm” or “Cool” once. To change the
set temperature, press a temperature button again before the
display stops flashing. Each press of “Warm” or “Cool” will
adjust the set temperature.
After three seconds, the display will stop flashing and begin to
display the current spa temperature.
Jets
Press “Jets” to turn the pump on or off, and to shift between low
and high speeds (if equipped). If left running, the pump will turn
off after a preset length of time, which on some systems may be as
long as 2 hours for low speed. Low speed may run automatically at
times, during which it cannot be deactivated from the panel, but
high speed may be operated. The ozone generator (if installed) will
activate anytime low speed is running.
Initial Start-up
Your spa will enter Priming Mode ( ) when it is energized.
During Priming Mode, press “Jets” button repeatedly and
be sure the pump is free of air. Priming Mode lasts less than
5 minutes. Press “Temp” to exit. After Priming Mode, the spa
will run in Standard Mode (see Mode section). Some panels may
not have a “Temp” button. On these panels the “Set,” “Warm,” or
“Cool” buttons are used.
Button shapes and labels may vary.
Balboa VS/GS100 - Series Operation Guide
For Systems with Software v41 Only.
This document covers VS and GS systems 300F using software v41 only with Balboa Panels VL200 through VL406.
Light
Press “Light” to operate the spa light. Turns off after 4 hours.
Mode
Depending on system configuration, mode changing may not be
available and will be locked in Standard Mode.
Mode is changed by pressing “Temp,” then “Light”.
On panels with “Warm” and “Cool” buttons, Press "Cool", then
"Light"
.
Standard Mode maintains set temperature. will be displayed
momentarily when you switch into Standard Mode.
Economy Mode heats the spa to the set temperature only during
filter cycles. will display when water temp is not current, and
will alternate with water temp when the pump is running.
Sleep Mode heats the spa to within 20°F/10°C of the set
temperature only during filter cycles. will display when water
temp is not current, and will alternate with water temp when the
pump is running.
Preset Filter Cycles
The first preset filter cycle begins 6 minutes after the spa is
energized. The second preset filter cycle begins 12 hours later.
Filter duration is programmable for 1, 2, 3, 4, 5, 6, 7, or 8 hours.
The default filter time is 1 hour.
To program, press “Temp,” then “Jets.” Press “Temp” to
adjust. Press “Jets” to exit programming.
On panels with “Warm” and “Cool” buttons, press
"Cool",then"Jets". Press "Cool" to adjust. Press "Jets" to exit
programming.
Pump 1 low-speed is responsible for heating and filtration and will
be referred to simply as the pump.
In multi-button sequences, if the buttons are pressed too quickly in
sequence, they may not register.
Automatic polling (in Standard Mode only)
The pump will activate for 1 minute to check the temperature:
- every 30 minutes
- whenever any other pump or blower is turned on
- whenever the set temperature is raised
Warning! Shock Hazard! No User Serviceable Parts.
Do not attempt service of this control system. Contact your dealer or service organization for assistance.
Follow all owner’s manual power connection instructions. Installation must be performed by a licensed
electrician and all grounding connections must be properly installed.
No message on display.
Power has been cut off to the spa.
Temperature unknown.
“Overheat” - The spa has shut down.* One of the
sensors has detected 118°F/47.8°C at the heater.
“Overheat” - The spa has shut down.* One of
the sensors has detected that the spa water is
110°F/43.5°C.
Spa is shut down.* The sensor that is plugged into
the Sensor “A” jack is not working.
Spa is shut down.* The sensor that is plugged into
the Sensor “B” jack is not working.
Sensors are out of balance. If alternating with spa
temperature, it may just be a temporary condition.
If flashing by itself, spa is shut down.*
A significant difference between temperature
sensors has been detected. This could indicate a
flow problem.
Persistent low flow problems. (Displays on the
fifth occurrence of message within 24 hours.)
Heater is shut down, but other spa functions
continue to run normally.
Possible inadequate water, poor flow, or air
bubbles in detected in the heater. Spa is shut down
for 15 minutes.
Inadequate water detected in heater. (Displays on
third occurrence of message.) Spa is
shut down.*
“Ice” - Potential freeze condition detected.
* - Even when spa is shut down, some equipment will
turn on if freeze protection is needed.
Message Meaning Action Required
Diagnostic Messages
The control panel will be disabled until power returns. Spa settings
will be preserved until next power up.
After the pump has been running for 1 minute, the current water
temperature will be displayed.
DO NOT ENTER THE WATER. Remove the spa cover and allow
water to cool. Once the heater has cooled, reset by pushing any
button. If spa does not reset, shut off the power to the spa and call
your dealer or service organization.
DO NOT ENTER THE WATER. Remove the spa cover and allow
water to cool. At 107°F/41.7°C, the spa should automatically reset.
If spa does not reset, shut off the power to the spa and call your
dealer or service organization.
If the problem persists, contact your dealer or service organization.
(May appear temporarily in an overheat condition.)
If the problem persists, contact your dealer or service organization.
(May appear temporarily in an overheat condition.)
If the problem persists, contact your dealer or service organization.
If the water level is normal, make sure all pumps have been primed.
If problem persists, contact your dealer or service organization.
Follow action required for message. Heating capability of the
spa will not reset automatically; you may press any button to reset.
If water level is normal, make sure all pumps have been
primed. Press any button to reset. This message will reset
within 15 minutes. If problem persists, contact your dealer or
service organization.
Follow action required for message. Spa will not automatically
reset. Press any button to reset manually.
No action required. All equipment will automatically activate
regardless of spa status. The equipment stays on 4 minutes after the
sensors detect that the spa temperature has risen to 45°F/7.2°C or
higher. An optional freeze sensor may be added to protect against
extraordinary freeze conditions. Auxiliary freeze sensor protection is
advisable is colder climates. See your dealer for details.
P/N 42130_C
07/05/12

This manual suits for next models

1

Other Balboa Water Group Control System manuals

Balboa Water Group BP100G2 User manual

Balboa Water Group

Balboa Water Group BP100G2 User manual

Balboa Water Group BP600 User manual

Balboa Water Group

Balboa Water Group BP600 User manual

Balboa Water Group SPA TOUCH mini User manual

Balboa Water Group

Balboa Water Group SPA TOUCH mini User manual

Balboa Water Group BP500 Programming manual

Balboa Water Group

Balboa Water Group BP500 Programming manual

Popular Control System manuals by other brands

heat-timer SMC Installation & operation manuals

heat-timer

heat-timer SMC Installation & operation manuals

PROJECT X GHOST BOX GB538823 manual

PROJECT X

PROJECT X GHOST BOX GB538823 manual

RDT FloodMaster RS-094-MK4 Install manual

RDT

RDT FloodMaster RS-094-MK4 Install manual

Norac UC5 Can Bus installation manual

Norac

Norac UC5 Can Bus installation manual

CAME 001G3750 installation manual

CAME

CAME 001G3750 installation manual

Norac UC7 installation manual

Norac

Norac UC7 installation manual

GSK GSK983Ma user manual

GSK

GSK GSK983Ma user manual

CiA KB manual

CiA

CiA KB manual

Jäger ADwin-light-16 manual

Jäger

Jäger ADwin-light-16 manual

Vertiv LIEBERT ICOM CMS Quick installation guide

Vertiv

Vertiv LIEBERT ICOM CMS Quick installation guide

Toro TouchNet NO-90-06 user guide

Toro

Toro TouchNet NO-90-06 user guide

Philips Lytemode 6-Button Remote Station user guide

Philips

Philips Lytemode 6-Button Remote Station user guide

Sealey AK4562 quick start guide

Sealey

Sealey AK4562 quick start guide

HEIDENHAIN MANUALPLUS 620 Technical manual

HEIDENHAIN

HEIDENHAIN MANUALPLUS 620 Technical manual

Leviton 48211-AVC Instructions for use

Leviton

Leviton 48211-AVC Instructions for use

Genius 433RC Series quick start guide

Genius

Genius 433RC Series quick start guide

EUCHNER CE Series operating instructions

EUCHNER

EUCHNER CE Series operating instructions

Lennox Icon Hardware Installation and System Commissioning Guide

Lennox

Lennox Icon Hardware Installation and System Commissioning Guide

manuals.online logo
manuals.online logoBrands
  • About & Mission
  • Contact us
  • Privacy Policy
  • Terms and Conditions

Copyright 2025 Manuals.Online. All Rights Reserved.