manuals.online logo
Brands
  1. Home
  2. •
  3. Brands
  4. •
  5. Balmani
  6. •
  7. Indoor Furnishing
  8. •
  9. Balmani Cub'O User manual

Balmani Cub'O User manual

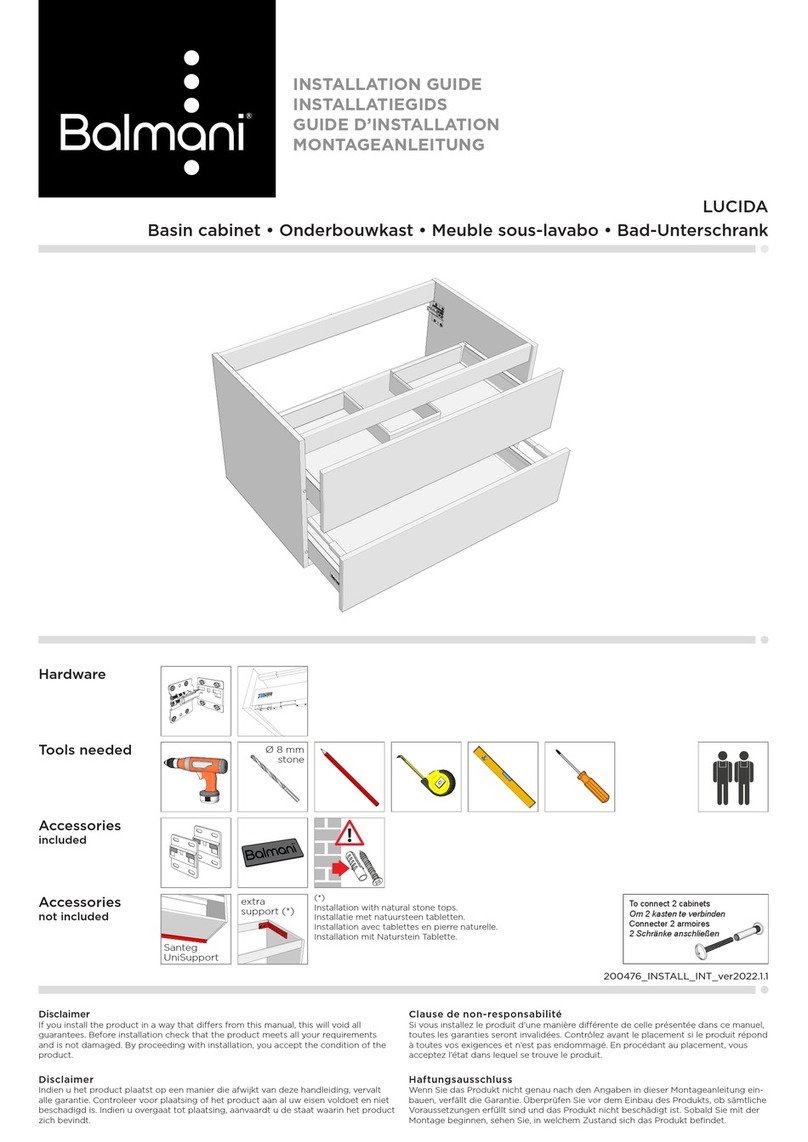
INSTALLATION GUIDE
INSTALLATIEGIDS
GUIDE D’INSTALLATION
MONTAGEANLEITUNG
Disclaimer
If you install the product in a way that diers from this manual, this will void all
guarantees. Before installation check that the product meets all your requirements
and is not damaged. By proceeding with installation, you accept the condition of the
product.
Disclaimer
Indien u het product plaatst op een manier die afwijkt van deze handleiding, vervalt
alle garantie. Controleer voor plaatsing of het product aan al uw eisen voldoet en niet
beschadigd is. Indien u overgaat tot plaatsing, aanvaardt u de staat waarin het product
zich bevindt.
Clause de non-responsabilité
Si vous installez le produit d’une manière diérente de celle présentée dans ce manuel,
toutes les garanties seront invalidées. Contrôlez avant le placement si le produit répond
à toutes vos exigences et n’est pas endommagé. En procédant au placement, vous
acceptez l’état dans lequel se trouve le produit.
Haftungsausschluss
Wenn Sie das Produkt nicht genau nach den Angaben in dieser Montageanleitung ein-
bauen, verfällt die Garantie. Überprüfen Sie vor dem Einbau des Produkts, ob sämtliche
Voraussetzungen erfüllt sind und das Produkt nicht beschädigt ist. Sobald Sie mit der
Montage beginnen, sehen Sie, in welchem Zustand sich das Produkt befindet.
Hardware
Tools needed
Accessories
included
Cub’O cabinet & solid surface top
66315_INSTALL_INT_ver2019.1.2
Ø 8 mm
stone
Mild
Soap
SANITARY
Mild
Soap
SANITARY
Mild
Soap
SANITARY
Ø 35 mm
110°
110°
medium 110°high
155°
min 25 cm
Do not place the cabinet against the left corner. The left door must be
able to open sufficiently to extend the drawers.
Plaats het meubel niet tot in de linkerhoek. De linker deur moet
voldoende open kunnen om de laden uit te schuiven.
Ne placez pas l’armoire dans le coin gauche. La porte de gauche doit
pouvoir s’ouvrir suffisamment pour permettre l’extension des tiroirs.
Stellen Sie das Möbel nicht gege die linke Ecke. Die linke Tür muss
sich zum Önen der Schubladen ausreichend önen lassen.
IMPORTANT - BELANGRIJK - IMPORTANT - WICHTIG
1
Check for damage before starting installation.
Controleer op schade vóór montage.
Contrôler si le produit n’est pas endommagé avant montage.
Prüfen Sie das Produkt auf Beschädigungen vor der Installation.
2
Protect against damage.
Bescherm tegen schade.
Proteger contre les dommages.
Vor beschädigungen schûtzen.
PREPARATION - VOORBEREIDEN - PRÉPARATION - VORBEREITUNG
With solid wood, the colour and pattern of individual items may
vary and are not accepted for warranty claims.
Bij massief hout kan de kleur en het patroon van afzonderlijke items
variëren en worden niet geaccepteerd voor garantieclaims.
Avec le bois massif, la couleur et le motif des éléments individuels
peuvent varier et ne sont pas acceptés pour les demandes de
garantie.
Bei Massivholz können Farbe und das Design von Einzelelementen
variieren und werden nicht für Gewährleistungsansprüche
akzeptiert.
4
WALL FIXATION - MUURFIXATIE - FIXATION AU MUR - WANDMONTAGE
8
*
9 10
The drawers should be taken horizontally from their sliding systems.
Press left & right always simultaneously!
De laden dienen horizontaal uit hun geleiders genomen te worden.
Links & rechts steeds gelijktijdig indrukken!
Il faut demonter les tiroirs horizontalement de leurs système de
curseur.
Presse droite & gauche toujours simultanément!
Die Schubladen sollten horizontal von ihrem Schiebesystem genom-
men werden.
Presse links & rechts immer gleichzeitig!
3
2 mm
20 mm
5 6 7
INSTALL WASHBASIN - MONTAGE WASTAFEL - MONTAGE LAVABO - MONTAGE WASCHTISCH
No action needed - Geen actie vereist
Pas d’action requise - Keine handlung nötig
12
1
2
11
14 15
Consult the technical drawing for the position of the faucet.
Raadpleeg de technische tekening voor de positie van de
kraan.
Consultez le dessin technique pour connaître la position du
robinet.
Die Position des Wasserhahns finden Sie in der technis-
chen Zeichnung.
TO REMOVE
13
Place a wedge in case
there is still space between the floor
and the base.
Plaats een wig in geval er ruimte blijft tussen de vloer
en de sokkel.
Placez une cale au cas où il y aurait encore un espace
entre le sol et la base.
Platzieren Sie einen Keil für den Fall dass zwischen
Boden und Sockel noch Platz ist.
ASSEMBLY FAUCET AND DRAIN - MONTAGE KRAAN EN SIFON - ASSEMBLAGE ROBINET ET
SIPHON - MONTAGE HAHN UND SIPHON
Please consult the manuals of the
faucet and siphon for further steps in
the installation.
Raadpleeg de handleidingen van de
kraan en sifon voor verdere stappen
in de installatie.
Veuillez vous référer aux manuels
de la tablette, le lavabo, robinet et
siphon pour les autres étapes de
l’installation.
Beachten Sie den Handbüchern zu
Tablette, Waschbecken, Wasserhahn
und Siphon für weitere Schritte in der
Installation.
Check for leaks
Lektest
Teste de fuite
Dichtheitsprüfung
16
17
SANITARY
SANITARY
3mm
18 19
± 4 h
DRAWER ADJUSTMENT - LADE REGELEN - RÉGLAGE DU TIROIR - SCHUBLADENEINSTELLUNG
Move left & right always simultaneously!
Links & rechts steeds gelijktijdig draaien!
Changer droite & gauche toujours simultanément!
Links & rechts immer gleichzeitig verdrehen!
MAINTENANCE ADVICE - ONDERHOUDSINSTRUCTIES - CONSEILS D’ENTRETIEN - WARTUNGSANLEITUNG
Wood - Hout - Bois - Holz Solid Surface
click
check
17
155°
Disassembly - Demonteren
Démontage - Demontage
Soft closing
Montage - Monteren - Montage - Montage
110°
DO NOT REMOVE to avoid damage
NIET VERWIJDEREN om schade te voorkomen
NE PAS RETIRER pour éviter les dommages
NICHT ENTFERNEN schäden zu vermeiden
155°
Adjustment - Regelen - Réglage - Einstellung
Angle limitator
(one per door - één per deur -
un par porte - eine pro Tür)
CLICK !
HINGES - SCHARNIEREN - CHARNIÈRES - SCHARNIERE
155° 155° 110°
Uitzetten / Deactivation / Désactivation / Deaktivierung
Aanzetten / Activation / Activation / Aktivierung
Blum Clip top
110°
110°high 110°
medium
CLICK
Uitzetten / Deactivation / Désactivation / Deaktivierung
Aanzetten / Activation / Activation / Aktivierung
Blum Clip top
Uitzetten / Deactivation / Désactivation / Deaktivierung
Aanzetten / Activation / Activation / Aktivierung
Blum Clip top
Disassembly - Demonteren - Démontage - Demontage
Adjustment - Regelen - Réglage - Einstellung
+ 3 / - 2 mm max ± 3 mm ± 2 mm
Montage - Monteren - Montage - Montage
CLICK
CLICK
PUSH TO OPEN ADJUSTMENT - REGELEN - RÉGLAGE - EINSTELLUNG

Other Balmani Indoor Furnishing manuals

Balmani OBERTURE User manual

Balmani

Balmani OBERTURE User manual

Balmani Forma User manual

Balmani

Balmani Forma User manual

Balmani Mitra Elements column cabinet - lacquer User manual

Balmani

Balmani Mitra Elements column cabinet - lacquer User manual

Balmani QUADRO User manual

Balmani

Balmani QUADRO User manual

Balmani Mitra Elements wood User manual

Balmani

Balmani Mitra Elements wood User manual

Balmani Fila column cabinet - veneer wood User manual

Balmani

Balmani Fila column cabinet - veneer wood User manual

Balmani Mitra User manual

Balmani

Balmani Mitra User manual

Balmani EXPO User manual

Balmani

Balmani EXPO User manual

Balmani Mitra Elements cabinet - lacquer User manual

Balmani

Balmani Mitra Elements cabinet - lacquer User manual

Balmani Mitra small basin cabinet-wood User manual

Balmani

Balmani Mitra small basin cabinet-wood User manual

Balmani Lucida basin cabinet User manual

Balmani

Balmani Lucida basin cabinet User manual

Balmani Maestro Mitra User manual

Balmani

Balmani Maestro Mitra User manual

Balmani Mitra basin cabinet - wood User manual

Balmani

Balmani Mitra basin cabinet - wood User manual

Balmani Weathered Oak ST Series User manual

Balmani

Balmani Weathered Oak ST Series User manual

Balmani LUCIDA User manual

Balmani

Balmani LUCIDA User manual

Balmani BASEBOARD User manual

Balmani

Balmani BASEBOARD User manual

Balmani Mitra User manual

Balmani

Balmani Mitra User manual

Balmani MOON User manual

Balmani

Balmani MOON User manual

Balmani Lucida User manual

Balmani

Balmani Lucida User manual
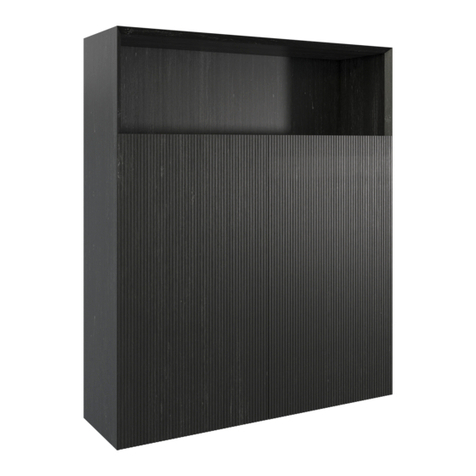
Balmani Idra Basin Cabinet User manual

Balmani

Balmani Idra Basin Cabinet User manual

Balmani Idra Wall unit solid teak User manual

Balmani

Balmani Idra Wall unit solid teak User manual

Balmani Life Edge Mini User manual

Balmani

Balmani Life Edge Mini User manual

Balmani Fila Wall Unit User manual

Balmani

Balmani Fila Wall Unit User manual
Balmani Mitra 39442 User manual

Balmani

Balmani Mitra 39442 User manual

Popular Indoor Furnishing manuals by other brands

Proloisirs AGRA TABLE Assembling instructions

Proloisirs

Proloisirs AGRA TABLE Assembling instructions

Target Fairglen TGFGCDSKWH Assembly instructions

Target

Target Fairglen TGFGCDSKWH Assembly instructions

Habitat Jasper 819983 manual

Habitat

Habitat Jasper 819983 manual

LG OUTDOOR SAV08 Assembly instructions

LG OUTDOOR

LG OUTDOOR SAV08 Assembly instructions

Acme Furniture 39235 Assembly instructions

Acme Furniture

Acme Furniture 39235 Assembly instructions

Office Star Products EM20600 operating instructions

Office Star Products

Office Star Products EM20600 operating instructions

LHFD C2010001 Assembly instructions

LHFD

LHFD C2010001 Assembly instructions

Forte KFLR823 Assembling Instruction

Forte

Forte KFLR823 Assembling Instruction

RTA TVM-060 Assembly instructions

RTA

RTA TVM-060 Assembly instructions

Copeland Catalina Bed Assembly instructions

Copeland

Copeland Catalina Bed Assembly instructions

INOSIGN VARADERO 3K1F1O UP 01261 Assembling Instruction

INOSIGN

INOSIGN VARADERO 3K1F1O UP 01261 Assembling Instruction

HALE Pinnacle installation guide

HALE

HALE Pinnacle installation guide

Hillsdale Furniture Chesney 5940-826A manual

Hillsdale Furniture

Hillsdale Furniture Chesney 5940-826A manual

Unique Furniture Nors Table 709-157-1020 Assembly instruction

Unique Furniture

Unique Furniture Nors Table 709-157-1020 Assembly instruction

Habitat MAX 895/5030 instructions

Habitat

Habitat MAX 895/5030 instructions

Baumax DROP 1701 Assembling Instruction

Baumax

Baumax DROP 1701 Assembling Instruction

ACTIVEBASE AAA001 user manual

ACTIVEBASE

ACTIVEBASE AAA001 user manual

Sensea PERLA 13 S110 3P Assembly, Use, Maintenance Manual

Sensea

Sensea PERLA 13 S110 3P Assembly, Use, Maintenance Manual

manuals.online logo
manuals.online logoBrands
  • About & Mission
  • Contact us
  • Privacy Policy
  • Terms and Conditions

Copyright 2025 Manuals.Online. All Rights Reserved.