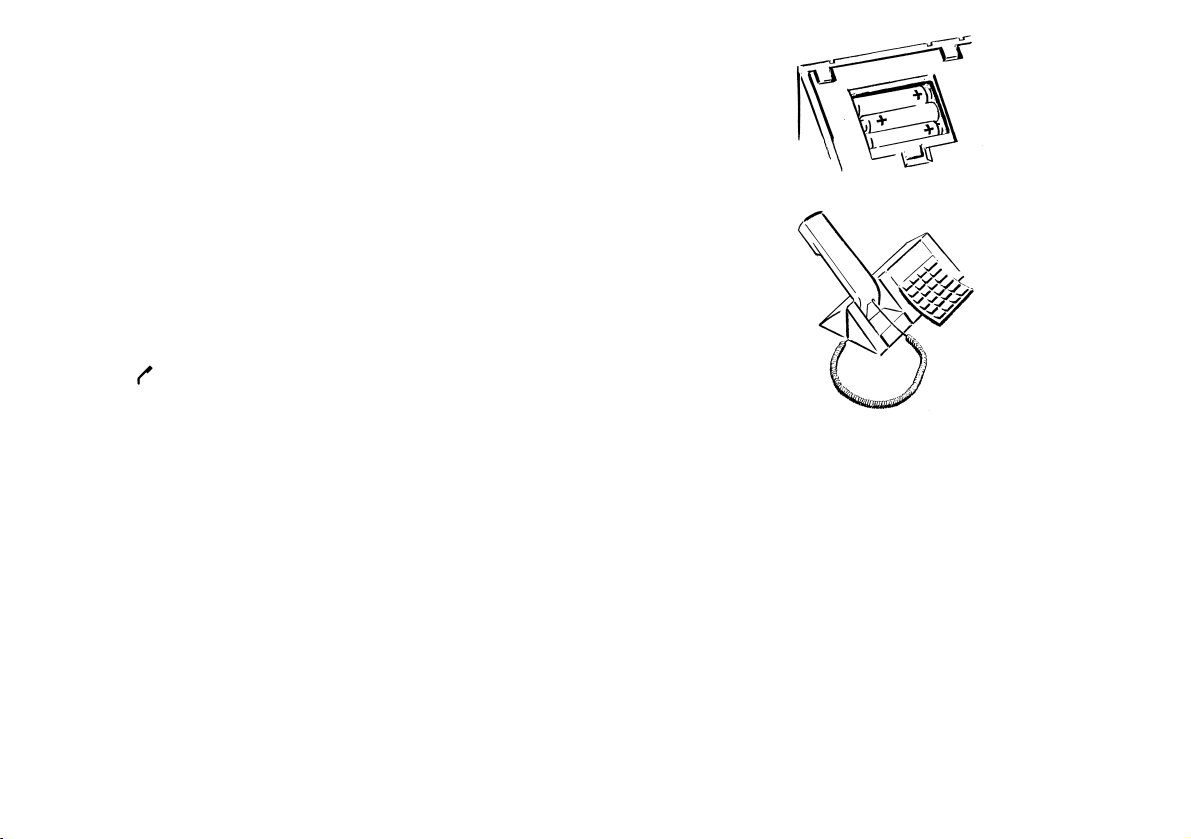
Bang & Olufsen BeoCom 2500 User manual
Other Bang & Olufsen Telephone manuals

Bang & Olufsen
Bang & Olufsen BeoCom 2500 User manual

Bang & Olufsen
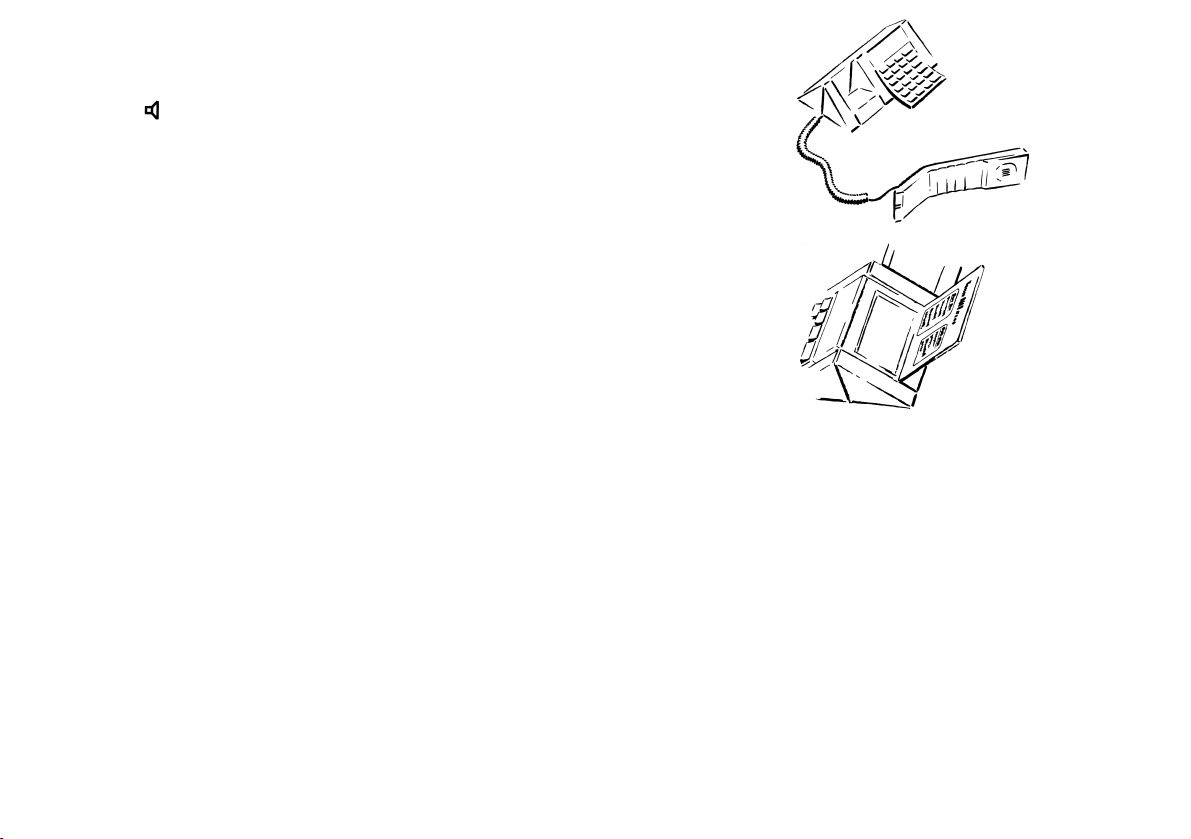
Bang & Olufsen BeoCom 1401 User manual

Bang & Olufsen
Bang & Olufsen BeoCom User manual

Bang & Olufsen
Bang & Olufsen BEOLINE User manual

Bang & Olufsen
Bang & Olufsen BeoCom 1 User manual

Bang & Olufsen
Bang & Olufsen BeoCom 3 User manual

Bang & Olufsen
Bang & Olufsen BeoCom 3 User manual

Bang & Olufsen
Bang & Olufsen BeoCom 4 User manual

Bang & Olufsen
Bang & Olufsen BeoCom 1401 User manual

Bang & Olufsen
Bang & Olufsen BeoCom 4 User manual