2.Configuration file setting
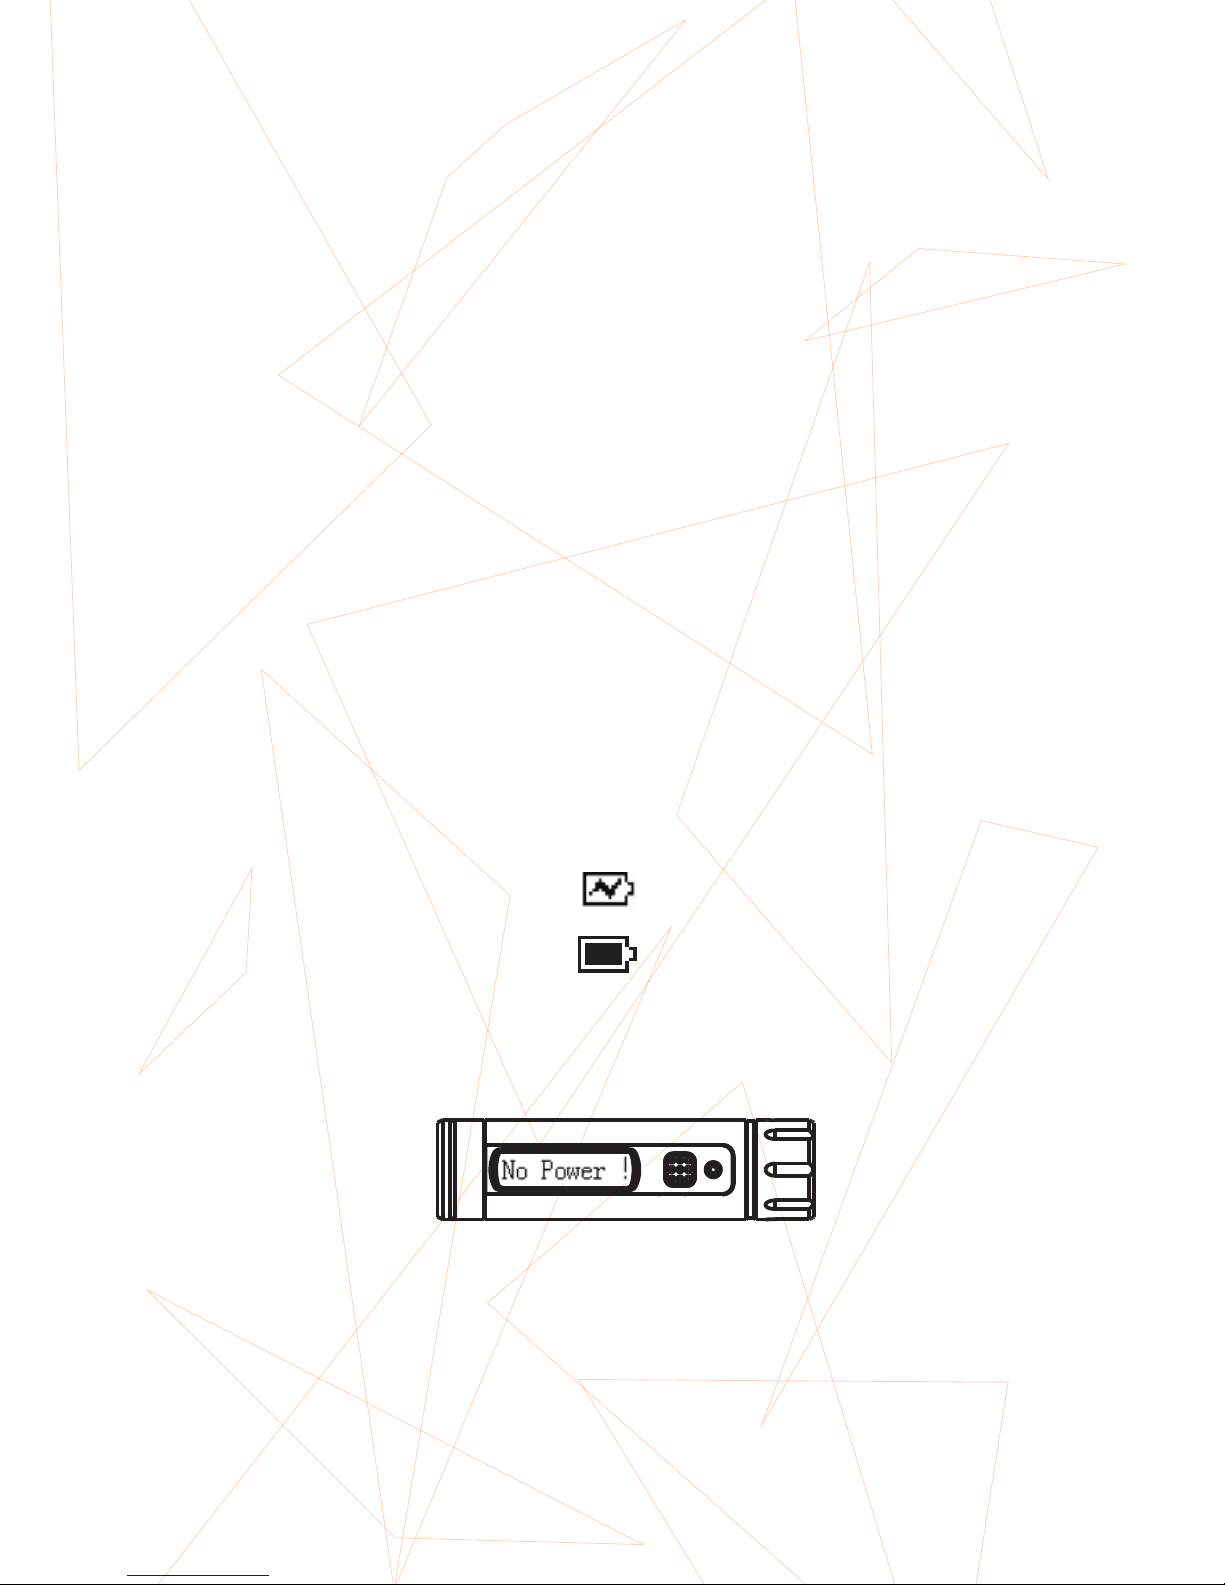
When the screwdriver is power off, connect it to PC with
USB data cable, short press the key to activate the flash
disk; open config.txt file in the disk, and the contents are:
StartAngle=2 #(2~10)
Gear=4 #(0~4)
MotoTimeCont=0 #ReadOnly
Ver=1.1 #ReadOnly
StartAngle The angle that starts ES120. E.g. set as
“2”, ES120 will start working at a rotation
angle of 2 degree.
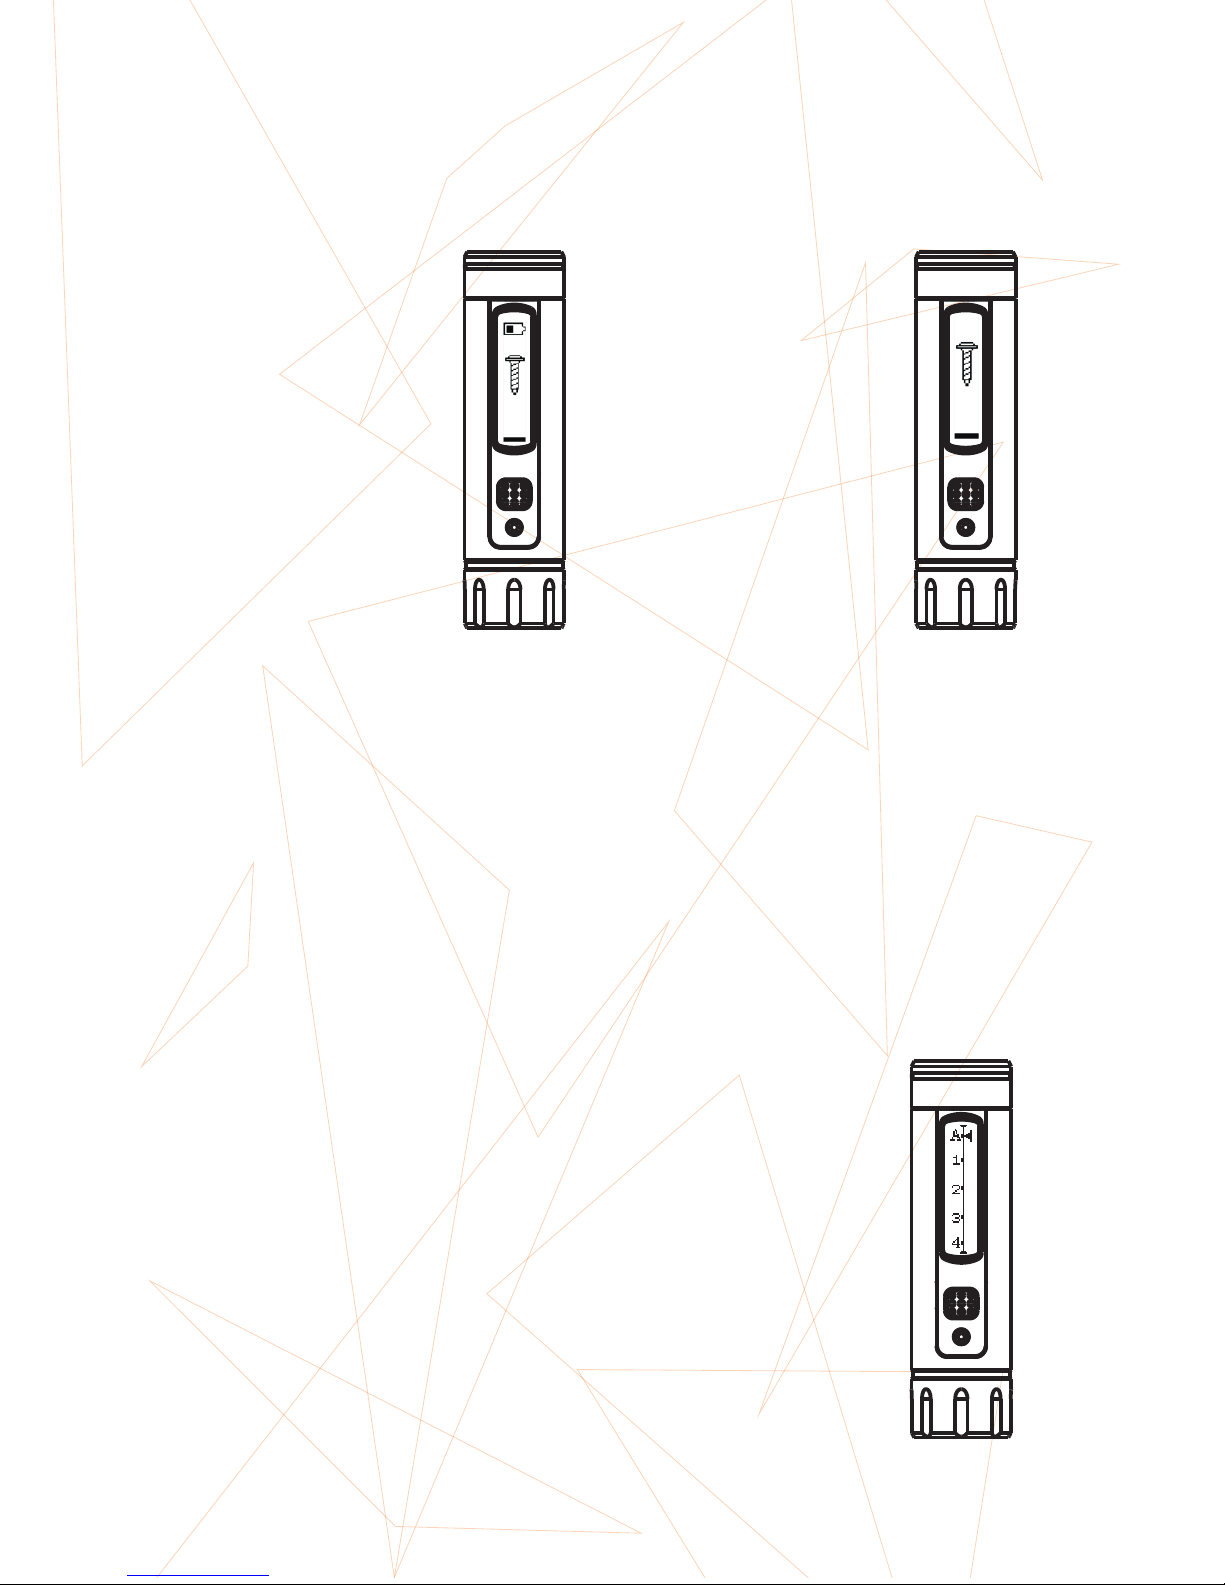
Gear Torque shifts, “0-4“ corresponds with “A-4”
MotoTimeCont
Motor service time, read only
Ver Version, read only
VII. Firmware Upgrade
1、Visit www.miniware.com.cn and download the latest
ES120 firmware to your PC
2、When the screwdriver is power off, connect it to PC
with USB data cable, and hold the key until “DFU3.44”
displays on screen to enter DFU mode, and a virtual disk
will appear on PC.
6
Parameters Paraphrase Range
2~10
0~4
Note: Settings will be applied to ES120 by saving.