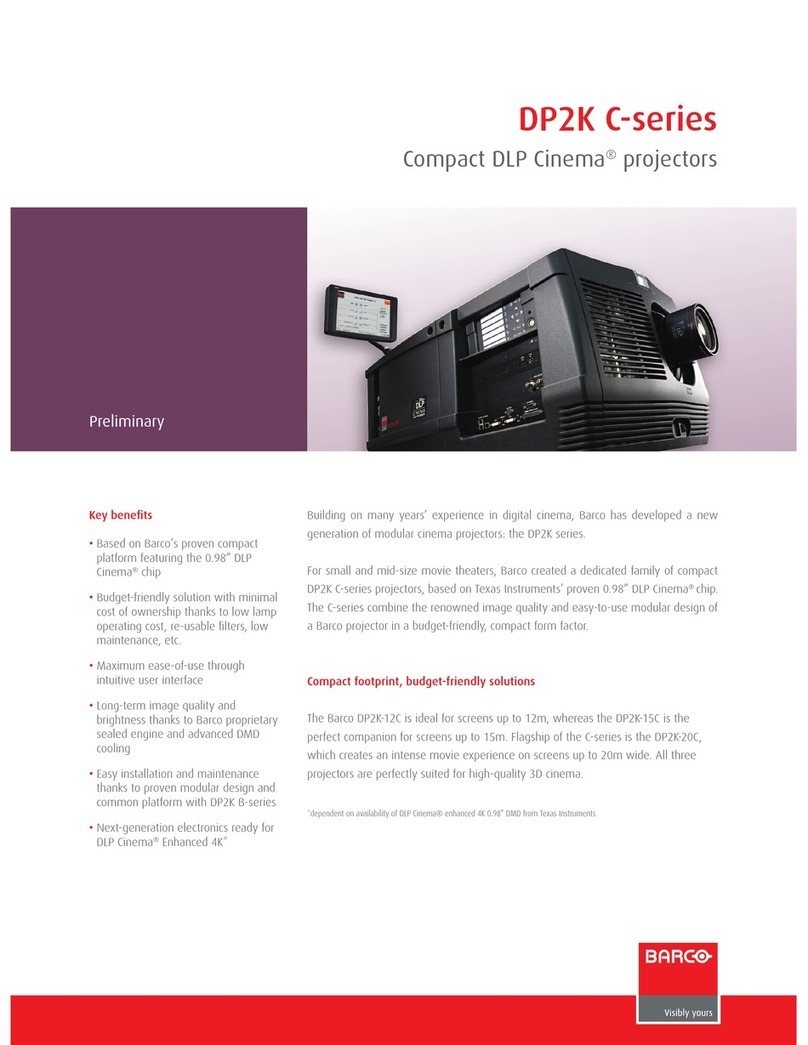
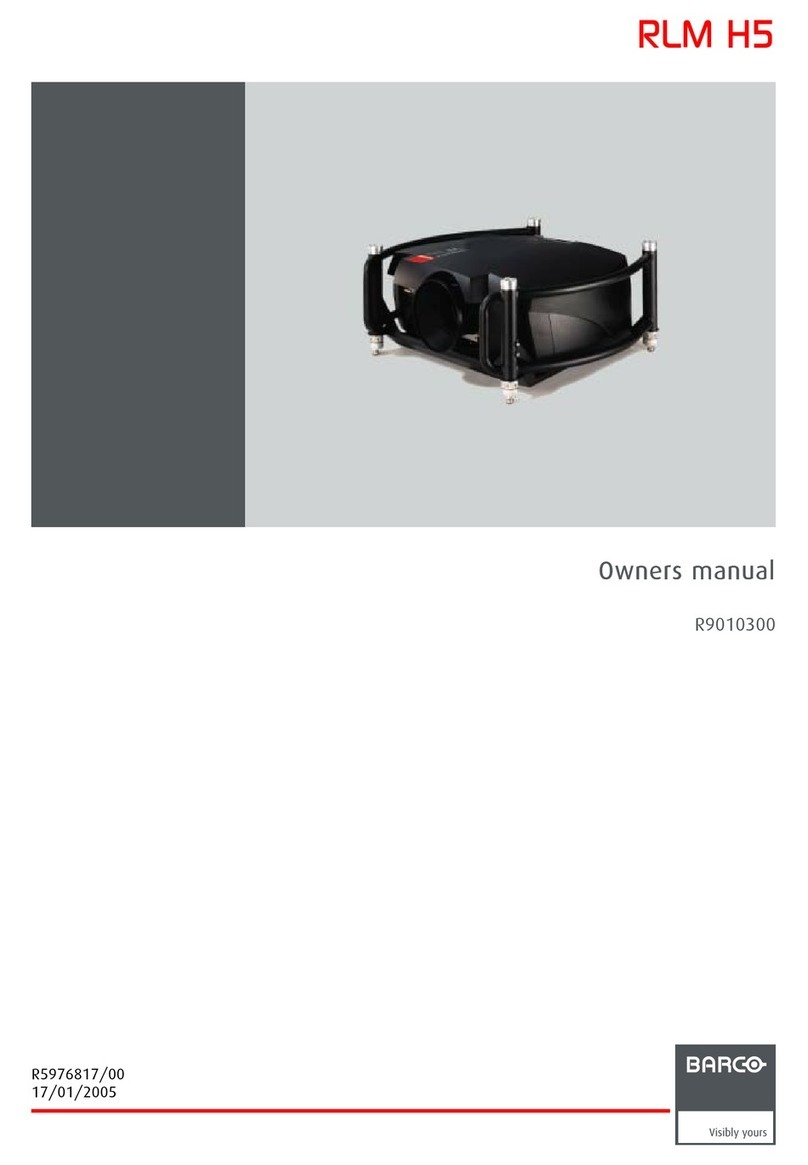
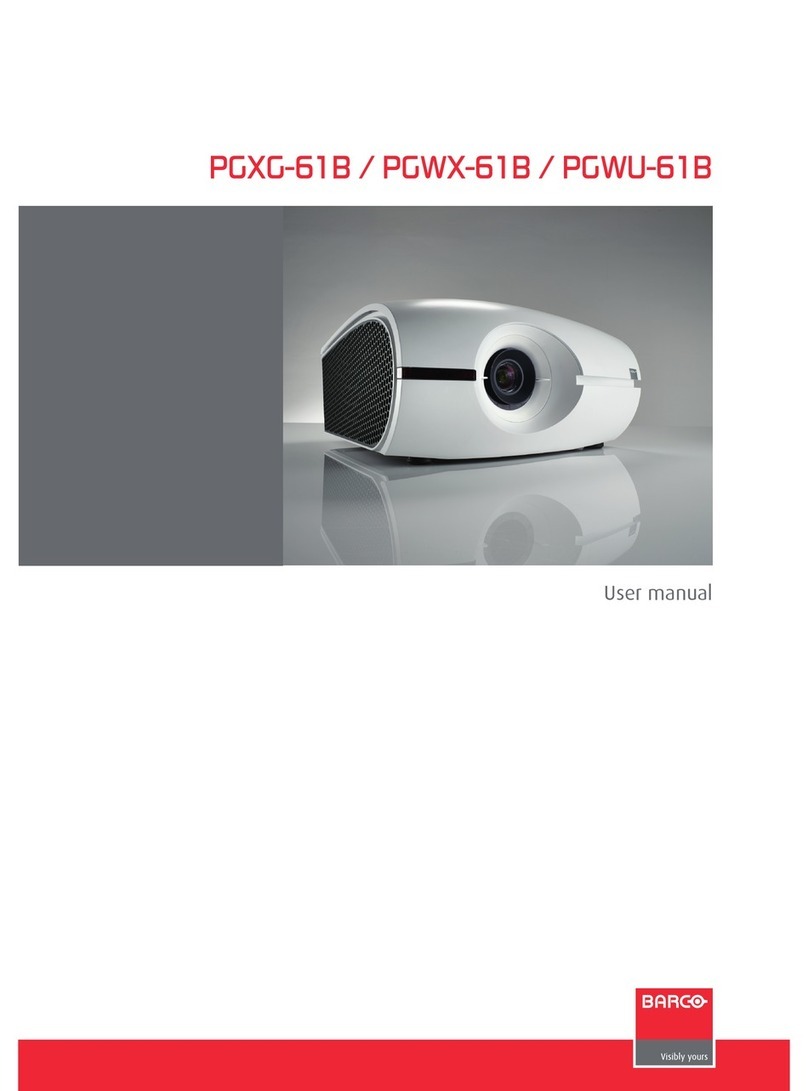
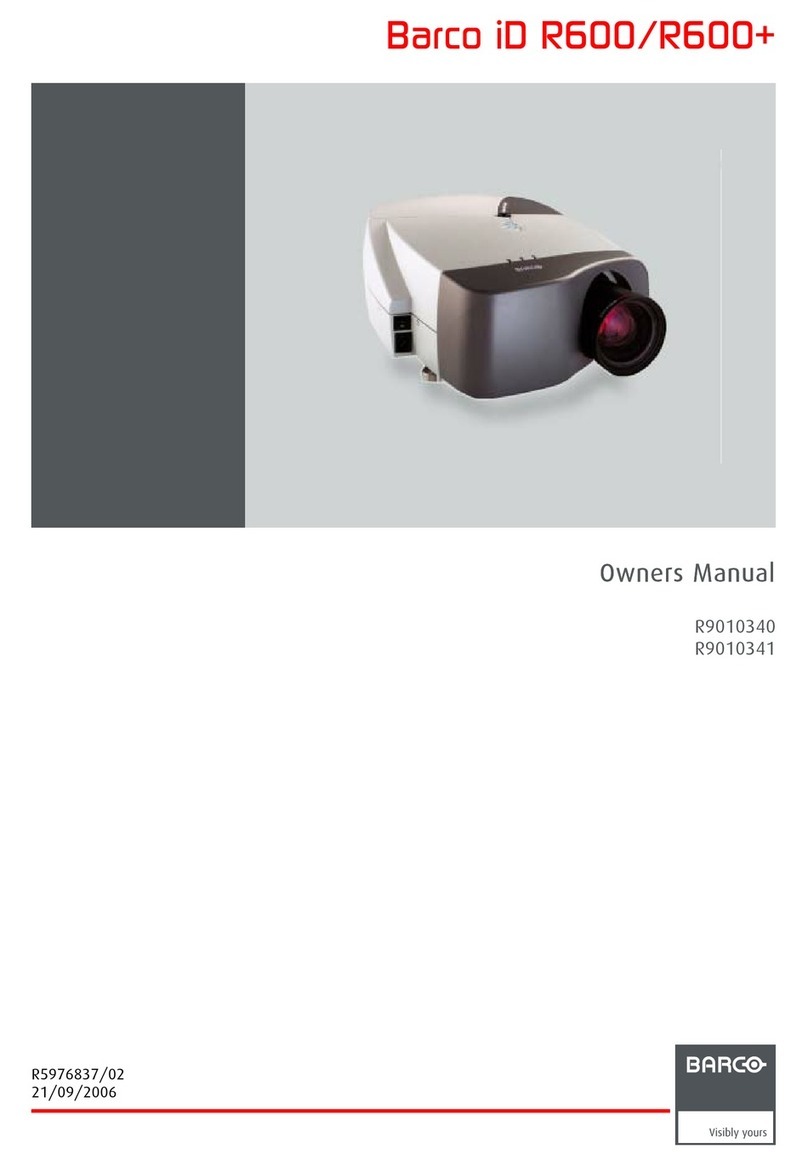
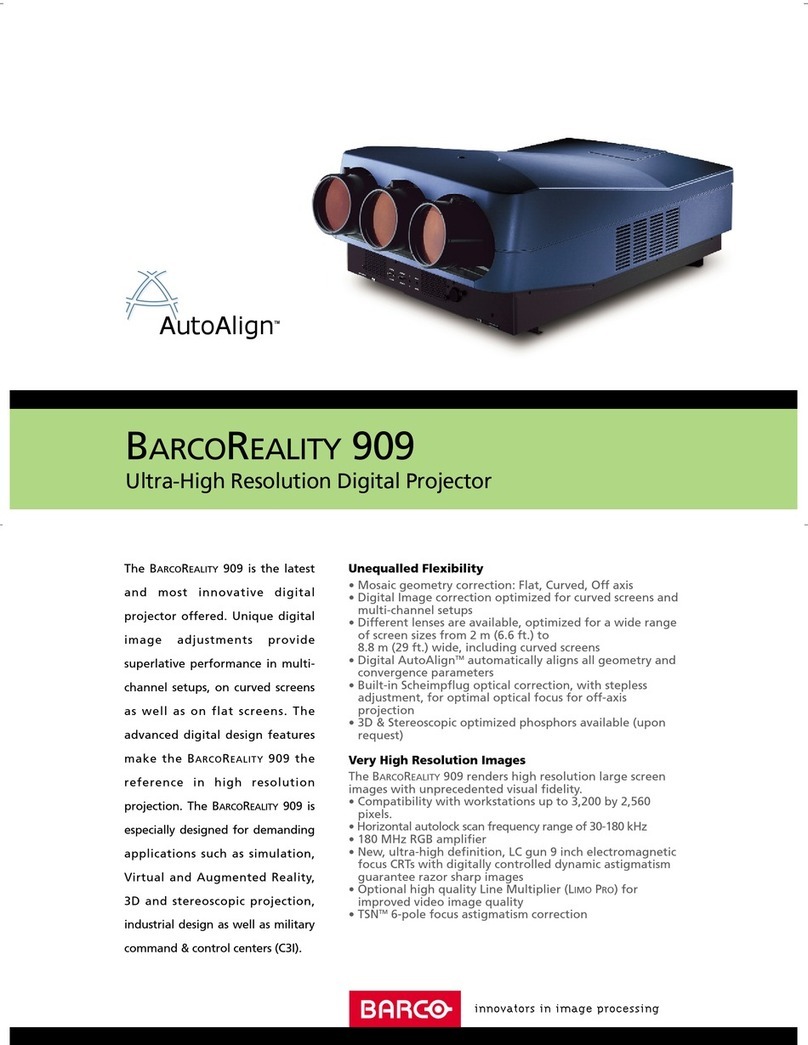
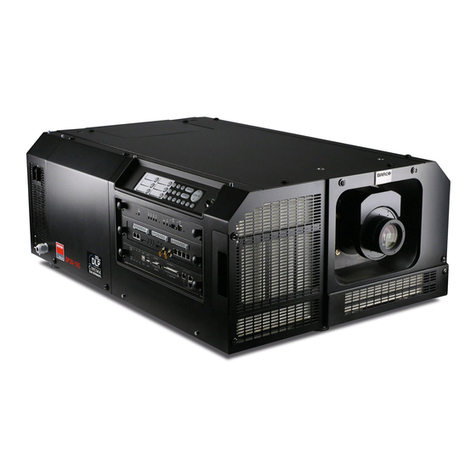
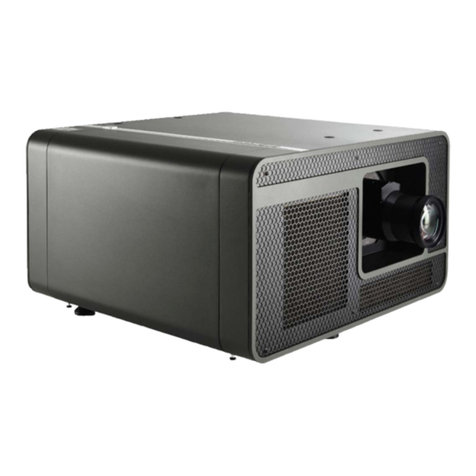
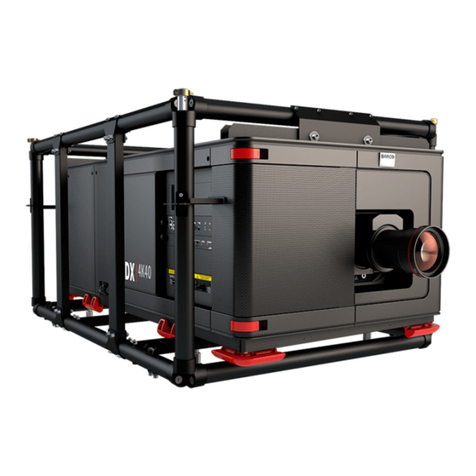
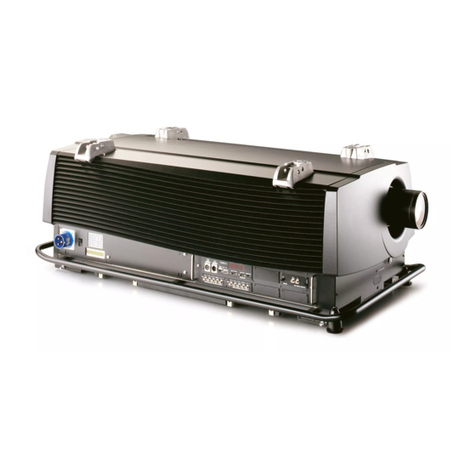
Barco RLM G5 Performer User manual

RLM G5
Service Manual
R9010020
R5976766/00
22/04/2004

Barco nv Events
Noordlaan 5, B-8520 Kuurne
Phone: +32 56.36.89.70
Fax: +32 56.36.88.24
E-mail: [email protected]
Visit us at the web: www.barco.com
PrintedinBelgium

Copyright ©
All rights reserved. No part of this document may be copied, reproduced or translated. It shall not otherwise be recorded, transmitted or
stored in a retrieval system without the prior written consent of Barco.
Guarantee and Compensation
Barco provides a guarantee relating to perfect manufacturing as partof the legally stipulated termsof guarantee. On receipt, the purchaser
must immediately inspect all delivered goods for damage incurred during transport, as well as for material and manufacturing faults Barco
must be informed immediately in writing of any complaints.
The period of guarantee begins on the date of transfer of risks, in the case of special systems and software on the date of commissioning,
at latest 30 days after the transfer of risks. In the event of justified notice of compliant, Barco can repair the fault or provide a replacement
at its own discretion within an appropriate period. If this measure proves to be impossible or unsuccessful, the purchaser can demand a
reduction in the purchase price or cancellation of the contract. All other claims, in particular those relating to compensation for direct or
indirect damage, and also damage attributed to the operation of software as well as to other services provided by Barco, being a component
of the system or independent service, will be deemed invalid provided the damage is not proven to be attributed to the absence of properties
guaranteed in writing or due to the intent or gross negligence or part of Barco.
If the purchaser or a third party carries out modifications or repairs on goods delivered by Barco, or if the goods are handled incorrectly,
in particular if the systems are commissioned operated incorrectly or if, after the transfer of risks, the goods are subject to influences not
agreed upon in the contract, all guarantee claims of the purchaser will be rendered invalid. Not included in the guarantee coverage are
system failures which are attributed to programs or special electronic circuitry provided by the purchaser, e.g. interfaces. Normal wear as
well as normal maintenance are not subject to the guarantee provided by Barco either.
The environmental conditions as well as the servicing and maintenance regulations specified in the this manual must be complied with by
the customer.
Changes
Barco provides this manual ’as is’ without warranty of any kind, either expressed or implied, including but not limited to the implied war-
ranties or merchantability and fitness for a particular purpose. Barco may make improvements and/or changes to the product(s) and/or the
program(s) described in this publication at any time without notice.
This publication could contain technical inaccuracies or typographical errors. Changes are periodically made to the information in this
publication; these changes are incorporated in new editions of this publication.
Federal Communications Commission (FCC Statement)
This equipment has been tested and found to comply with the limits for a class A digital device, pursuant to Part 15 of the FCC rules.
These limits are designed to provide reasonable protection against harmful interference when the equipment is operated in a commercial
environment. This equipment generates, uses, and can radiate radio frequency energy and, if not installed and used in accordance with
the instruction manual, may cause harmful interference to radio communications. Operation of this equipment in a residential area may
cause harmful interference, in which case the user will be responsible for correcting any interference.


Table of contents
TABLE OF CONTENTS
1. General Information.................................................................................................3
1.1 RLMR5Performer.................................................................................................................... 3
2. Safety..................................................................................................................5
2.1 SafetyInstructions .................................................................................................................... 5
3. Safety Symbols...................................................................................................... 9
3.1 OverviewusedSafetySymbols....................................................................................................... 9
4. BlockDiagramRLM R5Performer..............................................................................11
4.1 SimplifiedBlock Diagram ............................................................................................................11
4.2 Expanded Block Diagram............................................................................................................12
5. TechnicalInformations............................................................................................13
5.1 Conventions..........................................................................................................................13
5.2 ConnectorRemovalInstructions.....................................................................................................13
6. SparePartslist .....................................................................................................15
6.1 SparePartslist.......................................................................................................................15
7. ProjectorCoverRemovalto accessModules.................................................................17
7.1 Top Access Modules .................................................................................................................17
7.1.1 RemovaloftheRearcover....................................................................................................17
7.1.2 Removal of the Button panel cover ...........................................................................................17
7.1.3 Removalofthetopcover......................................................................................................18
7.1.4 Topshieldremoval.............................................................................................................19
7.2 Side Access Modules ................................................................................................................20
7.2.1 SideCoverleft.................................................................................................................20
7.2.1.1 RemovaloftheSidecover..............................................................................................20
7.2.1.2 Sideshieldremoval.....................................................................................................21
7.2.2 SideCoverRight...............................................................................................................21
7.2.2.1 RemovaloftheSidecover..............................................................................................21
7.2.2.2 SideShieldremoval.....................................................................................................21
7.2.2.3 PMPShieldRemoval...................................................................................................22
8. Module/Unit Identification ........................................................................................23
8.1 TopViewProjector...................................................................................................................23
8.2 OverviewinstalledFANS.............................................................................................................24
8.2.1 LocationoftheFansintheprojector..........................................................................................24
8.2.2 FunctionoftheinstalledFans.................................................................................................25
8.2.3 OrdernumberfortheFans....................................................................................................25
8.3 PowerBoxComplete.................................................................................................................26
8.3.1 PowerBoxAccess.............................................................................................................26
8.3.2 PartsofthePowerBoxAssembly ............................................................................................27
8.3.3 Power Box Swapping..........................................................................................................28
8.4 Input Box Complete ..................................................................................................................31
8.4.1 Input Box Swapping ...........................................................................................................31
8.4.2 PartsoftheinputBoxAssembly..............................................................................................33
8.5 LampBox.............................................................................................................................33
8.5.1 LampunitRemoval............................................................................................................33
8.5.2 PartsoftheLampbox.........................................................................................................34
8.6 IRReceiverFront ....................................................................................................................35
8.6.1 IRReceiverFrontswapping...................................................................................................35
8.7 Motor/ControlBoard..................................................................................................................35
8.7.1 Motor/Controlboardswapping................................................................................................35
8.7.2 Motor/Control board connections .............................................................................................36
8.8 Keypad&LED+IRBoard ............................................................................................................37
8.8.1 Keypad swapping..............................................................................................................37
8.8.2 LED+IRBoard.................................................................................................................37
8.9 SealedEngine........................................................................................................................37
8.9.1 SealedEngineremoval........................................................................................................38
8.9.2 Sealed Engine mounting ......................................................................................................41
8.10 Lens Holder...........................................................................................................................41
8.10.1 Lens Holder swapping.........................................................................................................41
8.11 LightPipe.............................................................................................................................42
8.11.1 PartstoberemovedtoallowLightPipeswapping...........................................................................42
8.11.1.1 LightpipeFocusadjustablescrewcoverremoval. ....................................................................42
8.11.1.2 LampburnerblowerFAN9removal....................................................................................43
8.11.1.3 LampHouseremoval...................................................................................................43
8.11.2 ReplacementoftheLightpipe................................................................................................44
8.11.2.1 LightpipeRemoval .....................................................................................................44
8.11.2.2 Light pipe Mounting .....................................................................................................44
8.12 Coldmirror............................................................................................................................45
R5976766 RLM G5 22/04/2004 1

Table of contents
9. TechnicalBoard Information.....................................................................................47
9.1 Power Supply Circuit.................................................................................................................47
9.1.1 OverviewPowerSupplyCircuit...............................................................................................47
9.1.2 PFC(PowerFactorCorrection)...............................................................................................47
9.1.3 Format Power board...........................................................................................................49
9.1.4 OEMPowerBoard.............................................................................................................51
9.1.5 StandBy Power Supply board.................................................................................................52
9.1.6 MCUBoard ....................................................................................................................54
9.2 RandomBoards......................................................................................................................55
9.2.1 Motor/ControlBoard...........................................................................................................55
9.2.2 Input Box Backplane...........................................................................................................56
9.2.3 Lamp Power Supply ...........................................................................................................56
9.2.4 PixelMapProcessorBoard...................................................................................................57
9.2.5 FormatterInterfaceBoard.....................................................................................................58
9.2.6 KeyPad.........................................................................................................................58
9.2.7 LED+IRBoard................................................................................................................59
10.MechanicalPartsIdentification..................................................................................61
10.1 ProjectorLampbox ..................................................................................................................61
10.2 ProjectorPowerBox.................................................................................................................62
10.3 Shutter................................................................................................................................64
10.4 Projector Input Box...................................................................................................................64
10.5 Lens Holder...........................................................................................................................66
10.6 RiggingAssembly....................................................................................................................66
10.7 ProjectorBottomAssembly..........................................................................................................68
10.8 ProjectorTopCoverAssembly.......................................................................................................69
10.9 ProjectorFrontAssembly............................................................................................................70
10.10ProjectorAssembly...................................................................................................................71
11.LightPadadjustment..............................................................................................73
11.1 Lens Holder (Scheimpflug)...........................................................................................................73
11.2 IlluminationSystem ..................................................................................................................75
12.Projector Suspension/Stacking..................................................................................79
12.1 StackingProjectors...................................................................................................................79
12.2 Projector Suspension ................................................................................................................80
13.MaintenanceoftheProjector ....................................................................................83
13.1 AirFilters .............................................................................................................................83
13.2 Cleaning the lens.....................................................................................................................84
14.SoftwareUpdate....................................................................................................87
14.1 Installation requirements.............................................................................................................87
14.2 Interconnection PC/Projector ........................................................................................................87
14.3 Projector Software Update Procedure...............................................................................................88
15.TroubleshooterRLMR5Performer..............................................................................95
15.1 Start-up without audible relay click ..................................................................................................95
15.2 Led 1, 2 and 3 light up Red continuously............................................................................................96
A.TechnicalSpecifications ..........................................................................................99
A.1 RLMR5Performer...................................................................................................................99
Index.................................................................................................................... 101
2R5976766 RLM G5 22/04/2004

1. General Information
1. GENERAL INFORMATION
1.1 RLM R5 Performer
Commercial Brochure
See next pages for contents.
Image 1-1
Front page brochure RLM G5P
R5976766 RLM G5 22/04/2004 3

1. General Information
4R5976766 RLM G5 22/04/2004

www.barco.com
With its compact design and sealed optics, the RLM G5
PERFORMER is an ideal all-round projector suitable to both the
rental as well as staging markets.
Feature-rich and ready to use, the RLM G5 PERFORMER allows
everything from seamless switching to picture-in-picture
and enables you to show up to 4 sources simultaneously
on-screen.
Add sealed optics, a dedicated lens range and compatibility
with the existing SLM Projector lenses and the RLM G5
PERFORMER becomes the ideal staging or corporate rental
projector.
RLM G5 Performer

Ready for the Road
The RLM G5 PERFORMERs sealed optics, which makes it dust
and smoke resistant allows it to maintain optimal performance
in normal rental environments while also offering protection
in harsh staging environments where smoke machines are
frequently used.
The RLM G5 PERFORMER comes with a
dedicated rental frame which facilitates
handling, stacking and truss-mounting.
The special frame also offers protection
to the projector whilst making it easy to
handle and carry.
With the renowned SLM interlocking system, the RLM
G5 PERFORMER can be snap-locked together with another
unit, offering double brightness and redundancy, perfect for
demanding events.
The RLM G5 PERFORMER has an extensive range of mounting
points and slots to accommodate different clamps and adapt to
various truss systems and dimensions.

Advanced Image Processing
The RLM G5 PERFORMER allows seamless transitions from source to source, with special effects such as dissolve, horizontal and
vertical blind, box in and out, etc ...
Extensive PIP capabilities which offer up to 4 sources on-screen simultane-
ously while also allowing you to position and resize windows via an intuitive
on-screen menu.
Save and load your preferred settings at any time.
Pre-load your company logo and display it during intermission or when there
is no signal.
Optical System
Featuring a dual lamp system with auto-sensing, the RLM G5
PERFORMERÕs optical system also allows smart lamp switching in
single lamp mode to make optimum use of available lamp life.
With a full lens range accommodating any requirement, the RLM G5
PERFORMER is also compatible with the SLM high brightness lens
range by using the TLD/RLM lens adapter.
SLM lenses Throw ratio on SLM Throw ratio on RLM Order Information
¥ TLD HB (0.8) 0.8 : 1 1.0 : 1 R9842040
¥ TLD HB (1.6 - 2.0) 1.6 - 2.0 : 1 2.0 - 2.5 : 1 R9842060
¥ TLD HB (2.0 - 2.8) 2.0 - 2.8 : 1 2.5 - 3.5 : 1 R9842080
¥ TLD HB (2.8 - 5.0) 2.8 - 5.0 : 1 3.5 - 6.3 : 1 R9842100
¥ TLD HB (5.0 - 8.O) 5.0 - 8.0 : 1 6.3 - 10.0 : 1 R9842120

www.events.barco.com
RLM G5 Performer specifications
¥ Dimensions
Barco
Noordlaan 5, 8520 Kuurne - Belgium
Tel. +32 56 36 89 70 - Fax + 32 56 36 88 24
3240 Town Point Drive - Kennesaw, GA 30144
Tel. +1 770 218 3200
Fax +1 770 218 3250
email: sales.events@barco.com
Ref. no. R599608 - January Ô04
Barco Projection Systems is an ISO 9001 registered company.
The information and data given are typical of the equipment described.
However any individual item is subject to change without notice.
684,4mm (26.9Ó)
31mm (1.2Ó)
251mm (9.9Ó)
LENSES
RLD - Type Order information
¥ RLD(0.8) R9832640
¥ RLD (1.5 - 1.8) R9832642
¥ RLD (1.8 - 2.25) R9832643
¥ RLD (2.25 - 3.0) R9832644
¥ RLD (3.0 - 4.5) R9832645
¥ RLD (4.5 - 7.0) R9832646
¥Light Output (ANSI)** 4000
¥Resolution 1024 x 768 (native)
1600 x 1200 (max)
¥Contrast Ratio - full field 900 : 1
¥Brightness Uniformity 90%
¥Lamp 2 x 250 W UHP
¥Lamp Lifetime (max) 1500 Hrs
¥Lamp Lifetime (typ) 1000 Hrs
¥ Noise Level (dba) 20¡C (68¡F) < 43
40¡C (104¡F) < 50
¥Max. Ambient Temp 40¡C (104¡F)
¥Mains Voltage 92-240 V
¥Power Consumption 1000 W
¥Weight 25 kg (56 lbs)
¥Weight Frame 5 kg (11 lbs)
FEATURES
¥Seamless Source Switching Standard: box-in/out, etc ...
¥ScenergiX Standard horizontal and vertical
electronic edge blending
¥Network Connection Optional
¥Sealed DLP Core Standard
¥Advanced Picture in Picture Up to 4 sources simultaneously
(2 data, 1 video and 1 SDI)
¥Digital Zoom Standard
¥Light Shutter Standard
¥Built-in Radio Remote Transceiver Optional
ORDER INFORMATION
¥Projector Body R9010020
¥Spare Dual Lamp (including housing) R9841880
¥TLD/RLM lens adapter R9832650
INPUTS
¥1x Configurable 5-Wire (BNC) Composite Video, S-video, Component
Video, RGBHV, RGBS, RGsB
¥1x Composite Video (BNC) Up to 7 Composite Videos, using all
connectors on top input board
¥1x S-Video (4-pin mini-DIN) Up to 3 S-Videos when combining BNCs
¥1x Analog RGB (D15 connector)
¥1x SDI With active loop-through
¥1x DVI (Digital Visual Interface)
¥1x RS-232
¥1x XLR For 2-way communication using
rugged remote
** Optical specifications measured with RLD (4.5 - 7 : 1), on axis at 220V

2. Safety
2. SAFETY
2.1 Safety Instructions
WARNING:Before Removing/Replacing any projector components, turn off the Main Power Switch and un-
plug the Main AC power cable.
R5976766 RLM G5 22/04/2004 5

2. Safety
Safety Instructions
1. Before returning an instrument to the customer, always make a safety check of the entire instrument, including, but not limited
to, the following items:
a) Be sure that no built-in protective devices are defective and/or have been defeated during servicing. (1) Protective shields
are provided on this chassis to protect both the technician and the customer. Correctly replaceall missing protective shields,
including any removed for servicing convenience. (2) When reinstalling the chassis and/or other assembly in the cabinet,
be sure to put back in place all protective devices, including, but not limited to, insulating materials, barriers, covers/shields,
and isolation resistor/capacitor networks. Do not operate this instrument or permit it to be operated without all protective
devices correctly installed and functioning. Servicers who defeat safety features or fail to perform safety checks may be
liable for any resulting damage.
b) Be sure that there are no cabinet openings through which an adult or child might be able to insert their fingers and contact a
hazardous voltage. Such openings include, but are not limited to, (1) excessively wide cabinet ventilation slots, and (2) an
improperly fitted and/or incorrectly secured cover panels.
c) Leakage Current Hot Check. With the instrument completely reassembled, plug the AC line cord directly into a 220 V AC
outlet (Do not use an isolation transformer during this test). Use a leakage current tester or a metering system that complies
with American National Standards Institute (ANSI) C101.0 Leakage Current for Appliances and Underwriters Laboratories
(UL) 1410, (50.7). With the instrument AC switch first in the on position and then in the off position, measure from a known
earth ground (metal waterpipe, conduit, etc.) to all exposed metal parts of the instrument (antennas, handle bracket, metal
cabinet, screwheads, metallic overlays, control shafts, etc.). especially any exposed metal parts that offer an electrical
return path to the chassis. Any current measured must not exceed 1.5 mA. Reverse the instrument power cord plug in the
outlet and repeat test. ANY MEASUREMENTS NOT WITHIN THE LIMITS SPECIFIED HEREIN INDICATE A POTENTIAL
SHOCK HAZARD THAT MUST BE ELIMINATED BEFORE RETURNING THE INSTRUMENT TO THE CUSTOMER OR
BEFORE CONNECTING ACCESSORIES.
Leakage Current Tester
Reading should
not be above
1.5 mA
Test all exposed metal surfaces
Earth
Ground
+-
Device Under Test
2-Wired cord
Also test with plug reversed
(Using AC Adapter plug as required)
AC Leakage Test
Image 2-1
AC Leakage Test
d) Ultraviolet Radiation exposure - Warning: This lamp can cause serious skin burn and eye inflammation from shortwave
ultraviolet radiation if not operated in enclosed fixtures. DO NOT operate this lamp in a fixture with a missing or broken lens
cover.
e) Ozone: Operating lamp generates ozone gas which is harmful to the respiratory system. Therefore the lamp should be
operated in adequately ventilated equipment.
2. Read and comply with all caution and safety-related notes on or inside the projector cabinet or on the projector chassis, or on
the picture tube.
3. Design Alteration Warning - Do not alter or add to the mechanical or electrical design of this apparatus. Design alterations and
additions, including, but not limited to, circuit modifications and the addition of items such as auxiliary audio and/or video output
connections, might alter the safety characteristics of this apparatus and create a hazard to the user. Any design alterations
or additions may void the manufacturer’s warranty and may make you, the servicer responsible for personal injury or property
damage resulting therefrom.
4. Lamp explosion Protection Warning – The lamp in this projector operates with a high internal pressure and there is a slight risk
that the lamp may explode, particularly if it is used beyond its rated life of 1000 hours. Do not remove, install, or otherwise
handle the lamp in any manner without first putting on shatterproof goggles equipped with side shields. People not so equipped
must be kept safely away while lamps are handled. Keep the lamp away from your body. For continued explosion protection,
replace the lamp only with one of the same type number. Always replace the lamp before the rated life time.
6R5976766 RLM G5 22/04/2004

2. Safety
5. Hot Chassis Warning - This projector chassis has two ground systems: the primary ground system is formed by the negative
voltage of the rectified mains (power) and is only used as a reference in primary circuits; the secondary ground system is
connected to earth ground via the earth conductor in the mains (power) lead. Separation between primary and secondary
circuits is performed by the safety isolation transformers. Components bridging this transformers are also safety components
and must never be defeated or altercated. All user-accessible conductive parts must be connected to earth ground, or are kept
at SELV (Safety Extra Low Voltage).
6. Observe original lead dress. Always inspect in all areas for pinched, out-of-face, or frayed wiring. Do not change spacing
between components, and between components and the printed-circuit board. Check AC power cord for damage. Take extra
care to assure correct lead dress in the following areas:
a) near sharp edges
b) near thermally hot parts - be sure that leads and components do not touch thermally hot parts
c) the AC supply
d) high voltage
7. Components, parts, and/or wiring that appear to have overheated or are otherwise damaged should be replaced with compo-
nents, parts, or wiring that meet original specifications. Additionally, determine the cause of overheating and/or damage and, if
necessary, take corrective action to remove any potential safety hazard.
8. PRODUCT SAFETY NOTICE - Many electrical and mechanical parts have special safety-related characteristics some of which
are often not evident from visual inspection, nor can the protection they give necessarily be obtained by replacing them with
components rated for higher voltage, wattage, etc. Use of a substitute replacement that does not have the same safety charac-
teristics as the recommended replacement part in BARCO service data parts list might create shock, fire, and/or other hazards.
Product Safety is under review continuously and new instructions are issued whenever appropriate. For the latest information,
always consult the appropriate current BARCO service literature.
9. Do not spray chemical on or near this instrument or any of its assemblies.
10. Electrostatically Sensitive (ES) Devices Some semiconductor (solid state) devices can be damaged easily by static electricity.
Such components commonly are called Electrostatically Sensitive (ES) Devices. Examples of typical ES devices are integrated
circuits and some field-effect transistors and semiconductor "chip" components. The following techniques should be used to
help reduce the incidence of component damage caused by static electricity:
a) Immediately before handling any semiconductor-equipped assembly, drain off any electrostatic charge on your body by
touching a known earth ground. Wear a commercially available high impedance discharging wrist strap device.
b) After removing an electrical assembly equipped with ES devices, place the assembly on a static dissipative surface such as
a 3M No 8210 table mat, to prevent electrostatic charge buildup or exposure of the assembly.
c) Do not use freon-propelled chemicals. These can generate electrical charges sufficient to damage ES devices.
d) Do not remove a replacement ES device from its protective package until immediately before you are ready to install it
(Most replacement ES devices are packaged with leads electrically shorted together by conductive foam, aluminium foil or
comparable conductive material).
e) Immediately before removingthe protective material from the leads of a replacement ES device, touch the protective material
to the chassis or circuitassembly into which the device will be installed. CAUTION: Be sure no power is applied to the chassis
or circuit, and observe all other safety precautions.
f) Minimize bodily motions when handling unpacked replacement ES devices (Otherwise harmless motion such as the brush-
ing together of your clothes fabric or the lifting of your foot from a carpeted floor can generate static electricity sufficient to
damage an ES device).
R5976766 RLM G5 22/04/2004 7

2. Safety
8R5976766 RLM G5 22/04/2004

3. Safety Symbols
3. SAFETY SYMBOLS
3.1 Overview used Safety Symbols
Overview
The lightning flash and arrowhead symbol within the
equilateral triangle indicates non-insulated “dangerous
voltage” within the projector’s enclosure that may be sufficient
magnitude to constitute a risk of electric shock.
The exclamation point within the equilateral triangle
indicates related operating/maintenance instructions in the
documentation accompanying the projector.
WARNING
The WARNING sign denotes a hazard. It calls attention to a
procedure, practice, or the like, if not correctly performed or
adhered to, could result in personal injury. Do not proceed
beyond a WARNING sign until the indicated conditions are
fully understood and met.
CAUTION
The CAUTION sign denotes a hazard. It calls the attention
to an operating procedure, or the like, which, if not correctly
performed or adhered to, could result in damage to or
destruction of part or all of the product. Do not proceed
beyond a CAUTION sign until the indicated conditions are
fully understood and met.
or
Indicate earth (ground) terminal
R5976766 RLM G5 22/04/2004 9

3. Safety Symbols
10 R5976766 RLM G5 22/04/2004

4. Block Diagram RLM R5 Performer
4. BLOCK DIAGRAM RLM R5 PERFORMER
4.1 Simplified Block Diagram
Block diagram
Block diagram RLM G5 Performer
KEYPAD
SOURCE
INPUT
FRONT IR
RECEIVER
FORMATTER
G
FORMATTER
R
FORMATTER
B
OPTICAL
ENGINE
DMD
DMD
DMD
PROJECTION
LENS
MOTOR
DRIVER
Shutter
Up/Down
Right/Left
Zoom
Focus
PIXEL MAP
PROCESSOR INTERFACE
IR/LED
Remote
Control
Dual
Lamp
Module
LPS 1 LPS 2
Power Board
PFC
Mains Input
(85 - 264V AC) Power
Switch
EMC
Filter
Standby
Power Formatter
Power
OEM Power
Module
Control Module
Control Module
Control
Micro
Controller FAN
Drivers
Lamp
Info
FRONT-END
BOARDS
Image 4-1
Block diagramRLMR5Performer
R5976766 RLM G5 22/04/2004 11

4. Block Diagram RLM R5 Performer
4.2 Expanded Block Diagram
Block diagram
12 R5976766 RLM G5 22/04/2004
Other manuals for RLM G5 Performer
2
Table of contents
Other Barco Projector manuals

Barco
Barco CLM R10+ User manual

Barco
Barco FLM HD20 User manual

Barco
Barco iD H250 User manual

Barco
Barco UDX Series User manual

Barco
Barco iD R600 User manual

Barco
Barco SLM G5 Executive User manual

Barco
Barco FL40 series User manual

Barco
Barco CLM HD8 User manual

Barco
Barco F90 - W13WUXGA User manual

Barco
Barco BarcoData 2100 LC User manual

Barco
Barco BarcoData 3300 User manual

Barco
Barco iQ G350 User manual

Barco
Barco RLM W8 User manual

Barco
Barco IQ-Graphics 300 User manual

Barco
Barco Galaxy WARP 7 HC User manual

Barco
Barco F22 Series User manual

Barco
Barco R9002030 User manual

Barco
Barco CLM HD8 Manual

Barco
Barco SLM R8 User manual

Barco
Barco R9040014 User manual