Baretta Security Systems Advantage User manual

TWO-WAY REMOTE AUTO ALARM SYSTEM
INSTALLATION MANUAL
ADVANTAGE
AlarmFeatures
One 5 Button Two Way LCD Display With Pager, Vibration Remote
One 5 Button Remote Control
Built-InSide-LightRelayProgrammable(+/-)
Plug-inuserprogrammableOverrideSwitch
Plug-inDual-Zone Piezo Sensor
HornOutput
RemoteDoorLocking/Unlockingwithpositive&negativeoutputs
Passenger Unlock Output (-)
TwoAuxiliary Channels with Selectable Output Types, ( Pulsed, Timed or Latched )
User-SelectableAuto-Arming
User-SelectableAuto-Rearming
RemotePanicwithSmartLocking/Unlocking
User-SelectableAutoLock
RemoteKeylessEntry in ValetMode
Remote-ControlledCourtesyLighting
Pre-wiredLED, Sensor, and Valet Switch Connectors
Auxiliary1Activation (TrunkRelease Output)
AlarmTrigger Identification
AntiCar-Jacking
This BARETTA Security Systems is warranted to the original consumer pur-
chaser,to be freefromdefects in materialandworkmanship. Themanufacturer will
repair or replace, at it's option, and free of charge during the first 12 months of the
warranty period,any part which prove defective inmaterialor workmanshipunder
normal installation, use and service, provided the product is returned to our factory,
transportation charges prepaid. Products returned to our factory must be accom-
panied by copy of purchase receipt. Warranty is limited to defective parts and/or
replacement parts only and excludes any incidental and consequential damages
connected therewith. The manufacturer, of this theft deterrent systems makes no
warranty against the theft of vehicle or its content. This warranty is not to be
construed as an insurance policy against loss.
After the first 12 months of the warranty period there will be a charge. ( required)
for repairing and/or replacing any defective parts.
WARRANTY ON INSTALLATION LABOR, REINSTALLATION AND REMOVAL
CHARGES ARE NOT THE RESPONSIBILITY OF THE MANUFACTURER.
OPTIONAL ACCESSORIES
Glass Break Sensor
InteriorRadarSensor
Window Roll-Up Module
Trunk Release Solenoid
LIMITED WARRANTY
c 12-03
NOTE: ALL LCD 2 WAY REMOTE WARRANTY FOR 12 MONTHS
FROM DATE OF PURCHASE
BARETTA
Security Systems
Thank You For Choosing
BARETTA
SECURITY SYSTEM

FEATURE PROGRAMMING MODE
1- Open Door 2- Turn Ignition key ON 3- Within 10 seconds pressVALET switch 5 times.The siren will
chirp 5 times indicating you are in feature programming mode. 4-Select the feature you want to change by
pressing the valet switch the number of times as the feature number. (Every time valet switch is pressed the
siren will chirp once). 5- Select the desired option by pressing the transmitter’s buttons 1, 2 or 3.
Siren chirps will follow each button press, once for button 1, twice for button 2 and three times for button 3.
RESETTOFACTORYDEFAULTSETTING:
Enterprogrammode(Seeabove).Pressandrelease button # 4 for 5 Sec. light will flash 4 times.
Andallprogrammablefeatures will go to factory defaultsetting.
Column 1 - Factory Default
Wiring Diagram
Red
White
Blue
Black
(+)POWER
(+)SIREN OUTPUT
(-)GROUND
(+) DOOR TRIGGER
(-) DOOR TRIGGER
(-)OUTPUT (StarterKill)
(-)HORNOUTPUT
(-) DOME LIGHT
(-) TRIGGER (sensors)
(-)PASSENGERDOORUNLOCK
1
2
3
4
5
6
7
8
9
10
11
12
13
14
(+)PARKING LIGHTS
Green
Blue/White
Brown/White
Black/White
Brown
White/Red
Orange
Grey
Yellow
Violet
(-)2nd CHANNEL(Trunk)
L.E.D.
Blue
Green
Lock
(-)3 RD. CHANNEL
Two-way
Anntena
Unlock
(+)IGNITION12V
Shock
Sensor Valet
Switch
Ignition Unlock - Off
#1
#2
#3
#4
#5
#6
#7
#8
#9
#10
#11
#12
#13
#14
#15
TX But. 1 Mode 1 TX But. 2 Mode 2 TX But. 3 Mode 3
PROGRAMMING TABLE
#s
PassiveArmEnable
AutoRearmEnable
ChirpsDisable
IgnitionLockDisable
IgnitionUnlock– Driver door
UnlockDoublePulse
Lock/UnlockPulse3 sec
Lock on PassiveArm Enable
Doortrigger10 second warning
Disablebadzone report 60sec.
Aux.2 Timed (10 Sec.)
Aux. 3 Timed (10 Sec.)
Horn Out (-) with chirp arm/disarm
Anti Car Jack Enabled
Anti Car Jack By Door
Aux.2Latched
Aux. 3 Latched
Aux.4pulsed
PassiveArmDisable
AutoRearmDisable
ChirpsEnable
IgnitionLockEnable
Ignition UnlockAll doors
UnlockSinglePulse
Lock/UnlockPulse1sec.
LockonPassiveArm Disable
DoorTriggerdelay disable
Bad door zone report in 20 sec.
Aux.2pulsed(Trunk)
Aux.3pulsed
Horn Out (-)
Anti Car Jack By Disabled
Anti Car Jack By Remote
a
87A
87
85 86
87A
30
87
85 86
30
X
CUT
X
CUT
5 WIRE
FACTORY
SWITCH
DRIVER SIDE
ACTUATOR
12V Power (+)
3 Wire Negative Door Lock System GREEN-Lock BLUE-Unlock
3 Wire Positive Door Lock System BLUE-Lock GREEN-Unlock
87
85 86
87A
30
87
85 86
87A
30
Aftermarket Power door lock Actuator
DOOR LOCK/UNLOCK WIRING DIAGRAM
LockWire
ofAlarm
LockWire
ofAlarm UnlockWire
ofAlarm
UnlockWire
ofAlarm
12VPower(+)
GROUND
DOORLOCK
ACTUATOR
5 Wire "Ground at rest" Door Lock System
Or use the optional
DLS DLS
12V(+)Power
Grey Wire
(from Alarm Unit)
Trunk Switch
TRUNK RELASE RELAY
87
86
85
87a
30
To Starter wire
(Starter side)
To Starter wire
(Ignition Key side)
To Orange wire
(fromAlarm Unit)
STARTER DISABLE WIRING
87
86
85 87a
30
27

TRANSMITTER BUTTON OPERATION
IMPORTANT: The microprocessor alarm system has been designed so that upon arming, Shock
Sensor and door triggers will be delayed for 20 seconds. This is to give the electronics in the vehicle,
a chance to stabilize (Window roll-up, radar sensor, dome light etc.).
WARN-AWAY
Dual zone shock sensor, zone one when triggered causes the alarm to chirp five times indicating aWarn-
away condition, second zone when active, triggers theAlarm.
VALET MODE
Valet mode entry.Disarm the alarm, turn the Ignition ON, and hold the push button valet switch for 5
seconds until LED turns ON. Door lock/ unlock, and all aux outputs respond to transmitter (Keyless Entry).
Valet mode exit.Turn the Ignition ON; hold the push button valet switch for 5 seconds until LED turns
OFF and siren chirps two times.
EMERGENCYOVERRIDE
Disarming the alarm without transmitters. Turn Ignition ON, hold the push button valet switch down for 5
seconds, the siren will turn off and alarm will disarm.
SENSOR DISABLE FEATURE (ONE WAYREMOTE )
Disable the sensors for a single arm cycle, by pressing the button one toArm and within 10 seconds pressing the
button one again siren will chirp once. That will disable sensor for that arm cycle. Rearming the alarm will re-
enablethe sensor.
SENSOR DISABLE FEATURE (TWO-WAY REMOTE )
Disable the sensors for a single arm cycle, by pressing the button one toArm and within 10 seconds pressing
button # 1 and button # 4 together siren will chirp once. That will disable sensor for that arm cycle. Rearming
thealarm will re-enable the sensor.
ACCIDENTALDISARM (AUTO REARMING)
If the alarm has been armed for at least 20 seconds and has been disarmed with the transmitter by mistake. It
will automatically rearm within 30 seconds. Opening the door or turning on the ignition key will cancel
rearming. If this feature is programmed it will always be active no matter if the alarm is in active or passive
mode.
To enable this feature, go to program locatio #2 and turn this feature to mode 2.
DOORTRIGGER DELAYIN PASSIVE MODE
If enabled, when the alarm arm’s passively, upon opening the door siren will chirp for 10 seconds then will
trigger the alarm, unless you turn the ignition on within that 10 seconds. This will disarm the system. This
enables you to use the alarm without remote. If the alarm has been triggered refer to VALET mode.
7A-ANTI - CAR JACKING W/ REMOTE (WITH ONEWAY REMOTE):
To activate the Car Jacking feature, Ignition should be (ON)If The Remote Shift than Button #4 is Pressed
90seconds laterthe sirenwill chirp for15 secondsto remindyou thatthe system willbe incar jackingmode.After
the reminder, the parking lights will flash & the siren will sound for 5 minutes, and the (-) Orange wire (Starter
kill) will be activated.
7A-ANTI - CAR JACKINGW/REMOTE(WITH TWO-WAYREMOTE):
To activate the Car Jacking feature, Ignition should be (ON)If Remote Buttons #1 and #2 are Pressed
90 seconds later the siren will chirp for 15 seconds to remind you that the system will be in car jacking mode.
To turn the car jacking mode OFF, Ignition should be (ON) and press VALET switch 3 times to reset .
7B-ANTI - CAR JACKINGW/ DOOR:
To activate the Car Jacking feature, Ignition should be (ON)If Door is opened 90 seconds later the siren will
chirp for 15 seconds to remind you that the system will be in car jacking mode.After the reminder, the parking
lights will flash & the siren will sound for 5 minutes, and the (-) Orange wire (Starter kill) will be activated.
To turn the car jacking mode OFF, Ignition should be (ON) and press VALET switch 3 times to reset.
PROGRAMINGTRANSMITTERS
Open the door, Turn the ignition key 3 times on/off, on/off, on leave the ignition key in ON position, siren
will chirp 1 time.
Press valet switch 5 Times the siren will chirp 5 times, then press button # 1 on the remote transmitter one
time. The siren will chirp once. If you want to teach another transmitter with a different code press button #
1 one time on the second transmitter the siren will chirp once. You can teach 4 different codes. Also two-way
TRANSMITTERTEACHINGFOR SECOND CAR OPERATION
Same as programming transmitter, press side button # 5 (function button) 2 times then press button # 1, siren
will chirp once.
ALARM SPECIAL FEATURES
ACTIVE ARMING MODE
Press transmitter button #1 momentarily to arm the alarm system. The alarm will disarm and the
siren will chirp once, sidelights will blink, doors will lock automatically, optional starter disable feature
will be activated and the LED will turn on solid then begin flashing slowly after
a 20 second delay.
DISARMINGTHE SYSTEM ( One-way Remote)
Press transmitter button #2 momentarily to disarm the alarm system. The alarm will disarm and the
siren will chirp twice, sidelights will flash twice LED will turn off Optional starter disable feature will be
deactivated Door locks will unlock automatically Dome light will be illuminated for 30 seconds or until
ignition key is turned to accessory “ON” position.
DISARMINGTHE SYSTEM ( Two-way Remote)
Press transmitter button #1 momentarily to disarm the alarm system.
ARMINGWITH (NO CHIRP One way Transmitter)
Press transmitter side button #5 momentarily. Then press button #1 the alarm will arm silently (no
siren chirps).
DISARMINGWITH (NO CHIRP One-wayTransmitter)
Press transmitter side button #5 momentarily. Then press button #2 the alarm will disarm silently (no
siren chirps).
PASSENGER DOOR UNLOCK (One-way Transmitter)
Press Button # 2 and whiten 10 seconds press button # 2 agene Blue/White wire will unlock
Passenger Door.
PASSENGER DOOR UNLOCK (Two-wayTransmitter)
Press Button # 1 and whiten 10 seconds press button # 1 agene and hold for 3 seconds then release
Blue/White wire will unlock Passenger Door.
PASSIVEARMING MODE
In passive arming mode, upon closing the last door there will be a 30 second arming delay. The LED will
be flashing rapidly.After 30 seconds, the alarm will arm (Programmable).
ARMINGWITH DEFECTIVE ZONE ALERT
After arming the alarm (active or passive). If a defective zone has been detected. The alarm will confirm
the detection of the defective zone by chirping the siren and flashing the lights 5 times.All defective zones
will be bypassed until you disarm and arm the unit.
PANIC MODE (One-way Transmitter)
For emergency situations, press and hold button #1, of the transmitter for 3 seconds. This will activate
the panic mode. The alarm siren will sound, armed output will be active, doors will lock and the parking
lights will flash for 30 seconds (or until the transmitter button #1 or #2 is pressed.
PANIC MODE (Two-wayTransmitter)
For emergency situations, press and hold button #1+2 together, +of the transmitter for 1 second.
This will activate the panic mode. The alarm siren will sound, armed output will be active, doors will
lock and the parking lights will flash for 30 seconds (or until the transmitter button #1 is pressed and
released.
ALARMTRIGGERED
If a violation of the vehicle is taking place, the siren will sound, horn will flash, and the parking lights
will flash for 45 seconds.After this 45 seconds duration, the alarm will automatically reset and resume
protecting the vehicle. Sensor 1 sensor 2 triggers will sound the alarm 30 seconds.
INTRUSIONALERT
If a sensor input (door switch, shock sensor) has been violated while the system was armed, upon
disarming the alarm system, the siren will confirm with 3 disarming siren chirps and 3 light flashes
indicating the alarm had been tripped. Turning the ignition to on position the LED will flash 8 cycles
indicating the trigger zone,
36

12
2-WAY
LCD
3
4
2
6
1
3
4
5
7
8
910
11
12
13
14
15
16 17 18 19 20 21 22
1. L ock/A rm
2. Unlock/Disarm
3. Trunk release
4. E ngine run
5. R emote’s battery status
6. Valet mode ON
7. V ibration alert mode
8. Door open
9. Hood open
10. Parking light indication
11. Anti-car jack activated
12. Shock sensor warn-away
13. Shock sensor trigger
14. Daily auto start ON
15. Driver calling
16. R emote unit’s transmitting
17. Power save mode
18. C ountdown timer mode
19. A larm clock mode
20. A M time mode
21. PM time mode
22. Hour, minute indication
DR I V E R C AL L I NG :
When alarm is in A rm or Disarm mode,door closed press V AL E T Push Button switch or C A L L
B utton on the A ntenna momentarily will Pagetheremote with 4 B eeps to indicate a callingfunction
fromtheV ehicle.
T R A NSM I T T E R F UNC T I ONS W I T H DE FA ULTSE T T I NG S
B utton # 1 (arm with chirps and press 3 seconds for panic)
B utton # 2 (disarm with chirps and press one more time for passenger unlock)
B utton # 3 (press for 2 seconds for trunk release, aux 1)
B utton # 4 *(press for remote start)
B utton # 5 Side right button (function button)
Transmitter functions with function button pressed once (with default settings)
B utton # 1 (arm without chirps)
B utton # 2 (disarm without chirps andpress one more time for passenger unlock)
B utton # 3 (press for aux 2)
B utton # 4 *(Car-Jack)
B UT T ON #1
L OC K
AR M
B UT T ON #2
UNL O C K
DI SAR M
B UT T ON #3
H old 3 Sec.
F or T R UN K
B UT T ON #4
R E M O T E
ST AR T
F unction side button
Pr ess M omentar y W ill S hift
to Next B ank .
Shift +1= Silent A r m
Shift +2= Silent Disarm
Shift +3= A UX 2
Shift +4= C ar-J ack
+
B AT T E R Y
B ack of the R emote
Power save mode of tr ansmitter:
If this mode is chosen the remote L CD after 60 seconds from the time of main system’ s disarm mode, the
remoteunit closes its receptioncircuit until any of the remote buttons is pressed. (C hoice of this mode
helps save remote unit’s battery power and ensures longbattery life.)
L ow batter y indicate
When the remote L CD, its battery is about to exhaust.
Insert the new battery
A lkaline 1.5V A AA battery is recommended.
TWO-WAY TR A NS MITT E R OP E R AT ION ONE WAY TR A NS MIT T E R OP E R ATION
***S= SH OR T ***L = L ONG
Ignition off
[ 4 ] LA ny time
4TH channel [ 2 ] LI gnition off
Trunk release [ 3 ] LA ny time
R emote Panic [ 1+2 ] S
+
Ignition off
+
Table of contents
Popular Security System manuals by other brands
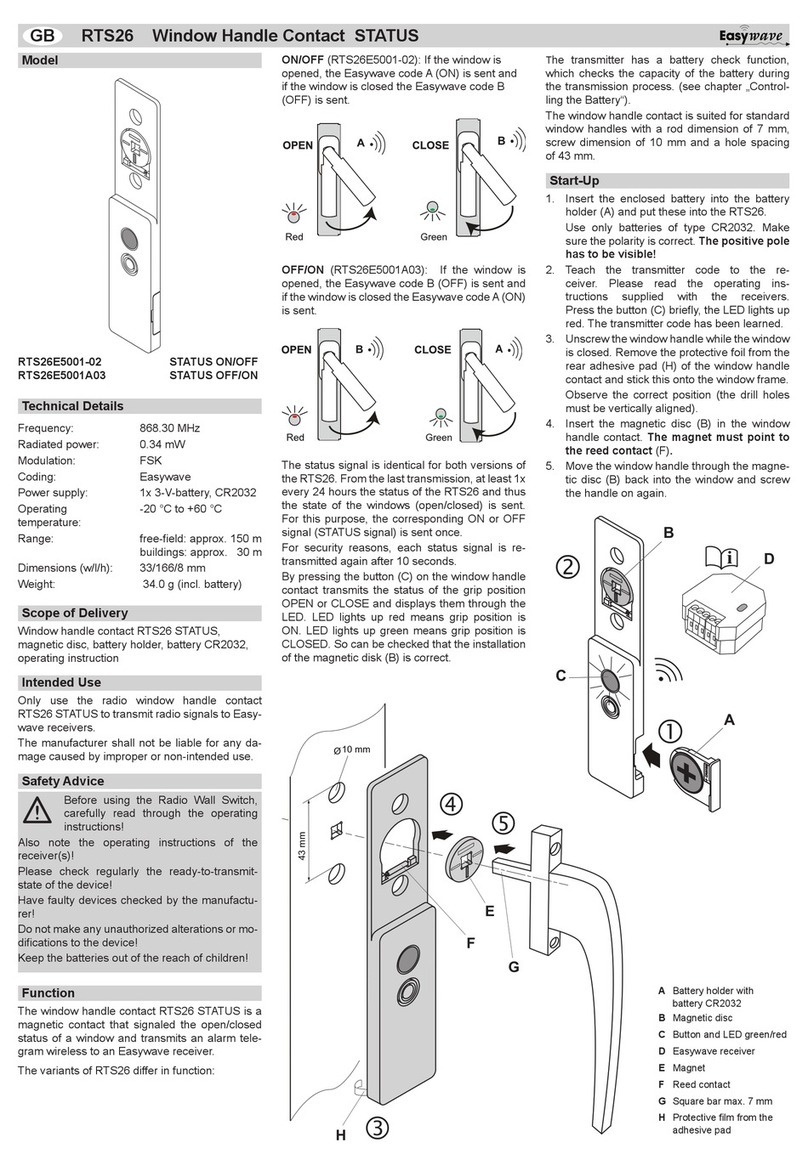
Easywave
Easywave RTS26 STATUS Series quick start guide
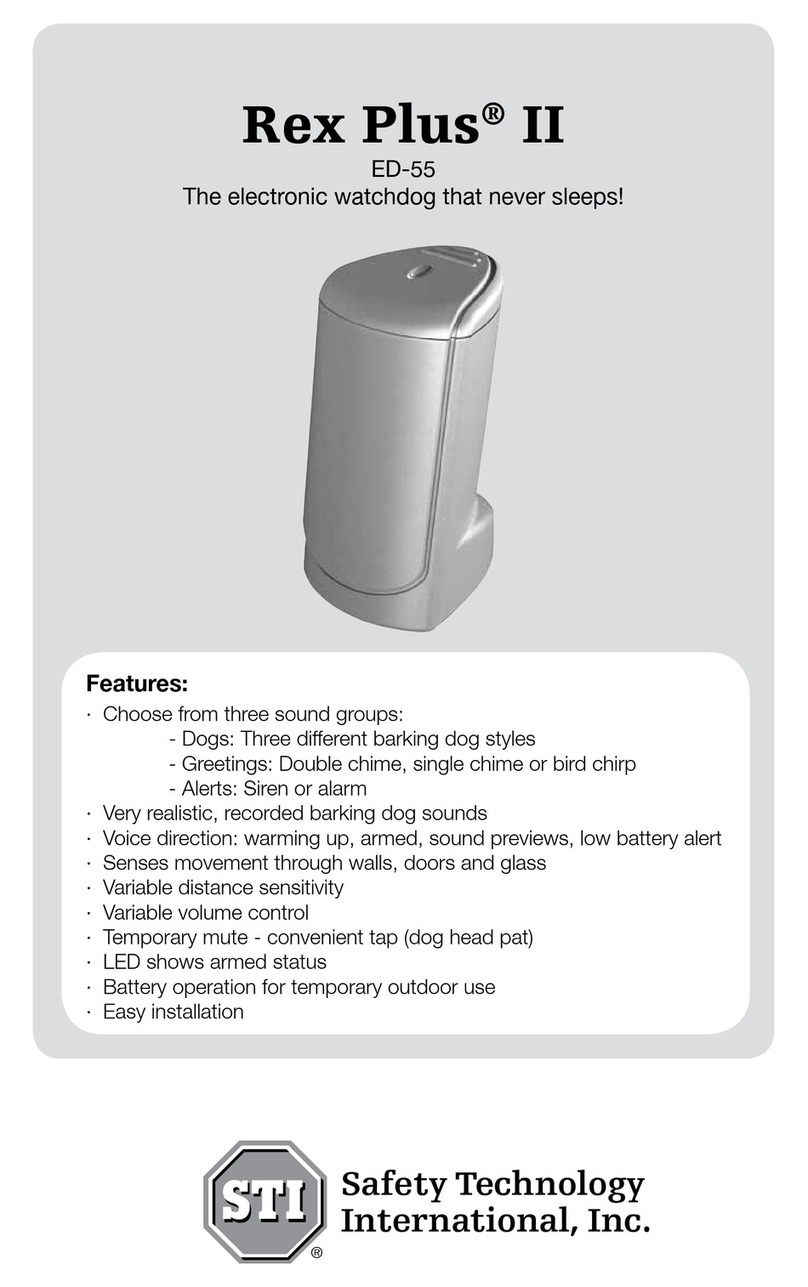
Safety Technology International
Safety Technology International Rex Plus II ED-55 instructions

Edwards Signaling
Edwards Signaling 5530MD-24AW Installation sheet
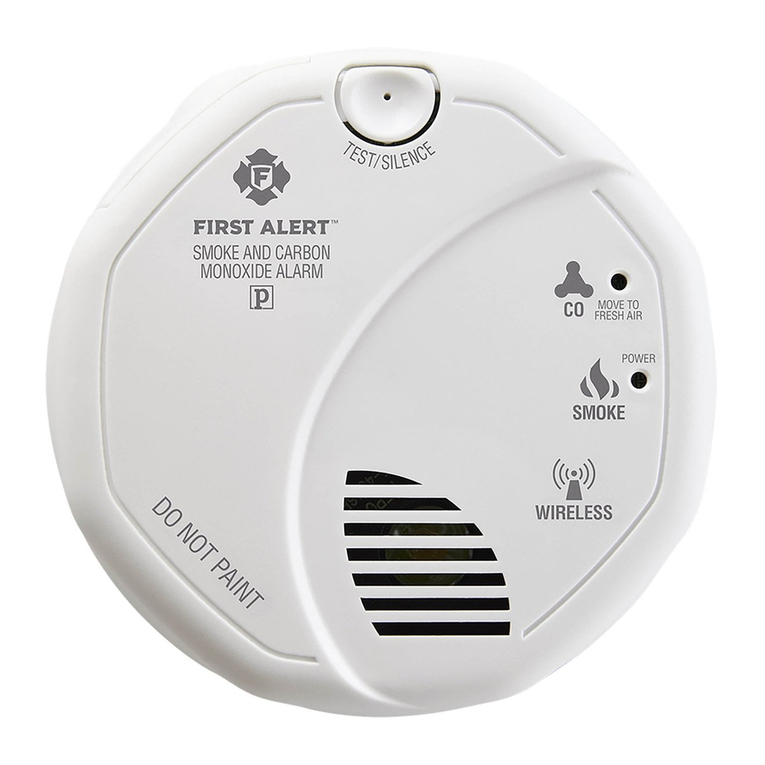
First Alert
First Alert ZCOMBO user manual
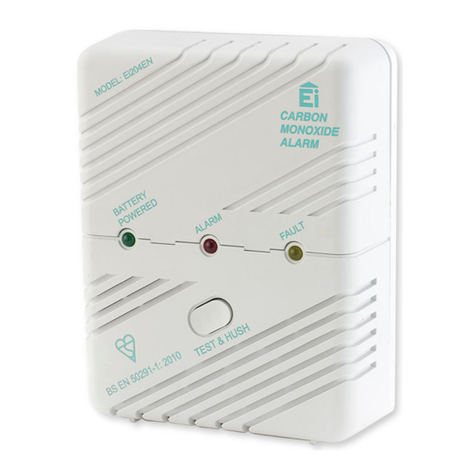
Silent Alert
Silent Alert CO4A-2230-EU MkII quick start guide
Pentatech
Pentatech SA101 user manual
