April 2019
Page 5 of 48
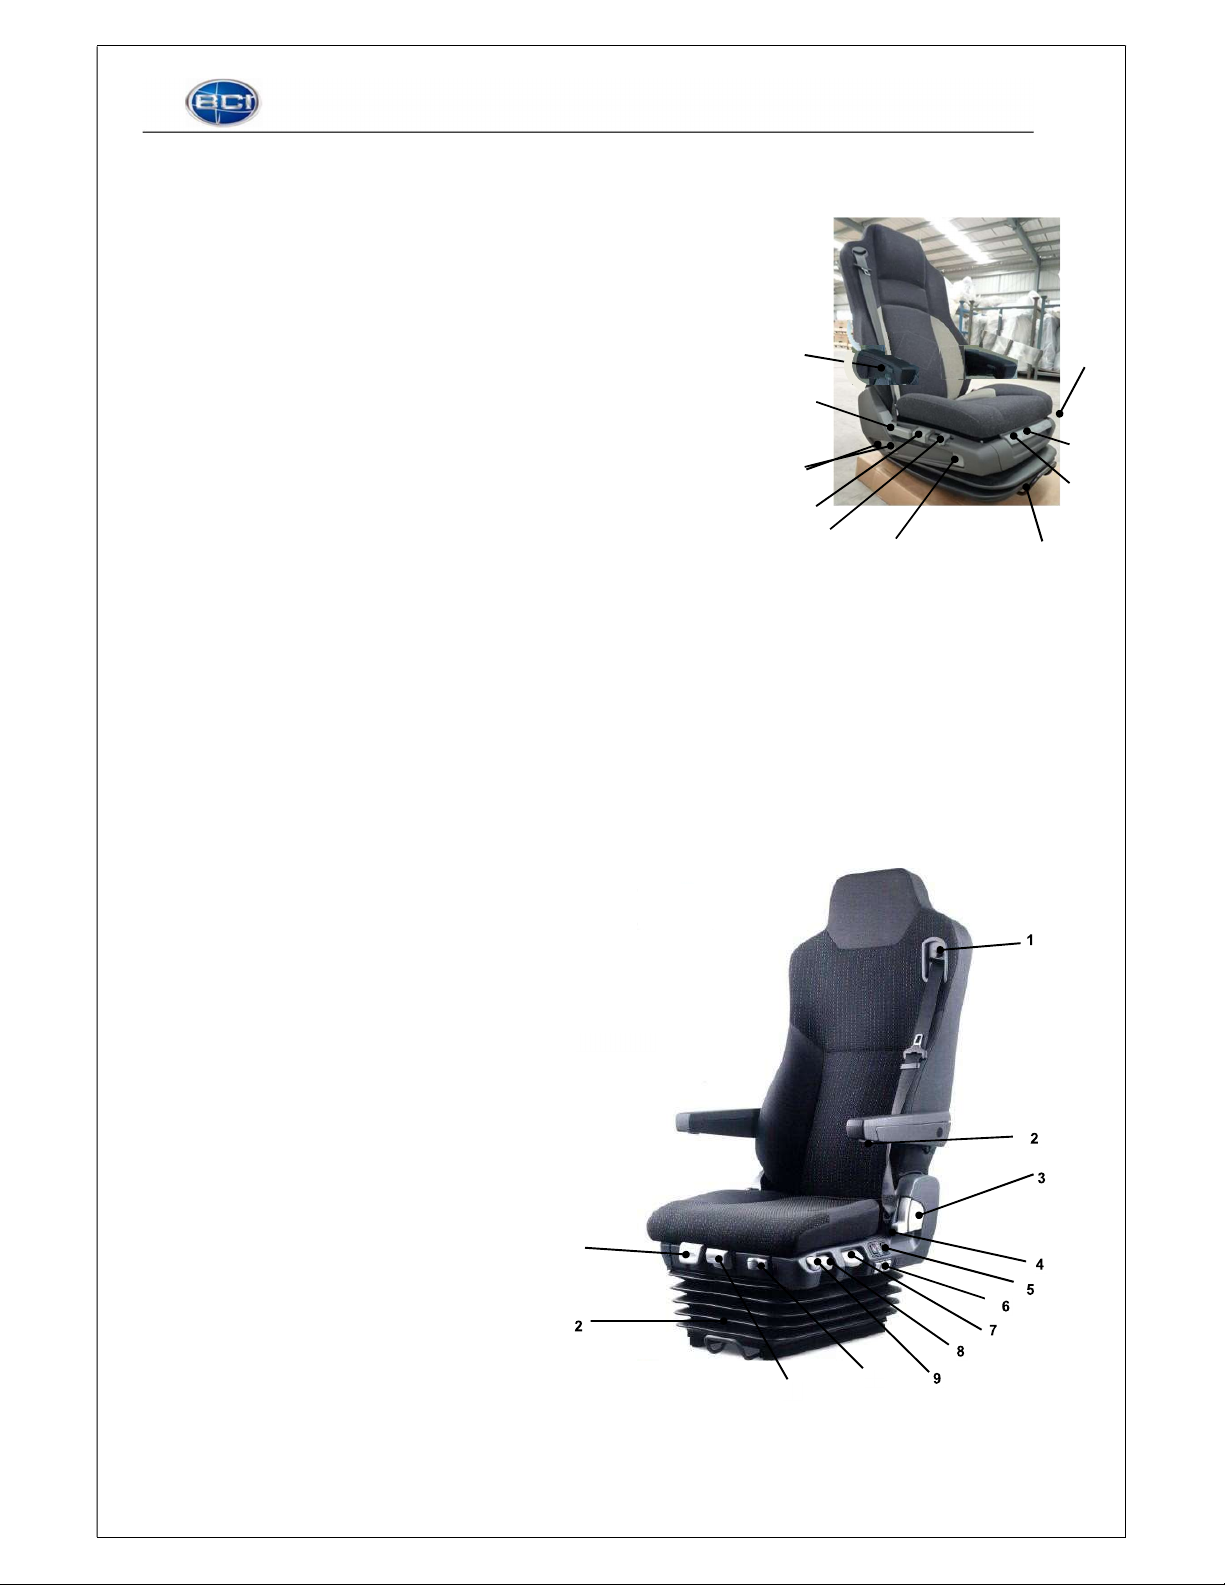
Section 1 - Important Items
1A - Name Plate Introduction:
1A.1 - Vehicle Name & Tyre Plates:
The vehicle name plate and the tyre plate are mounted on the left of the front passenger door(figure 1), the name plate
includes: Bus model, the VIN, the date of manufacture and the manufacturer; the tyre plate includes: tyre type, rim type,
standard tyre pressure and the maximum load.
Figure 1
1A.2 - Chassis VIN Number:
The Chassis Vehicle Identification Number (VIN) is located on the off-side surface of the chassis-structure, in front of the
offside front wheel. (see sample figure 2).
1A.3 - Engine Name Plate:
The label for the engine is located on the top of the engine and the stamped engine number is located on the block above
the sump, on the nearside of the bus, towards the back of the engine.
1B - Product Warranty: (Please refer to the BCI Warranty Guide Booklet for further details)
Please ensure all users STRICTLY follow the Operating Instructions of the vehicle so that it is used and maintained correctly.
The BCI body warranty is limited to 150,000km or three years whichever comes first. Other Supplier Warranties such as
engine, transmission and air conditioning etc. will be covered directly by the Supplier’s Warranty and can be taken to a
Supplier’s outlet for rectification.
Please ensure any warranty repairs required are communicated with your selling Dealer. Should a warranty repair not be
able to be carried out at an official BCI Dealership, please ensure an official order number is obtained for the repairs from
your selling Dealership, prior to them being carried out at another service center?
1C - Technical Documents:
Please use this Vehicle Owner’s Book together with the supplied manuals listed below:
Engine User Manual or Service Manual; Allison Shift Selector Operators Manual; A/C User Manual; Audio User Manual
(For further vehicle technical reference documents please go to the BCI Dealer website: bcibus.com.hk)
Owner’s Manual