Beam Central Vacuum Systems Manual

Beam Central Vacuum Systems
OPERATING AND
MAINTENANCE INSTRUCTION
MANUAL
WARRANTY INFORMATION
Read This Manual Thoroughly Before Use

WARRANTY INFORMATION
Read this manual thoroughly before use.
IMPORTANT SAFETY
INSTRUCTIONS
When using electrical appliances, basic safety precautions
should always be followed, including the following: Read all
instructions before using this vacuum.
NOTE: Your Beam Built-In Vacuum is listed and approved by the
appropriate agencies for dry pick-up only. Please see your rating
plate for details. To reduce the risk of electrical shock, DO NOT
USE on wet surfaces.
Beam Central Vacuum Systems
Operating and maintenance instruction manual

Beam Owner’s Manual English
DANGER
Always unplug power unit from the electrical outlet before servicing and cleaning.
WARNING
To reduce the risk of burns, re, electric shock, or injury to persons:
• Keep cord away from heated surfaces.
• Do not allow vacuum to be used as a toy. Close supervision is necessary when this vacuum is used
by or near children.
• Use this vacuum only for its intended use as described in this manual. (Use of attachments not
recommended by manufacturer may cause re, electric shock, injury or damage to system
components.)
• Never operate this vacuum if it has a damaged cord or plug, if it is not working properly, or if it has
been dropped or damaged. Return to your authorized Beam dealer for repair.
• Do not pull or carry this power unit by supply cord, or use cord as a handle.
• Never disconnect plug by pulling cord. To disconnect from outlet, grasp the plug, not the cord.
• Do not put any object into openings. Do not use with any opening blocked. Keep free of dust, lint,
hair and anything that may reduce air ow.
• Keep hair, face, ngers, and all body parts and loose clothing away from any openings.
• Do not pick up cigarettes, live hot ashes, matches or similar materials.
• Never operate vacuum without dust bag and/or lter in place.
• Turn off all controls before unplugging.
• Never handle plug, cord or power unit with wet hands.
• Do not use on wet surfaces.
• Use extra care when cleaning on stairs.
• Do not use to pick up ammable or combustible liquids such as gasoline or use in areas where they
may be present.
• Connect to a properly grounded (earthed) outlet only. See grounding (earthing) instructions.
• Do not block the motor hood ventilation openings on top of the power unit, lack of
ventilation airow will cause the motor to overheat.
• Do not locate the power unit in a high temperature area or where it is inaccessible, for example, an
attic or crawl space.
• Mount the built-in vacuum system power unit at least 12 inches from the oor, ceiling and adjacent
sidewall to insure adequate ventilation for the motor.
• Do not use extension cords or outlets with inadequate current carrying capacity.
SAVE THESE INSTRUCTIONS

Introduction
Congratulations! You are now the proud owner of a Beam Built-in Vacuum System . . . . . the
ultimate in cleaning equipment. Say “good-bye” to old fashioned sweepers.You’ll never have to
lug a heavy, awkward vacuum again.Your Beam Built-in Vacuum will change your cleaning
routine. It is so easy and versatile to use. It’s quiet and dust-free. It will help eliminate the
drudgery of vacuuming and give you a cleaner, healthier indoor environment. Before you use
your Beam Built-in Vacuum System, read this manual carefully. Learning the proper way to use
this system will help give you years of trouble-free cleaning performance.
Operation
To operate, simply plug the hose into one of
the handy wall inlet valves. The metal ring on
the cutoff of the hose will complete a low-
voltage electrical circuit, which in turn
activates a relay and turns on the system’s
power unit. To turn off the power unit, simply
unplug the hose from the inlet. Please Note:
When unplugging the hose, it is
recommended to hold the inlet door open for a
few seconds until the suction pressure has
sufficiently decreased. For safety purposes, a
low-voltage circuit is utilized at the wall inlet.
The power unit functions on a standard 110/120-
volt circuit. There are optional hoses available
with an on/off switch located on the handle.
Please note: When using one of these
optional hoses, it is important to properly align
the hose with the wall inlet when plugging it in
to prevent damage to the unit.
Power Unit
Beam power units are equipped with 115/120-
volt by-pass motors. Beam power units also
employ a manual reset circuit breaker. It is
normal for some dirt and lint to cling to the
lter. However, the lter should be checked
occasionally to be sure it has not been
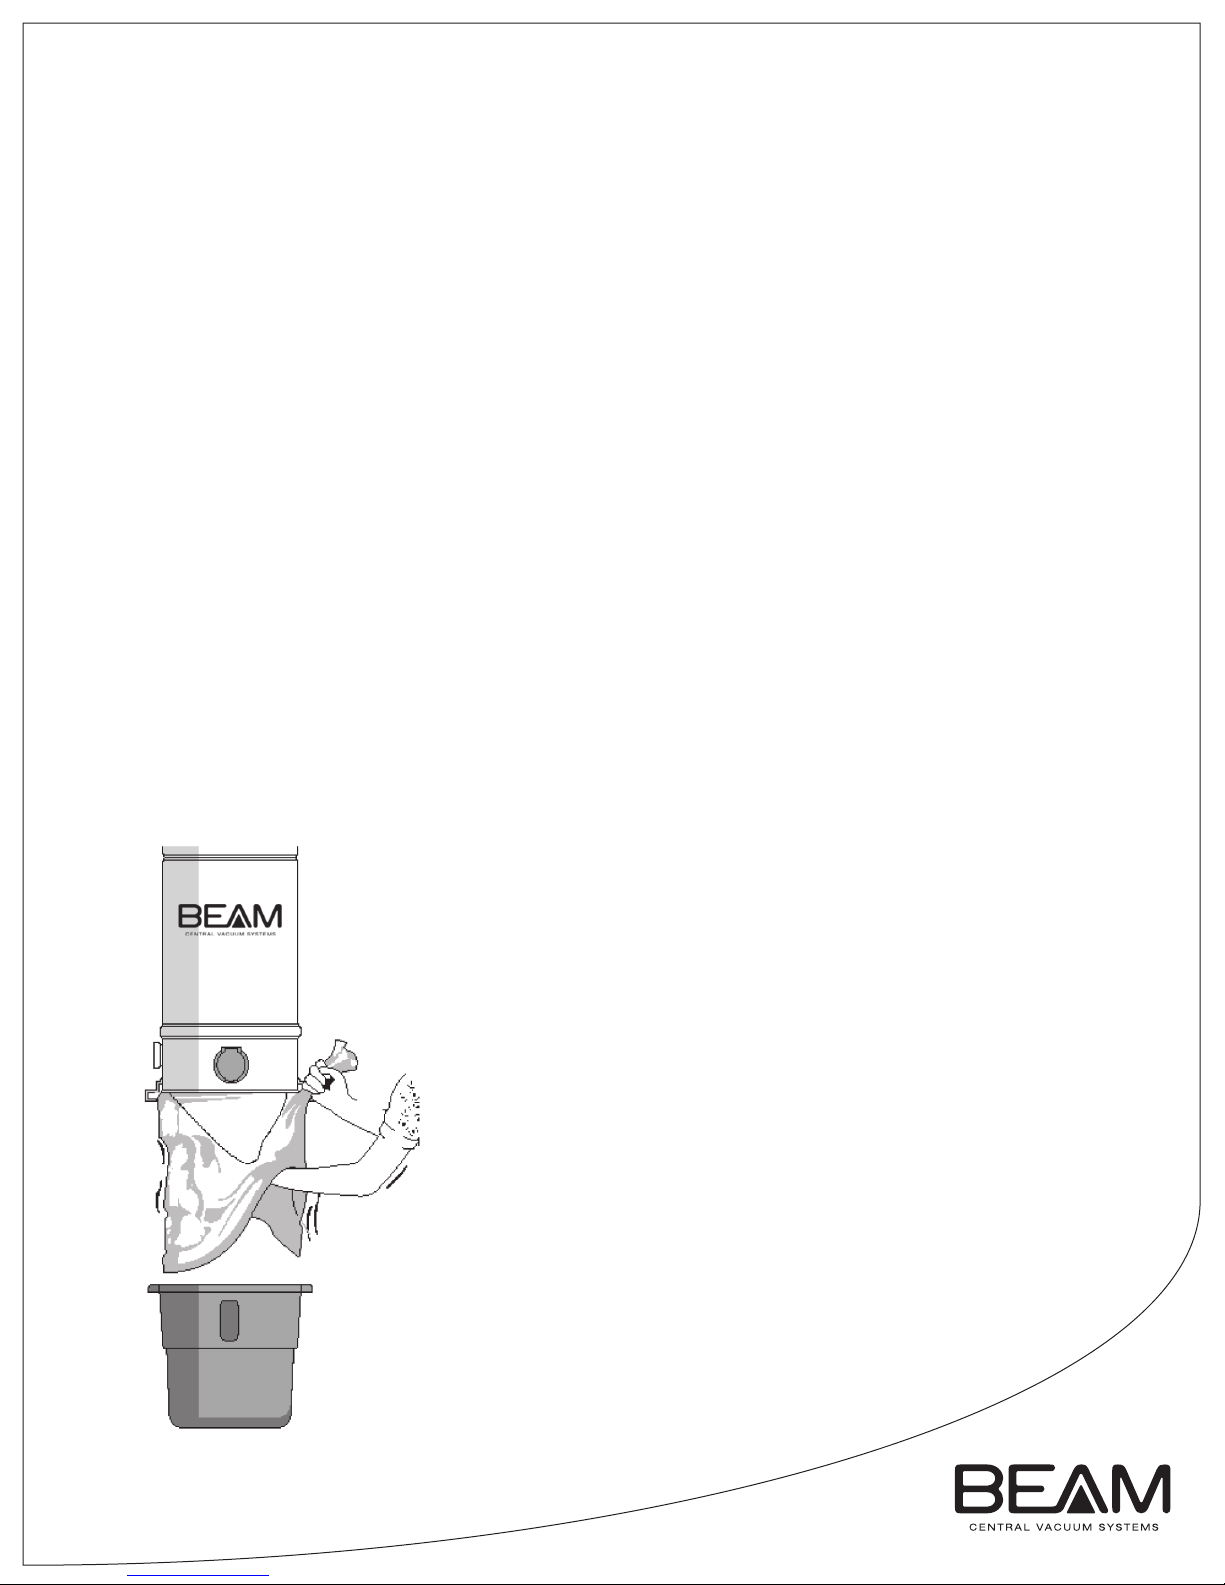
punctured or torn. The dirt receptacle should
be emptied two or three times a year on the
average depending on the amount of use. For
best results, empty the canister when it is
about half full. Any dirt spilled can be
vacuumed up quickly by plugging the hose
into the utility inlet located on the power unit.
The on/off button
on the power unit will start and stop the power
unit. No part of the unit requires lubrication.
Electrical Fault Protection
The central vacuum system employs features
that monitor the following operating levels:
AC voltage, current draw and circuit board
temperature. If the voltage is below or above
the standard operating voltage, high current
draw or locked rotor, the power unit will not
operate. In this case the LED next to the on/off
button will blink until the problem ceases. If the
circuit board reaches an elevated temperature,
the power unit will not operate and the LED
will be off. In the event of these problems
happening, press the on/off button, unplug
hose, or wait for temperature to lower. If
problems persist; contact the authorized
service center nearest you.
In the case of power failure, the power unit will
return to its previous state when power
returns. For example, if a hose is plugged in
with the hose switch on, or a straight air hose
is plugged into a wall valve, then the power
unit will turn back on. If the power unit was
turned on at the unit prior to power loss then
the unit will not turn back on.
Hose Use And Care
For optimum benet, the hose should be used
and stored at temperatures above 40˚F (5˚C).
Always hang up the hose when not in use
using the hose hanger supplied. If hose
should become clogged, insert the wand end
into the utility inlet on the power unit.Turn on
the power unit with the manual switch and
seal the extra
air-space by holding the hose rmly. The
obstruction should be quickly vacuumed out.
If, however, the hose remains clogged, insert
an electrician’s sh tape (wire) or garden hose
through the hose to remove the obstruction,
being careful not to puncture the hose.
Disconnect hose handle from wands before
storing. DO NOT store hose in direct sunlight.

WARNING:
Improper connection of the equipment-grounding (earthing) conductor can
result in a risk of electric shock. Check with a qualied electrician or
service person if you are in doubt as to whether the outlet is properly
grounded (earthed). Do not modify the plug provided with the appliance. If
it will not t the outlet, have the proper outlet installed by a qualied
electrician. This appliance is for use on a nominal 120 volt (see rating
plate for correct voltage) circuit and has a ground (earth) plug that looks
like the plug illustrated in Figure 2. Make sure that the appliance is
connected to an outlet having the same conguration as the plug. No
adapter should be used with this appliance.
• If the power cable is damaged, use only an OEM replacement cable.
• Check the power unit on/off button and all inlet valves for operation.
• This power unit is intended for household and commercial use only.
Beam Owner’s Manual English
Installation Of Power Unit
The power unit hangs on the mounting bracket
which is screwed to the wall. The bottom
screws of the mounting bracket should be
about 48” (122 cm) up from the oor to allow
convenient removal of the dirt receptacle. For
proper motor cooling, there must be at least
12” (31 cm) between unit and the ceiling (see
Figure 1). If mounting on plaster or panel
walls, be sure mounting screws enter studs. If
mounting on concrete wall, drill the wall with a
masonry bit and insert the appropriate wall
anchors. Strip the low-voltage wires that were
installed with the main trunk line. Connect the
wires to the spring loaded connectors on the
back side of the power unit. Connect the main
tube line to the left side of the power unit with
the connector and clamp provided. Do not
cement this connection to the power unit in
case you wish to remove at some future date.
NOTE: For paper bag units, follow directions
provided with unit. This unit may be vented
outside to exhaust fumes and germs. For
optimum noise reduction, this unit must be
vented outside. Use the same tubing and
ttings as before. Do not vent power unit
exhaust into a wall, ceiling or concealed space
of a building. Use two exhaust lines for twin
motor units. NOTE: On/off button on power
unit is only used for the inlet on power unit.All
other inlets operate automatically when hose
end is inserted into inlet valve. The power
cable has a three-prong female connector on
one end. This connector must be plugged into
the mating connector on the power unit. Plug
the other end of the power cable into the wall
electrical outlet. WIRING: Check local codes,
but use not less than #12-2 wire with ground.
Plug power unit cord into appropriate electrical
outlet. Be sure line voltage is sufficient to
handle 20 amp load.
Grounding
(Earthing)
Instructions
This appliance must be grounded (earthed). If
it should malfunction or break down,
grounding (earthing) provides a path of least
resistance or electric current to reduce the risk of
electric shock. This appliance is equipped with
a cord having an equipment-grounding
(earthing) plug. The plug must be plugged into
an appropriate outlet that is properly installed
and grounded (earthed) in accordance with all
local codes and ordinances.
Table of contents
Languages:
Other Beam Vacuum Cleaner manuals