manuals.online logo
Brands
  1. Home
  2. •
  3. Brands
  4. •
  5. Beaver
  6. •
  7. Protection Device
  8. •
  9. Beaver M50 User manual

Beaver M50 User manual

1. LAY OUT /ROLL OUT
7. CLOSE THE CAPS
2. INFLATE
3. CONNECT ELEMENTS
4. FILL WITH WATER
5. DURING FILLING
6. DEFLATE
8. CHECK FILLING PRESSURE
Place the dam ele-
ments in the target
location.
Loosen the straps.
Roll out the dam
elements.
Connect the dam
elements with the
straps after letting
out some of the air.
Attach the straps in
such a way that
they sag slightly.
Move the dam into
the required posi-
tion. Do not drag it
over the ground!
Connect a fire bri-
gade hose and fill
with water whilst
letting air out at
the same time.
Fill both hoses at
the same time.
Make sure that
the hoses do not
roll away. On an
inclined surface
the elements lying
side by side should
be filled with
water at the same
time.
Let the air out from
the openings at the
top. The dam ele-
ment should adopt
an oval shape in the
process.
1. When the dam
element is half
full, leave the cap
open until water
starts to escape.
2. Close the cap.
3. Carefully observe
the filling process
and immediately
stop when the fil-
ling pressure is
reached.
Max. internal water
pressure 0.2 bar
Checking the filling
pressure:
1. Hold up the filling
hose and take off
the cap.
2. The height of the
water fountain
must not exceed
0.5 m.
Caps removed
Close the caps
1.
50cm
SETTING UP
Inflate the dam ele-
ments with a speci-
al pump.
Max. low pressure
of 0.1 bar.
Important information
for types M1 / M1XL / H1:
The single hose must be supported on the land side (e.g. by
awall). This is the only way to withstand the water pressure
and prevent the hose from rolling away.
The stability and resistance to tipping of the system is im-
paired when a third hose is placed on top. Position a sand-
bag every 2 metres on the land side. This measure will help
to boost the resistance of the taller dam to tipping over.
This option must ONLY be used in an extreme emergency.

Beaver
Flood and Storm
Protection System
BEAVER PROTECTION SYSTEMS LTD.
Rothmatte 2 · CH-6022 Grosswangen
Phone +41 (0)79 549 72 60
www.beaver-ag.com · info@beaver-ag.com
For information about handling, maintenance and sto-
rage please refer to the separate data sheet.
Assembly instructions
for types M50,
MXL80/H100
1. DRAIN WATER
2. FOLD / ROLL TOGETHER
3. TIE TOGETHER
Open the clamping
plates - the water
will drain away.
Check:
Any damage to the
hose dam must be
professionally repai-
red.
Tie up the folded
hose dam with the
straps.
Once the Beaver
hose dam element
has been completely
drained, dried and
cleaned, it is folded
up. For information
about maintenance
refer to the separate
data sheet.
TAKING DOWN

This manual suits for next models

2

Popular Protection Device manuals by other brands

cias MANTA Installation handbook

cias

cias MANTA Installation handbook

Innotech LIGHT manual

Innotech

Innotech LIGHT manual

Contech CatStop quick start guide

Contech

Contech CatStop quick start guide

ABB Relion REG670 Product guide

ABB

ABB Relion REG670 Product guide

Datalogic SLIM instruction manual

Datalogic

Datalogic SLIM instruction manual

SATA AB1 operating instructions

SATA

SATA AB1 operating instructions

U-Line H-4618 manual

U-Line

U-Line H-4618 manual

CANUSA-CPS GTS-80/T installation guide

CANUSA-CPS

CANUSA-CPS GTS-80/T installation guide

Markilux Markant Operation manual

Markilux

Markilux Markant Operation manual

ensto ECOAC44 operation instruction

ensto

ensto ECOAC44 operation instruction

New Power S-FLS Series manual

New Power

New Power S-FLS Series manual

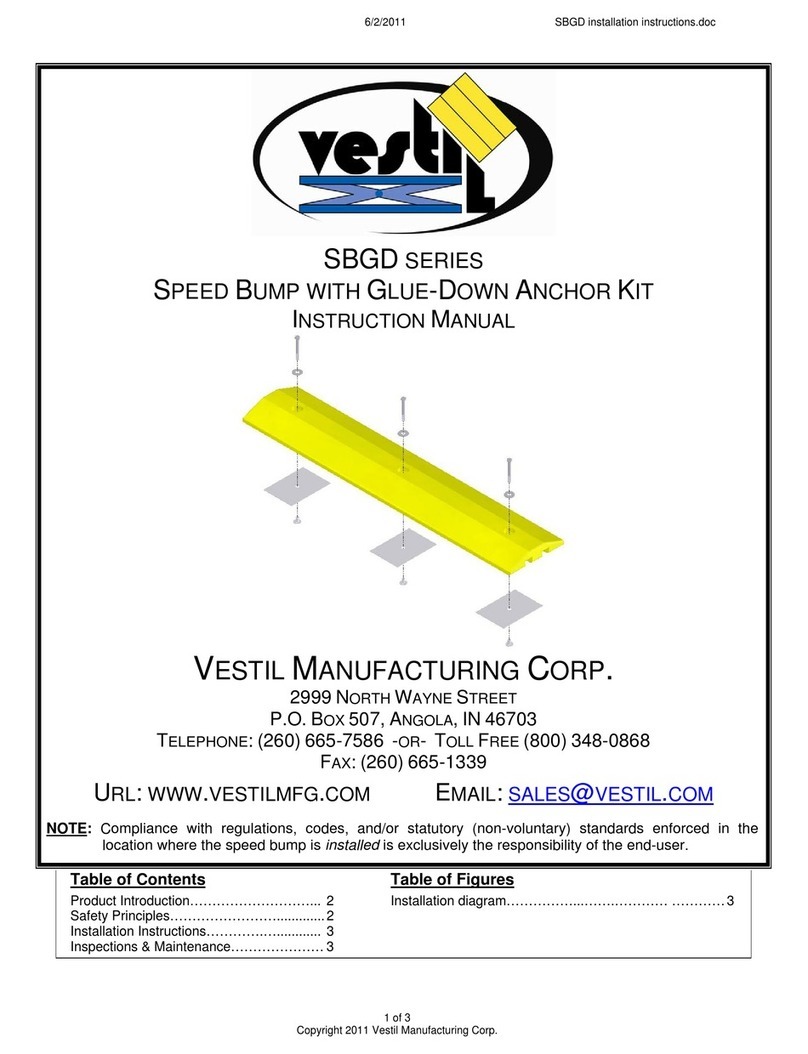
Vestil SBGD Series instruction manual

Vestil

Vestil SBGD Series instruction manual

Scorpion Power System Scorpion Backup Guard II user guide

Scorpion Power System

Scorpion Power System Scorpion Backup Guard II user guide

Prorack PR3032NK quick start guide

Prorack

Prorack PR3032NK quick start guide

Emerson Enardo DFA Series instruction manual

Emerson

Emerson Enardo DFA Series instruction manual

Carboline Thermo-Lag 3000 Applications manual

Carboline

Carboline Thermo-Lag 3000 Applications manual

Showa Denki CB-1075 Operation manual

Showa Denki

Showa Denki CB-1075 Operation manual

CHINT NJBK6 Series User instruction

CHINT

CHINT NJBK6 Series User instruction

manuals.online logo
manuals.online logoBrands
  • About & Mission
  • Contact us
  • Privacy Policy
  • Terms and Conditions

Copyright 2025 Manuals.Online. All Rights Reserved.