manuals.online logo
Brands
  1. Home
  2. •
  3. Brands
  4. •
  5. Behringer
  6. •
  7. Mixer
  8. •
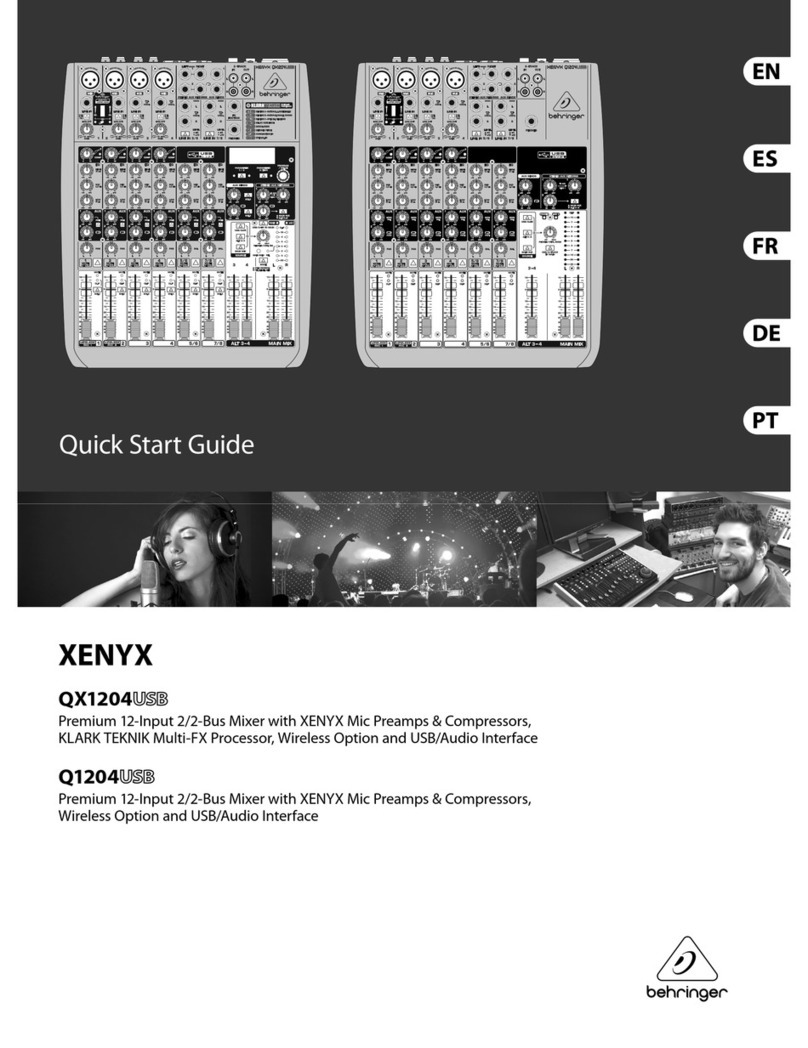
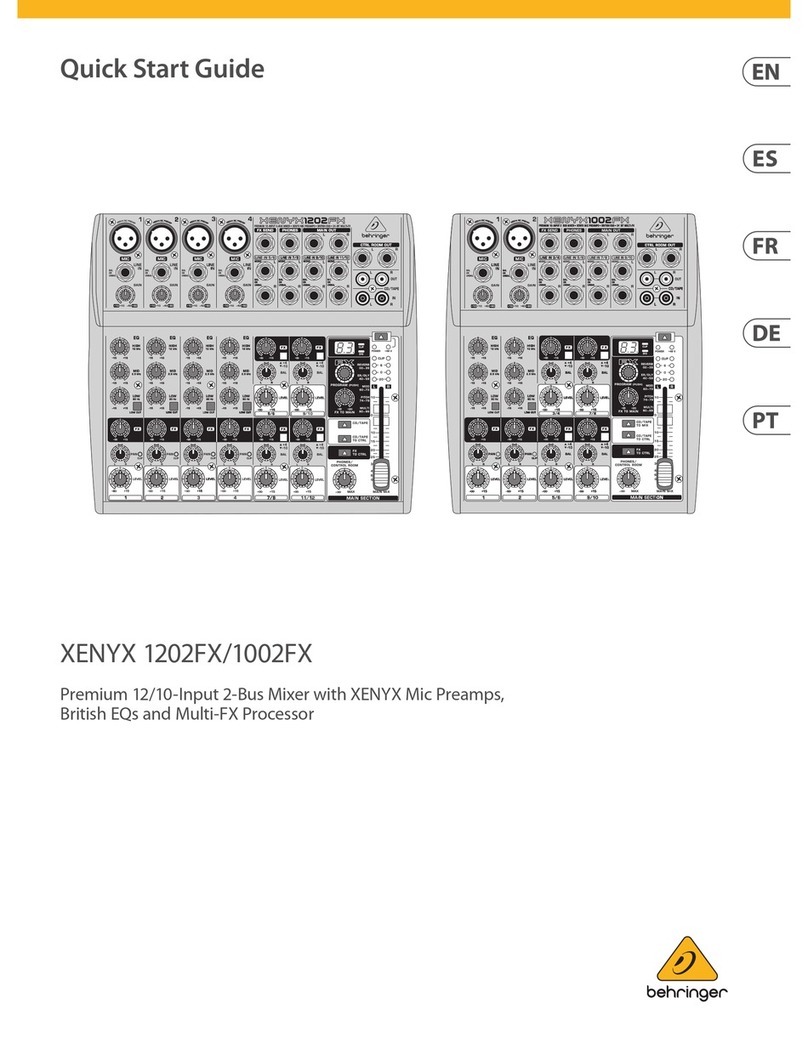
  9. Behringer Xenyx User manual

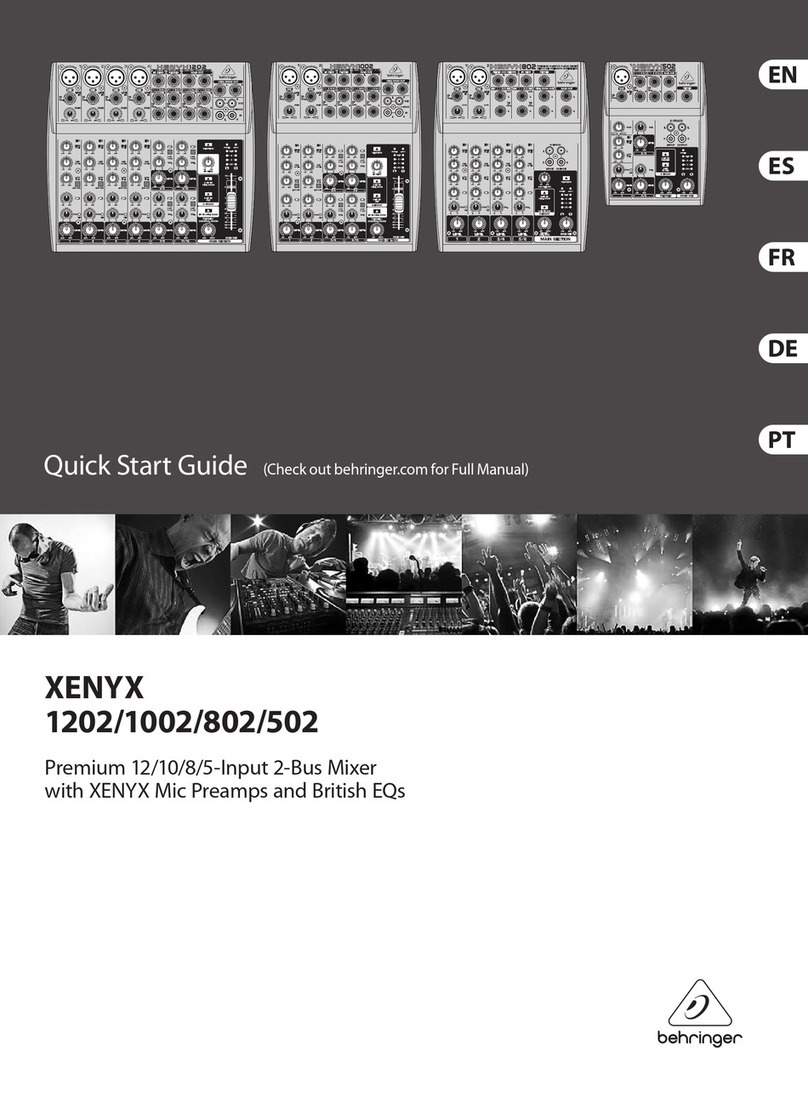
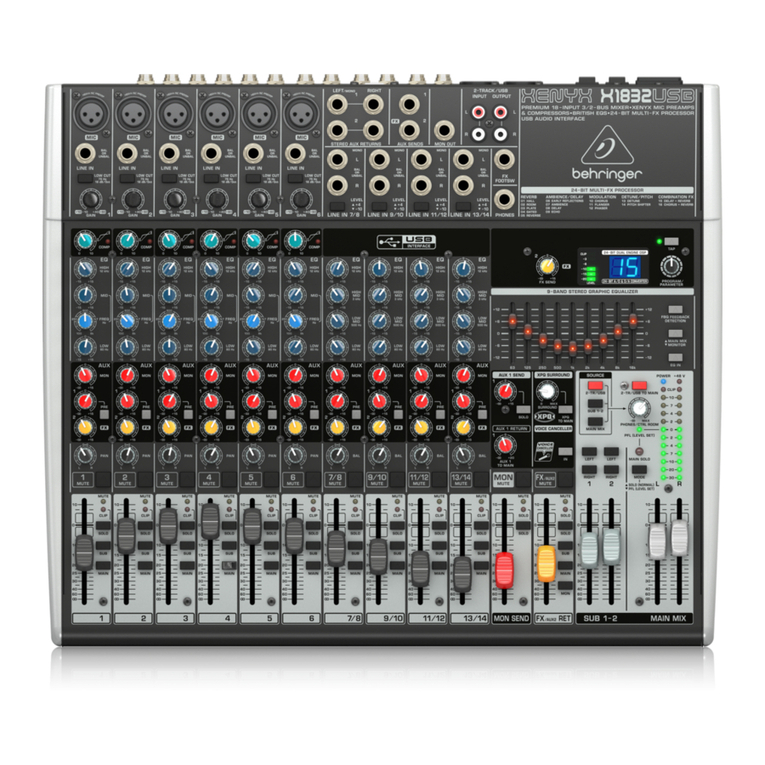
Behringer Xenyx User manual

Users Manual
Version 1.0 January 2006
ENGLISH
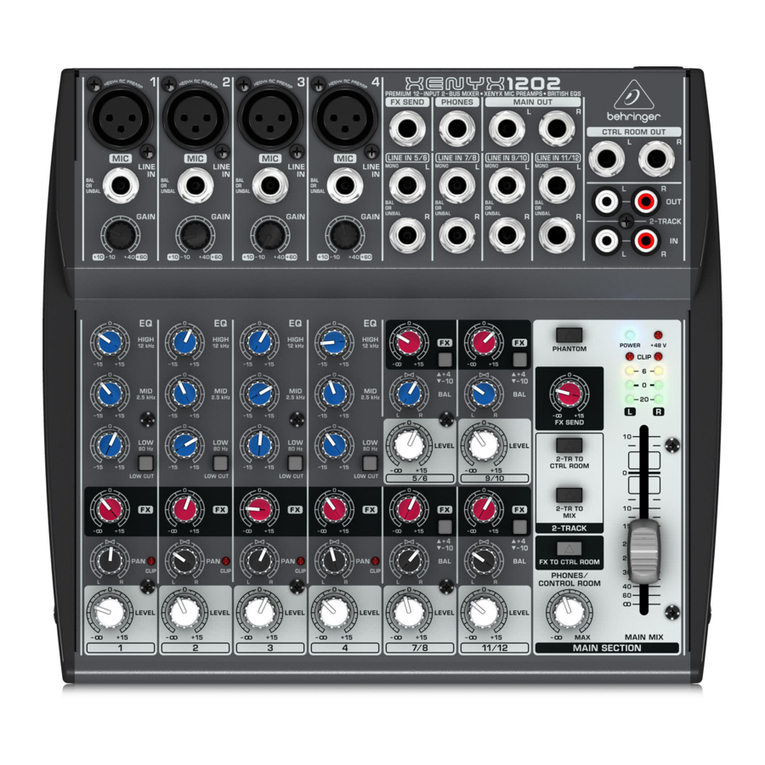
XENYX 502/802/1002/1202
2
XENYX 502/802/1002/1202








IMPORTANT SAFETY INSTRUCTIONS
CAUTION: 

 

WARNING: 




DETAILED SAFETY INSTRUCTIONS:
1) Read these instructi ns.
2) Keep these instructi ns.
3) Heed all warnings.
4) F ll w all instructi ns.
5) D n t use this apparatus near water.
6) Clean nly with dry cl th.
7) D n t bl ck any ventilati n penings. Install in
acc rdance with the manufacturers instructi ns.
8) D n t install near any heat s urces such as radiat rs,
heat registers, st ves, r ther apparatus (including
amplifiers) that pr duce heat.
9) D n t defeat the safety purp se f the p larized r
gr unding-type plug. A p larized plug has tw blades
with ne wider than the ther. A gr unding type plug
has tw blades and a third gr unding pr ng. The wide
blade r the third pr ng are pr vided f r y ur safety. If
the pr vided plug d es n t fit int y ur utlet, c nsult
an electrician f r replacement f the bs lete utlet.
10) Pr tect the p wer c rd fr m being walked n r
pinched particularly at plugs, c nvenience receptacles,
and the p int where they exit fr m the apparatus.
11) Only use attachments/access ries specified by the
manufacturer.
12) Use nly with the cart, stand, trip d, bracket, r table
specified by the manufacturer, r s ld with the
apparatus. When a cart is used, use cauti n when m ving
the cart/apparatus c mbinati n t av id injury fr m
tip- ver.
13) Unplug this apparatus during lightning st rms r
when unused f r l ng peri ds f time.
14) Refer all servicing t qualified service pers nnel.
Servicing is required when the apparatus has been
damaged in any way, such as p wer supply c rd r plug
is damaged, liquid has been spilled r bjects have fallen
int the apparatus, the apparatus has been exp sed t
rain r m isture, d es n t perate n rmally, r has been
dr pped.
15) CAUTION - These service instructi ns are f r use by
qualified service pers nnel nly. T reduce the risk f
electric sh ck d n t perf rm any servicing ther than
that c ntained in the perati n instructi ns unless y u
are qualified t d s .
3
XENYX 502/802/1002/1202
TABLE OF CONTENTS
1. INTRODUCTION ........................................................................................................ 4
1.1 General mixing console functions .................................................................................................................... 4
1.2 The users manual ............................................................................................................................................ 5
1.3 Before you get started ....................................................................................................................................... 5
1.3.1 Shipment .................................................................................................................................................. 5
1.3.2 nitial operation ........................................................................................................................................ 5
1.3.3 Online registration ................................................................................................................................... 5
2. CONTROL ELEMENTS AND CONNECTORS .......................................................... 5
2.1 Mono channels .................................................................................................................................................. 5
2.1.1 Microphone and line inputs ..................................................................................................................... 5
2.1.2 Equalizer .................................................................................................................................................. 6
2.1.3 FX sends, panorama and level adjustment ............................................................................................ 6
2.2 Stereo channels ................................................................................................................................................ 6
2.2.1 Stereo line inputs ..................................................................................................................................... 6
2.2.2 Equalizer stereo channels (802) ............................................................................................................. 6
2.2.3 FX sends, balance and level adjustment ................................................................................................ 6
2.3 Connector panel and main section .................................................................................................................. 7
2.3.1 Send/return effects path ........................................................................................................................... 7
2.3.2 Monitor and main mix .............................................................................................................................. 7
2.3.3 CD/Tape connectors ................................................................................................................................7
2.3.4 Signal assignment .................................................................................................................................. 8
2.3.5 Phantom power and LED displays ......................................................................................................... 8
3. INSTALLATION .......................................................................................................... 9
3.1 Mains connection .............................................................................................................................................. 9
3.2 Audio connections ............................................................................................................................................. 9
4. SPECIFICATIONS .................................................................................................... 10
5. WARRANTY ............................................................................................................. 11
4
XENYX 502/802/1002/1202
1. INTRODUCTION

















s 
s

s      
     

s      

 
s


British EQ





CAUTION!
+We sh uld like t draw y ur attenti n t the fact
that extreme v lumes may damage y ur hearing
and/ r y ur headph nes r l udspeakers. Turn the
MAIN MIX c ntr l and PHONES c ntr l in the main
secti n fully c unter-cl ckwise bef re y u switch
n the unit. Always be careful t set appr priate
v lume levels.
1.1 General mixing console functions

sSignal pr cessing   

sSignal distributi n



sMix






FOREWORD



 

   


   

  

   


  








































1. INTRODUCTION
5
XENYX 502/802/1002/1202
1.2 The users manual






+The bl ck diagram supplied with the mixing c ns le
gives y u an verview f the c nnecti ns between
the inputs and utputs, as well as the ass ciated
switches and c ntr ls.


 






1.3 Before you get started
1.3.1 Shipment





+If the unit is damaged, please d NOT return it t us,
but n tify y ur dealer and the shipping c mpany
immediately, therwise claims f r damage r
replacement may n t be granted.
1.3.2 Initial operation







+Never c nnect the XENYX t the p wer supply unit
when the latter is c nnected t the mains! First
c nnect the p wer supply unit t the c ns le, then
c nnect the p wer supply unit t the mains.
+Please n te that all units must be pr perly
gr unded. F r y ur wn safety, y u sh uld never
rem ve any gr und c nnect rs fr m electrical
devices r p wer cables, r render them in-
perative.
+Please ensure that nly qualified pe ple install and
perate the mixing c ns le. During installati n and
perati n, the user must have sufficient electrical
c ntact t earth, therwise electr static discharges
might affect the perati n f the unit.
1.3.3 Online registration

      















2. CONTROL ELEMENTS AND
CONNECTORS



2.1 Mono channels
2.1.1 Microphone and line inputs
Fig. 2.1: Connectors and controls of mic/line inputs
MIC





+Please mute y ur playback system bef re y u
activate the phant m p wer supply t prevent
switch- n thumps being directed t y ur
l udspeakers. Please als n te the instructi ns
in chapter 2.3.5 Phant m p wer and LED displays.
LINE IN



+Please remember that y u can nly use either the
micr ph ne r the line input f a channel at any
ne time. Y u can never use b th simultane usly!
TRIM
TRIM


2. CONTROL ELEMENT AND CONNECTOR
6
XENYX 502/802/1002/1202
2.1.2 Equalizer










Fig. 2.2: The equalizer of the mono input channels
EQ






LOW CUT

 OW CUT 
     

2.1.3 FX sends, panorama and le el adjustment
7
XENYX 502/802/1002/1202
FX




BAL
BA 




LEVEL


+4/-10

+4 dBu-10 dBV


2.3 Connector panel and main section
2.3.1 Send/return effects path
8
XENYX 502/802/1002/1202
CD/TAPE OUTPUT





2.3.4 Signal assignment
Fig. 2.12: Assignment switches of the main section
CD/TAPE TO MIX
TAPE TO MIX



CD/TAPE TO CTRL ROOM (502: CD/TAPE TO PHONES)
CD/TAPE TO CTR ROOM/PHONES



+If y u are rec rding a signal via the CD/TAPE OUTPUT
and wish t listen t this simultane usly via the
CD/TAPE INPUT, d n t use the CD/TAPE TO MIX
switch. D ing this w uld create a feedback l p,
since the signal w uld be r uted, via the main mix,
back t tape via the CD/TAPE OUTPUT. T m nit r
the CD/TAPE INPUT, use the CD/TAPE TO CTRL ROOM
switch t assign the tape signal t the m nit r(s)
r headph nes. This will av id the tape signal being
r uted t the CD/TAPE OUTPUT.
FX TO CTRL ROOM





2.3.5 Phantom power and LED displays
Fig. 2.13: Phantom power and control EDs
+48 V (802/1002/1202 nly)
+48 V
PHANTOM

+Please d n t c nnect micr ph nes t the mixer
( r the stageb x/wallb x) as l ng as the phant m
p wer supply is switched n. C nnect the micr -
ph nes bef re y u switch n the p wer supply. In
additi n, the m nit r/PA l udspeakers sh uld be
muted bef re y u activate the phant m p wer
supply. After switching n, wait appr x. ne minute
in rder t all w system stabilizati n.
POWER
POWER
LEVEL INDICATOR


LEVEL SETTING:










+The peak meters f y ur XENYX display the level
virtually independent f frequency. A rec rding level
f 0 dB is rec mmended f r all signal types.
2. CONTROL ELEMENT AND CONNECTOR
9
XENYX 502/802/1002/1202
3. INSTALLATION
3.1 Mains connection
AC POWER IN




+Please use nly the p wer supply unit pr vided
with the c ns le.
+Never c nnect the XENYX t the p wer supply unit
while the latter is c nnected t the mains! First
c nnect the c ns le t the p wer supply unit, then
c nnect the p wer supply unit t the mains.
+Please n te that b th the p wer supply unit and
the mixing c ns le heat up c nsiderably during
perati n. This is c mpletely n rmal.
3.2 udio connections









+Cauti n! Never use unbalanced XLR c nnect rs
(PIN 1 and 3 c nnected) n the MIC input c nnect rs
when using the phant m p wer supply.
Fig. 3.1: X R connections
3. IN TALLATION
10
XENYX 502/802/1002/1202
4. SPECIFICATIONS
M n inputs
Micr ph ne inputs (XENYX Mic Preamp)
 


W 
W 
W 
 

 
 
 W
  
11
XENYX 502/802/1002/1202
Technical specifications and appearance subject to change without notice. The information contained herein is correct at the time of printing. The names
of companies, institutions or publications pictured or mentioned and their respective logos are registered trademarks of their respective owners. Their use
neither constitutes a claim of the trademarks by BEHR NGER® nor affiliation of the trademark owners with BEHR NGER®. BEHR NGER® accepts no
liability for any loss which may be suffered by any person who relies either wholly or in part upon any description, photograph or statement contained
herein. Colours and specification may vary slightly from product. Products are sold through our authorised dealers only. Distributors and dealers are not
agents of BEHR NGER® and have absolutely no authority to bind BEHR NGER® by any express or implied undertaking or representation. No part of this
manual may be reproduced or transmitted in any form or by any means, electronic or mechanical, including photocopying and recording of any kind, for
any purpose, without the express written permission of BEHR NGER Spezielle Studiotechnik GmbH. BEHR NGER® is a registered trademark.
ALL R GHTS RESERVED. © 2006 BEHR NGER Spezielle Studiotechnik GmbH,
Hanns-Martin-Schleyer-Str. 36-38, 47877 Willich-Münchheide , Germany.
Tel. +49 2154 9206 0, Fax +49 2154 9206 4903
5. WARRANTY
§ 1 OTHER WARRANTY RIGHTS AND NATIONAL LAW






§ 2 ONLINE REGISTRATION







§ 3 WARRANTY


















§ 4 RETURN AUTHORIZATION NUMBER


BEFORE






§ 5 WARRANTY REGULATIONS






















s


s


s













§ 6 WARRANTY TRANSFERABILITY





§ 7 CLAIM FOR DAMAGES






5. WARRANTY

This manual suits for next models

4

Other Behringer Mixer manuals

Behringer Europower PMX3000 User manual

Behringer

Behringer Europower PMX3000 User manual

Behringer ULTRAZONE ZMX8210 User manual

Behringer

Behringer ULTRAZONE ZMX8210 User manual

Behringer Power Mixer User manual

Behringer

Behringer Power Mixer User manual

Behringer Europower PMP6000 User manual

Behringer

Behringer Europower PMP6000 User manual

Behringer Europower PMH2000 User manual

Behringer

Behringer Europower PMH2000 User manual

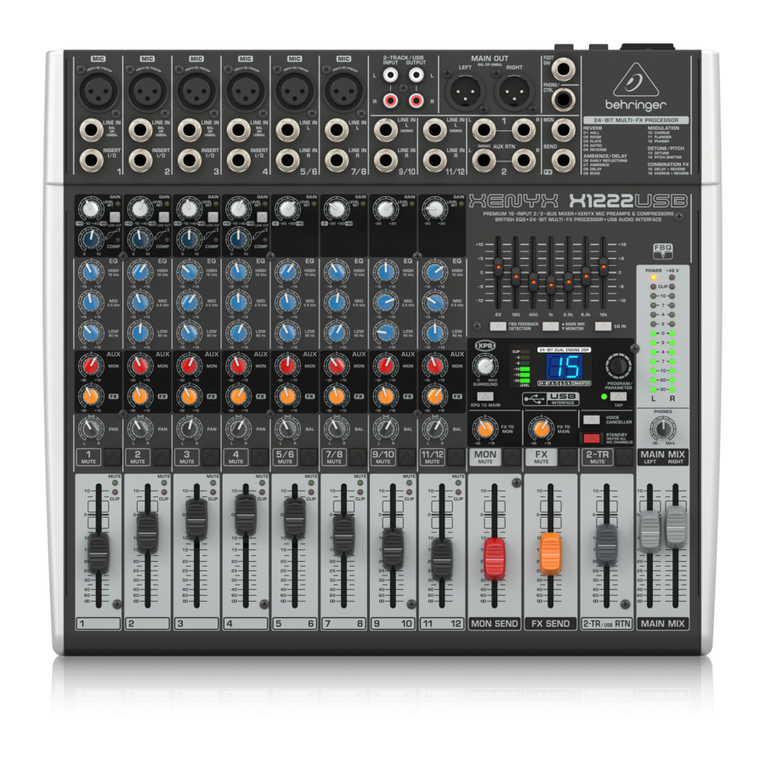
Behringer Xenyx QX1222USB User manual

Behringer

Behringer Xenyx QX1222USB User manual

Behringer XENYX Q1202USB User manual

Behringer

Behringer XENYX Q1202USB User manual

Behringer X AIR XR16 User manual

Behringer

Behringer X AIR XR16 User manual

Behringer Pro Mixer VMX300 User manual

Behringer

Behringer Pro Mixer VMX300 User manual

Behringer Xenyx QX2442USB User manual

Behringer

Behringer Xenyx QX2442USB User manual

Behringer Xenyx QX2442USB User manual

Behringer

Behringer Xenyx QX2442USB User manual

Behringer EUROLIVE PROFESSIONAL B1800X PRO User manual

Behringer

Behringer EUROLIVE PROFESSIONAL B1800X PRO User manual

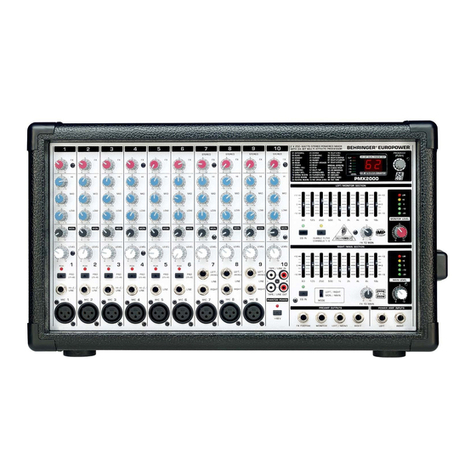
Behringer EUROPOWER PMX2000 User manual

Behringer

Behringer EUROPOWER PMX2000 User manual

Behringer MicroMIX MX400 User manual

Behringer

Behringer MicroMIX MX400 User manual

Behringer CP3A-M User manual

Behringer

Behringer CP3A-M User manual

Behringer Eurorack MX602A User manual

Behringer

Behringer Eurorack MX602A User manual

Behringer PRO MIXER DJX750 User manual

Behringer

Behringer PRO MIXER DJX750 User manual

Behringer EURORACK PRO RX1602 User manual

Behringer

Behringer EURORACK PRO RX1602 User manual

Behringer XENYX 1202 User manual

Behringer

Behringer XENYX 1202 User manual

Behringer Digital Snake S16 User manual

Behringer

Behringer Digital Snake S16 User manual

Behringer Minimon Mon800 User manual

Behringer

Behringer Minimon Mon800 User manual

Behringer XENYX 1002FX User manual

Behringer

Behringer XENYX 1002FX User manual

Behringer PRO MIXER VMX1000USB User manual

Behringer

Behringer PRO MIXER VMX1000USB User manual

Behringer EUROPOWER PMP2000 User manual

Behringer

Behringer EUROPOWER PMP2000 User manual

Popular Mixer manuals by other brands

KitchenAid 5KSM3311 manual

KitchenAid

KitchenAid 5KSM3311 manual

Zelmer 381.61 SL manual

Zelmer

Zelmer 381.61 SL manual

Rodia AUTOMIXER operating manual

Rodia

Rodia AUTOMIXER operating manual

Blaupunkt SMM501 owner's manual

Blaupunkt

Blaupunkt SMM501 owner's manual

Kitchen Robot B20F/B20F-PG user manual

Kitchen Robot

Kitchen Robot B20F/B20F-PG user manual

Salton Elite SESM16 Instructions and warranty information

Salton

Salton Elite SESM16 Instructions and warranty information

Adexa TKG 20 L instruction manual

Adexa

Adexa TKG 20 L instruction manual

KitchenAid KEA25A manual

KitchenAid

KitchenAid KEA25A manual

Canford MINX MIXER operating instructions

Canford

Canford MINX MIXER operating instructions

Girafe GigamiX Dunamic user guide

Girafe

Girafe GigamiX Dunamic user guide

Electrolux ASSISTENT EKM4 Series Instruction book

Electrolux

Electrolux ASSISTENT EKM4 Series Instruction book

Maxtec MaxBlend 2 Instructions for use

Maxtec

Maxtec MaxBlend 2 Instructions for use

Wilfa SMOOTH MIX HM1B-500 instruction manual

Wilfa

Wilfa SMOOTH MIX HM1B-500 instruction manual

Vestax PMC-05ProIV owner's manual

Vestax

Vestax PMC-05ProIV owner's manual

Evolution TWISTER Original instructions

Evolution

Evolution TWISTER Original instructions

Peavey SSE 10M Specifications

Peavey

Peavey SSE 10M Specifications

Haws 30-SBT100 instruction manual

Haws

Haws 30-SBT100 instruction manual

Zass ZHM 07 operating instructions

Zass

Zass ZHM 07 operating instructions

manuals.online logo
manuals.online logoBrands
  • About & Mission
  • Contact us
  • Privacy Policy
  • Terms and Conditions

Copyright 2025 Manuals.Online. All Rights Reserved.