Vacuum Cleaner / User Manual 9 / 62 EN
4Cleaning and care
Switch off and unplug the appliance before
cleaning it.
AWARNING:
Never use gasoline,
solvent, abrasive cleaning agents,
metal objects or hard brushes to
clean the appliance.
4.1 Emptying the dust
container
1. Pull the dust container removal latch (11)
towards yourself to remove the dust container
(12).
2. Press the dust container release button located
beneath the dust container to open the cover
and empty the container.
3. When you have emptied dust, close the dust
container cover (12); a click sound will be heard.
4. Insert the dust container (12) back into its
location.
4.2 Cleaning the filters
AWARNING:
Do not use appliances
producing hot air such as hair dryer
or heater to dry the filters.
A
WARNING:
Do not install the
filters without completely drying
them; otherwise, smell of moisture
may occur during use, water can leak
from the back of the appliance or the
filters may get damaged.
AWARNING:
Attach the filters into
their places after they have dried.
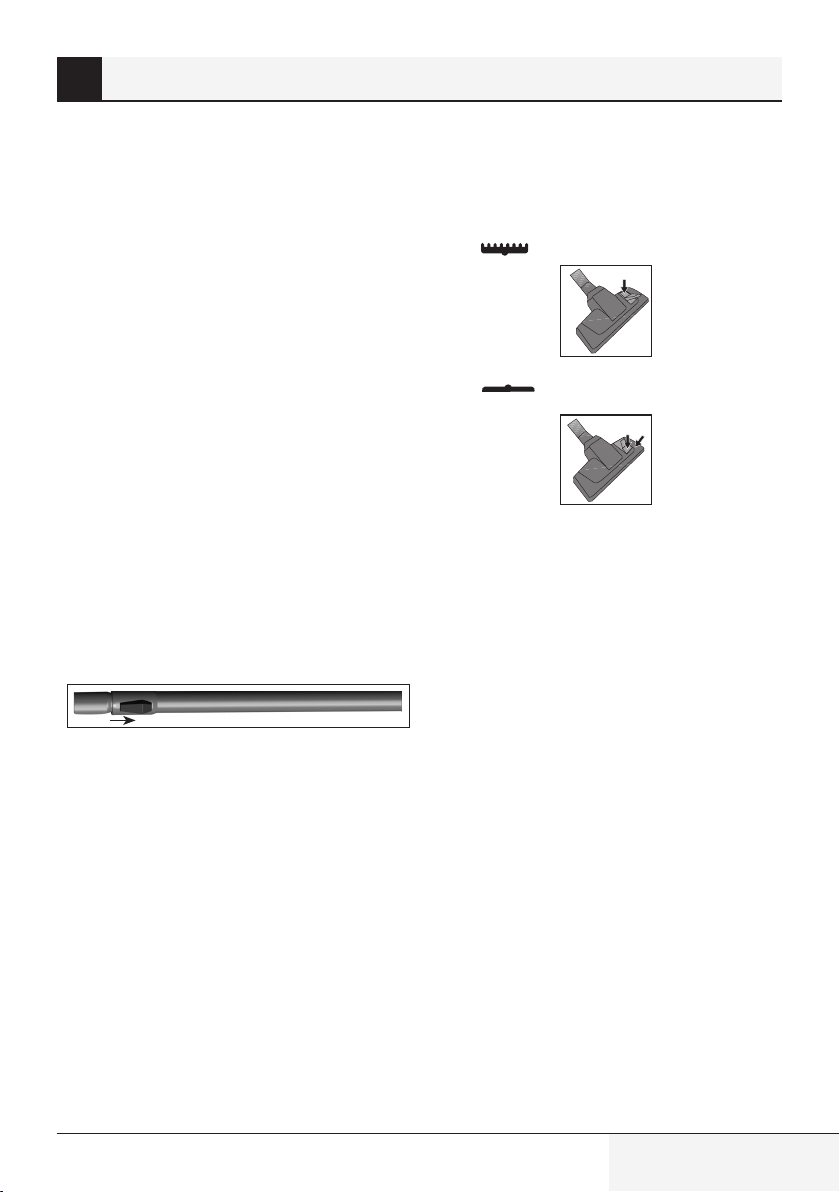
4.2.1 Motor protection filter
These filters are located on the rear side of the
dust container (12).
5. Pull the dust container removal latch (11)
towards yourself to remove the dust container
(12).
6. Remove the HEPA filter and motor protection
filter found at the back of the dust container
(12).
7. After washing the sponge protection filter
under running water, wring it out slightly and
leave it to dry (for 24 hours minimum).
8. Shake off the HEPA inlet filter to eliminate
the dusts on it. After that, you can wash it by
holding its clean side under running cool water.
9. If you wash the HEPA filter, dry it at room
temperature (for 24 hours minimum). Do not
use it before ensuring that it is completely dry.
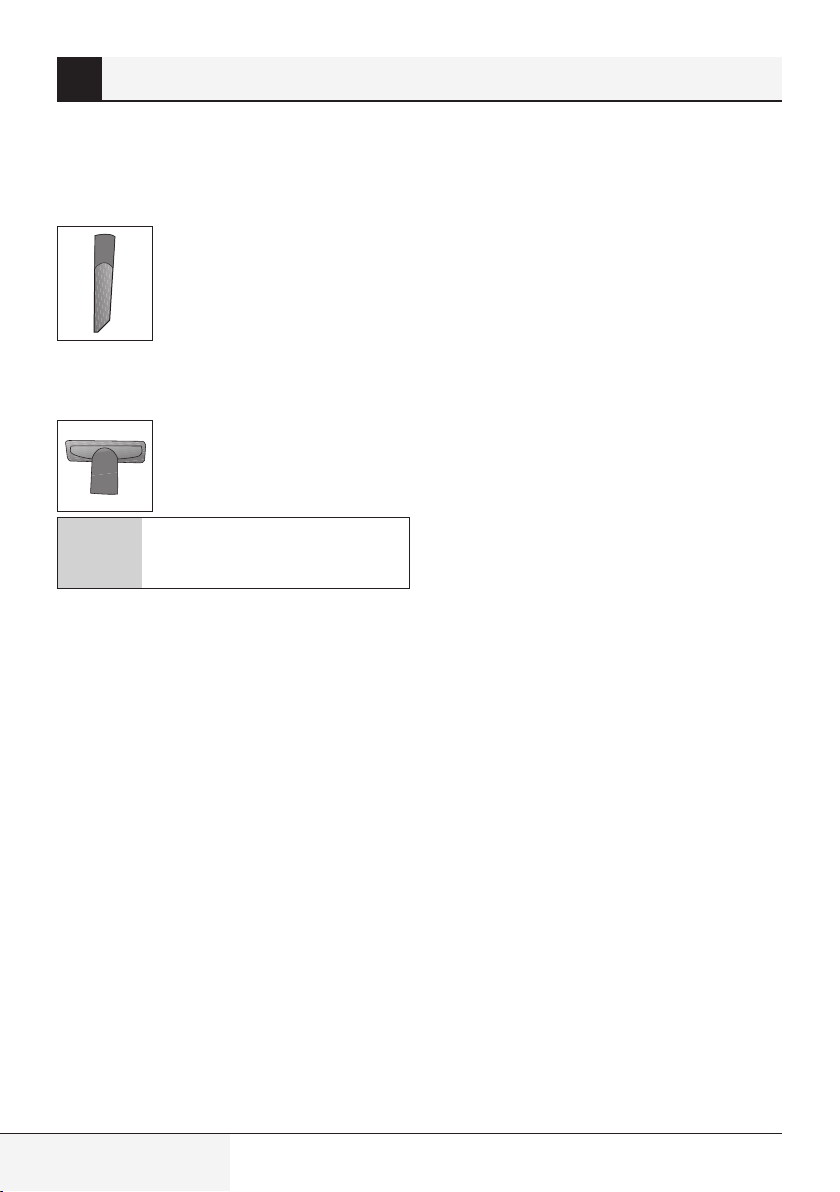
4.2.2 HEPA filter
HEPA outlet filter is located on the rear side of the
appliance.
1. Remove the HEPA filter by pulling it from its
handle.
2. Shake off the HEPA outlet filter to eliminate
the dusts on it. After that, you can wash it by
holding its clean side under running cool water.
3. If you wash the HEPA filter, dry it at room
temperature (for 24 hours minimum). Do not
use it before ensuring that it is completely dry.
4.3 Storage
If you do not intend to use the appliance for a long
time, store it carefully.
•Unplug the appliance.
•Keep the appliance out of the reach of children.
4.4 Handling and
transportation
•During handling and transportation, carry
the appliance in its original packaging. The
packaging of the appliance protects it against
physical damages.
•Do not place heavy loads on the appliance or on
the packaging. The appliance may get damaged.
•Dropping the appliance may render it non-
operational or cause permanent damage.