manuals.online logo
Brands
  1. Home
  2. •
  3. Brands
  4. •
  5. Belkin
  6. •
  7. Adapter
  8. •
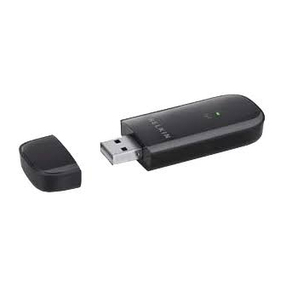
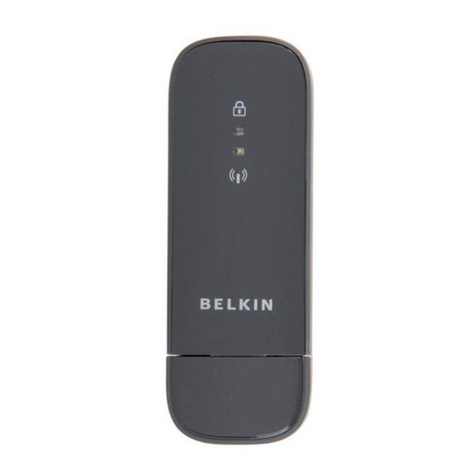
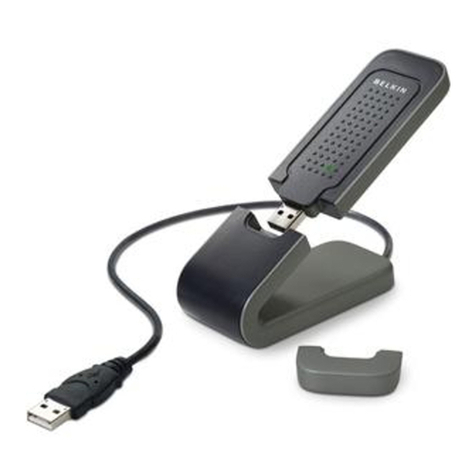
  9. Belkin VISION N1 User manual

Belkin VISION N1 User manual

Schritt 1 – CD einlegen und Installations-programm
ausführen
Legen Sie die CD mit dem Installationsprogramm in das CD-ROM-
Laufwerk des Computers ein. Klicken Sie auf „Next” (Weiter),
wenn das Programmfenster geöffnet wird.
Dies nimmt möglicherweise 15–20 Sekunden in Anspruch.
Wenn das Programmfenster nicht geöffnet wird, starten Sie den
Installationsvorgang folgendermaßen manuell:
Windows XP–Klicken Sie auf „Start > Arbeitsplatz” und
doppelklicken Sie dann auf das Symbol des CD/DVD-Laufwerks.
Windows 2000–Klicken Sie doppelt auf das Symbol „Arbeitsplatz”
auf dem Desktop und dann doppelt auf das Symbol des CD/DVD-
Laufwerks.
Das Installationsprogramm wird gestartet und die benötigten
Treiber werden installiert. Klicken Sie auf den folgenden Fenstern
auf „Next” (Weiter). Klicken Sie im letzten Fenster auf „Finish”
(Fertig stellen), um die Installation abzuschließen.
Sollte während der Installation eine Meldung erscheinen, in
welcher Ihnen mitgeteilt wird, dass die Software den Windows
Logo-Test nicht bestanden hat, sollten Sie diese ignorieren.
Unsere Software ist genau überprüft worden und ist kompatibel
mit dem Windows-Betriebssystem. Klicken Sie auf „Continue
Anyway” (Trotzdem fortfahren), um fortzufahren.
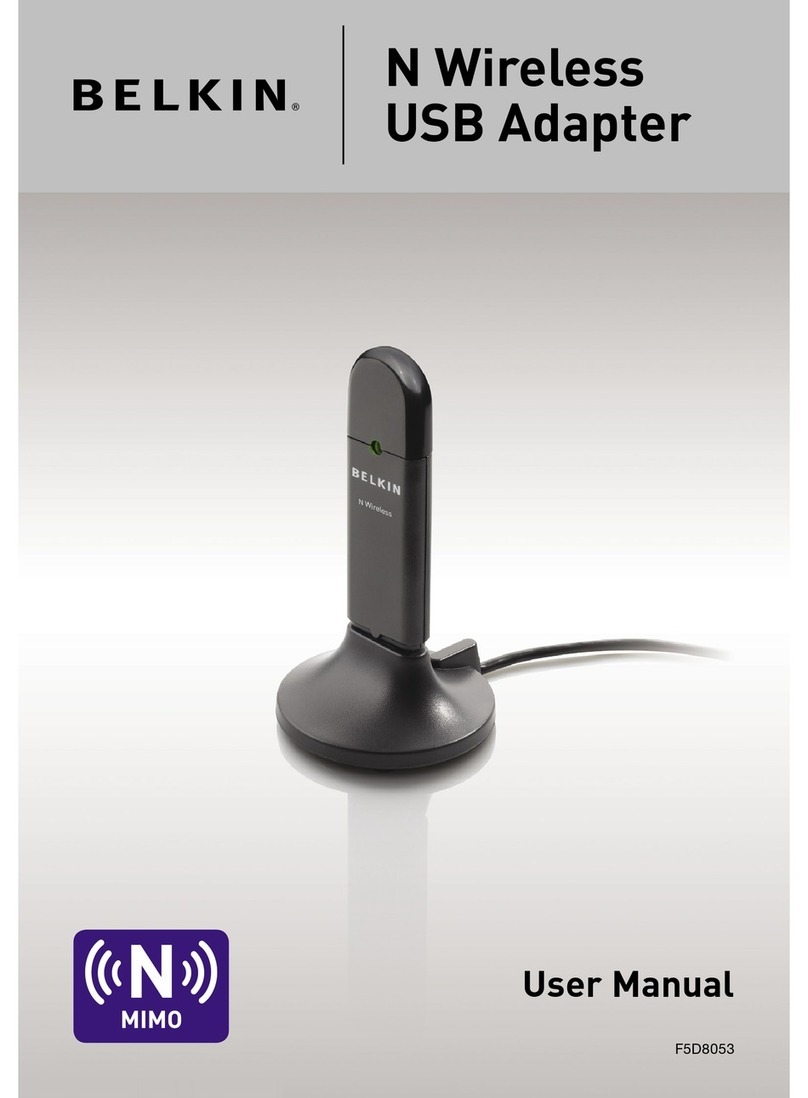
Kabelloser N1 USB-Adapter
Installationsanleitung
Schritt 2 – Adapter anschließen
Stecken Sie den USB-Stecker des Adapters in einen USB-
Anschluss Ihres Computers.
Wenn Sie den Adapter auf dem Schreibtisch aufstellen, stecken
Sie ihn in den enthaltenen Standfuß. Schließen Sie dann das Kabel
des Standfußes an den USB-Anschluss Ihres Computers an (USB-
Anschlüsse an Tastaturen und Bildschirmen eignen sich nicht
immer für die Stromversorgung). Stellen Sie den Standfuß auf
Ihrem Schreibtisch auf.
Wenn Sie ein Laptop verwenden, schließen Sie den Adapter direkt
an einen freien USB-Anschluss am Laptop an. Sie brauchen den
enthaltenen Standfuß nicht zu verwenden.
Étape 1 – Insérez le CD et exécutez le logiciel
d’installation
Insérez le disque d’installation dans le lecteur de CD de votre
ordinateur. Lorsque l’assistant d’installation apparaît, cliquez sur «
Next [Suivant] ».
L’assistant apparaît dans les 15 à 20 secondes. Si l’assistant
n’apparaît pas, lancez-le manuellement en suivant la procédure
suivante :
Sous Windows XP, cliquez « Démarrer > Poste de travail » et cliquez
deux fois sur l’icône du lecteur de CD/DVD.
Sous Windows 2000, cliquez deux fois sur l’icône « Poste de travail
» sur votre bureau, et cliquez deux fois sur l’icône du lecteur de
CD/DVD.
L’assistant s’exécute et installe les pilotes. Cliquez sur « Next
[Suivant] » sur chaque écran. Au tout dernier écran, cliquez « Finish
[Terminer] » pour fermer l’assistant.
Si, à tout moment au cours de l’installation, une fenêtre vous
informe que ce logiciel n’a pas passé le test du logo Windows,
ignorez l’avertissement. Ce produit a été entièrement testé et est
compatible avec cette version de Windows. Cliquez sur « Continue
Anyway [Poursuivre] ».
Adaptateur USB Sans Fil N1
Guide d’installation rapide
Étape 2 –Branchez l’adaptateur
Branchez le connecteur USB de l’adaptateur à un port USB de votre
ordinateur.
Dans le cas d’un ordinateur de bureau, branchez l’adaptateur au
socle fourni. Ensuite, branchez le câble du socle à un port USB sur
votre ordinateur (les ports USB des claviers et des moniteurs ne
permettent pas toujours l’alimentation). Placez le socle sur votre
bureau.
Dans le cas d’un ordinateur portable, branchez l’adaptateur
directement à un port USB de votre ordinateur. Il n’est pas nécessaire
d’utiliser le socle fourni.
Step 1 – Insert CD and run installer
IInsert the Setup disc into your computer’s CD drive.
When the installer appears, click “Next”.
The installer may take 15–20 seconds to appear. If
the installer does not appear, start it manually using
the following steps:
In Windows XP—click “Start > My Computer” and
double-click the CD/DVD drive icon.
In Windows 2000—double-click the “My Computer”
icon on your desktop, and then double-click the
CD/DVD drive icon.
The installer will run and install the needed drivers.
Click “Next” on each screen. On the last screen,
click “Finish” to close the installer.
If, at any time during the install, a warning prompts
that the software has not passed Windows logo
testing, ignore it. This product has been fully tested
to work with the Windows operating system. Click
“Continue anyway” to proceed.
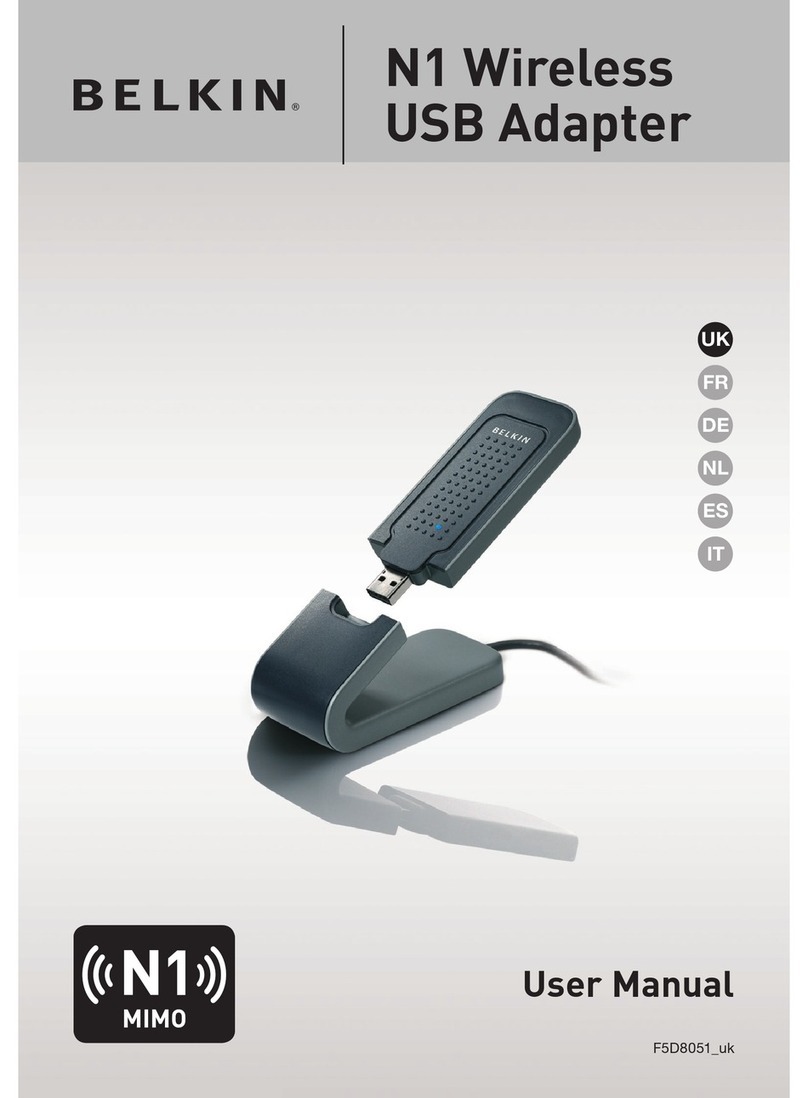
N1 Wireless USB Adapter
Quick Installation Guide
Step 2 – Connect Adapter
Plug the Adapter’s USB connector into a USB port in
your computer.
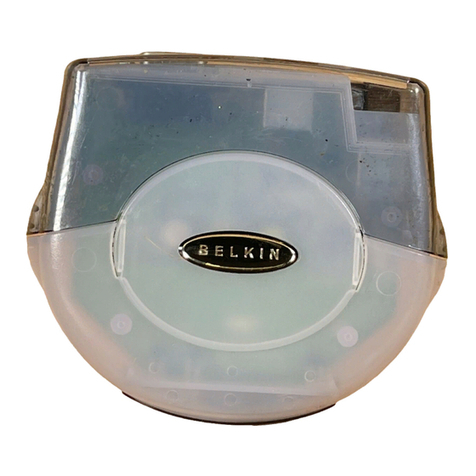
On a desktop, plug the Adapter into its included
stand. Then plug the stand’s cable into a USB port
on your computer (USB ports on keyboards and
monitors don’t always supply power). Place the stand
on your desk.
On a laptop, plug the Adapter directly into a USB
port on your computer. You do not need to use the
included stand.
P75282ec_F5D8051ec_QIG.indd 7-8 10/12/2006 1:05:30 PM
P75282ec
Support
Support
Assistance
Step 3 – Complete “Found New Hardware”
wizard, if necessary
Some computers already have the needed driver
software built into their operating systems.
In these cases, the Adapter starts working
automatically, and your installation is complete.
Others require driver-software installation.
In this situation, the Windows “Found New
Hardware” wizard automatically starts. When
this happens, select the “Install the software
automatically (Recommended)” option and
click “Next” to proceed. Then click “Finish” to
complete the installation..
Step 4 – Connect to a wireless network
A “Signal Indicator” icon will appear in your
system tray (bottom-right corner of most
screens). Double-click on it to launch the
Wireless Client Utility.
Look in the “Available Networks” list for the
router or network to which you’d like to connect.
Double-click its name to connect.
Schritt 3 – Den Hardware-Assistenten abschließen,
wenn nötig
Bei manchen Computern ist die benötigte Treiber-Software
bereits in das jeweilige Betriebssystem integriert. In diesen
Fällen wird der Adapter automatisch gestartet und die
Installation ist damit abgeschlossen.
Bei anderen Computern müssen die Treiber installiert
werden. Der Hardware-Assistent von Windows wird in
diesem Fall automatisch gestartet. Wählen Sie daraufhin
„Install the software automatically (Recommended)”
(Software automatisch installieren [empfohlen]) und klicken
Sie auf „Next” (Weiter), um fortzufahren. Klicken Sie auf
„Finish” (Fertig stellen), um die Installation abzuschließen.
Schritt 4 – Verbindung zu einem kabellosen
Netzwerk herstellen
Das Signalsymbol wird im System-Tray angezeigt
(normalerweise unten rechts auf dem Bildschirm).
Klicken Sie darauf, um das Dienstprogramm für
kabellose Clients zu starten.
Suchen Sie auf der Liste „Available Networks”
(Verfügbare Netzwerke) nach dem Router oder
Netzwerk, zu welchem Sie eine Verbindung herstellen
wollen. Doppelklicken Sie auf den entsprechenden
Namen.
Étape 3 – Terminez l’assistant d’ajout de nouveau
matériel, si nécessaire
Certains ordinateurs possèdent déjà le logiciel nécessaire, qui
est intégré au système d’exploitation. Si c’est le cas, l’adaptateur
fonctionne tout de suite et l’installation est terminée.
Pour d’autres ordinateurs, vous devez procéder à l’installation du
pilote. Dans ce cas, l’assistant d’ajout de nouveau matériel Windows
démarre automatiquement. Lorsque cela est fait, choisissez l’option
qui permet d’installer le logiciel automatiquement (recommandé) et
cliquez sur « Next [Suivant] ». Ensuite, cliquez sur « Finish[Terminer]
» pour achever l’installation.
.
Étape 4 – Connectez-vous à un réseau sans fi l
Une petite icône indiquant le signal apparaît dans la barre des tâches
(dans l’angle inférieur droit de l’écran). Cliquez deux fois sur celle-ci
afi n d’ouvrir l’Utilitaire client sans fi l.
Recherchez dans la liste des réseaux disponibles le routeur ou le
réseau auquel vous désirez vous connecter. Cliquez deux fois sur son
nom.
0845 607 7787
0180 5005709
0825540026
English http://www.belkin.com/uk /networking/
Deutsch http://www.belkin.com/de /networking /
France http://www.belkin.com/fr/networking/
F5D8051ec
P75282ec_F5D8051ec_QIG.indd 9-10 10/12/2006 1:05:31 PM

Other manuals for VISION N1

12

Other Belkin Adapter manuals

Belkin Surf/Share F7D2101 User manual

Belkin

Belkin Surf/Share F7D2101 User manual

Belkin F9L1106 User manual

Belkin

Belkin F9L1106 User manual

Belkin F5D8053 User manual

Belkin

Belkin F5D8053 User manual

Belkin F7D2101V1 User manual

Belkin

Belkin F7D2101V1 User manual

Belkin F5L043-DL User manual

Belkin

Belkin F5L043-DL User manual

Belkin PUREIAV RemoteTV 5GHz Wireless TV Adapter User manual

Belkin

Belkin PUREIAV RemoteTV 5GHz Wireless TV Adapter User manual

Belkin F5U111 User manual

Belkin

Belkin F5U111 User manual

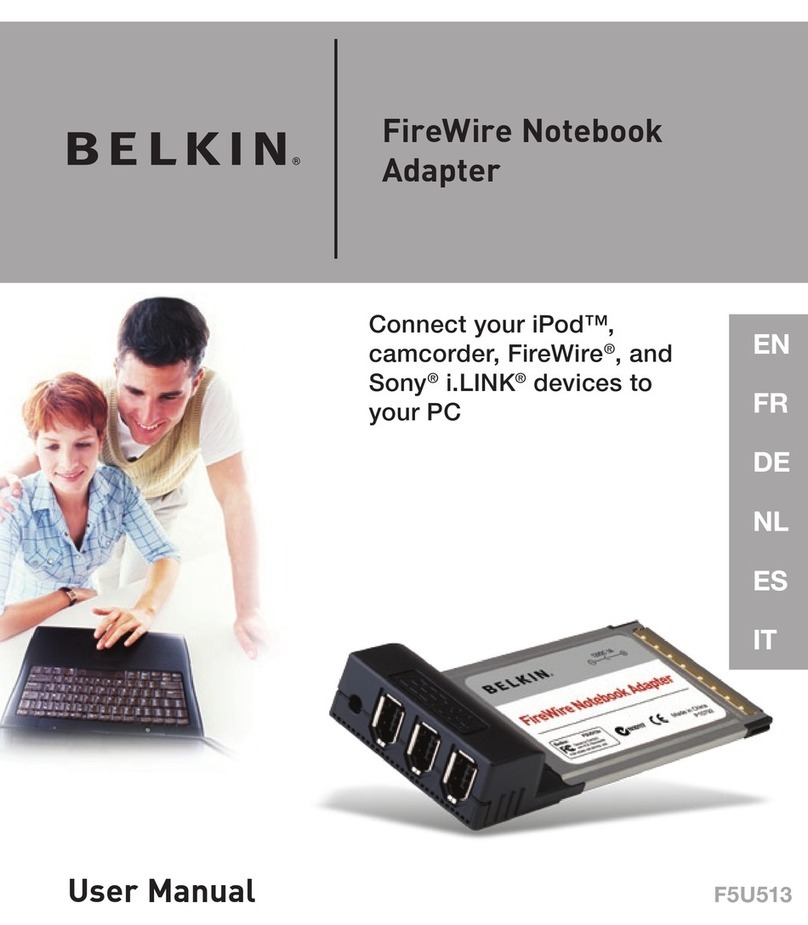
Belkin F5U513 User manual

Belkin

Belkin F5U513 User manual

Belkin F5U104-EU-F User manual

Belkin

Belkin F5U104-EU-F User manual

Belkin F5D7330 User manual

Belkin

Belkin F5D7330 User manual

Belkin F9L1106V2 User manual

Belkin

Belkin F9L1106V2 User manual

Belkin F5U541 User manual

Belkin

Belkin F5U541 User manual

Belkin F5U239ea User manual

Belkin

Belkin F5U239ea User manual

Belkin F5U003 User manual

Belkin

Belkin F5U003 User manual

Belkin F5D6020 User manual

Belkin

Belkin F5D6020 User manual

Belkin F5U208 User manual

Belkin

Belkin F5U208 User manual

Belkin F5D4072 User manual

Belkin

Belkin F5D4072 User manual

Belkin F5D4050 User manual

Belkin

Belkin F5D4050 User manual

Belkin F5L064 User manual

Belkin

Belkin F5L064 User manual

Belkin Laptop Power Adapter User manual

Belkin

Belkin Laptop Power Adapter User manual

Belkin F5U004 User manual

Belkin

Belkin F5U004 User manual

Belkin Bluetooth USB Adapter F8T013 User manual

Belkin

Belkin Bluetooth USB Adapter F8T013 User manual

Belkin F5U003-MAC User manual

Belkin

Belkin F5U003-MAC User manual

Belkin P73851-B User manual

Belkin

Belkin P73851-B User manual

Popular Adapter manuals by other brands

Airlink101 AWLL5166HP user manual

Airlink101

Airlink101 AWLL5166HP user manual

Digitus DN-3024 manual

Digitus

Digitus DN-3024 manual

Bosch Professional GAA 18V-48 instructions

Bosch

Bosch Professional GAA 18V-48 instructions

Festo NEFC-M12G8-M12G5-LK Assembly instructions

Festo

Festo NEFC-M12G8-M12G5-LK Assembly instructions

NGS W-70W Automatic user manual

NGS

NGS W-70W Automatic user manual

Olympus U-TV0.63XC instructions

Olympus

Olympus U-TV0.63XC instructions

Cradlepoint CBA750B product manual

Cradlepoint

Cradlepoint CBA750B product manual

P+S Technik PS-IMS-F3 user manual

P+S Technik

P+S Technik PS-IMS-F3 user manual

Leader LR 2700AI instruction manual

Leader

Leader LR 2700AI instruction manual

TP-Link TL-WN723N Quick installation guide

TP-Link

TP-Link TL-WN723N Quick installation guide

Epson EU-40 quick guide

Epson

Epson EU-40 quick guide

Viking K-600D Technical practice

Viking

Viking K-600D Technical practice

Mitsubishi Electric 3DA-1 owner's guide

Mitsubishi Electric

Mitsubishi Electric 3DA-1 owner's guide

Rocstor Y10A232-B1 user manual

Rocstor

Rocstor Y10A232-B1 user manual

Supermicro AOC-MTG-i4SM user guide

Supermicro

Supermicro AOC-MTG-i4SM user guide

Fujitsu MB2198-130 Operation manual

Fujitsu

Fujitsu MB2198-130 Operation manual

Securam Xtreme Adapter installation guide

Securam

Securam Xtreme Adapter installation guide

Clas Ohlson Vanson SMP-90WAT instruction manual

Clas Ohlson

Clas Ohlson Vanson SMP-90WAT instruction manual

manuals.online logo
manuals.online logoBrands
  • About & Mission
  • Contact us
  • Privacy Policy
  • Terms and Conditions

Copyright 2025 Manuals.Online. All Rights Reserved.