Bellman & Symfon MAXI User manual

For use in all EU countries
Hereby, Bellman & Symfon Group AB, declares that this BE2020 is in compliance with
the essential requirements and other relevant provisions of : EMC directives: 2014/30/EU.
MDD directives: 93/42/EEC. RoHS directive: 2015/863/EU. EN 60601-1-2, Class B Passed.
Correct use and disposal of batteries:
Replace only with the same or equivalent type recommended by the manufacturer.
Please dispose of old, defective batteries in an environmentally friendly manner in
accordance with the relevant legislation.
Maxi
Personal amplifier
DEDKENESFIFRGRITNLNOPLSEAPP
简
繁

47
46
SE
Varning! Bellman®Audio Maxi Digital Samtalsförstärkare drivs av alkaliska AA-batterier.
Utsätt inte batterierna brand eller för direkt solljus.
Funktion
Bellman®Audio Maxi Digital Samtalsförstärkare, BE2020 är en digital samtalsförstärkare
som är speciellt framtagen för att ge en exceptionell ljudupplevelse även i krävande situationer.
Maxi fungerar utmärkt både för tal och för musik med den inbyggda mikrofonen, med en
extern mikrofon (tillbehör) eller med andra externa ljudkällor.
Inbyggd mikrofon
Den inbyggda mikrofonen (2) sitter placerad under gummihättan på frontpanelens ovansida.
Mikrofonen är av typen omni-direktionell (rundupptagande).
Telespole
Den inbyggda telespolen är vinklad 45 grader för att kunna fånga upp induktiva signaler från
en teleslinga både i horisontellt (i handen eller på ett bord) och vertikalt (i clips eller i halsband)
läge.
T-läget kan användas i lokaler där teleslinga (eller hörselslinga) nns monterad. Titta
efter symbolen för teleslinga eller fråga personalen om teleslinga nns om du är
osäker.
Välja signalkälla
Det är enkelt att välja ljudkälla.
• Användaren kan manuellt välja mellan antingen intern mikrofon (M-läge) eller inbyggd
telespole (T-läge) genom att trycka på knapparna a(6) och d(7) på fronten. Vid
växling mellan dessa kommer volymkontrollen att ställas till en låg nivå för att undvika
obehagliga ljudnivåer.
• Om något ansluts till ingången för extern ljudkälla väljer Maxi automatiskt denna. När
man drar ur den kopplas automatiskt Maxi till intern mikrofon (M-läge).
Extern ljudkälla
Om användaren ansluter en audiokabel (tillbehör BE9126) mellan den röda 2,5 mm telepluggen
och en ljudkälla (TV, HiFi-anläggning, MP3-spelare etc.) väljs denna ljudkälla istället.
Ingångskänsligheten justeras automatiskt för att passa signalstyrkan för dessa ljudkällor. Den
interna mikrofonen (2) stängs av i detta läge.
Kombinerade signalkällor
När man har anslutit en ljudkälla till Ingången för extern ljudkälla (1) går det att kombinera
denna ljudkälla med det ljud som den interna mikrofonen (2) tar upp. Man gör detta genom att
hålla a-knappen (6) nedtryckt.
Ljudet från ljudkällan kopplad till Ingången för extern ljudkälla (1) sänks och den interna
mikrofonen kopplas in, så att man till exempel kan uppfatta ljud eller konversera med någon
annan person. Lysdioden för Mikrofon (3) blinkar under tiden som knappen hålls intryckt.
När man vill återgå till lyssning av signalkällan kopplad till Ingången för extern ljudkälla (1)
släpper man a-knappen (6). Den interna mikrofonen kopplas då ur och den externa ljudkällan
återgår till normal volym igen.
Bellman®Audio Maxi Digital Samtalsförstärkare, BE2020
Tack för att du valt produkter från Bellman & Symfon.
Bellman Audio är ett system av lyssningshjälpmedel. Systemet består av ett antal enheter
som underlättar lyssningsförhållandena vid olika situationer. Bellman Audio-produkterna
underlättar vardagen för många och ger en frihet att obehindrat utöva sina intressen.
Läs igenom hela bruksanvisningen först innan du börjar använda produkten.
Se illustration av tillbehör samt inkopplingsalternativ på insidan av omslaget.
Att komma igång
Packa upp, montera och prova apparaten
1. Öppna batteriluckan (17) genom att trycka låset för batteriluckan (16) i pilens riktning.
Sätt i batterierna och se till att de är vända åt rätt håll, följ markeringarna i batterifacket
(14). Använd endast alkaliska batterier av typ AA. Bruka inte våld för att pressa ned
batterierna. Stäng batteriluckan (17) och kontrollera att låset (16) låser med ett klick.
2. Anslut Bellman Stereohörlur BE9122, Bellman Halsslinga BE9128, Bellman Stetoclips
BE9403, Bellman Ear Phones BE9124 eller annan produkt rekommenderad av Bellman &
Symfon till den gröna hörlursutgången (12) på höger sida.
3. Tryck kort på Av- och På-knappen h(5) för att starta Maxi. Lysdioderna (3 och 4)
ovanför knappen för val av Mikrofon a(6) och knappen för val av Telespole d(7)
kommer att blinka medan Maxi startar.
Maxi startar alltid med intern mikrofon (2) vald som ljudkälla. Dessutom ställs alltid
volymkontrollen in på låg volym för att undvika obehagliga ljudnivåer.
Använd volymkontrollen bc (9) för att reglera ljudnivån. chöjer och bsänker volymen.
Lysdiodindikatorn för Volym och Ton (8) visar ljudnivån, ju er lysdioder som är tända desto
högre volym. Lysdiodindikatorn släcks 3 sekunder efter att ljudvolymen ställts in.
Använd tonkontrollen fg (10) för att reglera ljudklangen. ghöjer och fsänker diskanten.
Lysdiodindikatorn för Volym och Ton (8) visar toninställningen. Lysdiodindikatorn släcks 3
sekunder efter att ljudklangen ställts in.
När du är klar kan du stänga av Maxi genom att trycka kort på Av- och På-knappen h(5).
Notera: Bellman®Audio Maxi Digital Samtalsförstärkare, BE2020 är inte en hörapparat.
Bellman & Symfon Group AB rekommenderar att var och en som upplever att de har en
hörselnedsättning skall uppsöka läkare.
Varning! Bellman®Audio Maxi Digital Samtalsförstärkare, BE2020, har en mycket kraftig
förstärkning och ljudnivån kan vara obehaglig eller i värsta fall skada hörseln om produkten
används vårdslöst! Sänk alltid ljudet till en låg nivå innan hörlurarna tas på!
Varning! Om Bellman®Audio Maxi Digital Samtalsförstärkare, BE2020, används tillsammans
med halsslinga, till exempel BE9128 (tillbehör), bör ej teleslinga (T-läge) väljas som signalkälla,
eftersom detta kan ge upphov till kraftig induktiv återkoppling. Återkoppling tillsammans med
hög ljudnivå kan vara obehaglig eller i värsta fall skada hörseln.

49
48
SE
Clips
Tag bort clipset genom att
använda de rundade små
handtagen och pressa ut från
sidan.
Placera clipset mot batteriluckan och tryck fast det så att det snäpper
fast.
Indikeringar och inställningar
Lysdiodindikator för Volym och Ton
Lysdiodindikator för Volym och Ton (8) används som en indikator för bland annat
volymkontroll och tonkontroll.
För att spara ström släcks Lysdiodindikatorn för Volym och Ton efter cirka 3 sekunder.
Lysdiod för lågt batteri
Lysdioden för lågt batteri (11) är normalt släckt, men tänds då batterinivån sjunker under
cirka 10 timmars återstående driftstid, denna tid beror givetvis på vilket ljudvolym och typ av
lyssningstillbehör man använder.
Då Lysdioden för lågt batteri (11) blinkar var sjunde sekund bör batterierna bytas ut mot nya.
Använd endast alkaliska batterier av typ AA.
Volymkontroll
Maxi har en digital volymkontroll bc (9), vilket innebär att man med trycknapparna bc (9)
kan öka eller minska volymen. Varje tryckning innebär en ökning eller minskning av volymen
med ett steg.
Håller man någon av volymknapparna nedtryckt mer än 1 sekund kommer volymen att öka
eller minska ett steg per sekund så länge knappen hålls intryckt eller tills minsta eller högsta
läget uppnåtts.
Genom att trycka på c-knappen (9) ökas volymen med ett steg i taget ända tills dess att
maximal volym uppnåtts. Vid full volym lyser alla lysdioderna i Lysdiodindikator för Volym
och Ton (8).
Genom att trycka på b-knappen (9) minskas volymen med ett steg i taget ända tills dess att
lägsta volym uppnåtts, det blir dock aldrig helt tyst. Vid lägsta volym lyser endast den vänstra
av lysdioderna i Lysdiodindikator för Volym och Ton (8).
Tonkontroll
BE2020 har en digital tonkontroll fg (10), vilken innebär att man med tryckknapparna fg
(10) kan öka och minska diskanten. Varje tryckning innebär en ökning eller minskning av
diskanten med ett steg.
Håller man någon av tonknapparna nedtryckt mer än 1 sekund kommer diskanten att öka eller
minska ett steg per sekund så länge knappen hålls intryckt eller till minsta eller högsta läget
uppnåtts.
Genom att trycka på g-knappen (10) ökas diskanten med ett steg i taget tills dess att maximal
diskant uppnåtts. Vid maximal diskant lyser lysdioden längst till höger på Lysdiodindikator för
Volym och Ton (8).
Genom att trycka på f-knappen (10) minskas diskanten med ett steg i taget tills dess
att minimal diskant uppnåtts. Vid minimal diskant lyser lysdioden längst till vänster på
Lysdiodindikator för Volym och Ton (8).
Då den mittersta lysdioden i Lysdiodindikator för Volym och Ton (8) lyser är diskanten
opåverkad.
Kortfattad felsökning
Symptom Åtgärd
Inget händer när man försöker starta Maxi
med Av- och på-knappen.
• Byt batteri. Använd endast alkaliskt bat-
teri av typen AA.
Inget ljud hörs i hörlurarna när Maxi är
påslagen.
• Kontrollera att rätt signalkälla är vald,
till exempel intern mikrofon (M-läge)
För djupare information om produkten på engelska, se vidare under Appendix.
1. Ingång för extern ljudkälla 2,5 mm
telejack
2. Intern mikrofon
3. Lysdiod för Mikrofon
4. Lysdiod för Telespole
5. Av- och på-knapp h
6. Knapp för val av Mikrofon a
7. Knapp för val av Telespole d
8. Lysdiodindikator för Volym och Ton
9. Volymkontroll bc
10. Tonkontroll fg
11. Lysdiod för lågt batteri
12. Hörlursutgång 3,5 mm telejack
13. Halsremsfäste
14. Batterifack
15. Inställningsknapp
16. Lås för batteriluckan
17. Batterilucka
18. Klämma / Clips

59
58
APP
Appendix
Connection
Normally when you use Bellman Audio Maxi digital communication aid, you place it on a
table, hold it in your hand, hang it round your neck using a neck strap (accessory) or attach it to
an article of clothing with the clip supplied (18).
You can connect BE9122 Bellman Audio Headphones, BE9128 Bellman Audio Neck Loop,
BE9403 Bellman Audio Stetoclips, BE9124 Bellman Audio Ear Phones or another product
recommended by Bellman & Symfon to the Headphone Output (12).
You can connect a BE9126 Bellman Audio Cable Kit to the External Sound Source Input (1),
which you can connect to the required sound source or a BE9127 Bellman Audio External
Microphone. It has a 5 metre long cable so that it can, for example, be positioned next to the TV
or someone who is speaking.
Press on the On/O button h(5) to start Maxi. While Maxi is starting up, the Microphone
LED (3) and the Telecoil LED (4) blinks. When the Microphone LED (3) comes on, Maxi is
ready to use and you will hear sound from the internal microphone in the headphones.
Settings
Bellman Audio Maxi has more setting options than those found on the front. You can adjust and
adapt Maxi to your individual requirements using the Setting button (15).
Balance
The balance between the right and left channels can be set, e.g. for headphones. This setting
can be used to compensate for a hearing loss in one ear.
The standard setting is centred balance.
All settings are carried out in sequence, see below under Adjusting settings.
Basic attenuation
The basic attenuation can be set, for example, for dierent headphones. What you actually set is
the attenuation you require at the maximum power output you want to have (which is therefore
0 dB attenuation). This setting is useful when you want to adjust the maximum volume for a
pair of headphones or in-ear phones with a higher sensitivity than the BE9122 Bellman Audio
Headphones.
The standard setting is 0 dB attenuation.
All settings are carried out in sequence, see below under Adjusting settings.
Blocking the T position
The Telecoil Selection Button can be blocked if you know that the T position will not be used.
This setting is for those who will never use the Telecoil and want to avoid selecting this position
by mistake.
The standard setting is for blocking of the T position not to be activated.
All settings are carried out in sequence, see below under Adjusting settings.
+
+
_
_
Adjusting settings
It is easy to adjust settings.
• Open the battery cover (17) by
pressing the battery cover lock
(16) in the direction of the arrow.
• Press the Setting button (15) for
about 5 seconds. It is easiest to
do this with a paper clip, see
gure. One of the LEDs in the
Volume and Tone LED Indicator (8)
now starts to blink
• Adjust the balance between the right
and left channels using the volume
control bc (9). cmoves the sound towards the right channel and bmoves the sound towards
the left channel. The current setting is indicated by a ashing dot on the Volume and Tone LED
Indicator (8) which moves towards the right or left.
When the desired value has been set, give a short press on the Setting button (15) and Maxi will
move on to setting the maximum volume.
• Adjust the maximum volume using the volume control bc (9). cincreases the maximum
volume and breduces the maximum volume. The current attenuation setting relative to the
maximum volume is displayed via the Volume and Tone LED Indicator (8). No attenuation is
shown by only one LED being visible at the right. The greater the attenuation the more LEDs
come on from right to left. Each increment and hence each lit LED corresponds to a reduc-
tion of 3 dB.
When the desired value has been set, give a short press on the Setting button (15) and Maxi
will move on to the setting for locking the T position.
• Now set the use of the telecoil to locked or unlocked using the volume control bc (9). c
enables use of the telecoil and bblocks use of the telecoil. When the telecoil is activated, the
Telecoil LED (4) blinks and when the function is blocked the Telecoil LED (4) is o.
• When the desired value has been set, there are three options:
o To start again: give a short press on the Setting button (15) and Maxi starts again with
setting the balance above.
o To save: press the Setting button (15) for about 5 seconds and Maxi saves the settings
that have been adjusted and returns to normal mode.
o To change your mind: press the On/O button h(5) and Maxi will disregard all the
settings that have been adjusted and return to normal mode.

61
60
APP
Tone control lock
To prevent that the tone control is accidentally changed by the user it is possible to lock the tone
control.
1. While the Maxi is o press and hold the gbutton (10). Switch on the Maxi, by pressing
the On/O button h(5). Keep the gbutton held down until the Maxi’s lights (3, 4) have
stopped ashing.
2. One of the LED in the Volume and Tone LED Indicator (8) will be ashing, this will be the
set tone level. Adjust the preset tone level by using the Tone control fg (10).
If all the LED’s on the Volume and Tone LED Indicator (8), except the blinking one, are lit
at the same time, it means that the Tone control is activated while if the rest of the LED’s are
o the Tone control is deactivated.
3. Press the cbutton to activate the Tone control or press the bbutton to deactivate the Tone
control.
4. Switch the Maxi o using the On/O button h(5) to save these settings.
Testing
It is easy to test the Bellman Audio Maxi digital communication aid for yourself. If Maxi is
not working as described below, you can carry out further troubleshooting as instructed in the
section Troubleshooting/Troubleshooting guide.
How to test
The internal microphone and telecoil can be tested by connecting BE9122 Bellman Audio
Headphones to the Headphone output (12) and then selecting the Internal microphone (2) using
the Microphone Selection Button a(6) or the Telecoil Selection Button d(7).
The External sound source input (1) can be tested by connecting a CD player or a radio to
the input via an audio cable. Switching to the External signal source input (1) takes place
automatically when the connector is connected to the External sound source input (1) on Maxi.
Troubleshooting
You can carry out a number of checks yourself before sending a product for repair.
Troubleshooting guide
Symptom Solution
Nothing happens when you try to start Maxi
using the On/O button.
• Check that the batteries have been
inserted the right way round.
• Change the batteries. Only use AA
alkaline type batteries.
No sound can be heard in the headphones when
Maxi is switched on.
• Check that the correct signal source has
been selected, e.g. internal microphone
(M position).
• Check that the headphone plug is
securely inserted in the headphone
output.
• Connect the headphones to
another sound source (with a 3.5
mm headphone output) to test the
headphones.
A high-pitched noise is heard in the headphones. • Lower the volume or increase the
distance between Maxi and the
headphones.
• Direct the microphone away from you.

63
62
APP
Technical information
Power supply
Battery power: Two 1.5 V AA alkaline type batteries
Operating time: 100 - 150 hours depending on the load and sound
pressure
Power consumption: 17 mA (120 mA max)
Input signals
Microphone: Built-in microphone (omnidirectional)
Telecoil: Built-in telecoil (angled at 45°)
Ext. sound source input: 2.5 mm stereo jack plug
Ext. in sensitivity (max input lvl.): +6 dBV
Output signals
Headphone socket: 3.5 mm stereo jack plug
Output level with BE9122: 117.67 dB @ 1 kHz (SPL90)
119.52 dB (HF Ave. SPL90),
Full-on gain: 37.01 dB
Ref. test gain: 29.21 dB (SPL70)
Output level with BE9403: 148.7 dB @ 1 kHz (SPL90)
52.6 dB (HF Ave. SPL90)
Ref. test gain: 71 dB (SPL70)
Distortion: 0.559% THD (electrical)
SNR: 82 dB
Frequency range: 40 Hz – 10 kHz
Output power: Max 125 mW @ 16 ohms
Features
Volume control: 9 steps (5 dB/step)
Maximum volume settings: 0-21 dB programmable attenuation
(in settings mode only and in steps of 3 dB)
R/L-channel balance setting: 0-20 dB programmable attenuation
(in steps of 5 dB)
Tone control: +/- 10 dB (5 pre-set steps, push-buttons)
Tone, high: +10dB@3.15 kHz
-6dB@250Hz
Tone, mid: at
Tone, low: -10dB@3.15 kHz
No bass boost
Power switch: on-o toggle button
Mic and T-mode: Separate mode select buttons
Ext. mic / Aux in accessories: Automatically selects Aux in or ext. mic.
when plugged in
MicroSet™accessory: Automatically selects MicroSet™accessory when
plugged in
Dynamic compressor: 10 channels
Dynamic gain range: 0-35 dB
Compression: 3:1
Expansion: 1:1.5
Attack time: 25 ms
Release time: 250 ms
Dynamic noise reduction: 10 channels Adaptive frequency domain noise reduction
Feedback cancellation: Adaptive time domain feedback cancellation
Digital signal processing: 19.948 kHz sampling frequency 16-bit resolution in stereo
Additional information
For indoor use only.
Dimensions WxHxD: 45 x 140 x 27 mm
Weight (without clip): With battery: 133 g Without battery: 83 g
Colour: Grey with white front panel and grey buttons.
Operating temperature: 0°– 35° C, 32°– 95° F.
Transport and storage temperature: -10°– 50° C.
Relative humidity: 15% – 90% (non condensing).
Regulatory requirements
FCC SDoC: FCC Part 15 Subpart B,
CE, RoHS, WEEE, RCM
Accessories
BE9122 Bellman Audio Headphones
BE9128 Bellman Audio Neck Loop
BE9403 Bellman Audio Stetoclips
BE9124 Bellman Audio Ear Phones
BE9126 Bellman Audio Cable Kit
BE9127 Bellman Audio External Microphone
Measurements
Frequency response (acoustical):

FCC compliance statement
This device complies with Part 15 of the FCC Rules. Operation is subject to the following two conditions: (1) this device may not
cause harmful interference, and (2) this device must accept any interference received, including interference that may cause
undesired operation.
Warning: Changes or modifications to this unit not expressly approved by the party responsible for compliance could
void the user’s authority to operate the equipment.
Note: This equipment has been tested and found to comply with the limits for a Class B digital device, pursuant to
Part 15 of the FCC Rules. These limits are designed to provide reasonable protection against harmful interference in a
residential installation. This equipment generates, uses and can radiate radio frequency energy and, if not installed
and used in accordance with the instructions, may cause harmful interference to radio communications. However,
there is no guarantee that interference will not occur in a particular installation. If this equipment does cause harmful
interference to radio or television reception, which can be determined by turning the equipment off and on, the user is
encouraged to try to correct the interference by one or more of the following measures:
• Reorient or relocate the receiving antenna.
• Increase the separation between the equipment and receiver.
• Connect the equipment into an outlet on a circuit dierent from that to which the receiver is connected.
• Consult the dealer or an experienced radio/TV technician for help.
Statement for Industry Canada
Le fonctionnement de cet équipement est soumis aux conditions suivantes:
(1) l’équipement concerné ne doit pas causer d’interférences, et (2) il doit accepter toute interférence reçue, y compris
les interférences risquant d’engendrer un fonctionnement indésirable.
Cet appareil numérique de la classe B est conforme à la norme NMB-003 du Canada.
This Class B digital apparatus complies with Canadian ICES-003.
Other manuals for MAXI
1
Table of contents
Languages:
Other Bellman & Symfon Amplifier manuals
Bellman & Symfon
Bellman & Symfon Maxi Pro BE2021 User manual
Bellman & Symfon
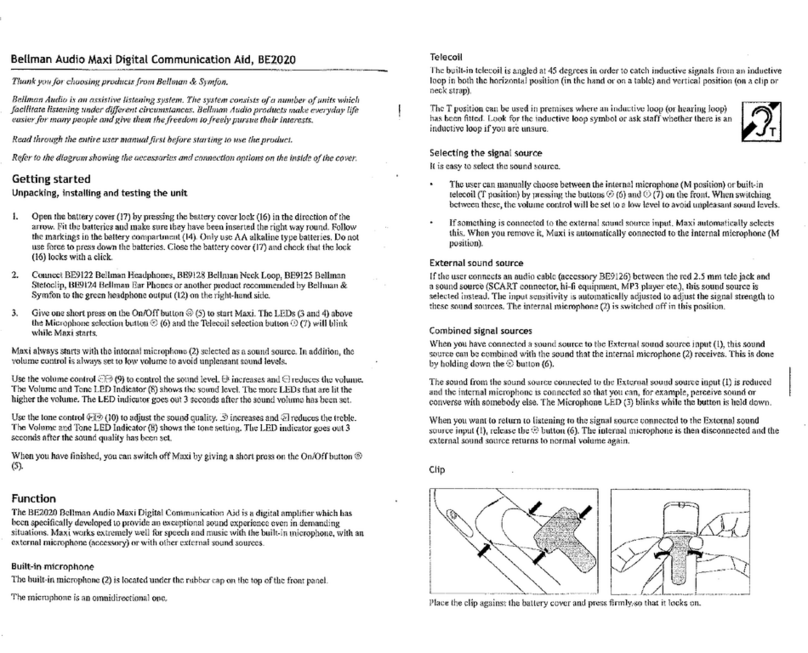
Bellman & Symfon Audio Maxi BE2020 User manual
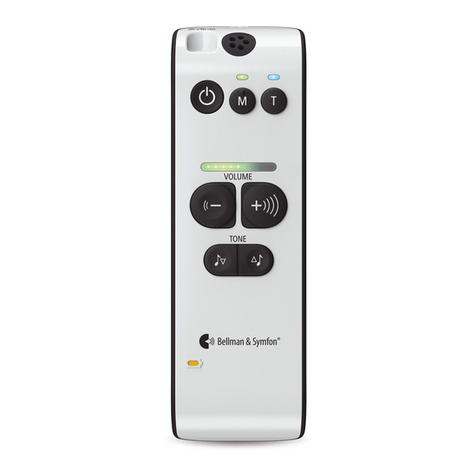
Bellman & Symfon
Bellman & Symfon Audio Maxi BE2020 User manual
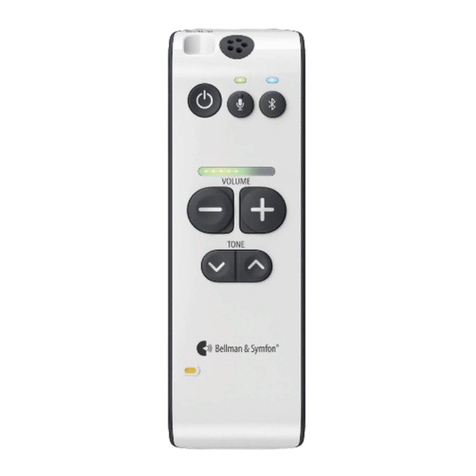
Bellman & Symfon
Bellman & Symfon Maxi Pro User manual
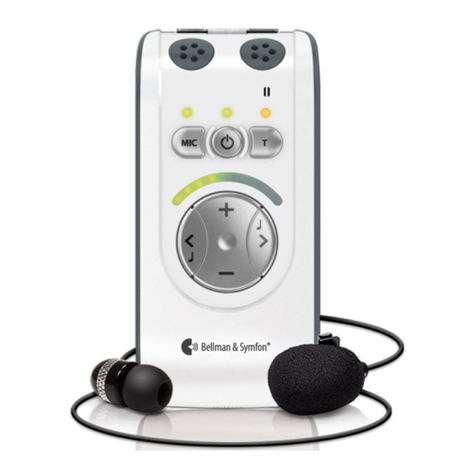
Bellman & Symfon
Bellman & Symfon Bellman Audio Mino BE2030 User manual

Bellman & Symfon
Bellman & Symfon BE2021 Maxi Pro User manual
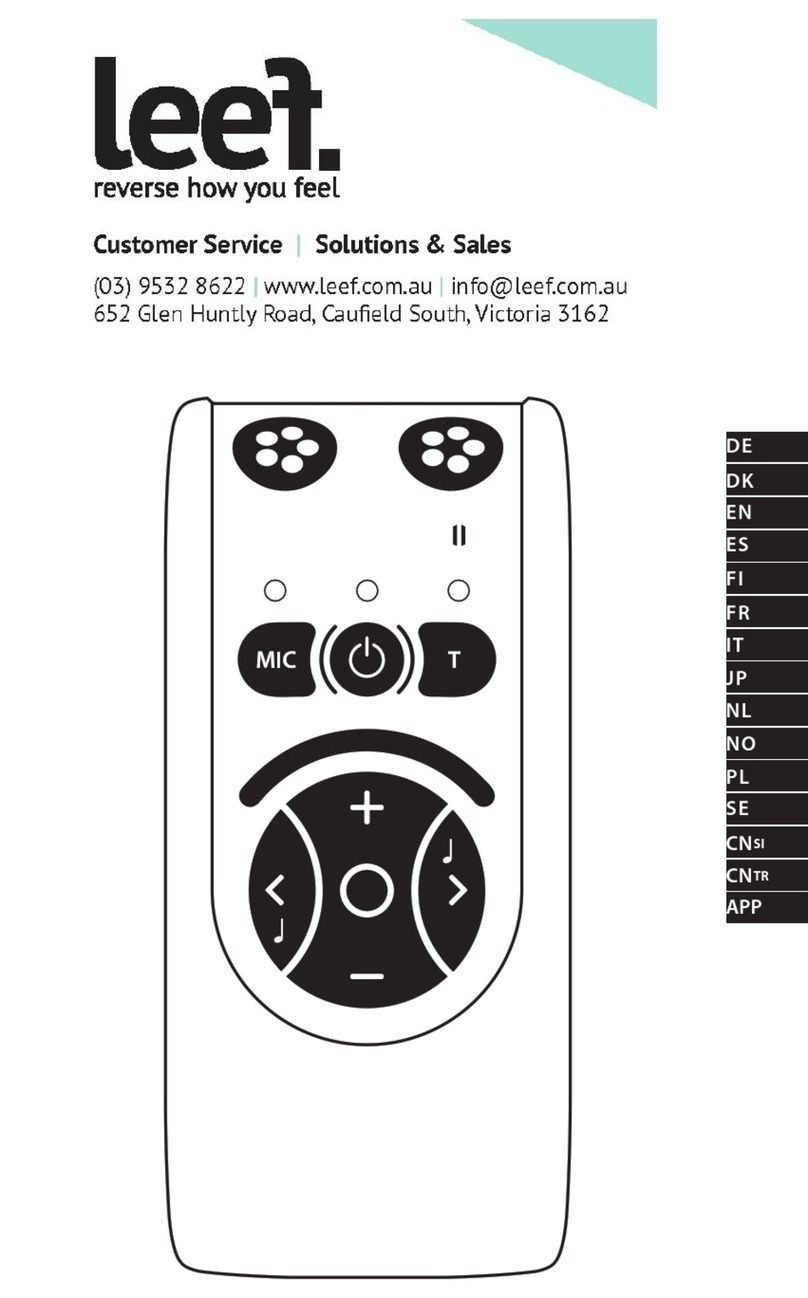
Bellman & Symfon
Bellman & Symfon Bellman Audio Mino BE2030 User manual

