Bematech LR200M User manual

LR200M Android Bluetooth SDK Development
1. Introduction
(1) Software package name
com.RT_Printer.BluetoothPrinter.BLUETOOTH
(2) Class Name
Class Name
Discription
BluetoothPrintDriver
Bluetooth connection and printer operation
2. Methods in Class BluetoothPrintDriver
instantiation
BluetoothPrintDriver(this, mHandler);
Set Handler to receive the messages from SDK, Including state changes, Bluetooth to
send data, Bluetooth receive data (printer returned data: battery voltage, the error
status is returned by MESSAGE_READ) as well as a successful connection and
connection failures. Corresponding constants are:
MESSAGE_STATE_CHANGE, MESSAGE_WRITE, MESSAGE_READ,
MESSAGE_DEVICE_NAME, MESSAGE_TOAST
open and close the connection method
1. connect(device); Establish a connection with a Bluetooth device (OpenPrinter ()
method has expired)
2 stop(); Disconnect the Bluetooth device (close () method has expired)
3. IsNoConnection(); Judge the status of the Bluetooth connection
basic print method
1. Begin(); Initialize the printer
2. Print String or byte data type. Use this method to be sent the command directly to
the printer
(1)public static void BT_Write (String dataString)
Parameter: dataString:String data need to send
(2)public static void BT_Write (String dataString, boolean bGBK)
Parameter: dataString:String data need to send
bGBK:GBK Flag,true or false
(3)public static void BT_Write (byte[] out)
Parameter:out:byte data need to send

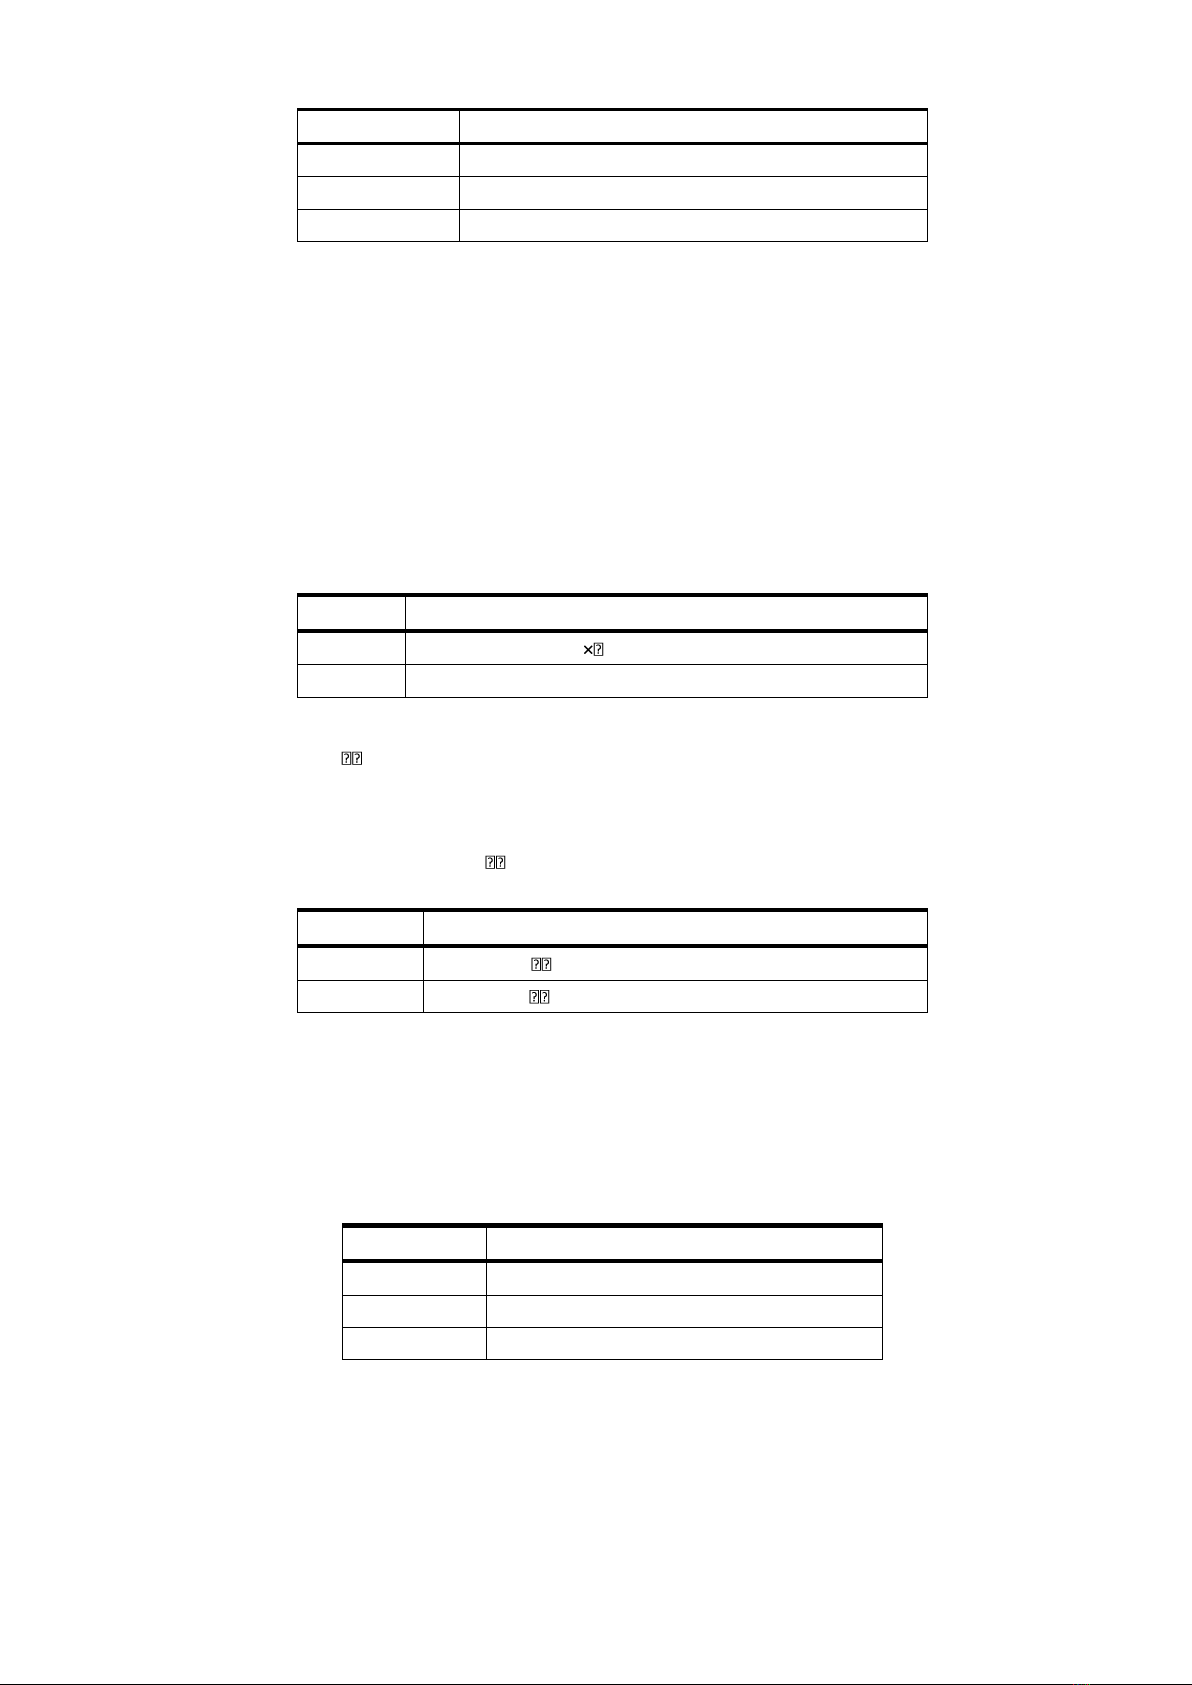
(4)public static void BT_Write (byte[] out, int dataLen)
Parameter:out:byte data need to send
dataLen:data length
3. Print and line feed
public static void LF();
4. Print and carriage return
public static void CR();
5. Print a self-test page
public static void SelftestPrint ();
print position related methods
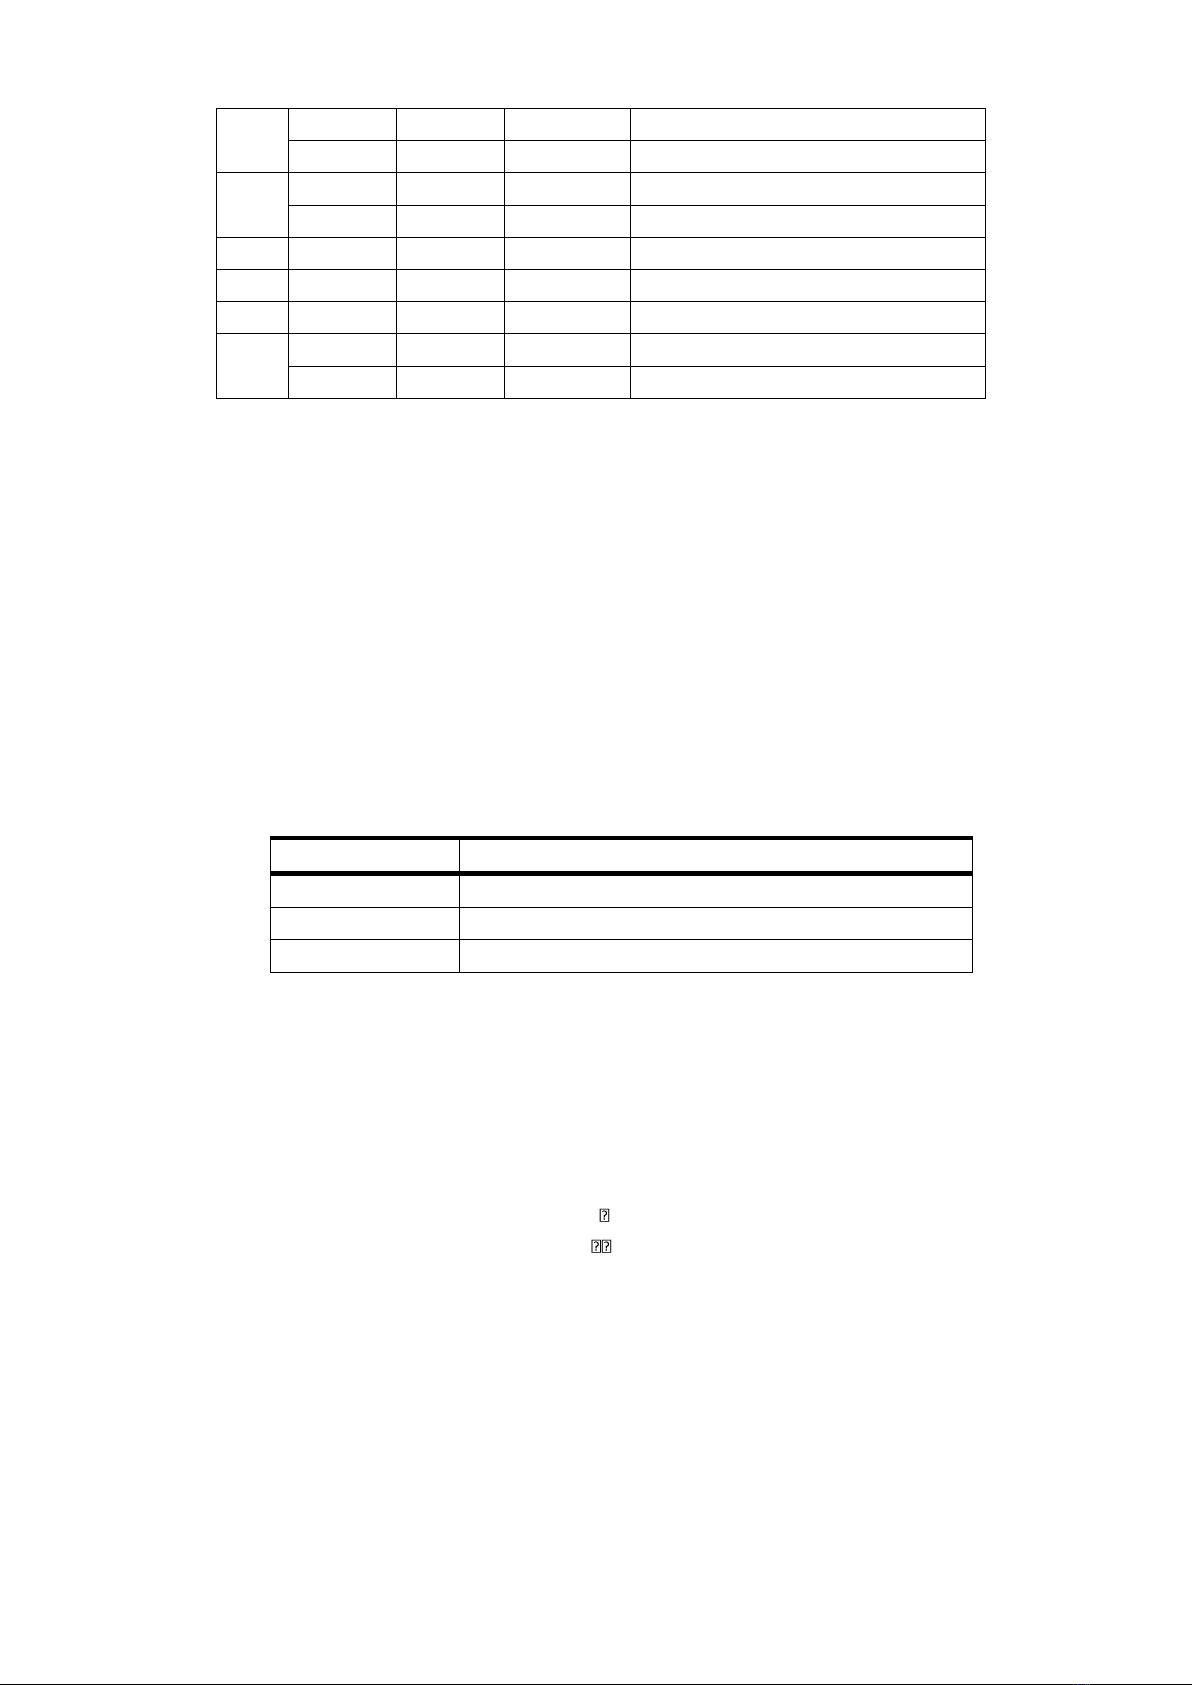
1. Set right-side character spacing
public static void SetRightSpacing (byte Distance);
[Range] 0 <= Distance <= 255
[Description] Sets the character spacing for the right side of the character to :
[Distance×0.125 mm (Distance×0.0049’’)]
2. Set absolute print position
public static void SetAbsolutePrintPosition (byte nL, byte nH);
[Range] 0 <=nL <=255 0 <=nH <=255
[Description] Sets the distance from the beginning of the line to the position at
which subsequent characters are to be printed.The distance from
the beginning of the line to the print position is :
[(nL + nH×256)×0.125 mm]
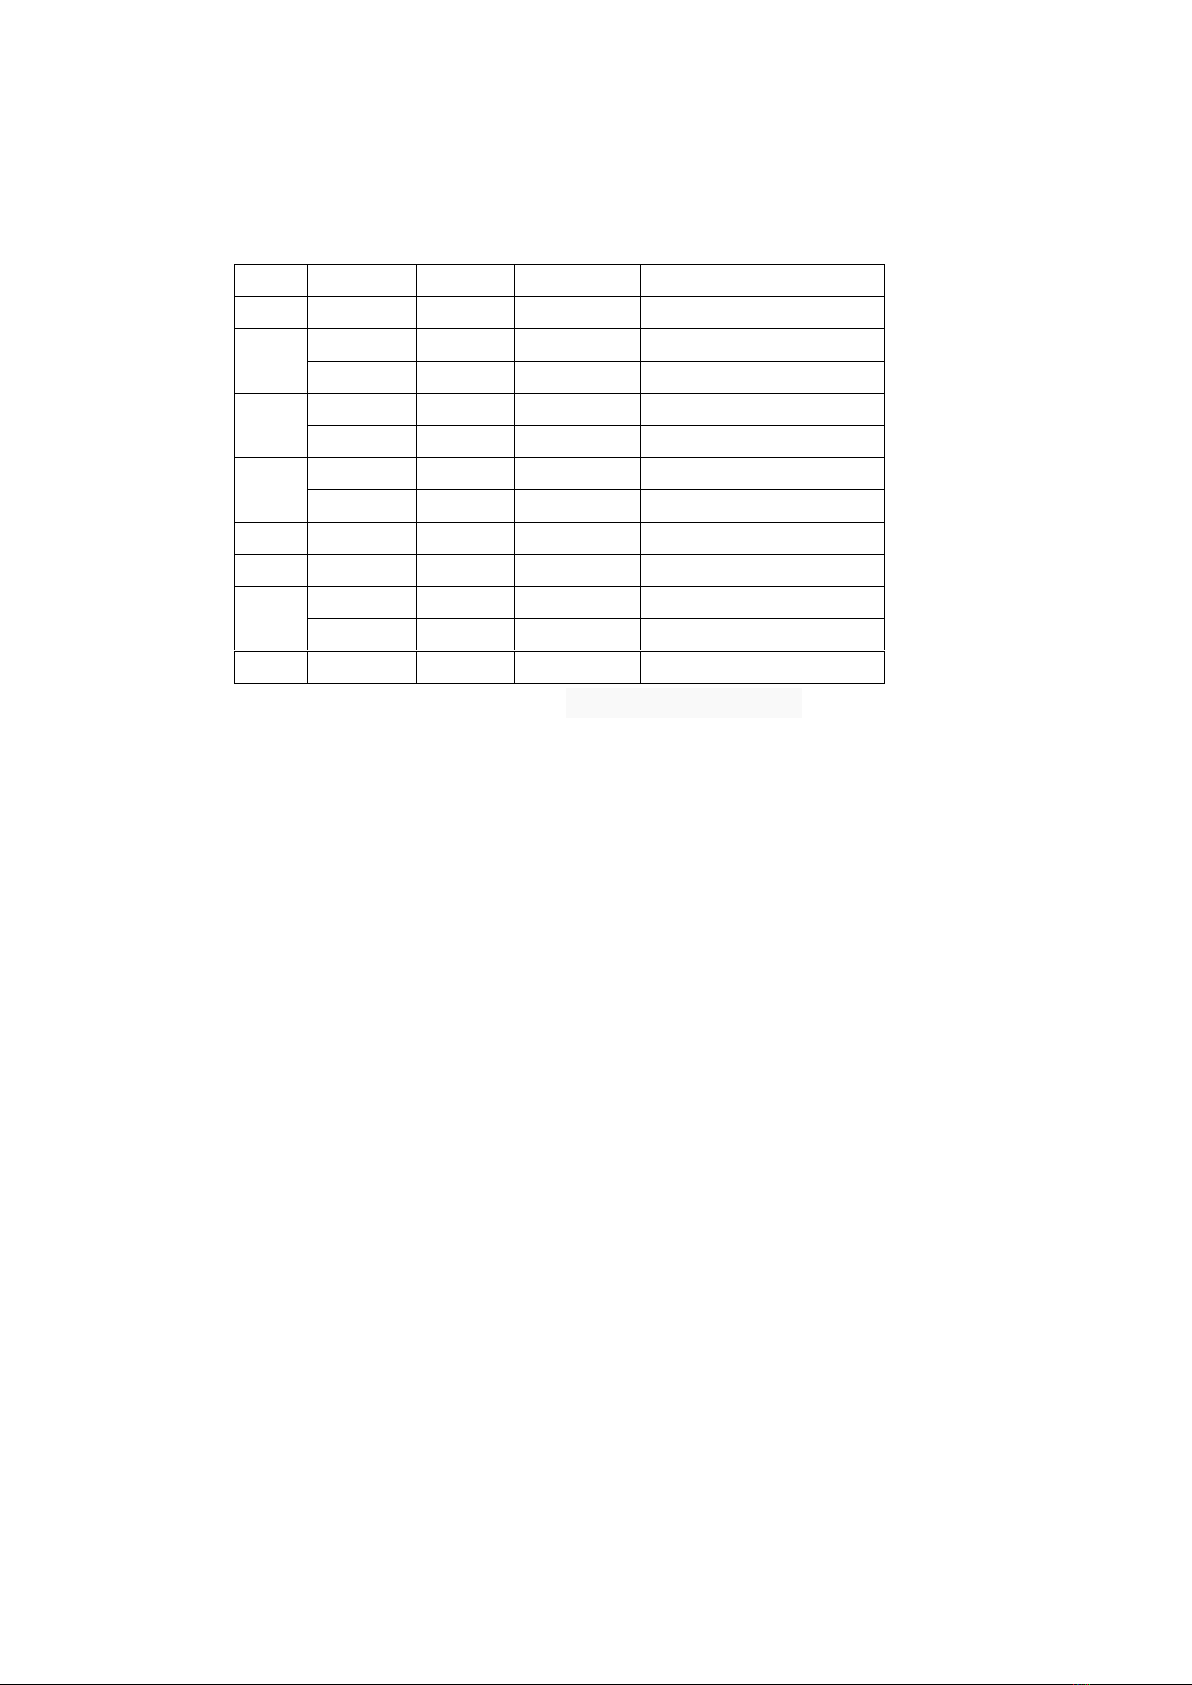
3. Set relative print position
public static void SetRelativePrintPosition (byte nL, byte nH);
[Range] 0 <=nL <=255 0 <=nH <=255
[Description] Sets the print starting position based on the current position using
horizontal or vertical motion units.This command sets the
distance from the current position to:
[(nL + nH ×256) ×0.125 mm]
4. Select default line spacing
public static void SetDefaultLineSpacing ();
[Description]
5. Set line spacing
public static void SetLineSpacing (byte LineSpacing);
[Range] 0 <= LineSpacing <= 255
[Description] Sets the line spacing to [n×0.125 mm]
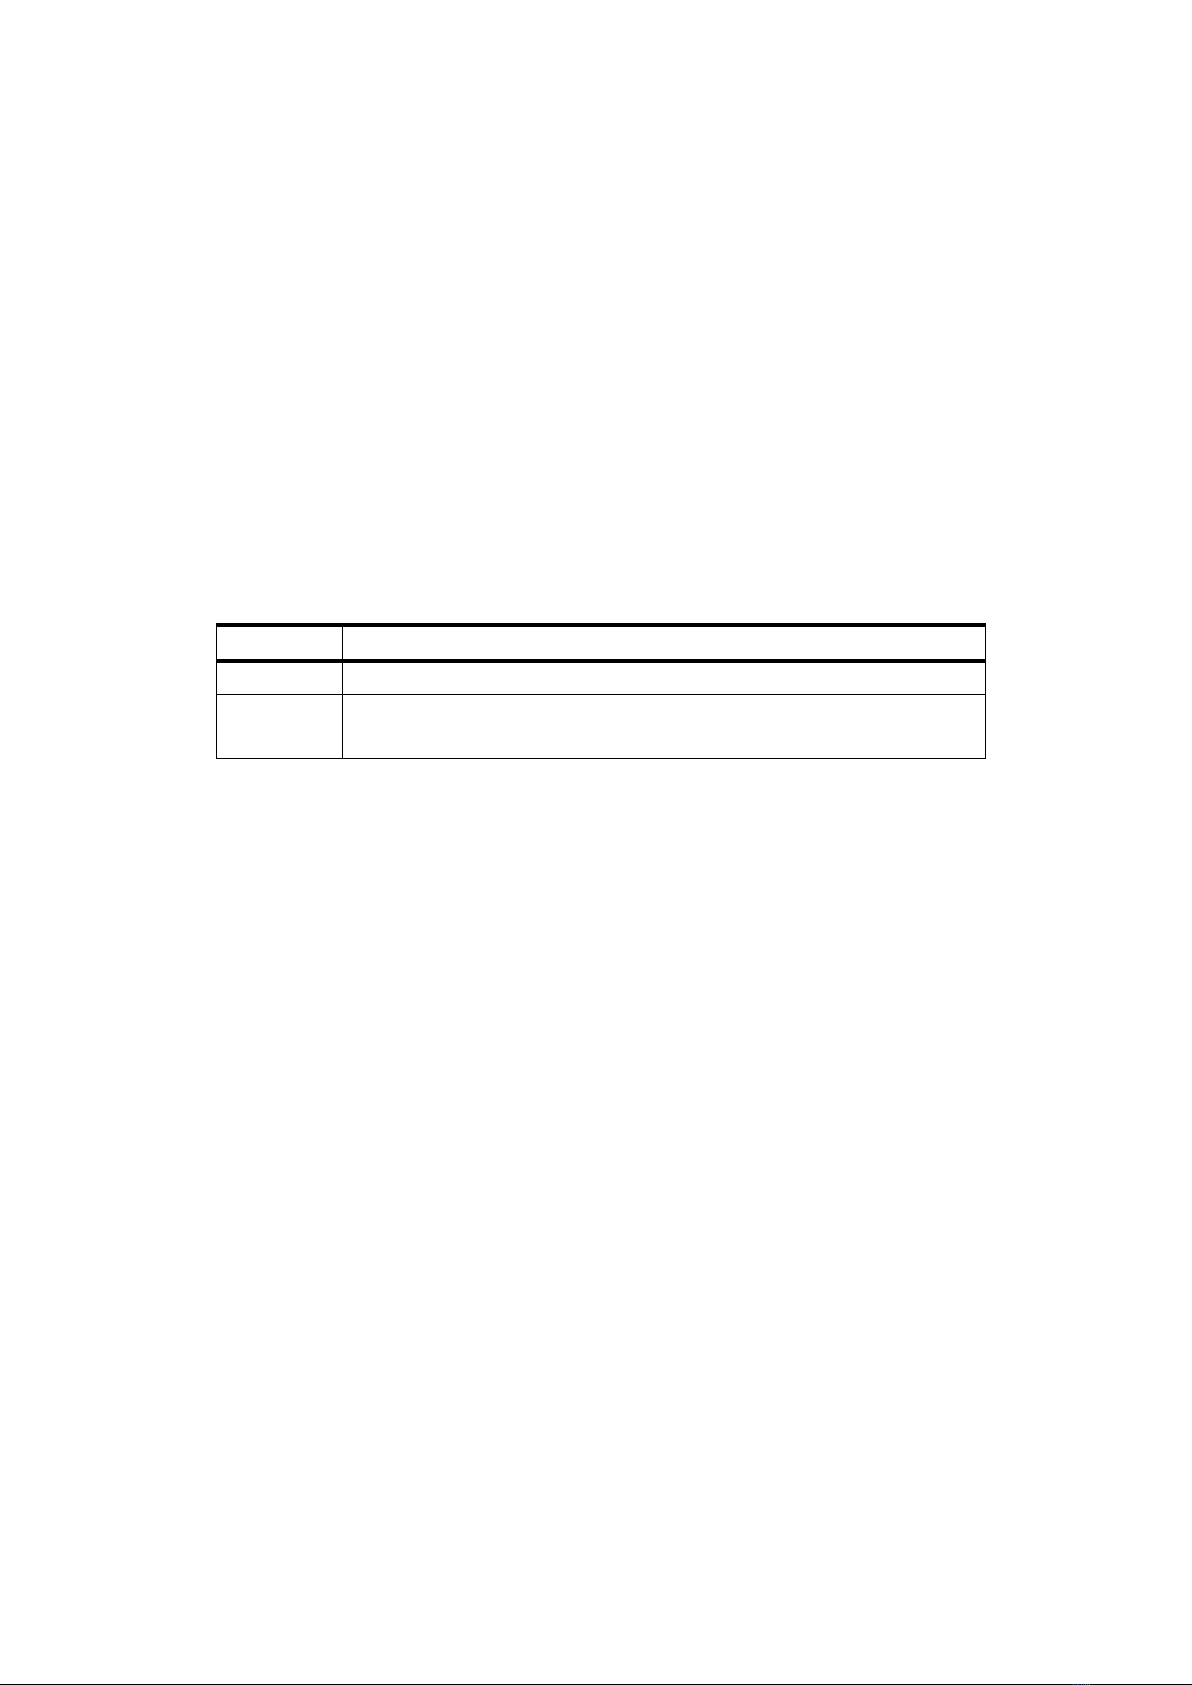
6. Set left margin

public static void SetLeftStartSpacing (byte nL, byte nH);
[Range] 0 <=nL <=255 0 <=nH <=255
[Description] Sets the left margin using nL and nH.The left margin is
set to :
[(nL + nH ×256) × 0.125 mm]
7. Set printing area width
public static void SetAreaWidth (byte nL, byte nH);
[Range] 0 <=nL <=255 0 <=nH <=255
[Description] Sets the printing area width to the area specified by nL
and nH. The printing area width is set to :
[(nL + nH ×256) ×0.125mm (0.0049”)]
character set related methods
1. Select print mode
public static void SetCharacterPrintMode (byte CharacterPrintMode);
[Range] 0 <=n<=255
[Description] Selects print mode(s) using n as follows:
Bit
Off/On
Hex
Decimal
Function
0
Off
00
0
Character Font A (12×24).
On
01
1
Character Font B (9×17).
1
-
-
-
Undefined.
2
-
-
-
Undefined.
3
Off
00
0
Emphasized mode not selected.
On
08
8
Emphasized mode selected.
4
Off
00
0
Double-height mode not selected.
On
10
16
Double-height mode selected.
5
Off
00
0
Double-width mode not selected.
On
20
32
Double-width mode selected.
6
-
-
-
Undefined.
7
Off
00
0
Underline mode not selected.
On
80
128
Underline mode selected.
2. Turn underline mode on/off
public static void SetUnderline(byte UnderlineEn);
[Range] 0 <= UnderlineEn<=2, 48<= UnderlineEn<=50
[Description] Turns underline mode on or off, based on the following values

n
Function
0, 48
Turns off underline mode
1, 49
Turns on underline mode (1 dot thick)
2, 50
Turns on underline mode (2 dots thick)
3. Turn emphasized mode on/off
public static void SetBold (byte BoldEn);
[Range] 0 <= BoldEn <=255
[Description] Turns emphasized mode on or off
When the LSB of n is 0, emphasized mode is turned off.
When the LSB of n is 1, emphasized mode is turned on.
4. Select character font
public static void SetCharacterFont(byte Font);
[Range] Font = 0, 1, 48, 49
[Description] Selects the character font.
n
Function
0, 48
Character Font A (12 24) selected.
1, 49
Character Font B (9×17) selected.
5. Turn 90clocrotation mode on/off
public static void SetRotate (byte RotateEn);
[Range] 0 <=RotateEn <=1, 48 <= RotateEn <=49
[Description] Turns 90 clockwise rotation mode on/off
RotateEn is used as follows:
RotateEn
Function
0,48
Turns off 90 clockwise rotation mode
1,49
Turns on 90 clockwise rotation mode
6. Select justification
public static void SetAlignMode(byte AlignMode);
[Range] 0 <= AlignMode <=2, 48 <= AlignMode <= 50
[Description] Aligns all the data in one line to the specified position. AlignMode selects the
justification as follows:
n
Justification
0,48
Left justification
1, 49
Centering
2, 50
Right justification
7. Turns on/off upside-down printing mode
public static void SetInvertPrint (byte InvertModeEn);
[Range] 0 <= InvertModeEn<=255
[Description] Turns upside-down printing mode on or off.
When the LSB of n is 0, upside-down printing mode is turned off.

When the LSBof n is 1, upside-down printing mode is turned on.
8. Select character size
public static void SetFontEnlarge (byte FontEnlarge);
[Range] 0 <= FontEnlarge <= 255
[Description] Selects the character height using bits 0 to 2 and selects the
character width using bits 4 to 7, as follows:
Bit
Off/On
Hex
Decimal
Function
0
Character height selection. See Table 2.
1
2
3
4
Character width selection. See Table 1.
5
6
7
Table 1 Table 2
Character Width Selection Character Height Selection
Hex
Decimal
Width
Hex
Decimal
Width
00
0
1(normal)
00
0
1(normal)
10
16
2(double-width)
01
1
2(double-height)
20
32
3
02
2
3
30
48
4
03
3
4
40
64
5
04
4
5
50
80
6
05
5
6
60
96
7
06
6
7
70
112
8
07
7
8
9. Turn white/black reverse printing mode
public static void SetBlackReversePrint (byte BlackReverseEn);
[Range] 0 <= BlackReverseEn <=255
[Description] Turns on or off white/black reverse printing mode.
When the LSB of n is 0, white/black reverse mode is turned off.
When the LSB of n is 1, white/black reverse mode is turned on.
kanji control commands related methods
1. Set print mode(s) for Kanji characters
public static void SetChineseCharacterMode (byte ChineseCharacterMode);
[Range] 0 <= ChineseCharacterMode<=255
[Description] Sets the print mode for Kanji characters, using ChineseCharacterMode as follows:
Bit
Off/On
Hex
Decimal
Function
0
-
-
-
Undefined.
1
-
-
-
Undefined.

2
Off
00
0
Double-width mode is OFF.
On
04
4
Double-width mode is ON.
3
Off
00
0
Double-height mode is OFF.
On
08
Double-height mode is ON.
4
-
-
-
Undefined.
5
-
-
-
Undefined.
6
-
-
-
Undefined.
7
Off
00
0
Underline mode is OFF.
On
80
128
Underline mode is ON.
2. Select Kanji character mode
public static void SelChineseCodepage ();
[Description] Selects Kanji character mode.
3. Cancel Kanji character mode
public static void CancelChineseCodepage ();
[Description] Cancels Kanji character mode.
4. Turn underline mode on/off for Kanji characters
public static void SetChineseUnderline (byte ChineseUnderlineEn);
[Range] 0 <=ChineseUnderlineEn<=2, 48 <= ChineseUnderlineEn<=50
[Description] Turns underline mode for Kanji characters on or off, based on the following values of
ChineseUnderlineEn.
ChineseUnderlineEn
Function
0, 48
Turns off underline mode for Kanji characters
1, 49
Turns on underline mode for Kanji characters (1-dot thick)
2, 50
Turns on underline mode for Kanji characters (2-dot thick)
Cash drawer control method
1. Generate pulse
public static void OpenDrawer (byte DrawerNumber, byte PulseStartTime, byte
PulseEndTime);
[Range] DrawerNumber = 0,1,48,49
0 <= PulseStartTime <=255
0 <= PulseEndTime <=255
[Description] Outputs the pulse specified by PulseStartTime and
PulseEndTime to connector pin DrawerNumber as follow :
On time= PulseStartTime x 2 millisecond
Off time= PulseEndTime x 2 millisecond
DrawerNumber =0/48 Drawer kick –out connector pin 2;
DrawerNumber =1/49 Drawer kick –out connector pin 5.
Transmit real-time status method
public static void StatusInquiry ();

This method returns 3 bytes of data, MSB.
The first two bytes are used to calculate the battery voltage. Voltage = r[0]*256 + r[1], r[0] is the First
byte received, r[1] is the second byte received.
The last byte Indicates the printer status.
Bit
Off/On
Hex
Decimal
Status
0
Off
00
0
Fixed
1
On
02
2
No printer connected
Off
00
0
Print connected
2
On
04
4
Paper not present.
Off
00
0
Paper present.
3
On
08
8
Voltage is too low
Off
00
0
Voltage is normal
4
Off
00
0
Fixed
5
Off
00
0
Fixed
6
On
40
64
Printer Over Heat
Off
00
0
Printer not Over Heat
7
Off
00
00
Fixed
[Notes]: Processing the recrived data in Handler. Examples as follows:
// The Handler that gets information back from the BluetoothPrintDriver
private final Handler mHandler = new Handler() {
public void handleMessage(Message msg) {
switch (msg.what) {
case MESSAGE_READ:
String ErrorMsg = null;
byte[] readBuf = (byte[]) msg.obj;
float Voltage = 0;
if(readBuf[2]==0)
ErrorMsg = "NO ERROR! ";
else
{
if((readBuf[2] & 0x02) != 0)
ErrorMsg = "ERROR: No printer connected!";
if((readBuf[2] & 0x04) != 0)
ErrorMsg = "ERROR: No paper! ";
if((readBuf[2] & 0x08) != 0)
ErrorMsg = "ERROR: Voltage is too low! ";
if((readBuf[2] & 0x40) != 0)
ErrorMsg = "ERROR: Printer Over Heat! ";
}
Voltage = (float) ((readBuf[0]*256 + readBuf[1])/10.0);
DisplayToast(ErrorMsg+"Battery voltage:"+Voltage+" V");
break;
}
}
};

cutting paper related methods
1. full cut paper
public static void CutPaper ();
2. partial cut paper
public static void PartialCutPaper ();
3. Select cut mode and cut paper
① public static void FeedAndCutPaper (byte CutMode);
②public static void FeedAndCutPaper (byte CutMode, byte FeedDistance)
[Range]
① CutMode = 1, 49
② CutMode = 66, 0 <= FeedDistance <=255
[Description] Selects a mode for cutting paper and executes paper cutting. The value of m selects
the mode as follows:
CutMode
Print mode
1, 49
Partial cut (one point left uncut)
66
Feeds paper (cutting position + [FeedDistance×0.125 mm]), and cuts the
paper partially (one point left uncut).
special print methods
1. Barcode print
public static void AddCodePrint(int CodeType, String data);
[Description] CodeType:Barcode types, support UPCA . UPCE . EAN13 . EAN8 . CODE39 . ITF .
CODEBAR . CODE93 . Code128_B;
data:Barcode data
2. Image Print
public static void printImage();
Print a specific image
Other manuals for LR200M
2
Table of contents
Other Bematech Printer manuals

Bematech
Bematech MP-4000 TH User manual

Bematech
Bematech LR200M User manual

Bematech
Bematech MP-4000 TH User manual

Bematech
Bematech LR200M Owner's manual

Bematech
Bematech MP-2500 TH User manual

Bematech
Bematech LR1100 Owner's manual

Bematech
Bematech MP200 User manual

Bematech
Bematech LR2000 User manual

Bematech
Bematech MP-2100 TH User manual

Bematech
Bematech LR1100U User manual