BENIFERRO Wifipool Duo HS User manual
ZLAX0116-P ZLAX0120-P
ZLAX0117-P ZLAX0121-P
Full manual on www.beniferro.eu

1. Introduction
The “Wifipool Duo” is be used to monitor and control pH, and redox (chlorine) , of your
swimming pool. It is fully pre-mounted. The devices need to be paired with your mobile
phone in 5 steps.
2. Unpacking
Safety instructions
○The automation installation must be carried out in such a way that:
-The salt electrolysis and acid pumps cannot work if the filter pump does not work. This
functions is ensured via the flow switch built in the equipment.
-The salt electrolysis and acid pumps can be switched off manually. This can be done by the
on/off button on the equipment or via the app manual control.
○Addition of the chemicals for the pool should be done downstream of the pool accessories such
as heating, UV lamp, filter, and downstream of the measuring probes.
Chlorine and acid react together into toxic chlorine gas. Make sure that the chemicals are placed
outside or in a very well-ventilated room, in a drip tray, that they cannot come into contact with
each other and remain out of the reach of children…
○It is recommended to put the installation of the water treatment unit in bypass configuration.
○Install the water treatment unit on a solid base or against the wall (always vertically).
○Always keep the product upright. If the product is tilted or placed on the side, the probes cannot
measure correctly, resulting in incorrect measurements.
○The product must be installed inside
○The acid dosing device should not be used with hydrochloric acid (HCl).
○In the event of a leak, make sure that the water or chemicals cannot run over the installation.
○The electronics or device itself must never be connected to an output of a frequency converter or
a variable speed drive.
○The dosing device must not be on the same current circuit as that of the variable speed converter
or ac drive used and it is at minus 3m from the dosing unit.
3 Physical installation of your Pool Duo
Before installation: Add salt (3.5-4.5 kg/m3) to the water
1) Hang the unit in the desired place (with strong wifi signal)
2)Glue the entrance and exit of the cell and the PVC bend.
3) Insert the suction cap of pH into the acid canister. It is recommended not to lower –at startup-
the suction cap to the bottom of the container. If something goes wrong with the dosing, not the
entire can of acid will be pumped into the pool.
4.Installation of salt electrolysis plug, peristaltic pump and measurement
boxes
The pairing of your Wifipool Duo with your phone, well take 6 steps :
-Installation fo the wifipool app
-Pairing of the pH presitaltic pump
-Pairing of the salt electrolysis plug
-Pairing of the pH measurement box
-Pairing of the RX measurement box
-Installation of the Pool Duo automation module.
The plugs, salt electrolysis, peristaltic pumps and measurement boxes are to be used in a
dry, water-free environment.
Measurement boxes are to be used with a 5V power source
The plugs, peristaltic pump and measurement boxes can only
be used in combination with the Wifipool app
Read the Wifipool App manual to pair the peristaltic pumps
and measurement boxes to your local Wifi network.
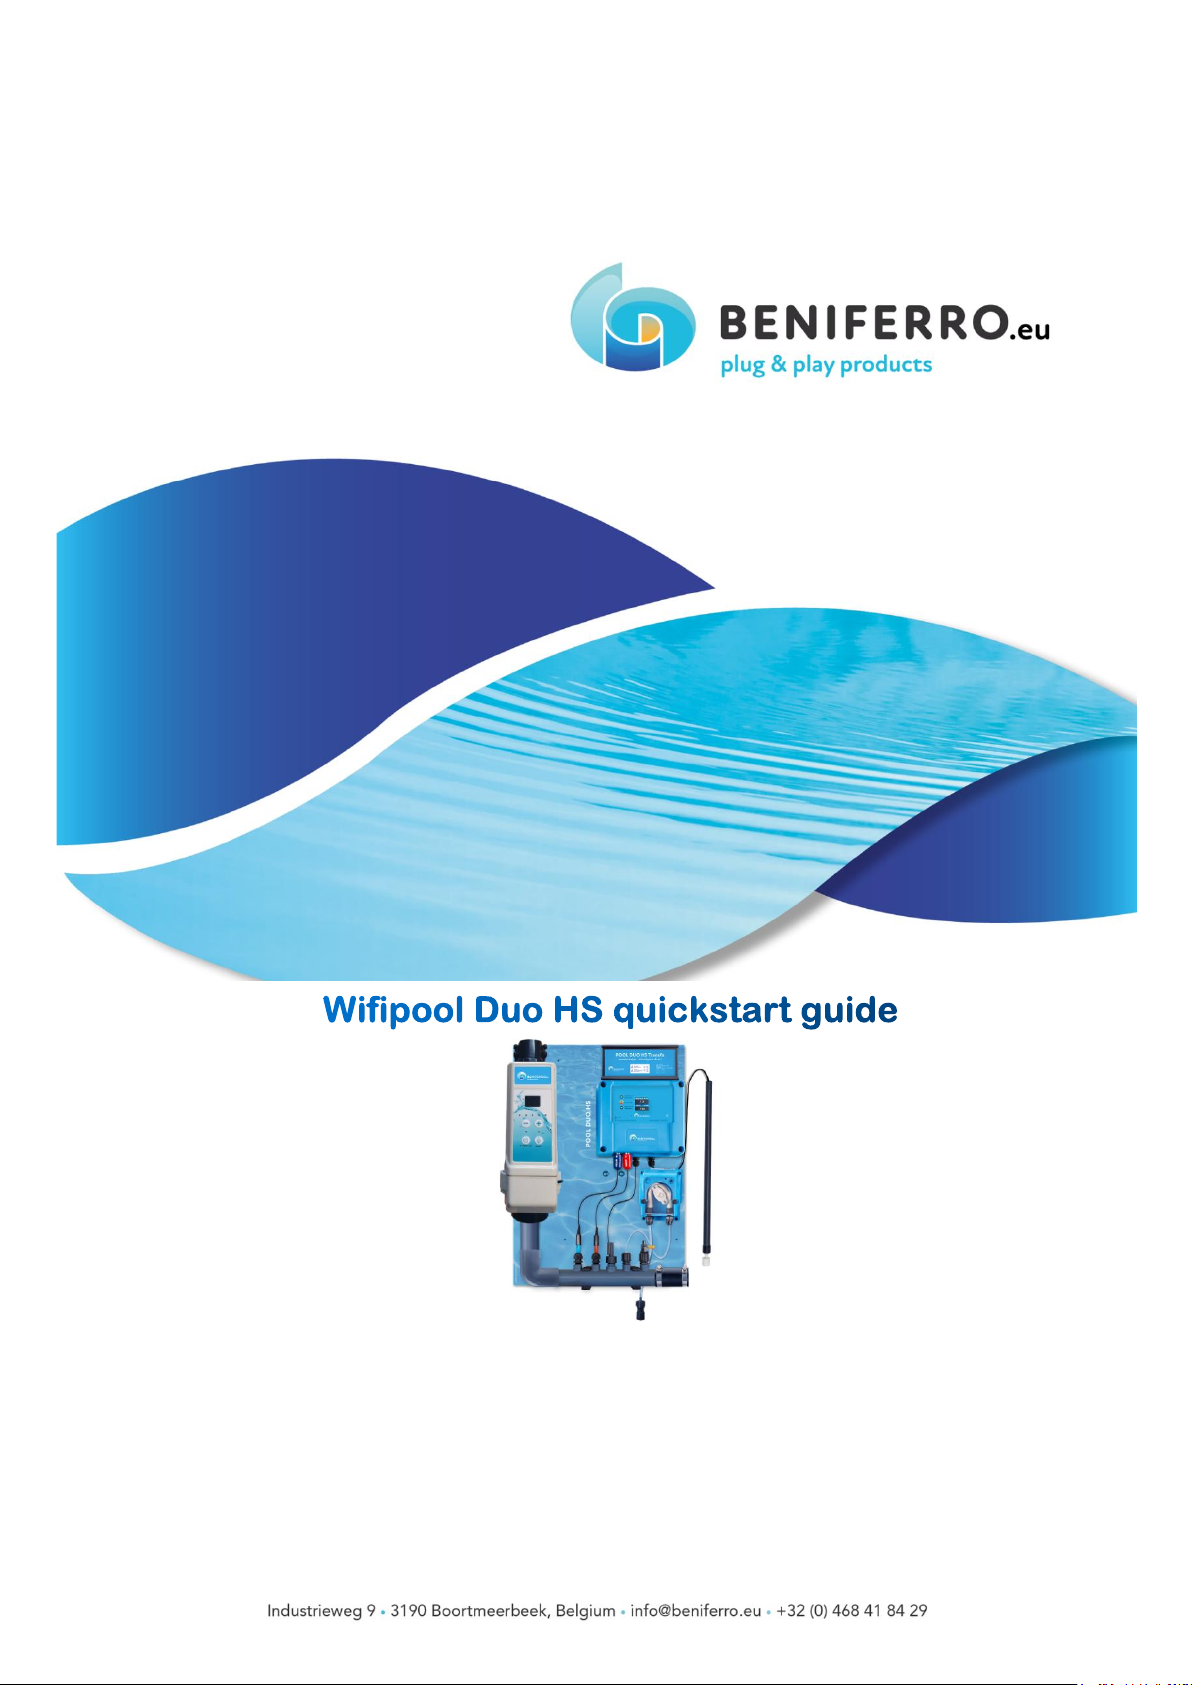
PH and redox measurement probes need to be installed before the dosing equipment
injection nipples and before the salt electrolysis . Use the proper tube inserts provided.
ZWMX9010-11-12
ZWMX7093-Z
ZWMX2220-Z
ZALX1155
To prevent acid and chlorine from mixing, the injection point of the peristalic pH pump and
salt electrolysis have to be either physically located at minimum 2 meters from each other,
or the equipment has to be set up do that pH pump and salt electrolysis do not function at
the same time.
You can download the correct automation module from the app itself (see later). Upon
modifying or configuring the wifipool settings yourself, consult a swimming pool professional
if in any doubt.
4 Configuration of the wifipool app : pairing of salt electrolysis plug, peristaltic
pump and measurement boxes
Consult the Wifipool App manual
5 Installing and configuring automation
After installation of the app and pairing peristaltic pumps and measurement boxes, you are
redy to install the Wifipool Duo automation module.
A “Module” is a predetermined
automation. If a Module exist for the
instrument you purchased (eg
automatic valve, Wifipool Duo, Salt
electrolysis, …), you can install the
module on the phone just by clicking it,
or by scanning it from a barcode in the
device manual. A series of pre-
determined settings will be installed
(eg : Salt electrolysis will switch on at a
redox below 700mV, only if flow is
detected and pH pump is not running
…). You can of course edit and modify
these conditions via the automation
button.
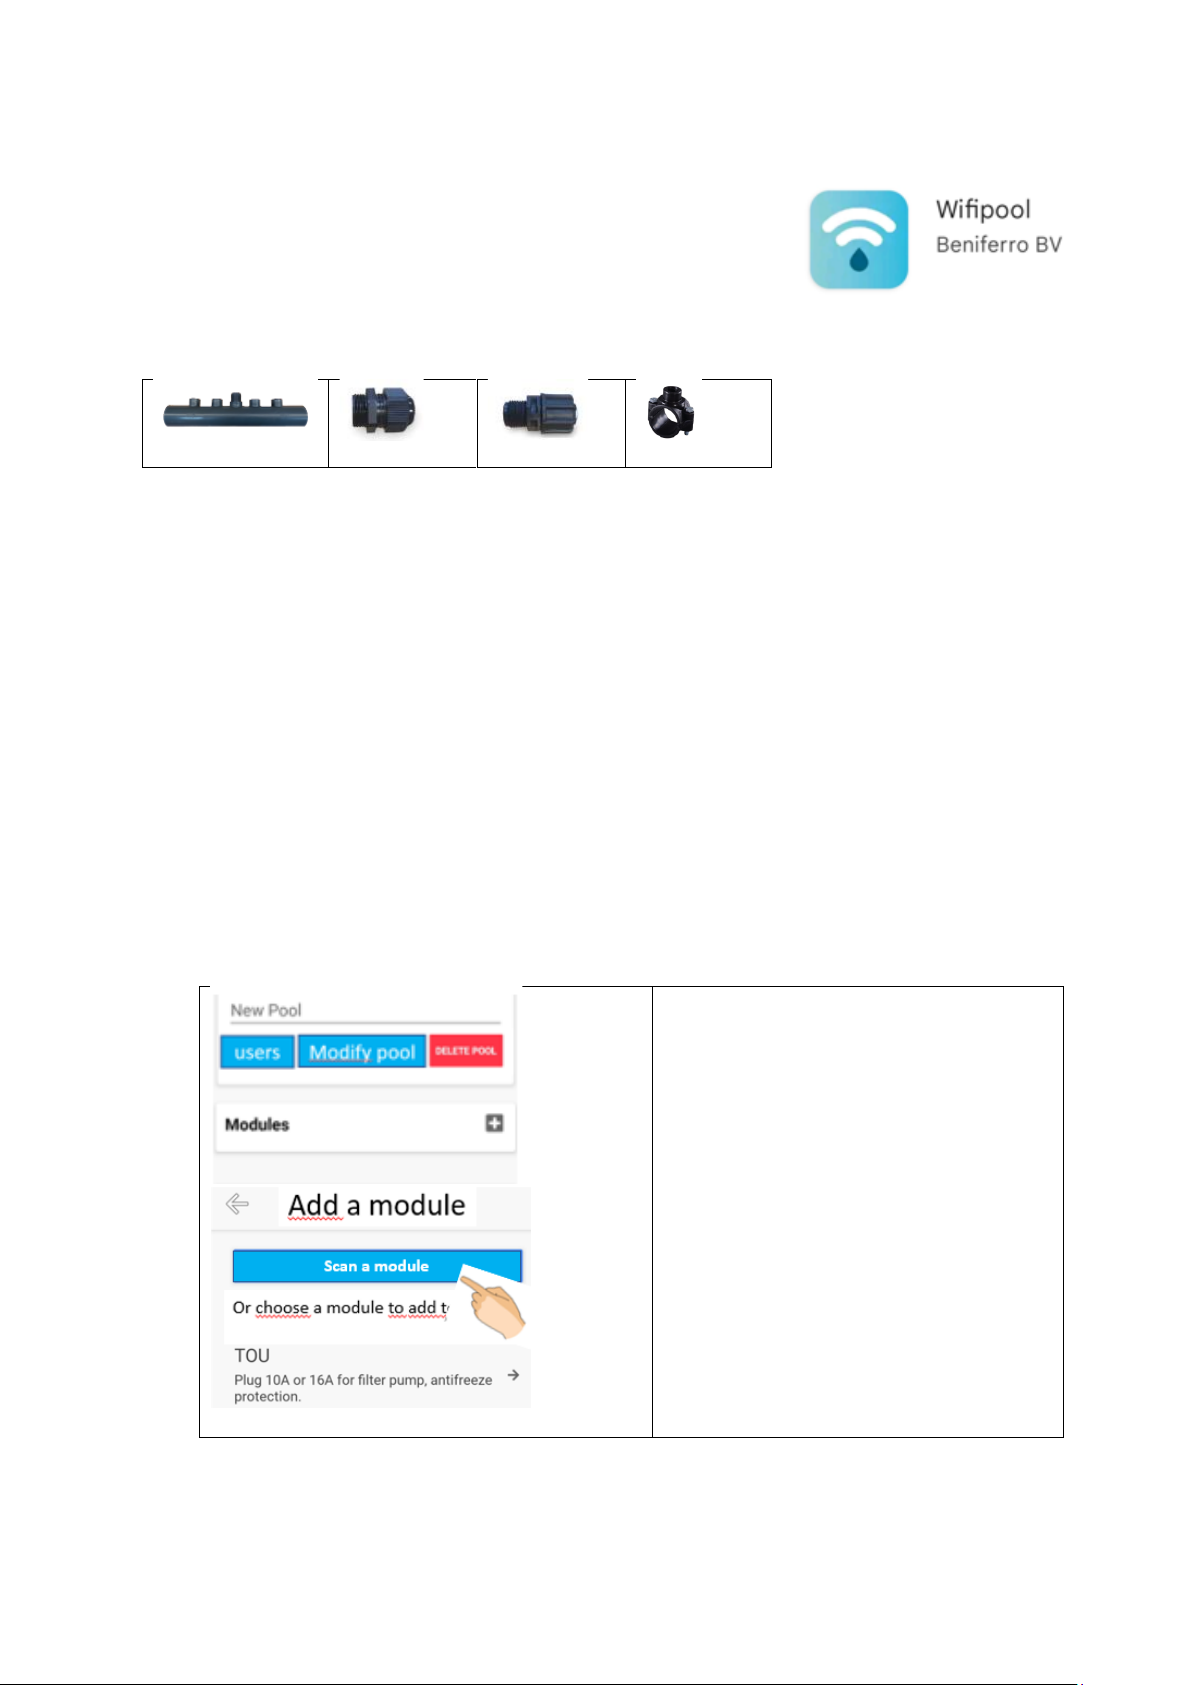
Modules can be selected / scanned via the Module + button on the Pool settings page. Or
directly scanned from this page.
Select the correct automation below, or directly from your phone.
Before starting up the Wifipool Duo you will need to calibrate the pH and Redox probes
6 Using and calibrating pH, RX, flow and level measurement boxes
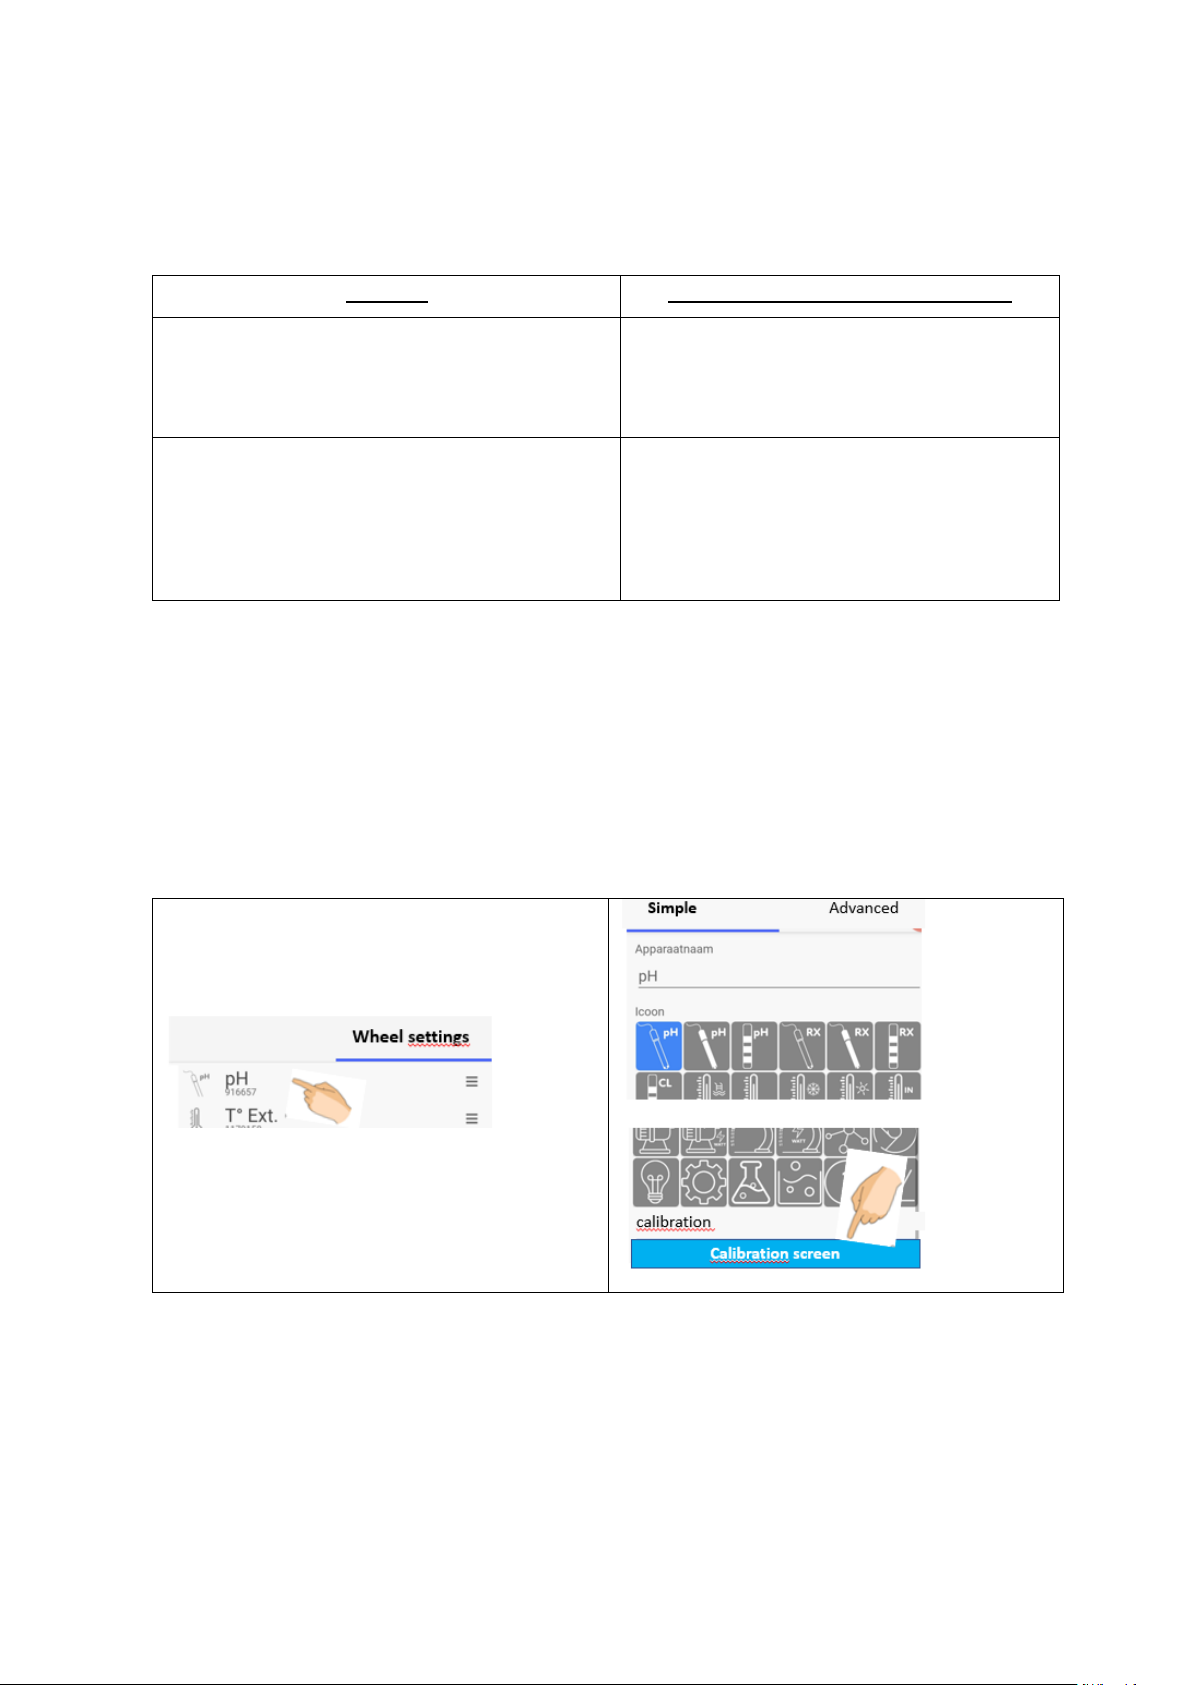
Once the masurement boxes are paired, go the the “Edit wheel” page, choose a name and
icon for each measurement device (see manual “Wifipool app quick start guide).
For pH and Redox probes, you now need to calibration the probes before their first use at pH
7.0, Redox 465-475. After, we recommend to re-calibrate the probes 2-3 times per year, and
when there is a suspicion of deviating pH / Chlorine values.
Via the Change wheel button, you can open
the calibration page at the bottom of the
icon screen
Tap “calibration screen”, and follow the
instructions on the screen. Remember you
will have to put the electrode in the pH or
Redox calibration liquid.
The pH setpoint of a swimming pool has to be 7.2 –7.6.
The redox has to be measured with a pH electrode coverd with gold.
The Redox is a measurement of the oxidation power of the pool water. The higher the redox,
the more “aggressive” the pool water will be towards bacteriae and algae in the water.
The ideal free chlorine concentration of a swimming pool is 0.5- 1.5 ppm. When the pool
water contains 1 ppm free chlorine, read the corresponding Redox value and use this value
as setpoint.
Barcode
Module description : Wifipool Duo
*PH-RSSFLP*
RSXFLR
Wifipool Duo : RX control + pH control,
flow switch, no level switch.
*PH-RSSFLPLEP*
RSXFLRLER
Wifipool Duo : RX control + pH control,
flow switch and level switch.

The redox measured depends on many variables (such as chlorine content, type of chlorine
used additive content, electrolde lifetime …) and is different for each pool. Usually a Redox
value of 650-700 mV corresponds with 1 ppm chlorine.
Verify pH and chlorine content of your pool reagularly (we advise each 2 weeks), recalibrate
and/or adjust setpoints as required.
Optionally you can add level switch to the installation. The flow switch will ensure no dosing
if there is no flow. The level switch will stop dosing of the pH, when the liquid level in the
drum is “low”.
When not installed, the flow connection will indicate “no flow”, and the level indicator will
indicate “high’.
All flow and level connectors are water-tight Higo connectors, with a color code. A arrow on
the male and fimale part indicates the front of the connector / connection location.
2 meter extension cables are available
7 Using plugs ,peristaltic pump and salt chlorinator
Via the automation, the correct conditions of use are selected. More details for operating
plugs and peristaltic pumps can be found in the full manual on beniferro.eu
In the Pool settings page, the green dot behind the plug / peristaltic pump indicates the
peristaltic pump is connected to the internet
Via the Pool setting page, it is possible to set
a plug to manual mode, and start/stop the
plug manually. If not, it will be in automatic
mode (eg scheduler). When a plug is in
manual mode, it will be indicated by a (M).
This operation overrides all automations and will leave the plug or peristaltic pump
permanently ON or OFF. This function can be used to flush the peristaltic pump before
winterizing.
The EC Chlorinator :
1. Led monitor (displays the water temperature under
normal operation, displays the corresponding error
code if any problem occurs)
2. level indicator light (1 light represents level 1; 2
lights represents level 2; ... 5 lights represent level 5
3. Chlorine production level control button
4. boost indicator light
5. Boost button
6. level reduction button
7. Operation Indicator Light
8. Start/stop button
8 Start the installation
If the installation is leak-free: connect to the mains. Start the installation by turning on the
electricity from the pump. Switch on the dosing pump with the on/off button at the bottom
of the dosing device. Verify the pH, and if necessary adjust the pH manually to 7.2-7.4.
1
2
6
3
7
4
8
5
This manual suits for next models
4
Table of contents
Languages:
Other BENIFERRO Lighting Equipment manuals


