manuals.online logo
Brands
  1. Home
  2. •
  3. Brands
  4. •
  5. Bensons for Beds
  6. •
  7. Indoor Furnishing
  8. •
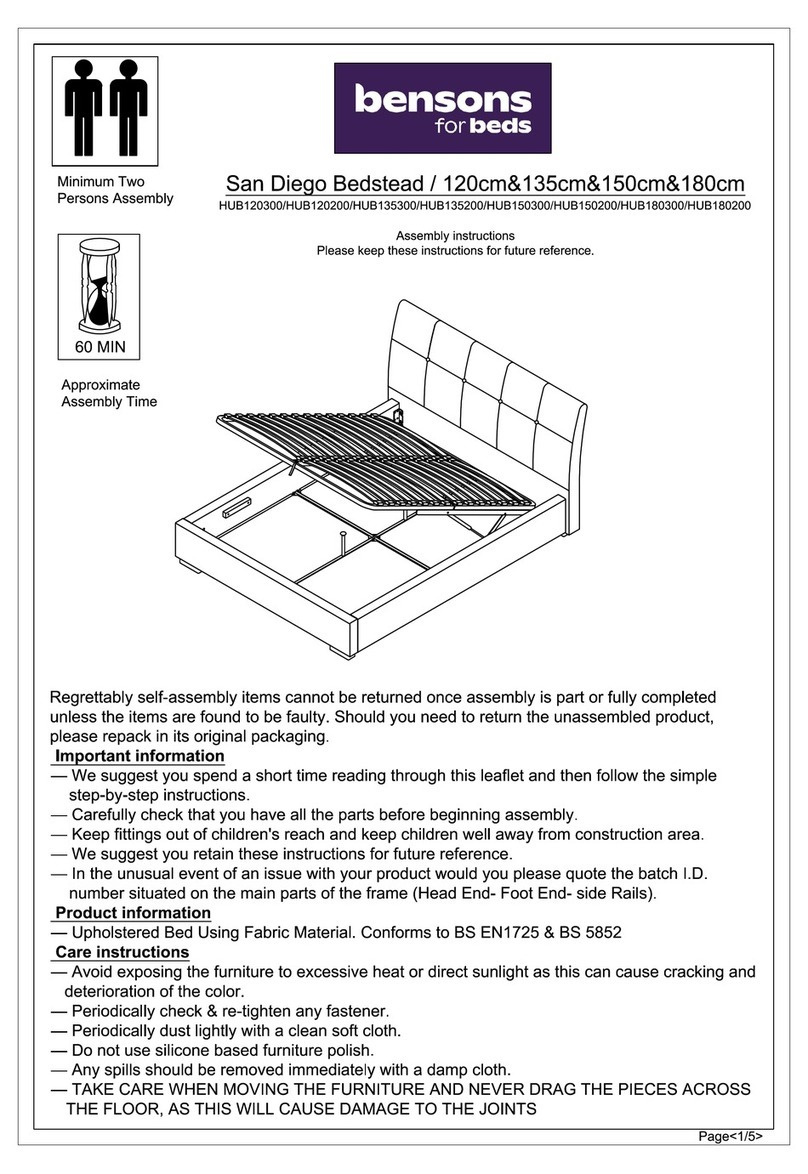
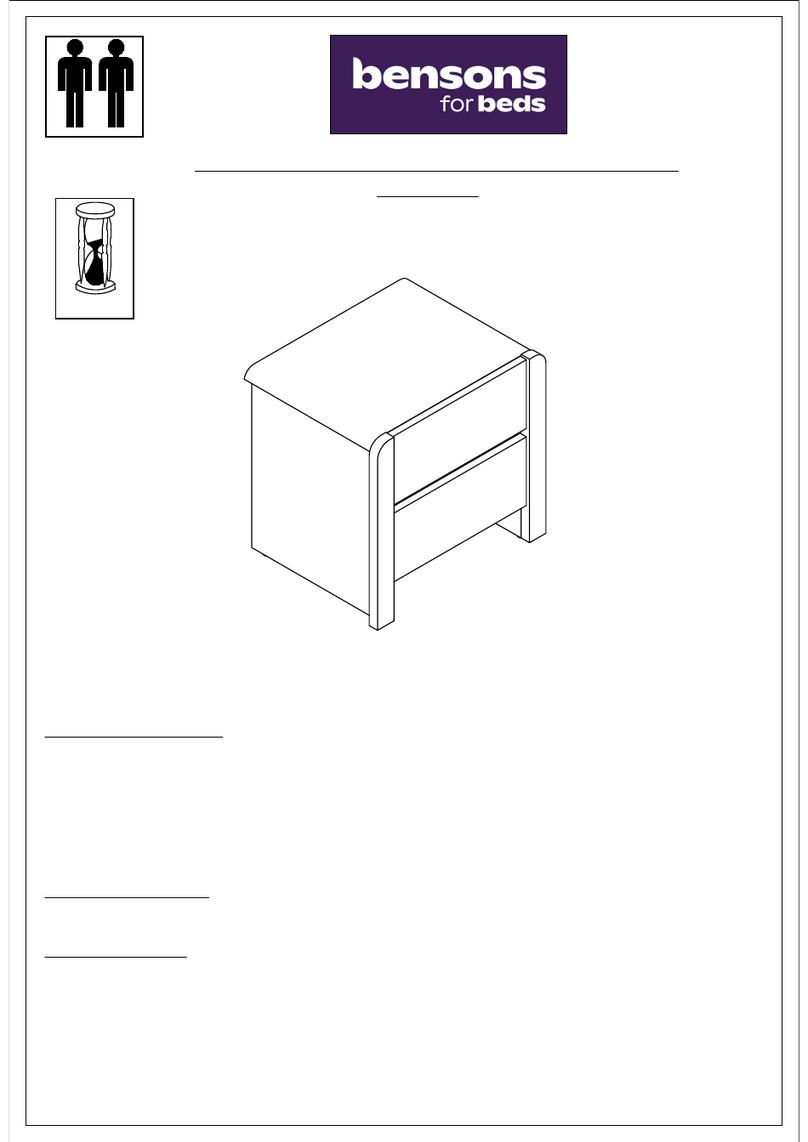
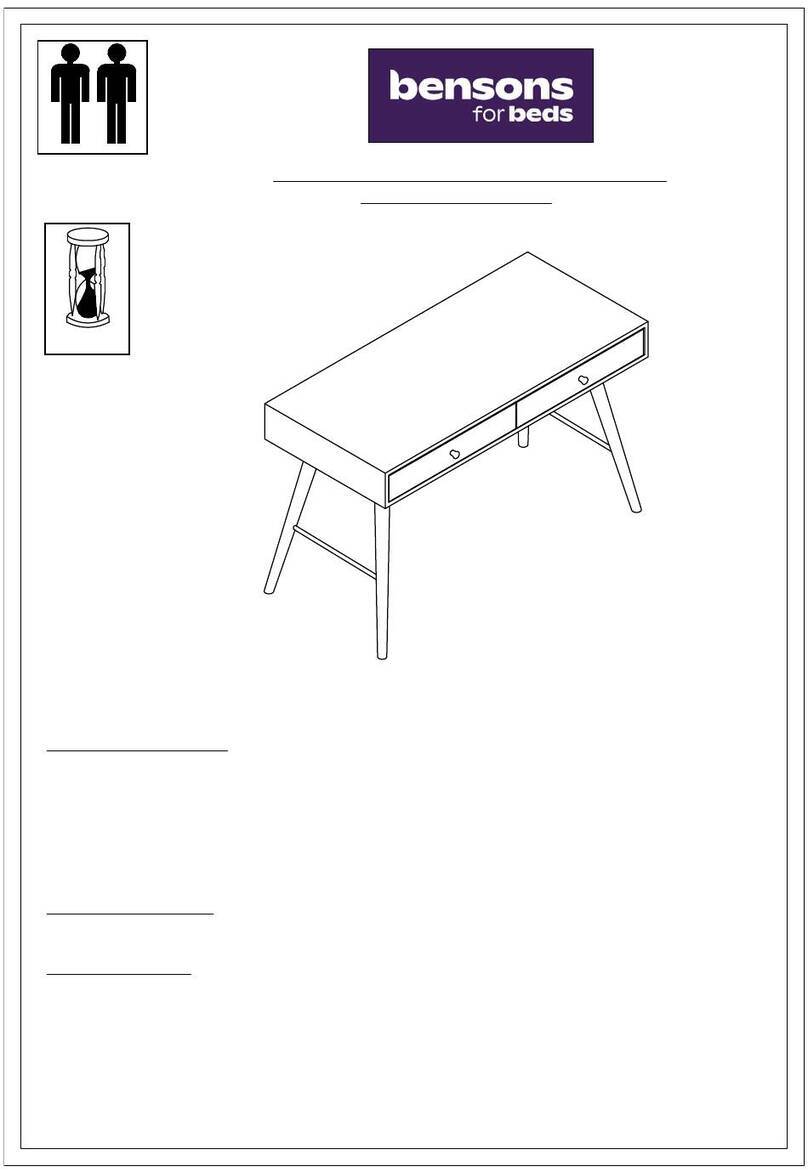
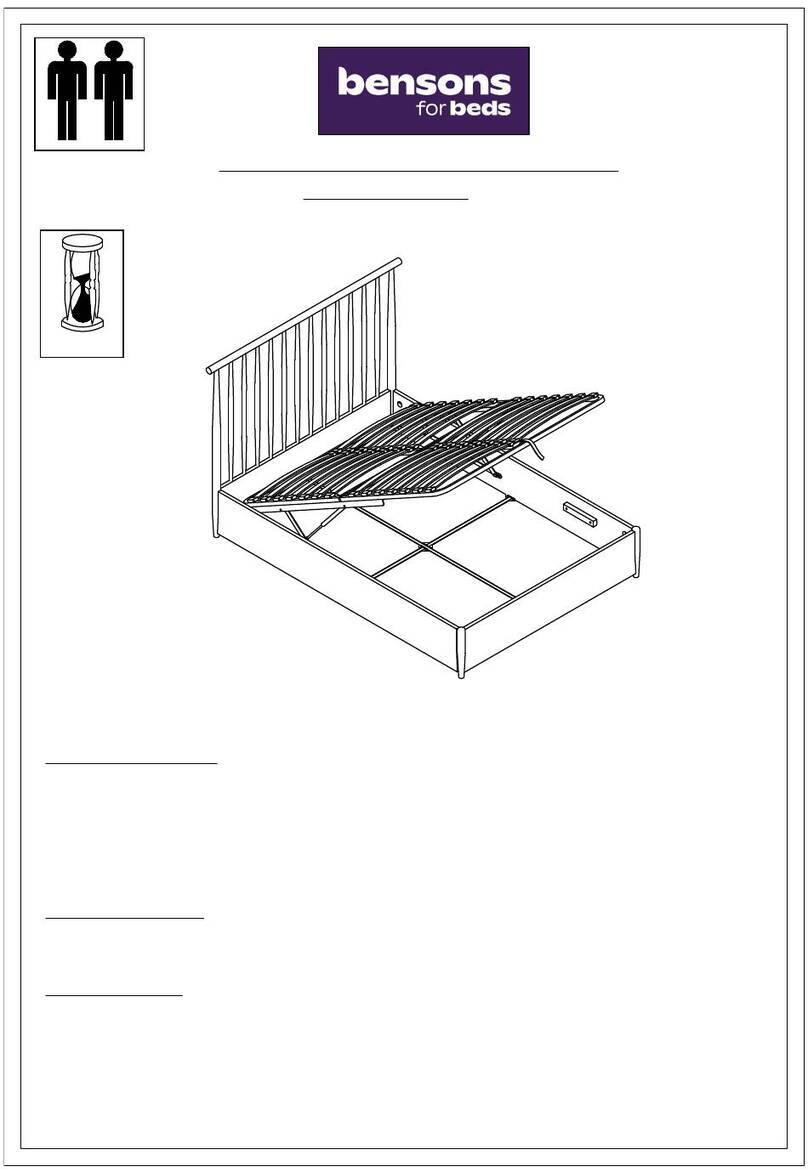
  9. Bensons for Beds HATTIE STK799801 User manual

Bensons for Beds HATTIE STK799801 User manual

Page 1 of 9
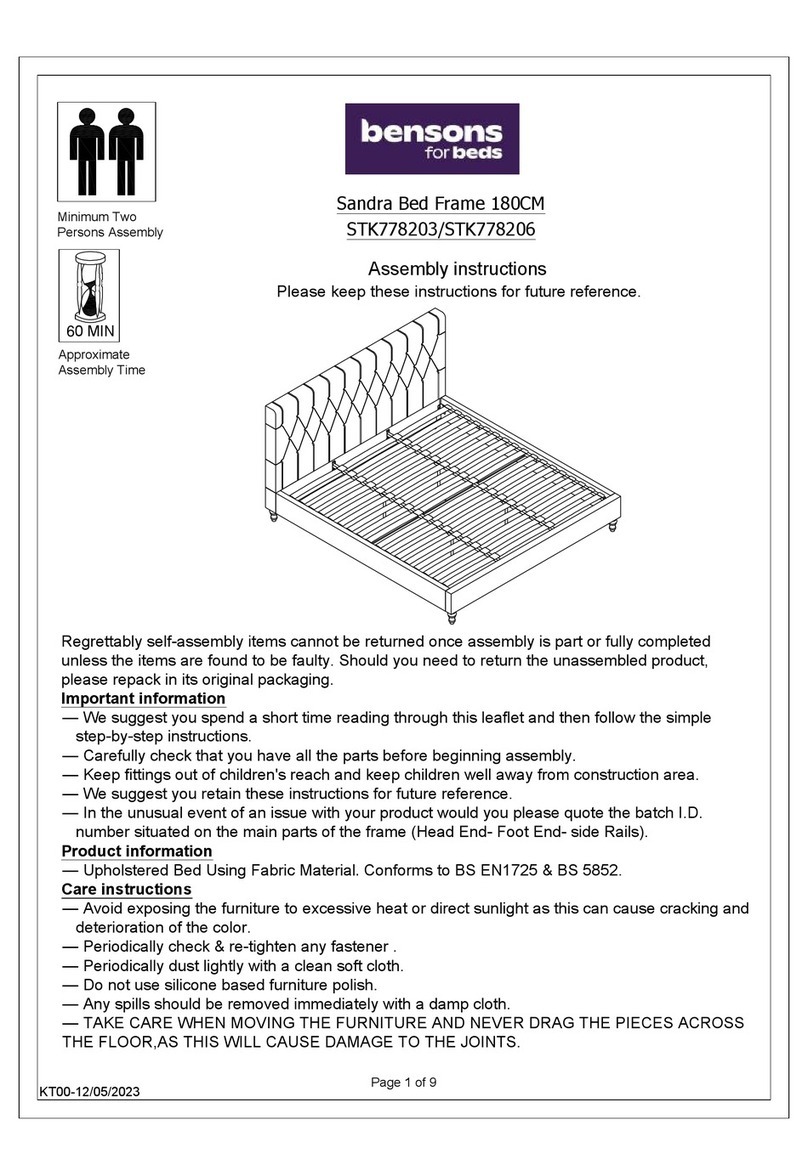
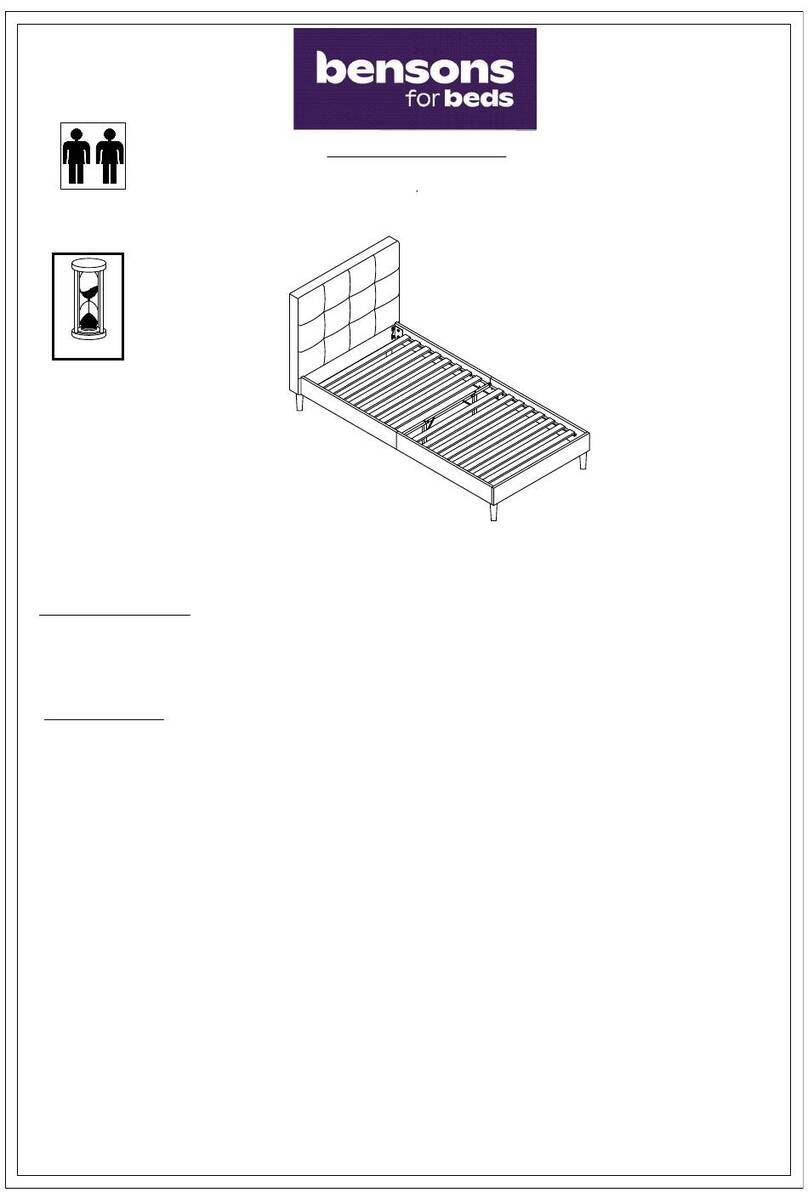
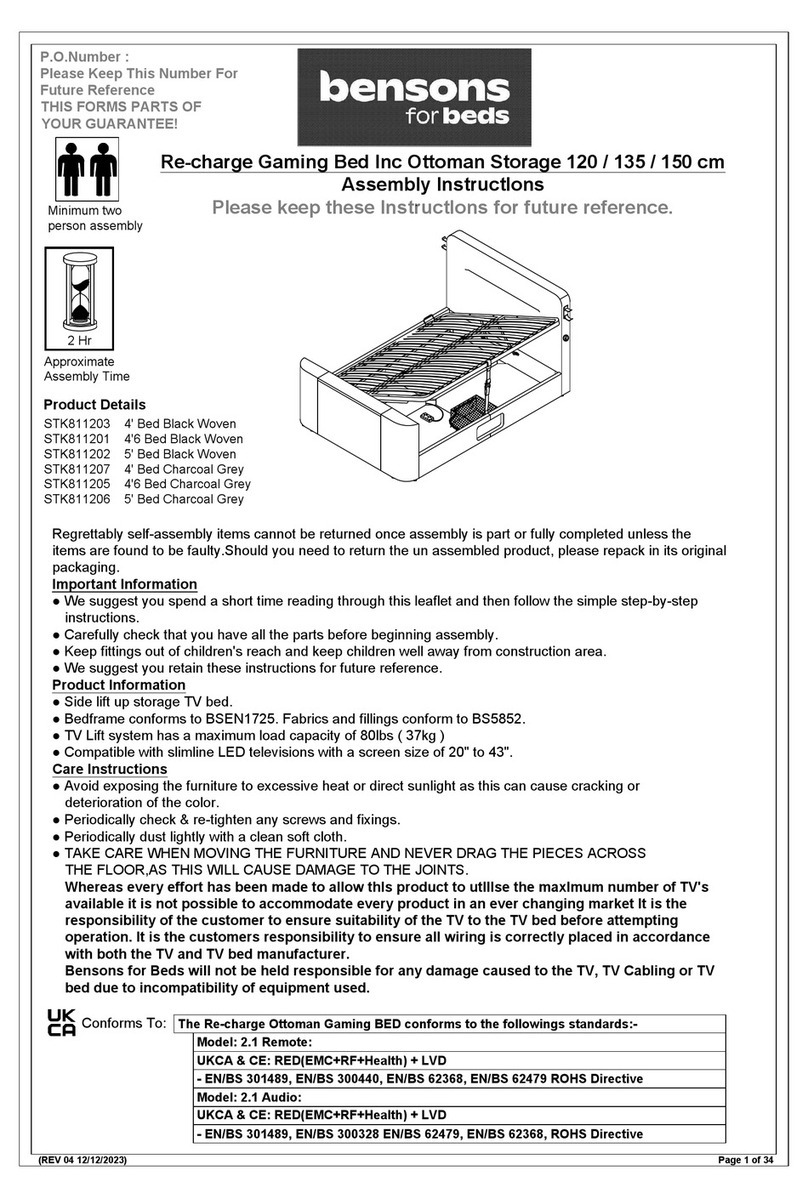
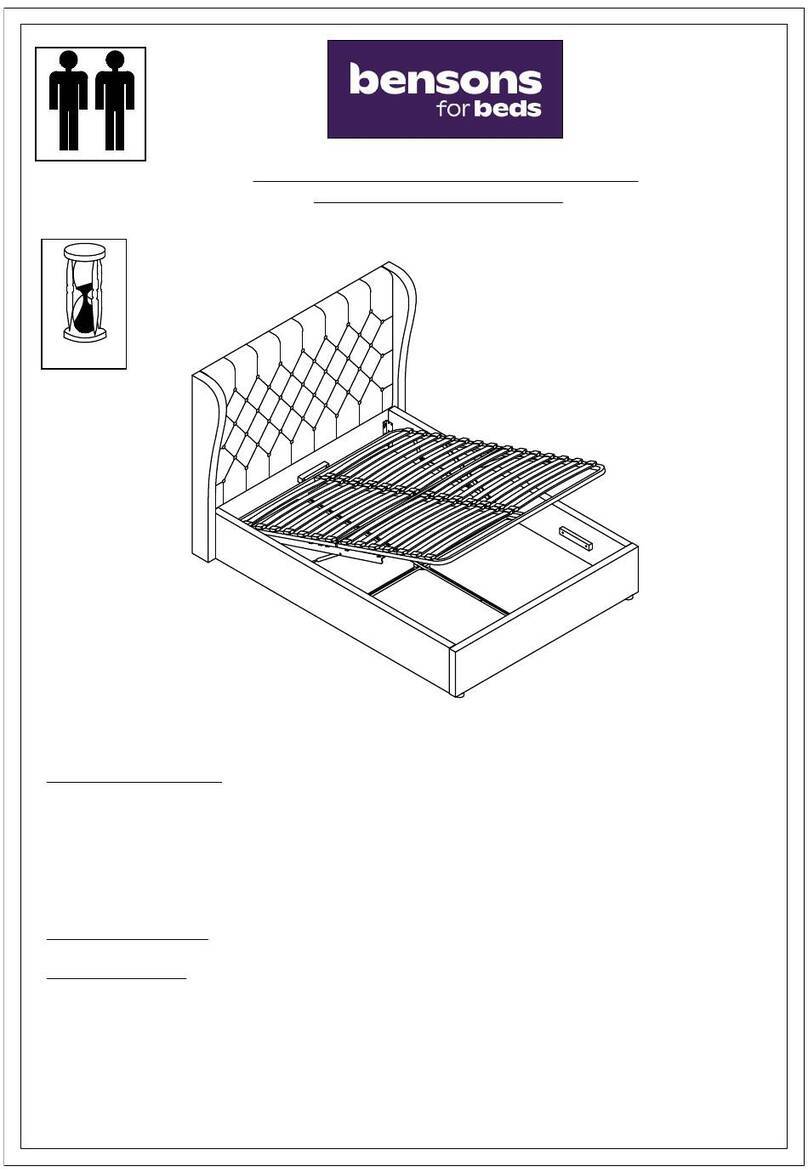
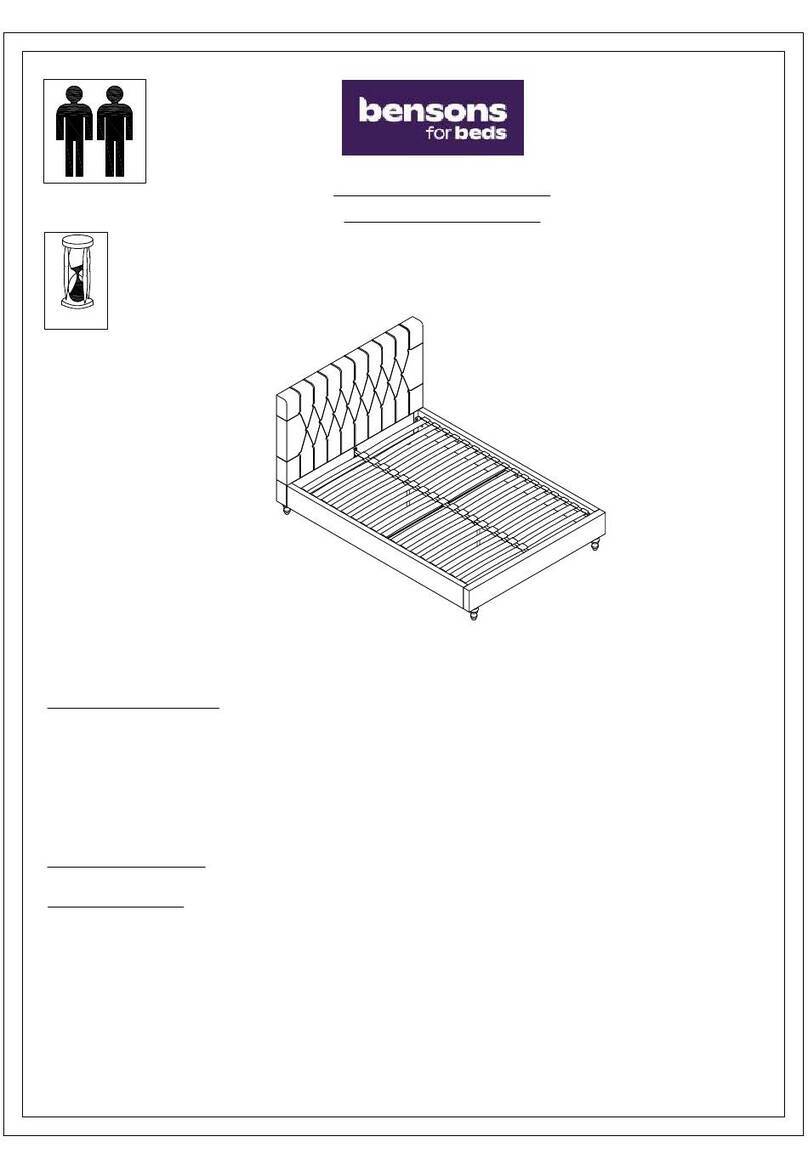
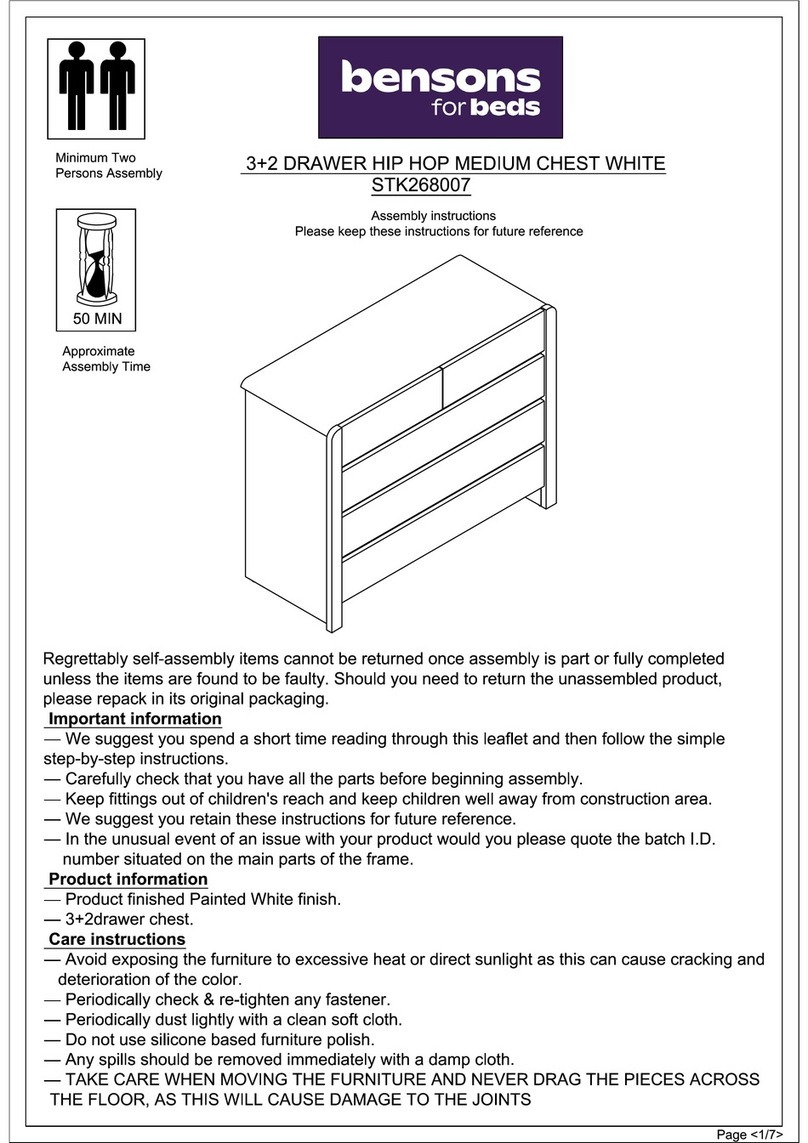
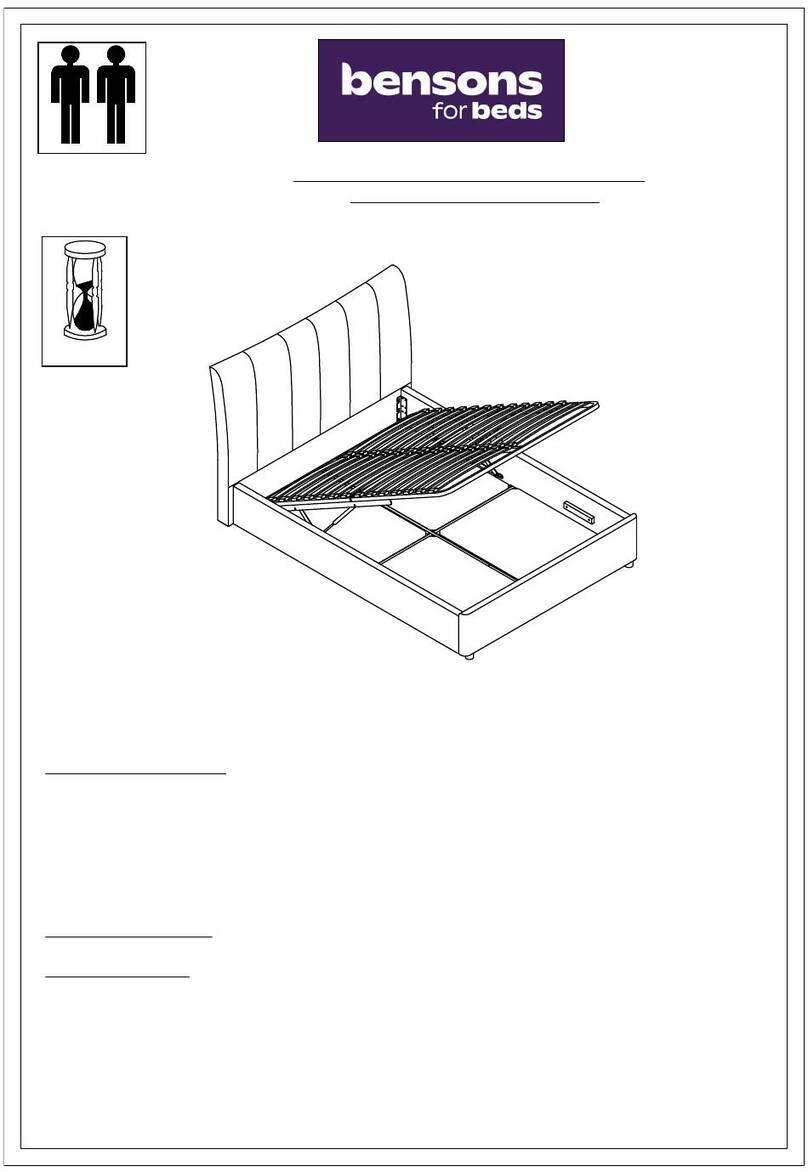
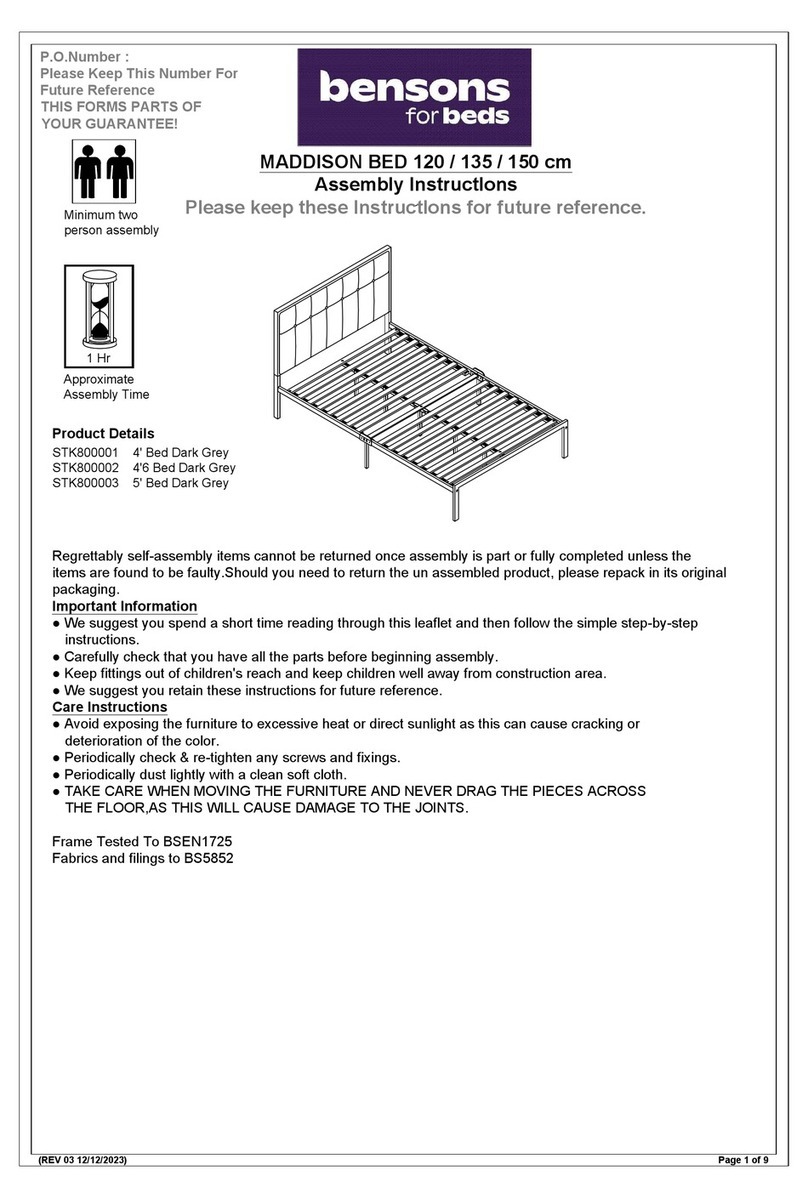
HATTIE BED 120 / 135 / 150 cm
Assembly lnstructlons
Please keep these lnstructlons for future reference.
P.O.Number :
Please Keep This Number For
Future Reference
THIS FORMS PARTS OF
YOUR GUARANTEE!
Regrettably self-assembly items cannot be returned once assembly is part or fully completed unless the
items are found to be faulty.Should you need to return the un assembled product, please repack in its original
packaging.
lmportant Information
● We suggest you spend a short time reading through this leaflet and then follow the simple step-by-step
instructions.
● Carefully check that you have all the parts before beginning assembly.
● Keep fittings out of children's reach and keep children well away from construction area.
● We suggest you retain these instructions for future reference.
Care Instructions
● Avoid exposing the furniture to excessive heat or direct sunlight as this can cause cracking or
deterioration of the color.
● Periodically check & re-tighten any screws and fixings.
● Periodically dust lightly with a clean soft cloth.
● TAKE CARE WHEN MOVING THE FURNITURE AND NEVER DRAG THE PIECES ACROSS
THE FLOOR,AS THIS WILL CAUSE DAMAGE TO THE JOINTS.
Frame Tested To BSEN1725
Fabrics and filings to BS5852
Product Details
STK799801 4' Bed Light Grey
STK799802 4'6 Bed Light Grey
STK799803 5' Bed Light Grey
Approximate
Assembly Time
1 Hr
(REV 03 12/12/2023)
Minimum two
person assembly
Tips before you start!
1. Please check that all parts are present before you start the assembly of your furniture.
2. For ease and speed of assembly, we recommend that before you commence each step of the
assembly, that you identify all the parts required for that step.
3. For larger items, please ensure that you have sufficient space and people (as indicated on page
1) to assemble your product safely. (Minimum Two Persons)
4. We recommend where possible, all items are assembled near to the area where they will be
used, to avoid moving the product unnecessarily once assembled.
5. Please ensure that your bed is placed on a level floor area. (Avoid setting up and installing your
bed on uneven floor surface)
6. For the protection of your furniture, we recommend that the product is placed on a protected
surface during assembly to prevent any damage.
7. During assembly please take care not to over-tighten any fittings, as this may damage the
product.
Care and Maintenance of your Furniture
● Please periodically check all fittings and re-tighten as necessary.
● To clean your item, please use a soft damp cloth and wipe clean.
● Please do not jump on your furniture.
● Never allow any kind of liquid to remain on your furniture. This can cause finishes to de-laminate.
Take care when spraying Perfume and deodorants etc as the vapour can settle on the surface
and cause damage.
● Periodically check the condition of your bed slats to ensure they are in good condition and have
not become loose.
● It is important to never drag your bed as this can cause damage to the joints and the fixings. This
may invalidate your guarantee.
● The bed should always be lifted into position or if moved for cleaning. Do not attempt to drag the
bed across the floor.
● Periodically check the central support legs are perfectly upright and supporting the centre rail.
Page 2 of 9(REV 03 12/12/2023)
Components
A Headboard x 1
(4'-1310 x 840mm)
(4'6-1460 x 840mm)
(5'-1610 x 840mm)
B Footboard x 1
(4'-1270 x 150mm)
(4'6-1420 x 150mm)
(5'-1570 x 150mm)
C Side Rail (Left)
Headboard end x 1
(4'/4'6-965 x 150mm)
(5'-1015 x 150mm)
D Side Rail (Left)
Footboard end x 1
(4'/4'6-965 x 150mm)
(5'-1015 x 150mm)
F Side Rail (Right)
Footboard end x 1
(4'/4'6-965 x 150mm)
(5'-1015 x 150mm)
G Connecting Plate x 2
(25 x 55 x 448mm)
H Cross Stretcher x 1
(4'-25x1225mm)
(4'6-25x1375mm)
(5'-25x1525mm)
E Side Rail (Right)
Headboard end x 1
(4'/4'6-965 x 150mm)
(5'-1015 x 150mm)
K Slatted system x 2
(4'-14 x 50 x 1228mm x 8 slats)
(4'6-14 x 50 x 1378mm x 8 slats)
(5'-14 x 50 x 1528mm x 9 slats)
J Central support system
x 1
(4'-25 x 1925mm)
(4'6-25 x 1925mm)
(5'-25 x 2025mm)
INNER
M Headboard Feet x 2
(150mm)
L Footboard Feet x 2
(280mm)
Page 3 of 9
Note:
Hook Bracket
Note:
No Bracket
Note:
Hook Bracket
Note:
No Bracket
Hardware List
O M8 x 20mm
x 9
T M8 x 17mm
x 33
U M8 x 12mm
x 14
P M8 x 30mm
x 5
Q M8 x 40mm
x 16
N Allen Key (M5)
x 1
R M8 x 50mm
x 2
S M8 x 60mm
x 1
Note: All parts packed inside the zipped cover on the back of headboard.
up
(REV 03 12/12/2023)
Q x 2
Step 1
Step 2
● Unfold and extend the central support system .
● Secure legs using fixings and as shown.
Unzip
N x 1 T x 2
Page 4 of 9
J
J
J
NQ
T
J
Shown upside down
B
L
to
U
J
Cto F
A
GH
K
WARNING!
The headboard is heavy.
Lift with care.
J
QT
J
ALL parts and components are packed inside a zipped cover on the back of the Headboard.
Required Fixings for this step.
(REV 03 12/12/2023)
Step 3
● Open out the legs on cross bar .
● Ensure hinges are locked as shown and secured using fixings and .
Straighten the
hinge to lock
Step 4
● Assemble central support system and cross stretcher as shown using Fixings and .
S x 1
N x 1 T x 1
Q x 2
N x 1 T x 2
Page 5 of 9
JJ
H
H
H
H
H
H
H
N
N
Q
S
T
T
H
QT
Locked
12
3
Q
T
ST
Required Fixings for this step.
(REV 03 12/12/2023)
Step 5
● Assemble side rails using connecting plates and fixings
and .
Step 6
● Locate side rails into connecting plates , secure using
fixings and .
INNER
INNER
70%
R x 2N x 1 T x 2
Page 6 of 9
C
Q x 12
N x 1 T x 12
H
H
H
C
D
E
FN
INNER
INNER
INNER
D
E
F
E
F
G
G
G
C
D
E
F
G
G
N
Q
R
T
T
Headboard end
Footboard
end
Headboard end
Footboard
end
INNER
G
QT
G
INNER
G
Do not fully tighten fixings at this stage!
G
R T
Required Fixings for this step.
(REV 03 12/12/2023)
10mm
Step 7
● Screw headboard legs into headboard screw fixings , and into the headboard but
leave very lose.
N x 1 T x 4
O x 4 U x 4
Page 7 of 9
A
A
A
B
B
M
M
M
L
L
L
N
O
P
T
T
U
U
N
T
U
O
LB
N x 1 T x 4
P x 4 U x 4
Step 8
● Attach footboard legs to footboard using fixings , and .
L B OT U
MP T U
Leave
screws lose
A
Required Fixings for this step.
up
up
B
(REV 03 12/12/2023)
Ensure frame is square
before tightening fixings
Step 9
● Assemble footboard to side rails using fixings , and .
● Secure footboard to central support using fixings , and .
Step 10
● With help, lift the side rails and hook them over the fixings in headboard .
● Secure central support to the headboard using fixings , and .
● Ensure the frame is square before tightening all fixings.
N x 1 T x 5
O x 5 U x 5
N x 1 T x 1
P x 1 U x 1
Page 8 of 9
A
A
A
B
B
B
L
J
J
JJ
C
D
E
F
F
E
N
N
N
N
O
O
P
T
T
T
U
U
U
A
JP T U
OT U
C
E
OT U
J
Required Fixings for this step.
(REV 03 12/12/2023)
Step 11
● Open out the base slatted system and locate them into position. They are secured by the
velcro strips.
● Gently lay the slats onto the centre support and side rails. Evenly space out the slats
by gently pulling and press the velcro strips together to hold them in place.
Page 9 of 9
K
K
K
K
K
(REV 03 12/12/2023)

This manual suits for next models

2

Other Bensons for Beds Indoor Furnishing manuals
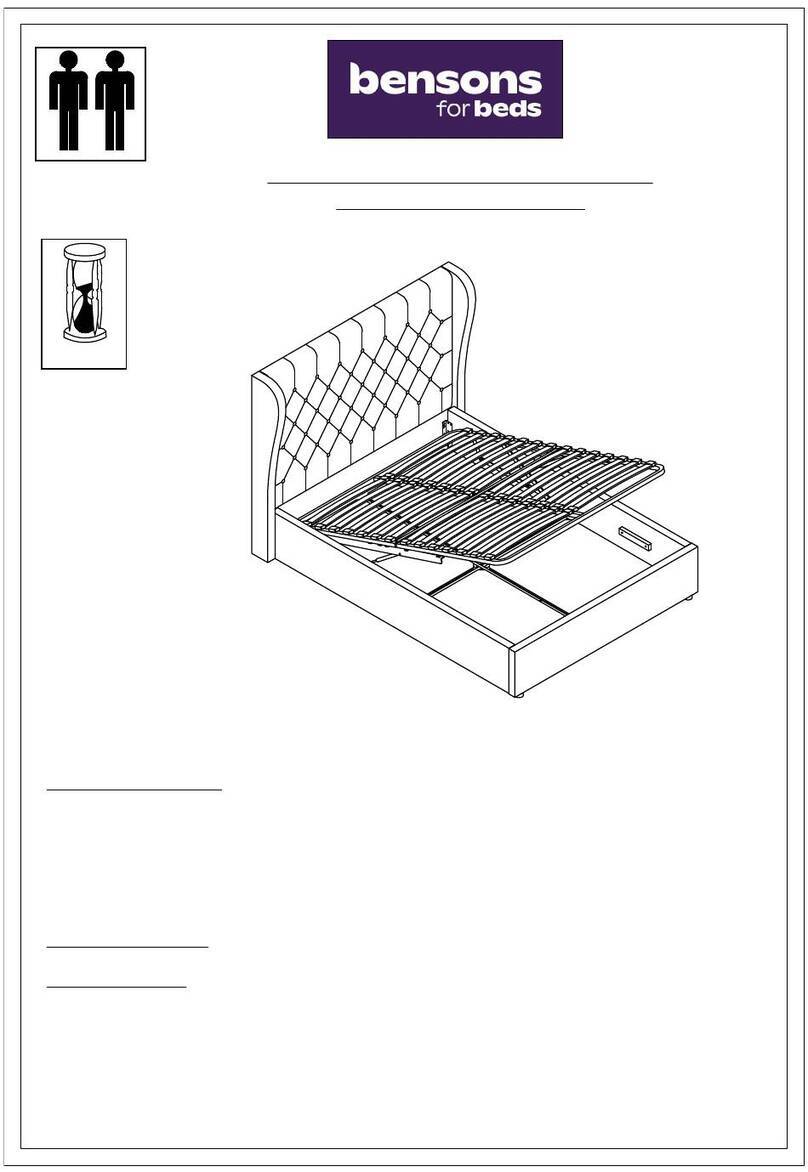
Bensons for Beds STK786302 User manual

Bensons for Beds

Bensons for Beds STK786302 User manual

Bensons for Beds STK268001 User manual

Bensons for Beds

Bensons for Beds STK268001 User manual

Bensons for Beds STK786401 User manual

Bensons for Beds

Bensons for Beds STK786401 User manual

Bensons for Beds San Diego HUB120300 User manual

Bensons for Beds

Bensons for Beds San Diego HUB120300 User manual

Bensons for Beds ALEXA STK798605 User manual

Bensons for Beds

Bensons for Beds ALEXA STK798605 User manual

Bensons for Beds HIP HOP STK268006 User manual

Bensons for Beds

Bensons for Beds HIP HOP STK268006 User manual

Bensons for Beds SUSIE STK799904 User manual

Bensons for Beds

Bensons for Beds SUSIE STK799904 User manual

Bensons for Beds KORA STK770004 User manual

Bensons for Beds

Bensons for Beds KORA STK770004 User manual

Bensons for Beds KEATON STK778001 User manual

Bensons for Beds

Bensons for Beds KEATON STK778001 User manual

Bensons for Beds DELPHINE STK779204 User manual

Bensons for Beds

Bensons for Beds DELPHINE STK779204 User manual

Bensons for Beds Opus User manual

Bensons for Beds

Bensons for Beds Opus User manual

Bensons for Beds Alexis User manual

Bensons for Beds

Bensons for Beds Alexis User manual

Bensons for Beds Valentina STK806601 User manual

Bensons for Beds

Bensons for Beds Valentina STK806601 User manual

Bensons for Beds PENELOPE STK770604 User manual

Bensons for Beds

Bensons for Beds PENELOPE STK770604 User manual

Bensons for Beds ORIANNA STK770502 User manual

Bensons for Beds

Bensons for Beds ORIANNA STK770502 User manual

Bensons for Beds Hip Hop STK268004 User manual

Bensons for Beds

Bensons for Beds Hip Hop STK268004 User manual

Bensons for Beds Durham STK727505 User manual

Bensons for Beds

Bensons for Beds Durham STK727505 User manual

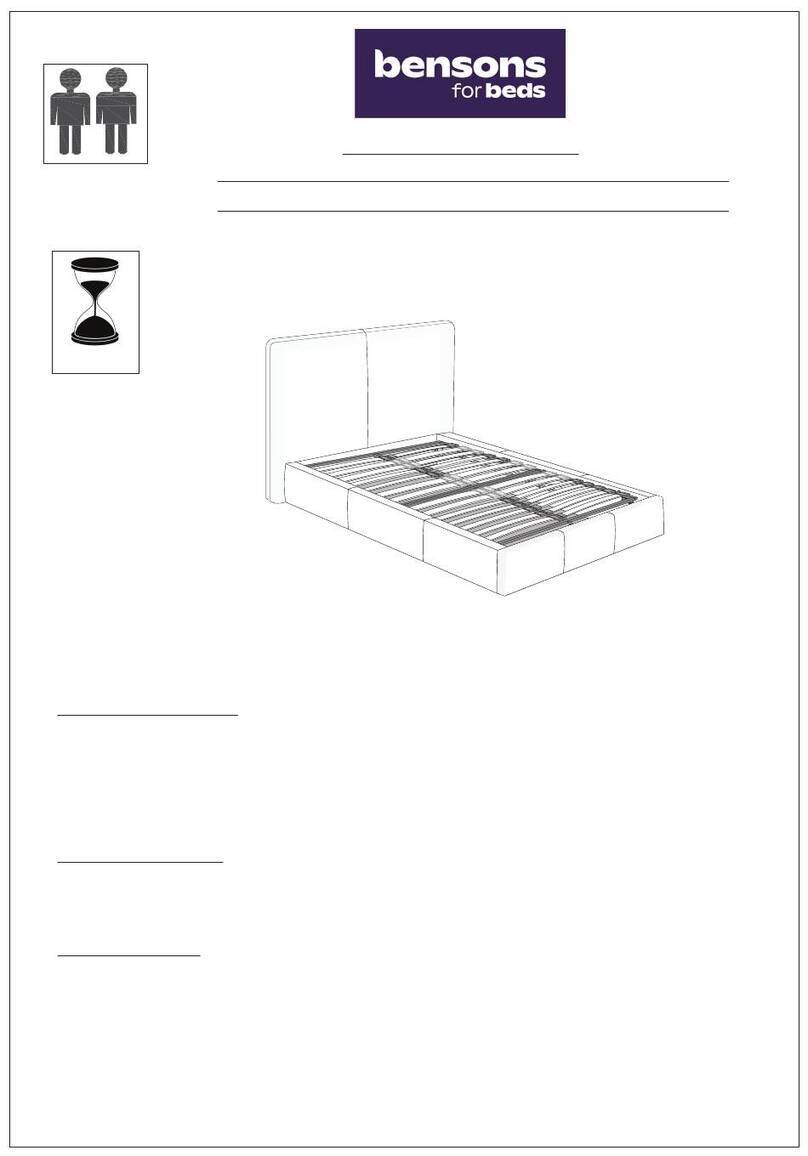
Bensons for Beds STK730701 User manual
Bensons for Beds

Bensons for Beds STK730701 User manual

Bensons for Beds HATTIE STK799806 User manual

Bensons for Beds

Bensons for Beds HATTIE STK799806 User manual

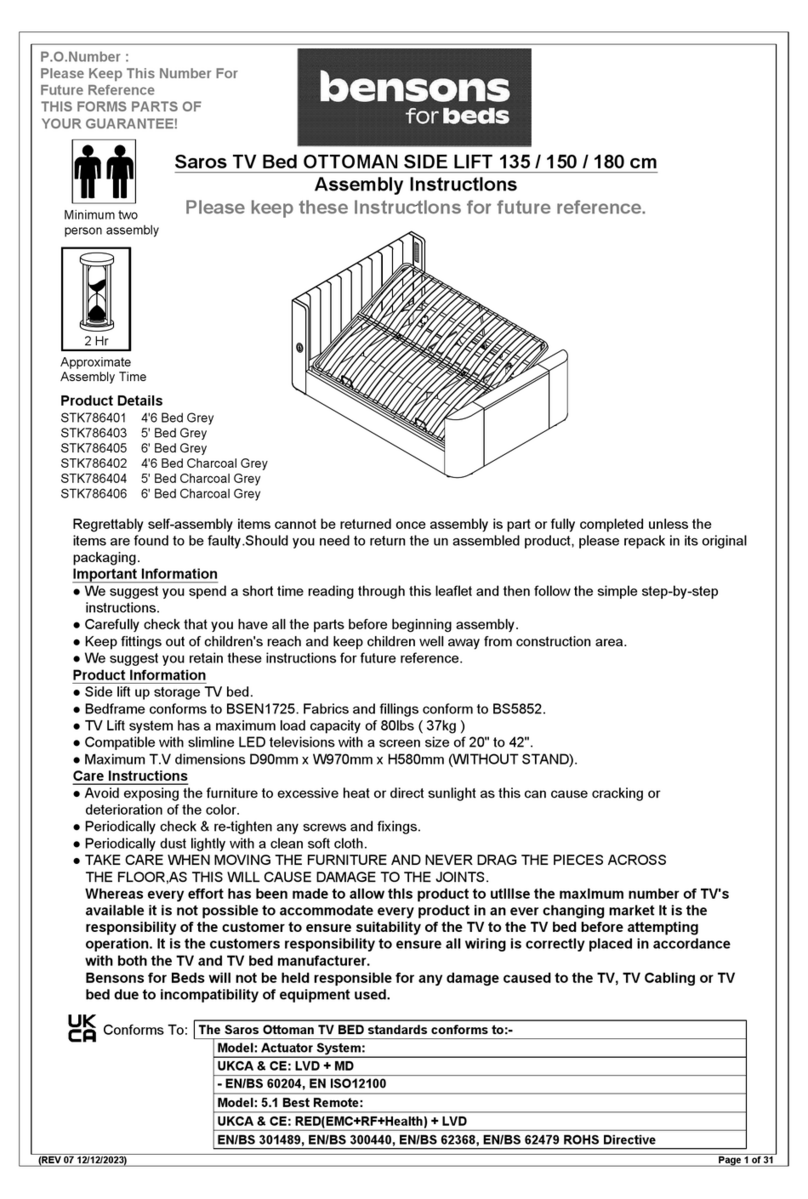
Bensons for Beds Claudia STK806701 User manual
Bensons for Beds

Bensons for Beds Claudia STK806701 User manual

Bensons for Beds CASSIA STK721501 User manual

Bensons for Beds

Bensons for Beds CASSIA STK721501 User manual

Bensons for Beds ALEXA STK798608 User manual

Bensons for Beds

Bensons for Beds ALEXA STK798608 User manual

Bensons for Beds STK268007 User manual

Bensons for Beds

Bensons for Beds STK268007 User manual

Bensons for Beds ORIANNA STK770504 User manual

Bensons for Beds

Bensons for Beds ORIANNA STK770504 User manual

Popular Indoor Furnishing manuals by other brands

J.Burrows PRESTON JBPRE1SEBK Assembly instructions

J.Burrows

J.Burrows PRESTON JBPRE1SEBK Assembly instructions

Amart Furniture ARNOLD NAVY QUEEN BED Assembly instruction

Amart Furniture

Amart Furniture ARNOLD NAVY QUEEN BED Assembly instruction

Safavieh Furniture Autumn AMH6510 manual

Safavieh Furniture

Safavieh Furniture Autumn AMH6510 manual

Studio 77474295 Assembly instructions

Studio

Studio 77474295 Assembly instructions

MADRAX MADLOCKER ML1-1 Assembly instructions

MADRAX

MADRAX MADLOCKER ML1-1 Assembly instructions

E.C. Woods Belmar Balcony Bar Stool Assembly instructions

E.C. Woods

E.C. Woods Belmar Balcony Bar Stool Assembly instructions

Home Decorators Collection B272-QM079 Use and care guide

Home Decorators Collection

Home Decorators Collection B272-QM079 Use and care guide

Southern Enterprises Lahti Assembly instructions

Southern Enterprises

Southern Enterprises Lahti Assembly instructions

Walker Edison BR52DAP6D Assembly instruction

Walker Edison

Walker Edison BR52DAP6D Assembly instruction

New Classic Furniture Emilie BH1841-310 Assembly instructions

New Classic Furniture

New Classic Furniture Emilie BH1841-310 Assembly instructions

GABBY CALLA SCH-175008 Assembly instruction

GABBY

GABBY CALLA SCH-175008 Assembly instruction

DHP Hayley 5507096 manual

DHP

DHP Hayley 5507096 manual

SEGUE Sunrise VK-1853 quick start guide

SEGUE

SEGUE Sunrise VK-1853 quick start guide

John Lewis St. Ives 80313202 instructions

John Lewis

John Lewis St. Ives 80313202 instructions

Safavieh Furniture Jeralyn FOX4232 quick start guide

Safavieh Furniture

Safavieh Furniture Jeralyn FOX4232 quick start guide

RiverRidge Somerset 06-039 Assembly instructions

RiverRidge

RiverRidge Somerset 06-039 Assembly instructions

U-Line H-3768 manual

U-Line

U-Line H-3768 manual

Williams-Sonoma Arch Medicine Cabinet Assembly instructions

Williams-Sonoma

Williams-Sonoma Arch Medicine Cabinet Assembly instructions

manuals.online logo
manuals.online logoBrands
  • About & Mission
  • Contact us
  • Privacy Policy
  • Terms and Conditions

Copyright 2025 Manuals.Online. All Rights Reserved.