manuals.online logo
Brands
  1. Home
  2. •
  3. Brands
  4. •
  5. berlinger
  6. •
  7. Data Logger
  8. •
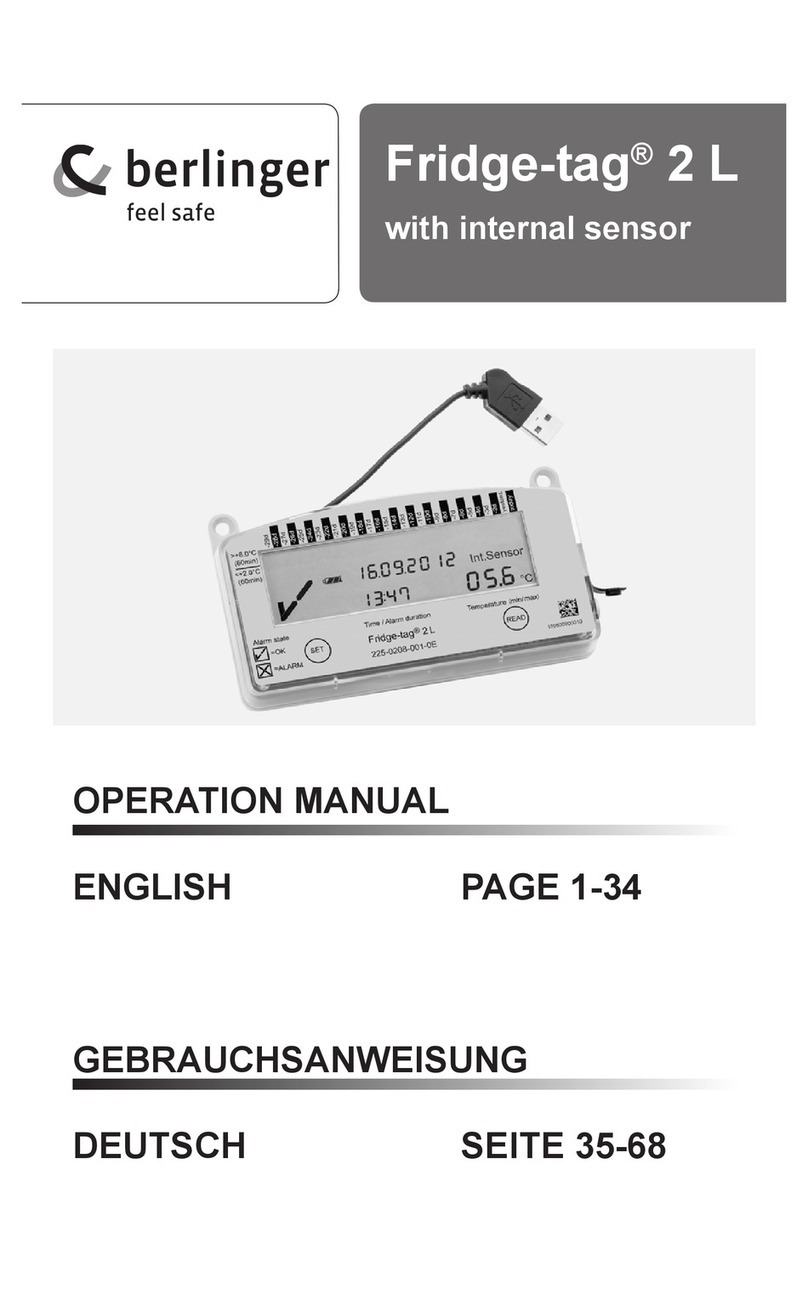
  9. berlinger Fridge-tag 2 L Specification sheet

berlinger Fridge-tag 2 L Specification sheet

QUICK INFO – SET UP
Fridge-tag  L
External sensor
(optional)
Fridge-tag
Note: If you have ordered a Fridge-tag with an external sensor, place the
external sensor in its predetermined location, before activating the device.
Packaging content
1Fridge-tag information
2
Placing the Fridge-tag?
See point 8
051
0 320
max.
°C
Int.Sensor
Port to insert
external sensor
Logger ID
Set button Read button
Temperature
measured
Profile
(alarm zones)
Temperature
status
 days
history
3
3
yyy_ ydd_
Setting the calendar format
To activate the device, press the SET and the READ buttons simultaneously for
more than  seconds. The following calendar format will appear: dd.mm.yyyy.
Note: After approx.  seconds without pressing any button of the Fridge-tag
the device goes back into sleep mode. Start from the beginning.
Press READ to change the calendar format.
Then press SET to save the calendar format.
Note: If required note the date of activation on the back of the Fridge-tag.
Note: Once the device has been activated, it cannot be stopped anymore. Option 1
Setting the calendar
format to: dd.mm.yyyy
You receive the Fridge-tag in sleep mode. The display
(LCD) is blank.
State of delivery
3
Activation of the device
4
5
3
yyyd y__d
Option 2
Setting the calendar
format to: mm.dd.yyyy
3
3
The READ button is used to adjust the numbers. Each time you press
the READ button, the number in the flashing digit will increase by .
The SET button is used to save the number. After pressing the SET
button, the next digit will start flashing.
81020201
The st digit is flashing:
Press READ until «» appears as the first digit.
Press SET to save the digit.
Go on with the next digits in the same way until date and
time is set.
6Activation completed
As soon as the last digit of the time setting is
confirmed, the activation is completed. Now
place the Fridge-tag. If you have a device with
external sensor, connect the device with the
external sensor. During max.  minute after
activation no temperature is displayed on the
screen.
7
Connection error?
See user manual in chapter «Learn More»
Correct or change settings?
See user manual in chapter «Learn More»
Setting the date and time
Placing the Fridge-tag
The activated Fridge-tag must be placed immediately in its predetermined
location. It is recommended and important to place the device in the centre
of the refrigerator for an optimal temperature observation.
8
External sensor
Two hours before activating the device the external
sensor must be placed in its predetermined location. It
is recommended and important to place the external
sensor in the centre of the refrigerator for an optimal
temperature observation and to avoid any incorrect
measurements when starting the device.
Placing the Fridge-tag?
See user manual in chapter «Learn More»
Fridge-tag
Support
Product infor-
mation
User Manual
Berlinger
Website
Video
Learn More
Scan the QR code
or click on
www.berlinger.com/
support/fridge-tag--l
Technical
Specification

QUICK INFO – USER GUIDE
Fridge-tag  L
Temperature status
1
Reading the history
2
Download reports
3
8101 2026
88
1 425
°C
Int.Sensor
!
Indication of an OK display
Indication of an alarm display
The alarm
symbol
The current date
and time
The upper/lower
Alarm indicator
The current
temperature
Alarm display and confirmation options?
See user manual in chapter «Learn More»
In measurement mode, when no alarm has been triggered, the following in-
formation is indicated:
In measurement mode, when an alarm has been triggered, the following in-
formation is indicated
The additional
warning symbol
The current
temperature
8101 2026
56
1 473
°C
Int.Sensor
The OK symbol
The current date and time
Example of an alarm display
Press
READ
once
051
0 320
max.
°C
Int.Sensor
Example of an OK display
8101 2026
1 218
!
The highest recorded tem-
perature of that day
The OK
symbol
The corresponding
flashing arrow Press
READ
once
The time duration out of
the preset temperature
high limit
The data and time of the alarm
The alarm and the
warning symbol
The corresponding flash-
ing alarm indicator
Acknowledge alarm and buzzer details?
See user manual in chapter «Learn More»
1
1
Alarm display: additional information
The Fridge-tag will now generate a PDF and an ASCII report. This process can
take up to  minutes.
Note: Continue repetitively pressing the READ button to read out the details
of the past  days.
Note: Press and hold the READ button again for at least  seconds and the
next alarm event will appear on the screen.
Acknowledge alarm?
See user manual in chapter «Learn More»
Connect the device via USB with your
PC/MAC.
Note: Disconnect the external sensor
from the device first.
Download reports?
See user manual in chapter «Learn More»
Press READ a second time for additional
information.
051
0 3
2
0
max.
°C
Int.Sensor
2
Berlinger & Co. AG
Mitteldorfstrasse 2
9608 Ganterschwil
Switzerland
Tel. +41 71 982 88 11
info@berlinger.com
www.berlinger.com
Press and hold READ for  seconds for the Alarm-
Super-Jump Function
051
0 3
2
0
max.
°C
Int.Sensor
For more information click on
www.berlinger.com/support/fridge-tag--l
400-01230_1

Other manuals for Fridge-tag 2 L

4

Other berlinger Data Logger manuals

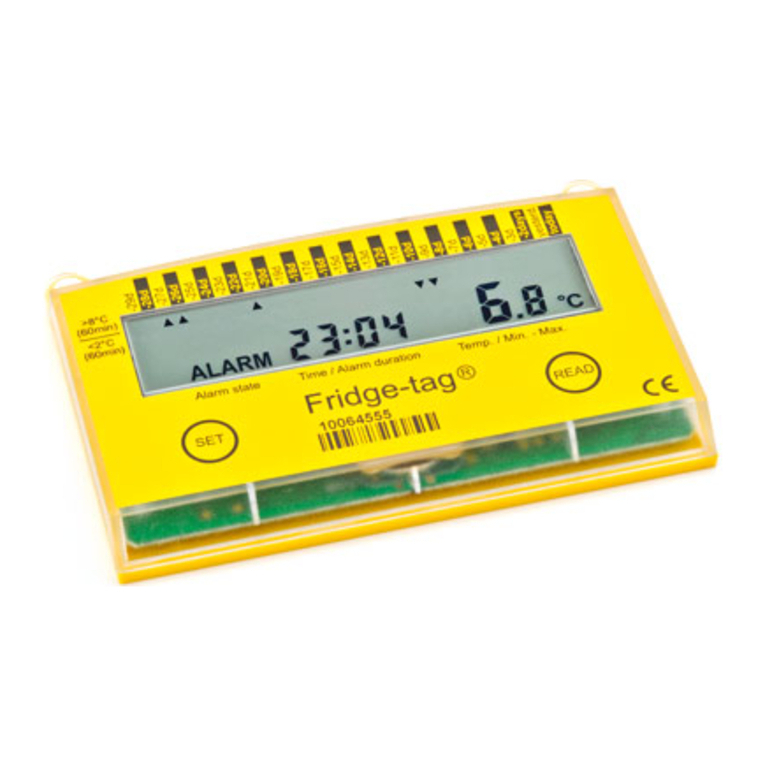
berlinger Fridge tag User manual

berlinger

berlinger Fridge tag User manual

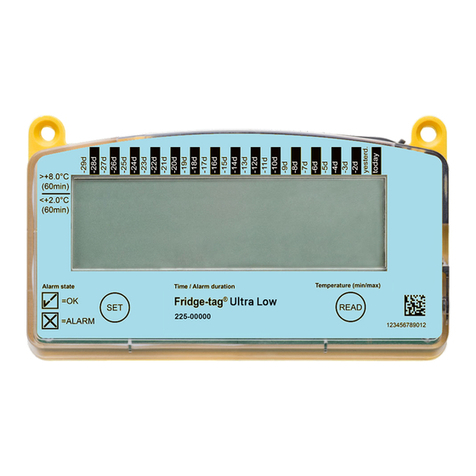
berlinger Fridge-tag Ultra Low User manual

berlinger

berlinger Fridge-tag Ultra Low User manual

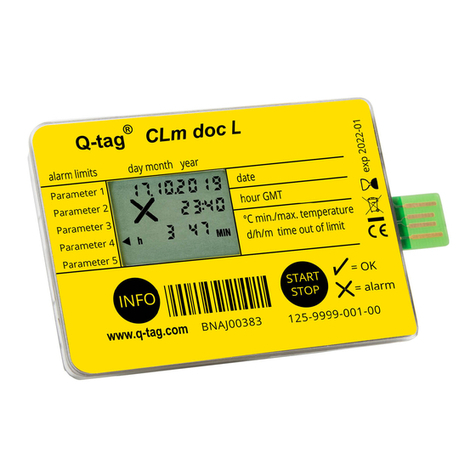
berlinger Q-tag CLm doc User manual

berlinger

berlinger Q-tag CLm doc User manual

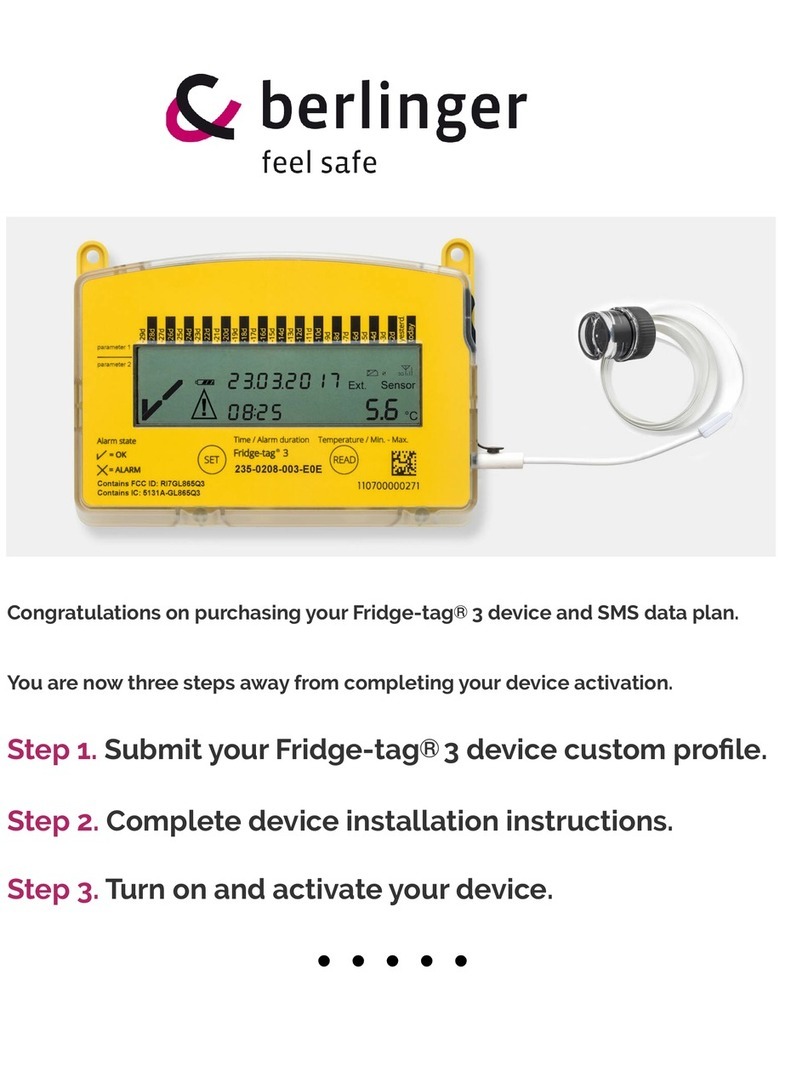
berlinger Fridge-tag 3 User manual

berlinger

berlinger Fridge-tag 3 User manual

berlinger SmartSystem SHIP L User manual

berlinger

berlinger SmartSystem SHIP L User manual

berlinger Fridge-tag Ultra Low User manual

berlinger

berlinger Fridge-tag Ultra Low User manual

berlinger Q-tag CLm doc User manual

berlinger

berlinger Q-tag CLm doc User manual

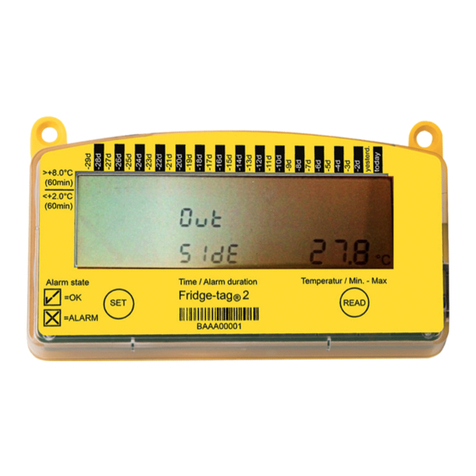
berlinger Fridge-tag 2 Instruction Manual

berlinger

berlinger Fridge-tag 2 Instruction Manual

berlinger Fridge-tag 2 User manual

berlinger

berlinger Fridge-tag 2 User manual

berlinger Fridge-tag 2 User manual

berlinger

berlinger Fridge-tag 2 User manual

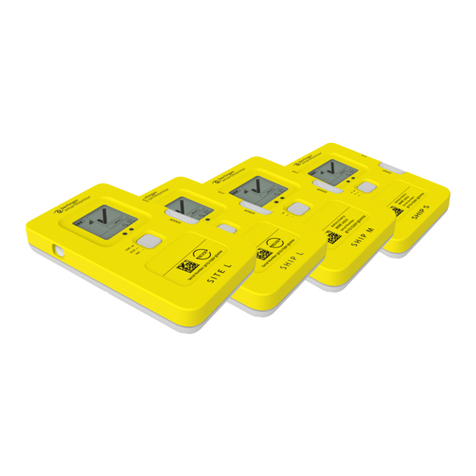
berlinger Fridge-tag 2 L Manual

berlinger

berlinger Fridge-tag 2 L Manual

berlinger Fridge-tag 2 L User manual

berlinger

berlinger Fridge-tag 2 L User manual

berlinger SmartSystem SITE L User manual

berlinger

berlinger SmartSystem SITE L User manual

Popular Data Logger manuals by other brands

Comet U0121M user guide

Comet

Comet U0121M user guide

Geokon 8800 instruction manual

Geokon

Geokon 8800 instruction manual

Hobo H8 Pro user manual

Hobo

Hobo H8 Pro user manual

EasyLog 21CFR quick start guide

EasyLog

EasyLog 21CFR quick start guide

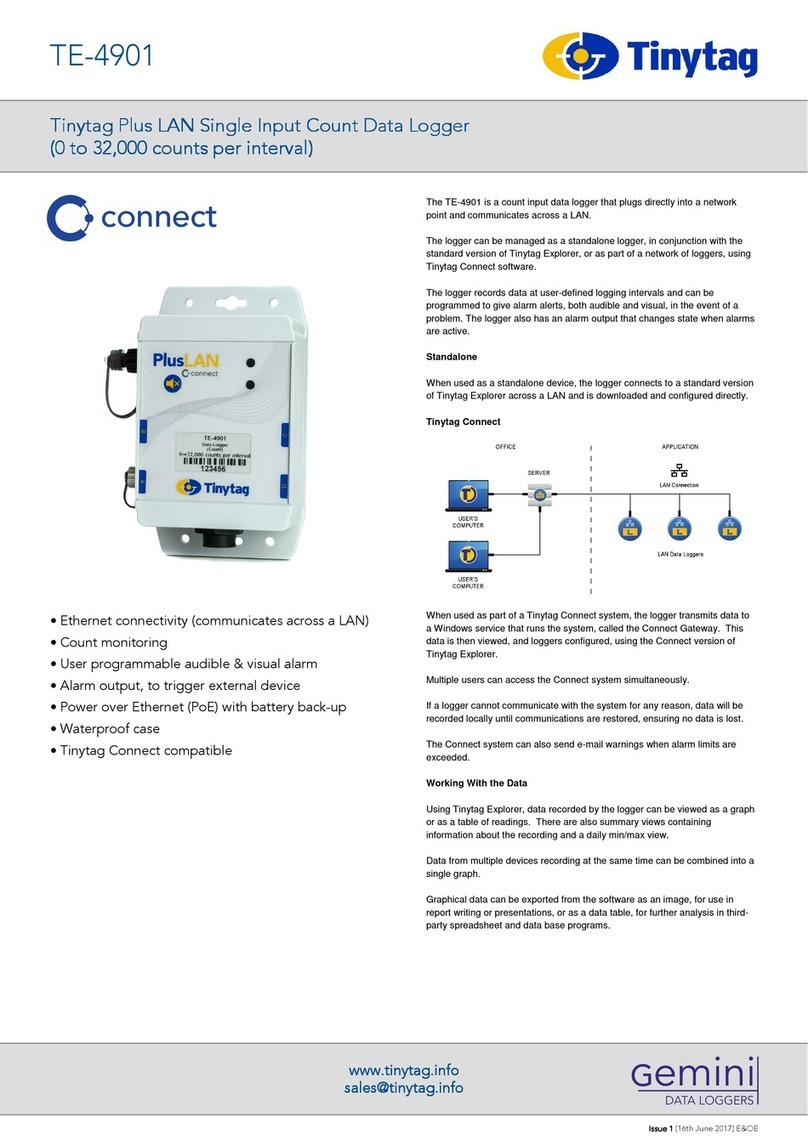
Gemini Tinytag TE-4901 manual

Gemini

Gemini Tinytag TE-4901 manual

JRC JCY-1800 - instruction manual

JRC

JRC JCY-1800 - instruction manual

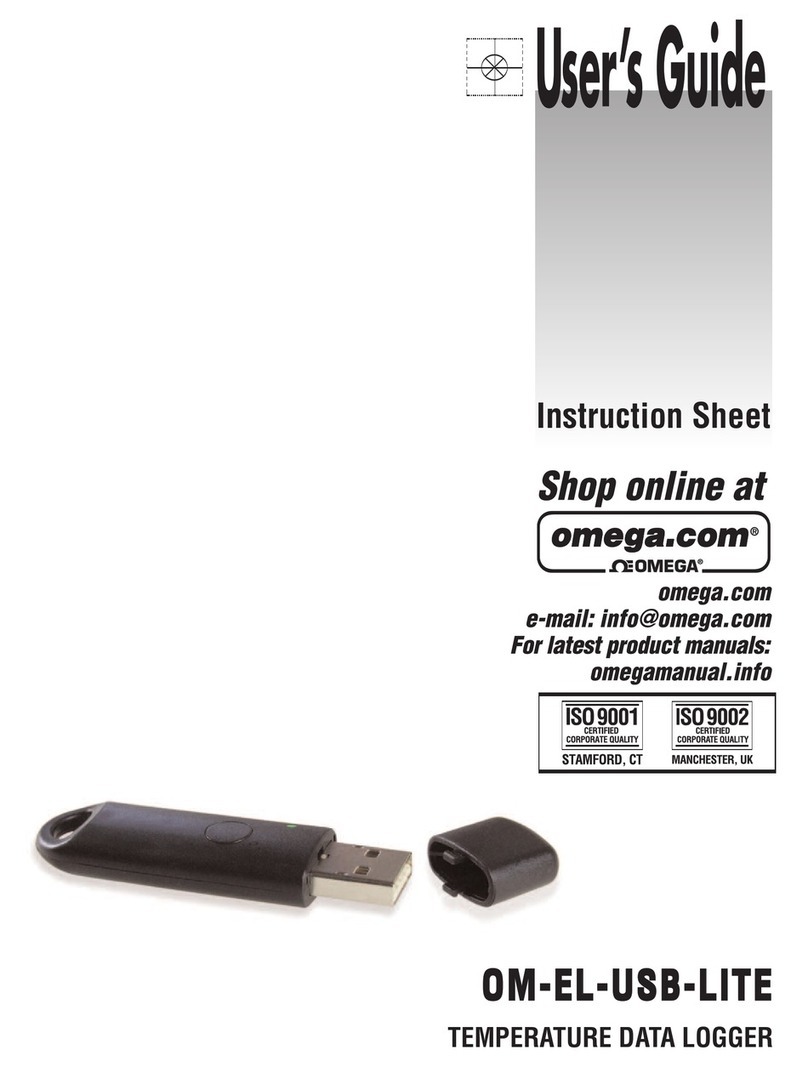
Omega Engineering OM-EL-USB-LITE instruction sheet

Omega Engineering

Omega Engineering OM-EL-USB-LITE instruction sheet

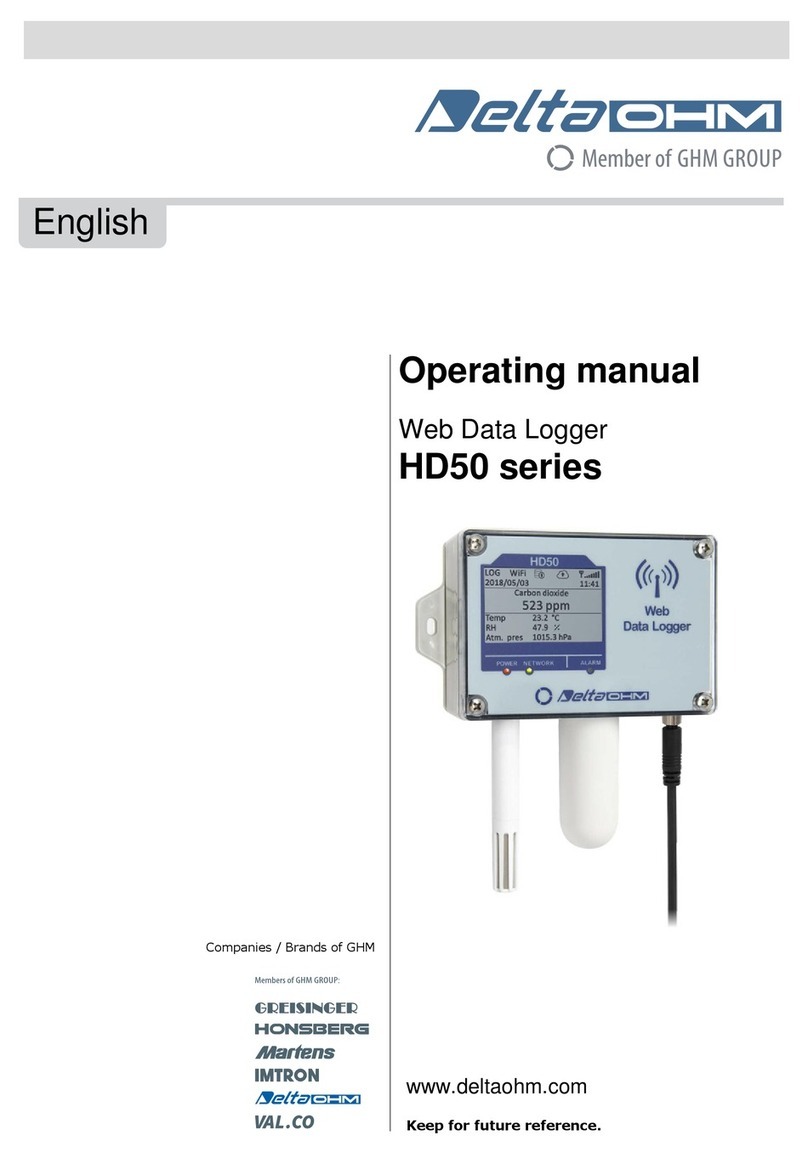
GHM Delta OHM HD50 Series operating manual

GHM

GHM Delta OHM HD50 Series operating manual

RST Instruments DT2306 manual

RST Instruments

RST Instruments DT2306 manual

Hobo UX100-023A manual

Hobo

Hobo UX100-023A manual

EasyLog PDF Series quick start guide

EasyLog

EasyLog PDF Series quick start guide

Baer DLX user manual

Baer

Baer DLX user manual

Comet System S5141 instruction manual

Comet System

Comet System S5141 instruction manual

Eagle Tree Systems eLogger V4 instruction manual

Eagle Tree Systems

Eagle Tree Systems eLogger V4 instruction manual

Danelec Marine DM100 VDR Operator's manual

Danelec Marine

Danelec Marine DM100 VDR Operator's manual

LogTag Recorders UTRED30-16-WiFi Product user guide

LogTag Recorders

LogTag Recorders UTRED30-16-WiFi Product user guide

Sungrow 1000A user manual

Sungrow

Sungrow 1000A user manual

Hioki MICRO HiCORDER 8206-10 instruction manual

Hioki

Hioki MICRO HiCORDER 8206-10 instruction manual

manuals.online logo
manuals.online logoBrands
  • About & Mission
  • Contact us
  • Privacy Policy
  • Terms and Conditions

Copyright 2025 Manuals.Online. All Rights Reserved.